Using the Free Yamaha Chord Tracker App with Your Clavinova
Record audio wirelessly and share the sound of your CVP Series Clavinova using your iPhone® or iPad®.
Yamaha has created a great app that can be used to wirelessly record and send audio files to your friends and family! The free Yamaha Chord Tracker app is available for iOS® (13.0 or higher) smart devices such as iPhones® and iPads®. In this article, we’ll describe how to combine the power of Chord Tracker with your Yamaha CVP Series Clavinova to share your sound.

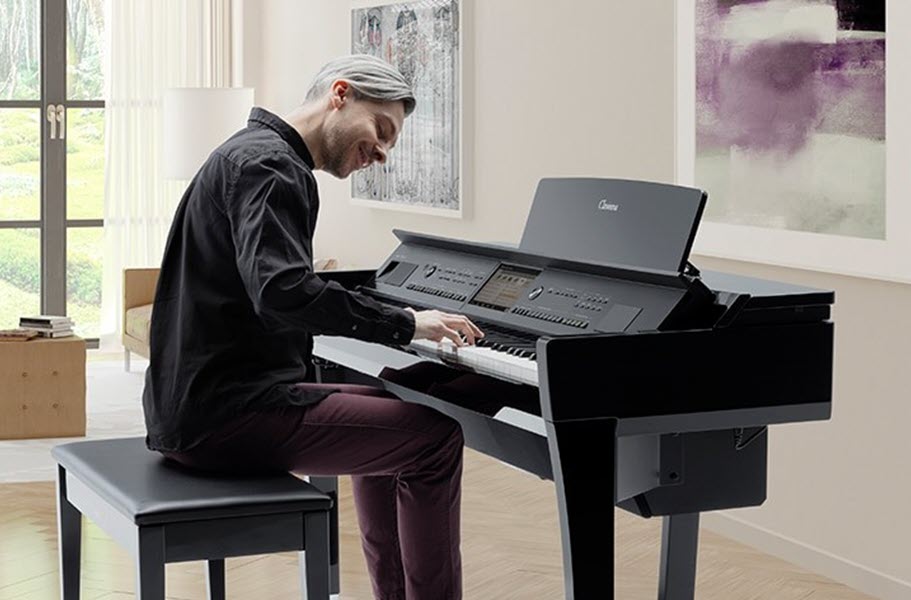
Start by plugging an optional Yamaha UD-WL01 wireless LAN adapter into one of the USB ports under your CVP-805/809/701 Clavinova. (Note: If your router is a long distance from your Clavinova, you may want to instead make a hard wire connection with an A/B USB cable plugged into the To Host port on the underside of your Clavinova. If you’re using an iPad, you will also need an Apple camera kit to connect your Clavinova.)
With the UD-WL01 inserted in the Clavinova, on your iOS device, select Settings, then Wi-Fi. Select your CVP from My Networks shown in the display. When connected, you will get a message on your iOS device that you have no Internet connection, and this is correct, as the UD-WL01 creates a network between your Clavinova and your smart device.
When you are setting this up for the first time, you will be asked for a password. The password is 00000000. After your iOS device has been connected to your Clavinova once, you won’t be asked for this password again.
There is no further setup necessary on the CVP-805, CVP-809 and CVP-809GP models. Setup for the CVP-701 is a little different, and is described below.
CVP-701 Setup
- Insert your UD-WL01 wireless LAN adapter into the USB port.
- Press the Function button on your CVP-701.
- Use the Tab button to tab over to page 2 of the menu.
- Press letter H to select Wireless LAN.
- If you do not see the names of any wireless networks, you may need to turn your Clavinova off and back on and then repeat the above three steps for your LAN to pick up the networks in your home.
- Once you see the name of the network you wish to connect to, use the cursors next to the screen to select it.
- Press the down button of the “8” below the display to connect.
- Enter your network password if prompted to do so.
- Once connected, the wireless icon next to the network you selected will be green.
- Press exit.
Start the setup on your iOS device, as follows:
- Force quit any open apps on your device.
- Launch the Chord Tracker app on your device.
- In the left of the display on your device, you will see an an area that says “Instrument.” The name of your Clavinova should be displayed. If it’s not, touch that area and the screen will display the instruments it finds, asking you to select which one you want to connect to.
To Record Using Chord Tracker
- Select the folder called User Songs in your iOS device.
- Touch the Record button on your device in the New Recording bar and start playing your Clavinova.
- To stop recording, touch the same flashing red record icon in the upper right corner of your device.
- You can also record your music ahead of time on the Clavinova. Load the song into your Clavinova, then press the record icon in Chord Tracker (on your device), followed by “Play” in the Song Control area of the Clavinova. You can even record vocals if you have a microphone plugged into your Clavinova.
- Your device will then ask you to save and name the recorded song. Press “delete” on your device’s QWERTY keyboard to remove the default time stamp title and then type in your own title.
- Touch Save on your device. Your recording is saved as an M4A (MPEG-4) audio file.
- Chord Tracker will then analyze the chord changes for the song you just recorded and display them. (No other notation is displayed.)
- Press the Play icon on your device to hear your recording.
To Share Your Recording
- Touch the menu icon on your iOS device. (This is the icon with 3 dots near the title of your recording.)
- Touch “Mail” on your device from the drop-down menu.
- Type in the email address of the person you want to share your music with. Once your device is back on an Internet connection, the email with your file will be sent.
For further information, see the Reference Manual for your CVP Clavinova. Just click on the link, use the pull-down menu to select the “Digital Pianos” product category, enter your model number, select search, and download the appropriate PDF.
Now you can enjoy sharing your creations with friends and family – wirelessly!
Keep reading