Tagged Under:
First Steps for First-Year Winds
Before making music, address beginning band students’ physical setup — how to hold, support and position instruments.
Early in my career, when a beginning student made a bad sound, I always knew what to say: More air, relax, fix your embouchure, sit up, try again. Sometimes those corrections helped. But many students needed a physical adjustment to the instrument instead. Once I started paying closer attention to what I could see instead of only what I could hear, my first-year students produced more consistent sounds sooner.
Before we expect beginners to make music, we must teach them how to hold, support and position their instruments correctly — and reinforce those habits relentlessly.

Start with Fit
We tell nearly every band student to use “good posture,” but that instruction is not specific.
A student can sit tall and still have an instrument positioned badly. Before asking the student to change their body, adjust what you can control: chair or stand height, neck or seat strap, instrument angle and appropriate support. If the student has to crane the neck, twist the torso, raise a shoulder or lean toward the mouthpiece, adjust the chair height, strap length, instrument angle or support before giving another posture correction.
I once taught a 6th-grade horn player who was smaller than most kids his age. After a few days of trying to correct his instrument position, his parent sent him to school with a yoga block to place between his leg and the horn bell. It raised the instrument just enough that he could sit naturally and bring the mouthpiece to the face. As the student grew, we transitioned away from the yoga block.

Woodwinds: A Checklist
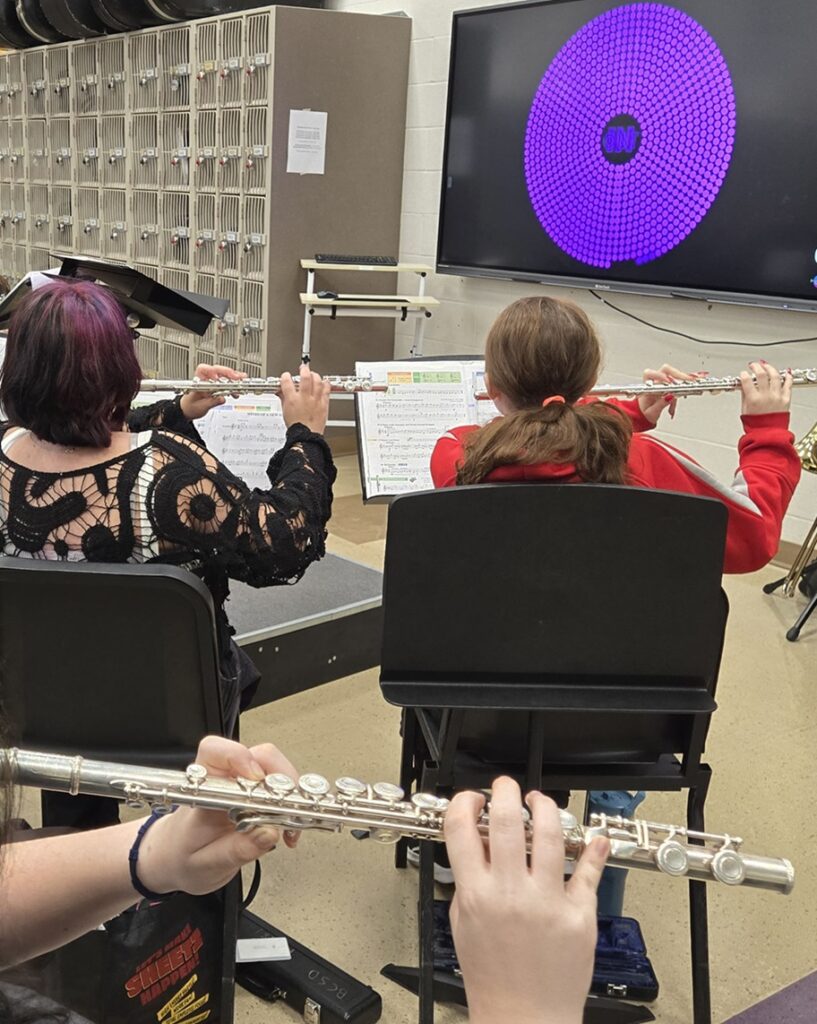
Flute: Start from a consistent headjoint alignment. A common reference is to align the center of the embouchure hole with the center line of the keys, then make small adjustments for each student. As a starting embouchure point, the lower lip should cover roughly one-quarter to one-third of the hole. If too much is covered, roll the flute slightly outward and have the student reset the air and embouchure instead of rolling back in to force a sound. Check the right thumb — it should help balance the flute rather than force the fingers to squeeze.
Clarinet: Before you call a squeak an embouchure or air problem, check three things: 1) Is the reed usable and centered? 2) Is there enough mouthpiece in the mouth for the reed to vibrate freely? 3) Are the fingers completely covering the tone holes? A tiny leak can make an entire section sound like a bad New Year’s Eve party. Check reeds regularly for all single-reed players. Discard any reed that has a visible chip or crack. Some students get irrationally attached to their reeds — I had a student who named their reed “Bob.” I had no attachment to Bob, so I snapped it in half, threw it away, and gave the student a new reed.
Alto Saxophone: Let the neck strap carry the instrument’s weight. When seated, position the saxophone outside the right leg rather than between the knees. Adjust the strap until the mouthpiece reaches the student without requiring chin lifting or head reaching forward, then rotate the neck and mouthpiece as needed.

Oboe: Switch to another instrument. Just kidding. Start with the instrument about 40 to 45 degrees away from the body so the reed reaches the mouth without the student dropping their head or lifting their shoulders. Check that the reed is seated securely and that the student’s fingers remain curved and close to the keys. If those physical checkpoints are in place and the student still cannot produce a consistent response, bring in a double-reed specialist.
Bassoon: Adjust the seat strap or support until the bocal and reed meet the student naturally in playing position. The hands should operate the instrument, not hold up its weight. If the player has to stretch or twist to reach the keys, adjust the support first.

Brass: Support First, Play Second
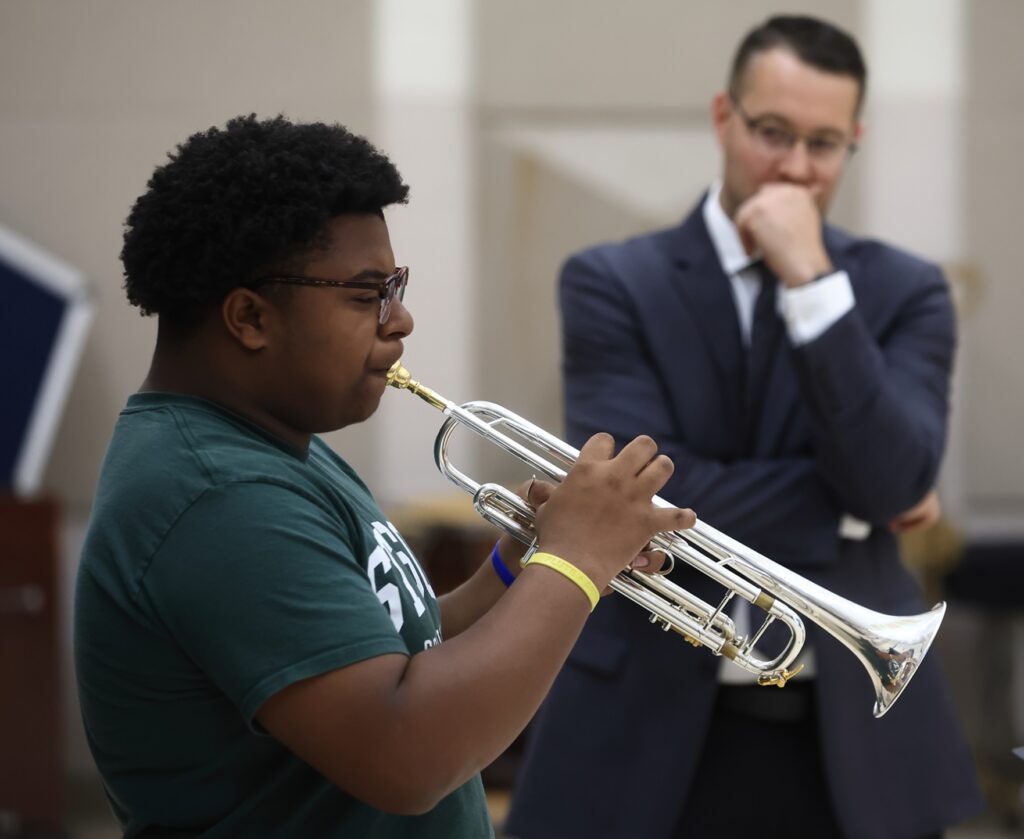
Trumpet: The left hand holds the instrument. The right hand operates the valves. That sounds obvious until you see what we used to call the Vulcan Death Grip, back when kids knew what “Star Trek” was. Keep the right hand shaped roughly like the letter C, with relaxed, curved fingers over the valve buttons. Watch for students gripping the horn or pressing the mouthpiece harder into the face just to make a note happen.
Horn: Teach students to “shake hands with the horn” — fingers together, hand fairly flat, with the backs of the fingers resting against the inside of the bell rather than the palm blocking the opening. For smaller students, sitting toward the front of the chair with the left leg forward and right leg slightly out (we call this the “French Horn Power Pose”) can allow the bell to rest lightly against the right leg while keeping the leadpipe at a comfortable angle. As the student grows, adjust the position based on their size and the instrument.
Trombone: The left hand stabilizes the instrument so the right hand can move the slide freely. Have beginners lightly pinch the slide brace with the thumb, index and middle fingers while keeping the wrist mostly straight. Check the slide path for knees, chairs, stands and neighboring players. Smaller students can turn slightly to the right for extra reach in seventh position. Leave enough space between chairs so one student’s slide cannot hit another student or instrument.
Euphonium or Baritone: Raise the instrument until the mouthpiece meets the student instead of making the student lean toward the instrument. A cushion, rolled towel or appropriate support can help. The support arm should carry the instrument so the valve hand stays curved, relaxed and free to move.
Tuba: Adjust chair height and instrument position, or use an appropriate tuba stand or support, so the mouthpiece reaches the student without twisting or slouching. Once the instrument is stable, check the valve hand. The wrist should stay close to neutral instead of bending sharply to compensate for poor instrument position.

Check It Again Tomorrow — and Every Day After That
There are roughly 180 school days in a year. You may have to teach and reteach these setup habits 180 times. Walk around the room and look for straps that slipped, thumbs that moved, reeds that shifted, horns that dropped and grips that tightened.
“Fix your posture” may be technically correct, but it leaves a beginner to decide what to change. Keep corrections short, specific and observable.
- “Raise your strap one inch so the mouthpiece comes to you.”
- “Cover that tone hole completely with your right index finger.”
- “Put your left thumb in the trumpet saddle and let the left hand hold the horn.”
Your students will eventually need better tone, more range, faster technique, stronger intonation and greater independence. For now, make sure 1) the instrument fits the student, 2) their hands are positioned correctly and 3) students can reach the mouthpiece, reed, keys or slide without unnecessary tension. The musical work gets easier when the physical setup stops getting in the way.
Keep reading