Full Album Mastering
It’s all about cohesion.
Mastering a full album is somewhat different than mastering individual songs. The goal here is to not only get every track sounding as good as possible, but to make the overall project sound cohesive, similar to a film editor compiling different shots to create a feature length movie. In this article, I’ll explain my process for full album mastering.
Getting Started
The very first thing I do is to create a Wavelab Montage with three stereo tracks. The first track is for the raw mixes, the second is for the analog captures, and the third will hold the final rendered image of the full record (this is the final print with all processing, including digital plug-ins, captured). I then import the mixes into the session and begin the initial listen-through, which gives me a chance to assess each individual track, and the project as a whole, allowing me to judge how the record flows from start to finish.
Even if it’s just passively listening to the audio while I answer emails, I’m still exposing my ears to the project, and oftentimes find elements that stick out. Once I have an idea of how the record should feel, I go back and sequence and space it roughly how I think it should sound, then start to dig in specifically on the tracks I think are the strongest. I use these to lay the groundwork for the rest of the mastering and overall tone of the project.
Tweaking, Capturing and Rendering
Once I’ve gotten the main tracks dialed in, I start tweaking the rest of the record. Obviously each track needs its own adjustments, but, again, the goal is to make them all fit together, especially when it comes to dialing in the low end, which can drastically change from mix to mix.
After each track has been mastered, I move onto capturing. I perform the analog capture while monitoring through any digital processing at the very end of the signal chain. However, I typically wait to commit any final limiting until I’m ready to render.
Before doing the rendering, however, I’ll go back and listen to the entire record again. This allows me to make micro adjustments to my analog captures. For instance, if I feel that a track needs some “air” (a lift in the 18kHz frequency range), I might add a half dB of air post-capture (that is, pre-final limiter). Once I feel that everything is sitting where it needs to, I render the files.
WaveLab makes the entire mastering process incredibly convenient for me. It allows me to view raw mixes, analog captures and rendered versions stacked on top of each other. This way, if a client comes back with any notes, I can make them without having to recall all of my settings. For example, if one track ends up being too loud, or too soft, I can easily make the adjustment, pre-limiter, since I’ve waited to add the limiting until the rendering stage. Then I can simply make the tweaks and re-render the file.
One of the main reasons I don’t commit to limiting until the rendering stage is because I can keep a clean analog capture in my project to use as my basis for creating vinyl cutting files. I can manipulate the level and do any additional processing on these tracks, such as high frequency limiting or low frequency summing, seamlessly. These files can be used to cut lacquers directly in our facility, or we can send them to be cut anywhere in the world without the worry of damaging lacquers through shipping.
Overall, I think my favorite thing about WaveLab is how powerful and adaptable the Montage window is. For one thing, you can customize the layout to only feature the tabs you want to see — two of my favorites are the level meter and spectroscope, so those are usually front and center. When it comes to the actual audio, I can resequence, change PQ codes (stop and start markers for CD players), make fade adjustments or make level changes, all non-destructively … which is exactly what recording, mixing and mastering engineers look for in any software they use.
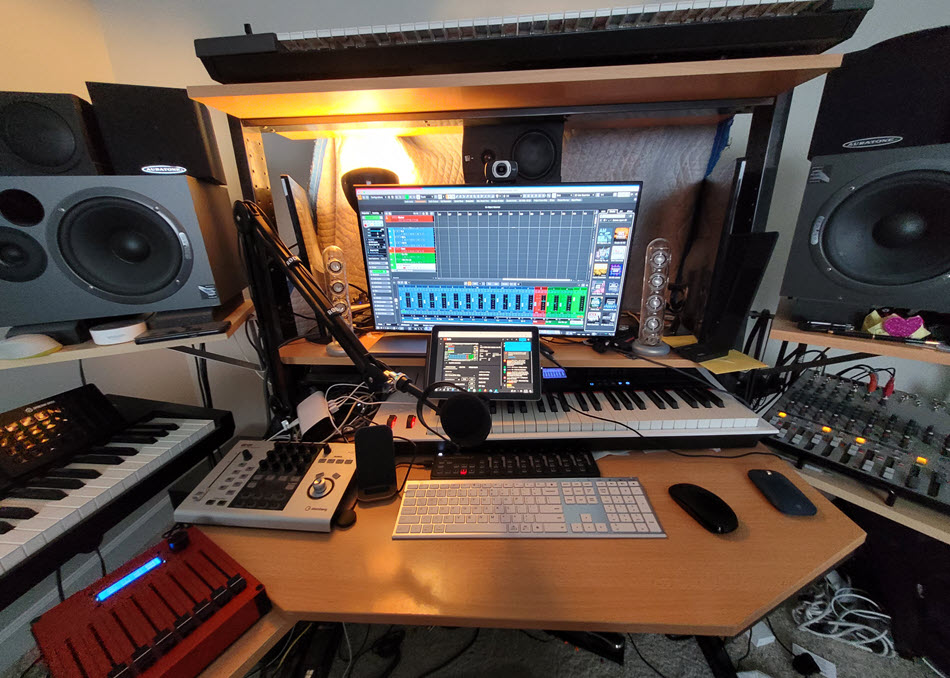
Photograph courtesy of the author.
Click here for more information about Steinberg WaveLab.
Keep reading