Layering Guitar with Studio Response Technology
There is nothing quite like walking into a well appointed state-of-the-art recording studio. Living and working in Nashville for 17 years gave me the opportunity to witness some of the world’s finest tracking rooms.
All those consoles, outboard gear and microphones costing millions of dollars! Add to that the custom designed acoustic treatments and the in-house instruments, including fine grand pianos, vintage organs, guitars, basses and drums and you can understand why recording time is such a precious commodity.
Like so many musicians these days, I track most of my projects at home on a computer-based system. I have a couple of tube preamps and nice microphones that I can use for capturing acoustic guitars and amp cabinets but quite honestly, the amp modeling and effects I can get direct from the Line 6 Helix® sound just as good. I rarely record vocals or other acoustic instruments, so some of the outboard processors and microphones in my studio are, frankly, losing their relevance.
The Question
Do actual microphones and tube preamps sound better for recording guitars than digitally modeled mics, amps, speaker cabinets and guitar pickups? The simple answer to that is … it’s subjective. If you have a quiet environment, an excellent microphone and preamp, and the engineering skills to use them well, you can get amazing results. Owning a great guitar and having the necessary chops to track all of your parts cleanly while monitoring through headphones is also a major factor.
Of course, I love the sound of a miked acoustic guitar, especially to capture the percussive aspect of the instrument — but honestly, the hassle and time spent setting up the signal chain sometimes outweighs the sonic benefit of the end result!
Enter Studio Response Technology
Yamaha have spent decades developing innovative onboard guitar pickups. The latest Studio Response Technology (SRT) powered systems combine mic modeling technology and under-saddle piezo blending systems. SRT models the sound of the acoustic guitar being recorded with carefully selected high quality microphones and preamps in a studio environment.
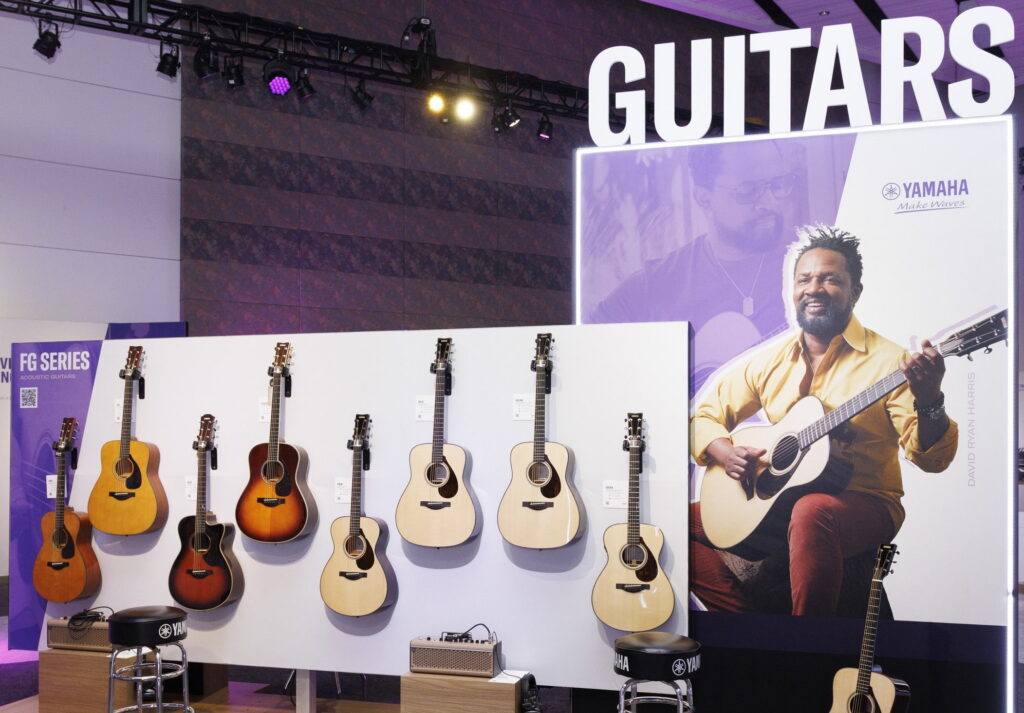
The SRT2 pickup systems in Yamaha A Series guitars feature the modeling of two classic microphones: a Royer R122 active ribbon model, along with a Neumann U67 large diaphragm condenser (on the A5/A3 rosewood models) or a Neumann KM56 small diaphragm condenser (on the A5/A3 mahogany models). When you consider that, together, these mics can cost well over $10,000, it makes a compelling argument to own an amazing guitar that features those modeled tones … at a fraction of the cost!
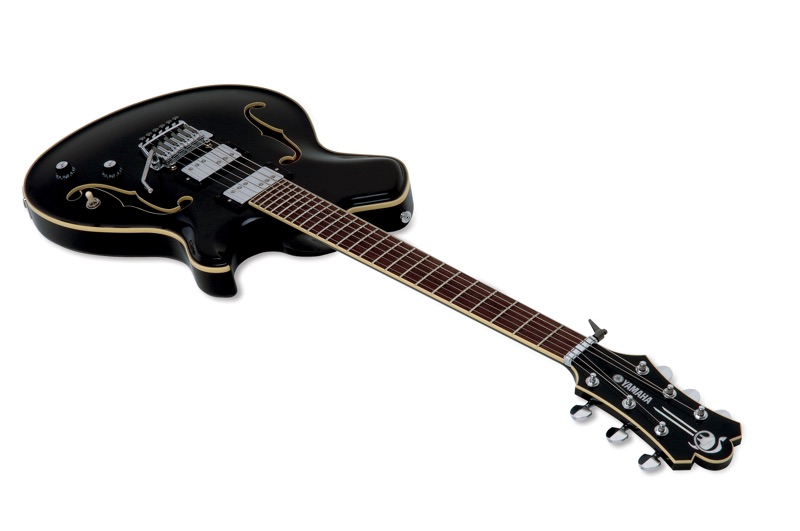
Yamaha SILENT Guitars™ also feature SRT systems that are optimized to produce the body resonance and tone of a full-size acoustic guitar. They faithfully reproduce traditional acoustic guitar sounds for direct recording (i.e., without an amplifier) as well as live performance and headphone practice.
My Process for Layering Guitar Parts
Layering guitar parts is an art form and requires careful orchestration and execution. Planning each overdub ahead of time will be well worth the time you’ll save re-recording parts. Make sure your timing is impeccable: If in doubt, record the part again until it sits perfectly with the groove. Pay close attention to dynamics and feel; this is a recorded performance, not just a robotic execution of parts. Last but not least, tuning is not overrated! I tune after every take because there is nothing worse than capturing the perfect performance only to find it’s slightly out of pitch.
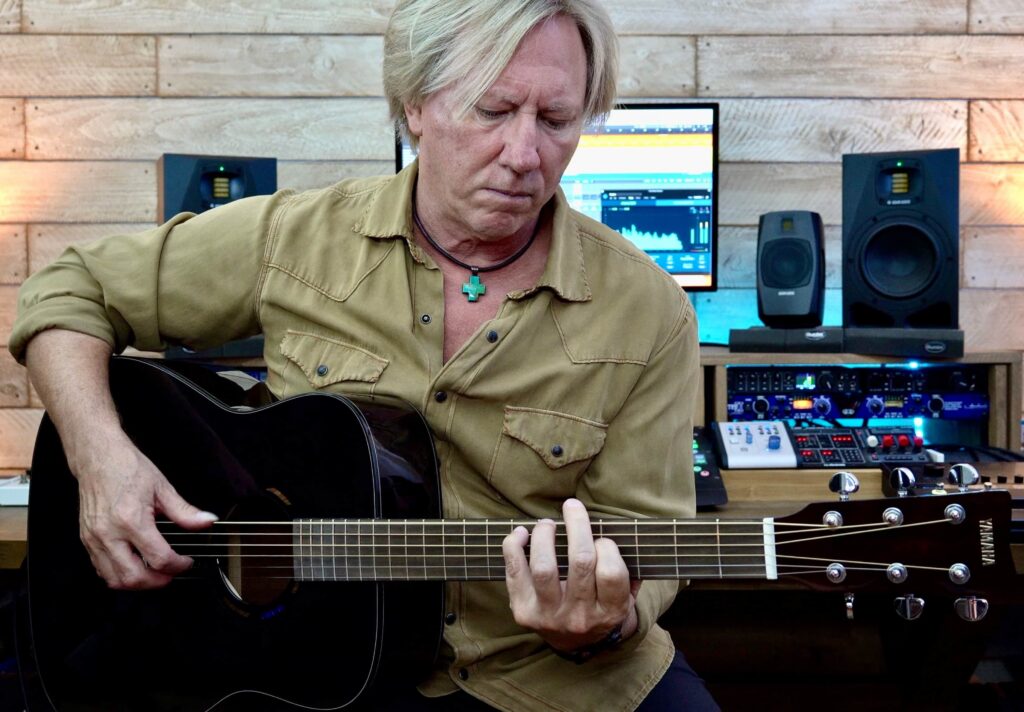
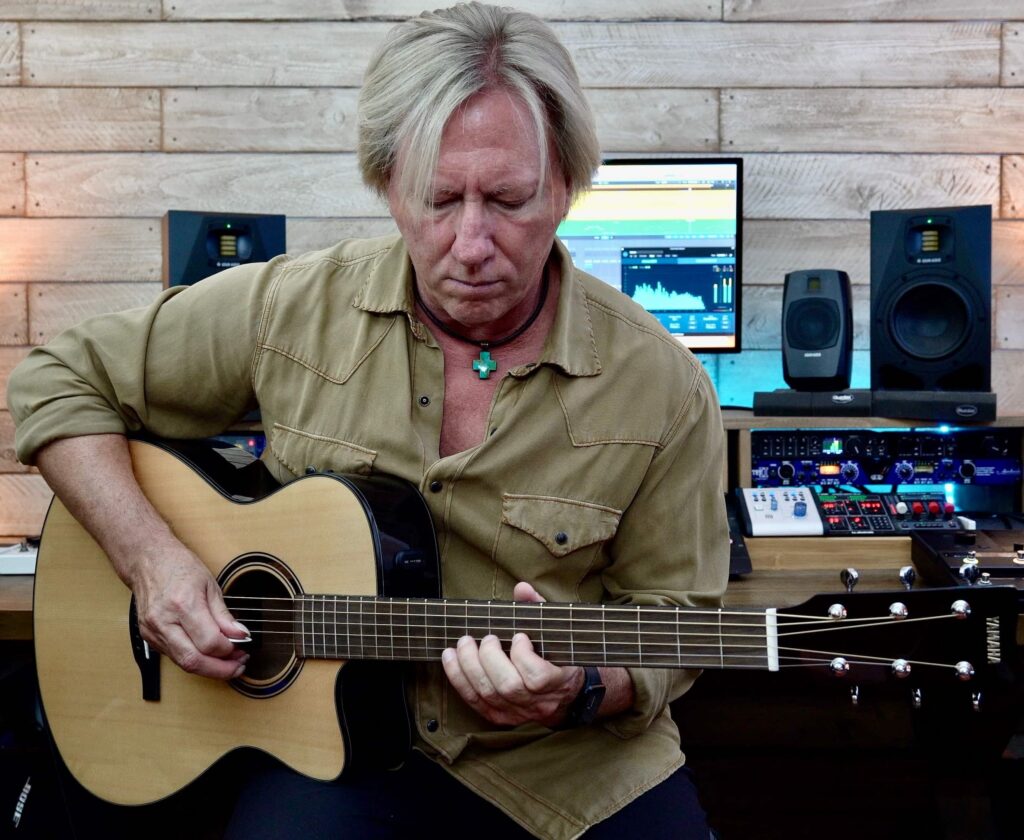
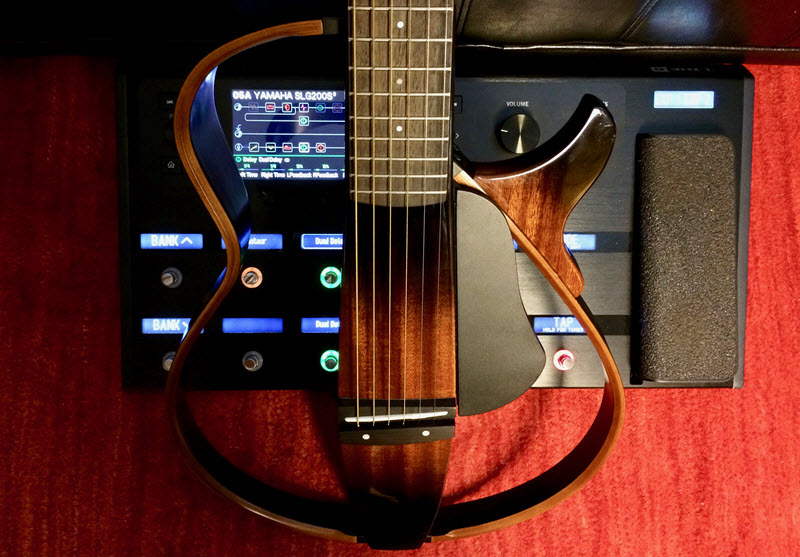
I thought it would be educational and fun to record and film the sound of the SRT-powered SLG200S steel string SILENT Guitar, layering a variety of modeled acoustic guitar parts combined with the Line 6 Helix. I used the SRT system to provide the blended piezo/mic models and Helix for the modeled preamp and effects.
The Video
Here’s a video of me layering a number of parts with the setup described above:
The chord progression I play in the opening section of the video is G – Bm7 – Cadd2 – D/F#. This can be analyzed as a I – III – IV – V progression in the key of G. The tonal center (resolution point) of this progression is G Ionian.
The Parts
Guitar Parts 1 and 2 – Strumming
I like to capture rhythm guitar parts in “open” position first. The bass notes and open strings give me a clear sonic picture of the lowest and most open tones. I can then create and build complementary overdubs from there on up the fretboard.
If you listen carefully to the intro you’ll hear that I’ve double-tracked the initial rhythm guitar part and panned the first pass hard left and the second (doubled) part hard right. Spreading the initial guitar parts wide in the stereo field gives me a great sonic platform for further added layers.
I used the blend control on the SRT system with a 60/40 ratio in favor of the mic modeling. This setting gave me more “air” in the tone. EQ on the guitar was set flat and a touch of reverb was added in Helix.
Guitar Part 3 – Fingerpicked, Capo 2nd Fret
Here, you’ll notice that I have a capo on the 2nd fret and I’m playing different chord shapes to facilitate still being in the key of G. The F shape is actually G; the Am shape is Bm; Bb is C; and the C shape is D. Using capo techniques like this enables you to raise the pitch of the chords and consequently separate the frequency range of multiple guitars in a mix. I created additional space in the audio spectrum by fingerpicking the third guitar part, adding some EQ (a boost of 3.0 dB at 2600 Hz with a Q width of 0.88, along with rolling off the lows at 100 Hz), a sprinkle of reverb and panning the guitar to 10 o’clock in the audio field.
Guitar Part 4 – Fingerpicked, Capo 5th Fret
The capo is now placed at the 5th fret and I’m playing a D shape to give me the G; a partial of F#m7 to give me the Bm; a G shape for the C; and an A shape for the D chord. You’ll notice how using the capo introduces complementary voicings that have a wonderful musical magic to them. If you understand the CAGED guitar system and can analyze harmonic structures, you’ll be able to apply capo parts like this in any key. Well worth the study and practice!
I panned this guitar part over to 2 o’clock in the mix so that it occupies its own space on the right hand side and I carefully adjusted volume and reverb for clarity and overall balance, as well as adding a little gentle EQ: a 4.0 dB boost at 1000 Hz with a Q width of 2.00, and a 3 dB boost at 260 Hz with a Q width of 0.10. I also increased the blend ratio to 80/20 in favor of the mic modeling for all of the fingerpicked parts to introduce more “air” and defined tonality.
The Slide Melody
On listening to the rhythm parts I could hear a simple slide melody in my head, so I took some time to locate the notes on the guitar. I find that singing new melody lines for guitar instrumentals yields the most natural and unique results for me and prevents muscle memory from dictating the creative process.
Notice how the first half of my slide melody is played near open position on the 3rd and 4th strings and the second half of the solo is played further up the fretboard on the upper strings. These are all conscious musical choices that add variety and tonal progression to the music.
The SRT settings for this guitar part were in favor of the piezo pickup, with a 60/40 blend. This gave the slide more presence and less air than the other guitar parts. I also added a touch of compression, overdrive, delay and reverb from the Helix to help the slide notes sustain and sit front and center in the mix.
The Wrap-Up
I hope this musical example has inspired you to experiment with the latest modeling technology. When you consider the cost, time savings and creative results, it’s a technique well worth considering for your recording projects.
Photographs courtesy of the author.
Check out Robbie’s other postings.
Click here for more information about the Yamaha SILENT Guitar.
Click here for more information about the Line 6 Helix.
Keep reading