How to Set Up a Guitar Classroom
Setup for a new guitar course requires logistics, habits for organization and labeling.
We all have different guitar teaching situations, but we have the same goals — to create an environment where students can learn and to develop processes that set students up for success. These processes are crucial during the first few weeks of class, and once established, teachers can manage them with minimal effort.
The following suggestions are based on what I have learned from other guitar teachers and what has worked — and hasn’t worked — for me.
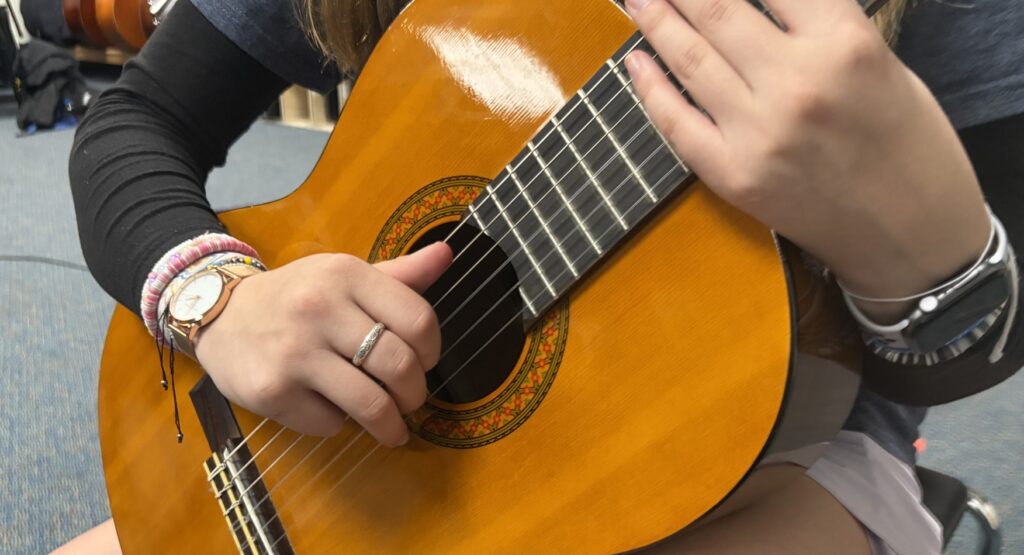
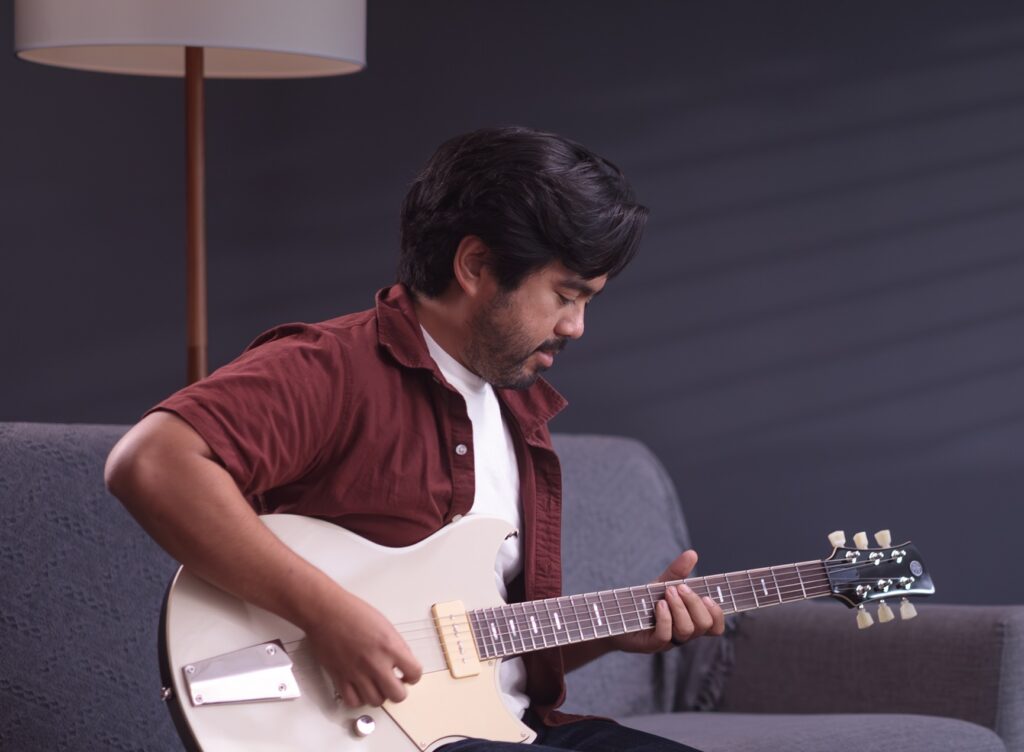
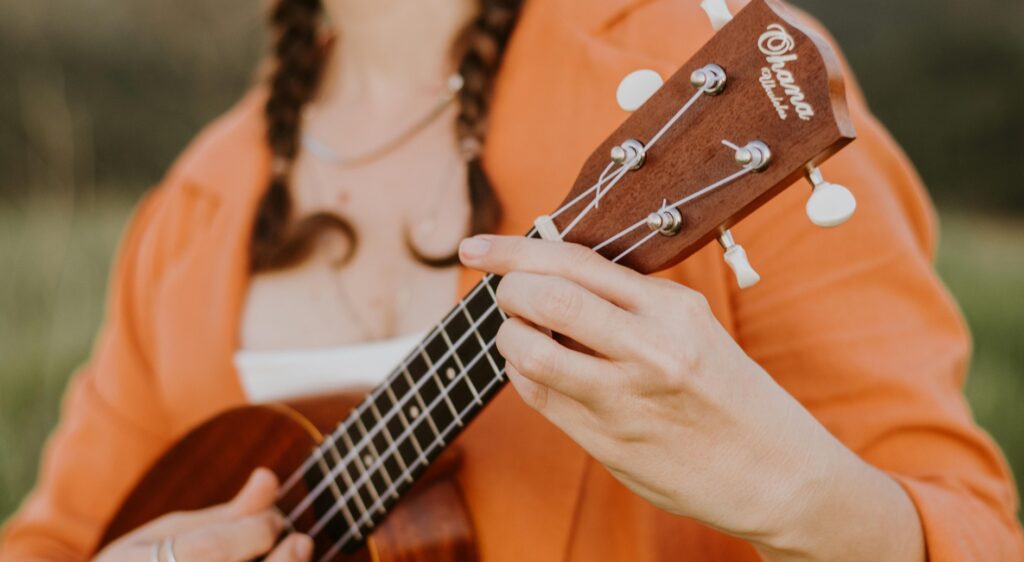
I teach classical guitar technique. The instruments are easier to manage, versatile and lead to the best sound quality. Students can learn a technique on a classical guitar then easily apply it to a steel-string or electric guitar. The guitar program at McQueen High School has acquired several steel-string guitars over the years, in addition to 12-string guitars, electric guitars and Yamaha SILENT Guitars. Students are encouraged to experiment with different types of guitars, as it builds interest in the full world of guitars and encourages them to be lifelong musicians.

Patience is Key
The following processes require an investment of time and, in some cases, money. Many of the students in beginning guitar have no idea what an instrumental music class is like, so they will experience a paradigm shift that is completely different from their other courses.
Guitar teachers must invest time, patience and understanding especially at the beginning of the school year, so their class will be set up to move faster and more smoothly than if these items and considerations were not addressed.
The Physical Space
Most guitar students are not in band, choir or orchestra. Wherever guitar is taught, make sure this is reflected in what you call the space. It took me a long time to stop saying guitar was taught in the “orchestra room,” which gave the impression that my guitar students were imposters in a space meant for other students. How condescending and demeaning! This unintentional slight may prevent buy-in with students, so I regularly practice being mindful, and I call my room the “strings” room.
Music rooms are complete chaos even before school starts. On any given day, I’ll have a kid on the drum set, another playing piano, others watching TikTok on their phones and everything in-between. With this level of mayhem, we must ensure there are minimal physical distractions in our teaching space. As with all instructional spaces in music, the room should be as tidy as possible. Make sure every piece of equipment, music, folders, instruments and countless other items in the room have specific places to live.
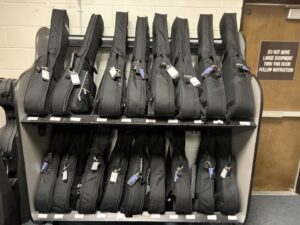
For the instruments themselves, there are multiple ways to store them. I recommend rolling guitar storage racks that have two rows to allow multiple styles of guitars to be stored. Our guitar program has five of these racks — all have held up quite well. Each week, at least one rack is rolled from the strings room to the cafeteria for a performance. These racks also allow for flexibility in the arrangement of all the equipment in the room, so students can use the space as efficiently as possible. I also allow students to store their binders, footrests and books inside their cases, which reduces the need for additional racks and shelves for these items.
Student Setup in the Space
As a high school orchestra teacher, I took a lot for granted. Incoming freshmen knew how to put instruments into cubbies, stack chairs and put music stands onto the racks (always a struggle!). Do orchestra students magically know these simple things? No! There are countless elementary and middle school music teachers who, over the course of several years, teach kids how to put their instruments away, stack chairs and get stands properly onto a rack (sort of). Because of this, students in my orchestra classes can get into their places quickly and are ready to play by the time class starts.
On the other hand, guitar students need help on how to properly get themselves ready for class. I have tried a setup of columns and rows. I also had students sit in arcs like a traditional orchestra setup. Both have advantages and disadvantages, which I encourage you to explore.
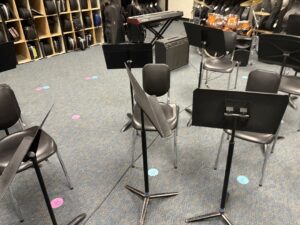
I took way too much time explaining the setup to students — how many rows and columns there are or the configuration of the arc, etc. I was constantly reteaching and reinforcing setup. One day, I walked into a middle school choir classroom and saw hook-and-loop fastener dots on the floor that showed students where to place their chairs — this changed my whole world.
I immediately ordered a set with different colored dots, and it quickly transformed the layout of my guitar class. The dots help me to quickly see where any setup issues may be and easily remedy them.
Helpful tip: Use different colored dots to identify sections, so students know blue is guitar 1, orange is guitar 2, etc.
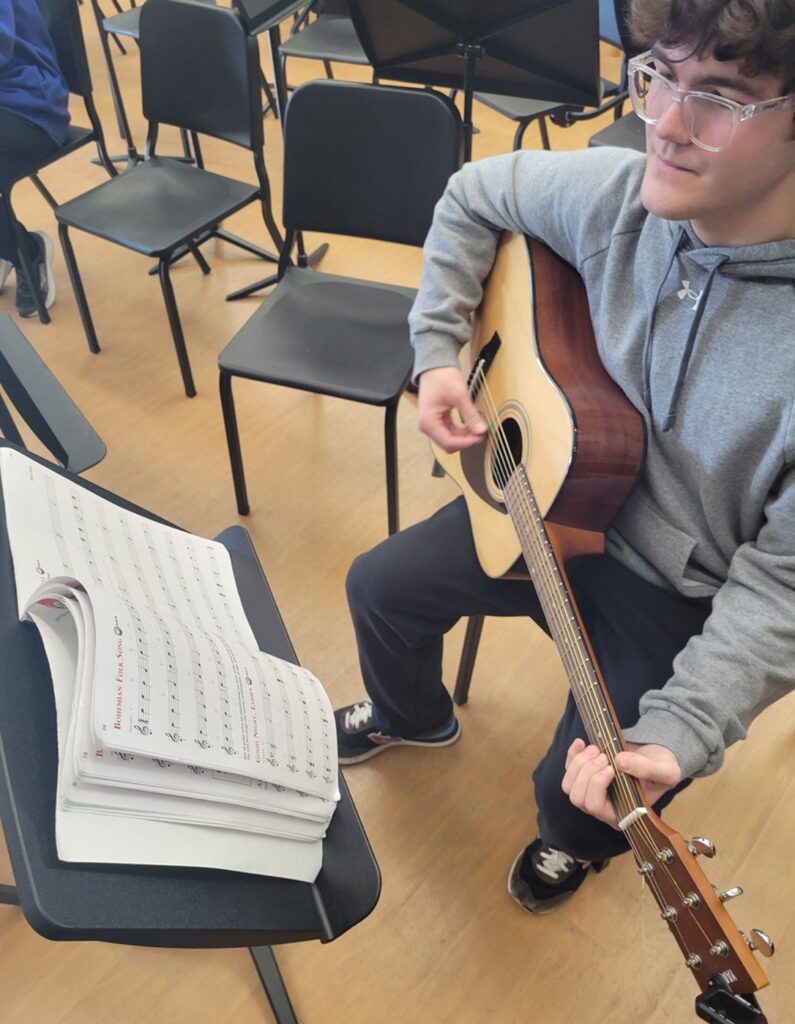
Our department is fortunate to have a music stand for every guitar student. This ensures that every student is writing the same information on their own music on their own stand, as needed.
Individual Student Equipment
I have learned from other teachers and stumbled upon several ways to keep individual student equipment orderly. Having taught for over 20 years, I understand issues may arise when making purchases for my classes. Building instrument inventory and equipment stock takes time. With limited budgets, we must always consider cost, quality, durability, playability and longevity.
Work with your preferred vendor to create bids when making purchases. This builds a relationship with the vendor, allowing them to potentially seek more competitive pricing and buy-in for your guitar program. There’s also a high likelihood the vendor has experience helping other guitar teachers, so they can help recommend products at specific price points, which will be advantageous.
- Labels: Everything must have the student’s name on it. Do not be afraid of mail merge — it is your friend. I can crank out name labels, nametags for music stands, and all sorts of handy stuff by using mail merge. If you’re not familiar with mail merge, check YouTube.
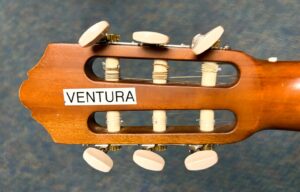
- Guitars: Every guitar the school owns is assigned a school inventory code that helps with fast identification. The guitars are labeled as “McQGxxx.” This tells me it’s a McQueen Guitar (followed by a three-digit number I create). I engrave this ID using an inexpensive engraver on the guitar tail. If I’m super on top of things, I’ll create individual labels for the guitars with my label maker and put the label on the back of the headstock.
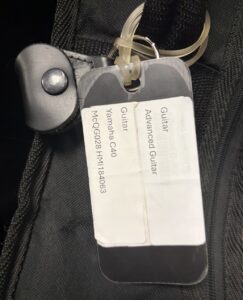
- Name Tags: Several years ago, I purchased luggage tags with our school’s logo from an online vendor and attached one on every student’s instrument case handle. I print labels with the student’s name and ID number on a barcode. If the student uses a school instrument, I also have a label with all the instrument’s information including make, model, school inventory code and serial number. The orchestra boosters subscribe to an online music program management system that keeps track of the guitar inventory. I can easily merge the student and guitar information into my school district’s instrument rental contract and then distribute them to students, reducing time and paperwork.
- Footrests: Because I teach classical style, each student has an assigned foldable footrest. Some guitar teachers shy away from using collapsible footrests and use blocks of wood instead. While wood blocks may be less expensive and more durable, my students take decent care of the footrests. The main reason I opted for collapsible footrests is that they take up less space in my classroom and are easy for students to take home to practice. A handful of them will wear out during the school year, but I keep replacements on-hand, and the folding footrests are easily stored in guitar bags.
- Digital Tuners: It drives me crazy when a student says, “I don’t need a tuner, I can tune by ear.” Tuners are a non-negotiable in my class. If a guitar is out of tune, it sounds bad. I put students’ names on tuners with a silver or gold Sharpie. You can find affordable tuners online, sometimes in multi-packs. If you’re looking at a tuner from an unknown brand, order one to test for accuracy before ordering a class set.
- Pick Holders: There are three locations for a pick: in a kid’s hand, inside the kid’s guitar or somewhere in the “Land of Missing Picks.” To help reduce lost picks, I use pick holder key rings that I attach to the luggage tag on the guitar case handle. These are inexpensive and can be purchased through most retailers.
- Guitar Picks: You can buy picks in bulk for a reasonable price. I order three thicknesses of picks for students to try, then they can figure out which one they like best. This has created a pick economy in guitar classes, where kids start trading and bartering picks. I also invested in a pick punch that can be used on old gift cards or any other plastic card. Students love using their previous year’s ID to make a pick with their picture on it.
- Method Books: There are many high-quality, comprehensive guitar method books on the market. As with all method books, they have strengths and weaknesses. In my guitar program, we primarily use two different method books — one for note reading and chord reading and the other for classical style.
- Strap Buttons and Straps: Even though I teach classical technique, I equip all our guitars with strap buttons and guitar straps. Why? Because this teaches students to play both seated and standing. Standing makes large performances, and some rehearsals with a lot of students, more manageable. The buttons can be purchased in multi-packs and can be installed with a power drill and screwdriver. There are many how-to videos online that detail how to install the buttons.

Find Your Solutions
These are just a few organizational strategies that have served me well over the years. If you’re starting a new guitar program, seek advice from as many guitar teachers as you can.
Don’t be afraid to try something. If it fails, try something else.
Good luck with your journey!
Keep reading