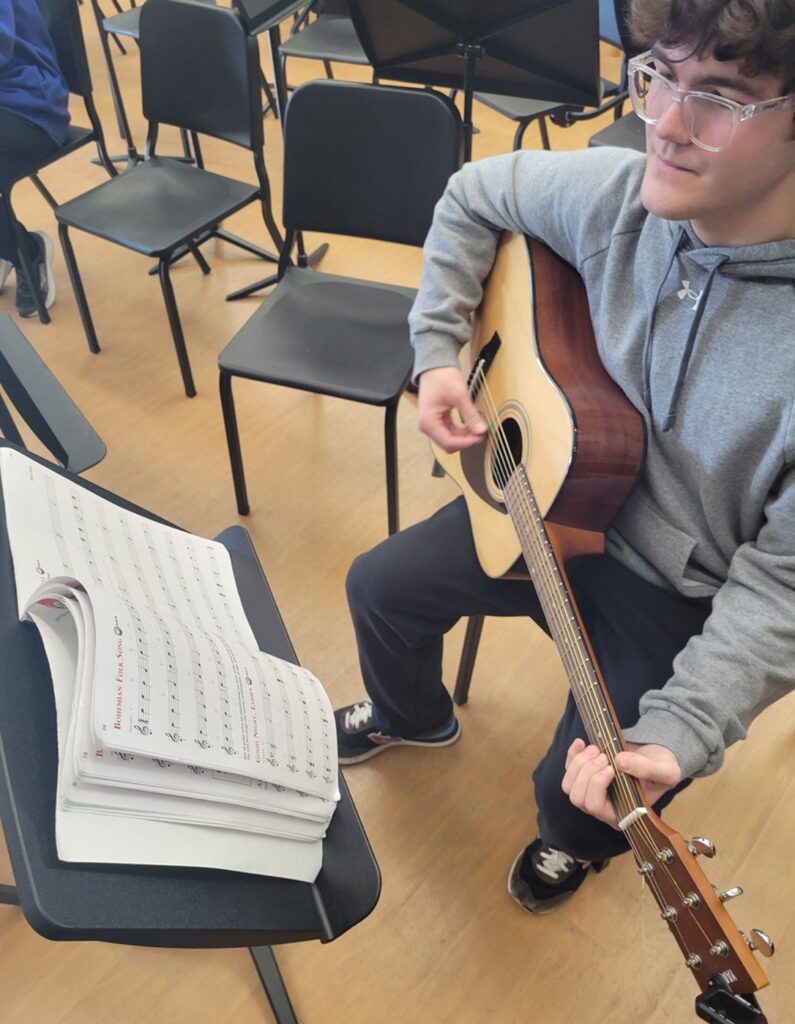
Tone and Sound on Your Guitar, Part 1
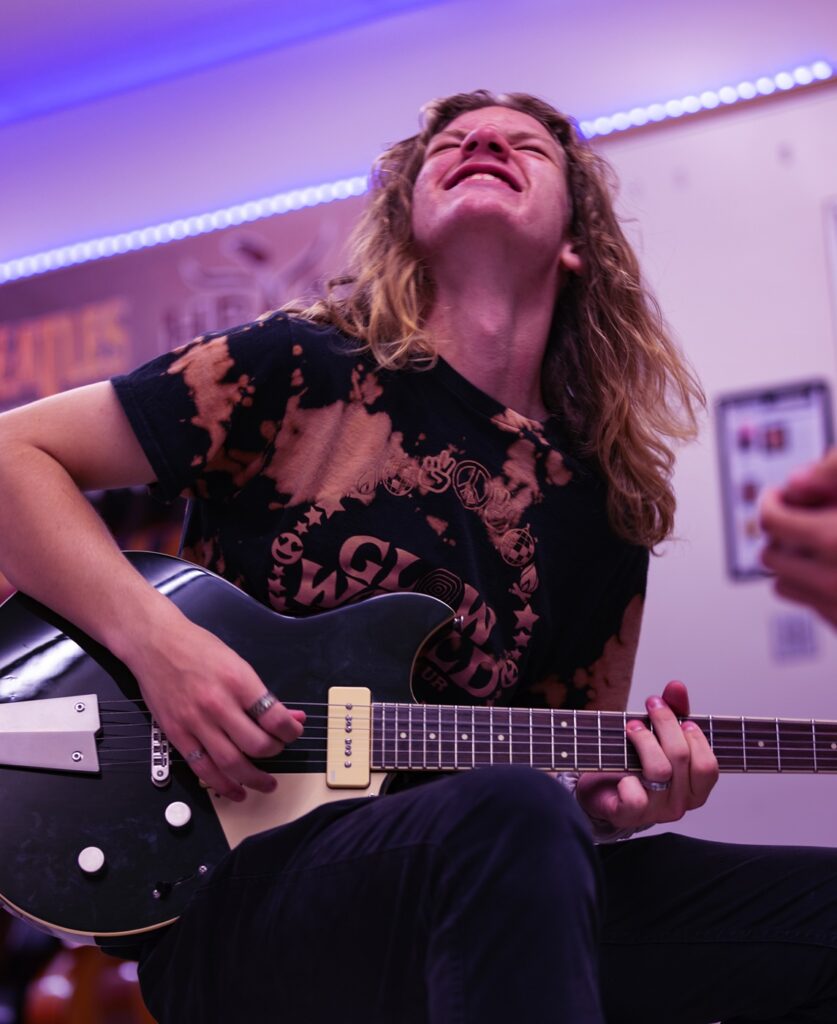
Playing an instrument that sounds good makes a student feel good, which encourages them to continue playing. Conversely, playing an instrument that sounds bad makes a student feel bad, and discourages them from playing.
Student guitarists must understand the tone of their instrument and amp, and how their tone affects the rest of the band. It’s as important as a clarinet player knowing how to maintain their reed or a trombonist knowing how to use a spit valve.
The Guitar
Old strings will sound dull and are difficult to tune. A guitar that has its action too high, its truss rod set incorrectly or has issues with the nut will also be difficult to play. If you have a local guitar shop, contact them and tell them that you will send students their way for guitar setups. They will likely give your students discounts. The difference a setup makes on a guitar (especially a beginner one) is huge!
When trying to create your own unique sound, exploration is key. Try this … first, pick close to the bridge, then play closer to the neck. What do you notice? Playing closer to the bridge creates a brighter sound. A warmer sound is achieved when you play closer to the neck. The pressure used on the pick alters the sound, too. I find that when students practice electric guitar without an amp, they tend to overplay, so they can hear themselves. This develops a bad habit that results in students going into the red and distorting the strings.
Guitar is a very dynamic instrument and developing touch and control in the picking hand will help create a good sound. There are times when you might want to overdrive a string and bring it into the red — for example, when playing a Stevie Ray Vaughn riff or a Metallica rhythm part — but there are times when you want to keep it in the green to create headroom for accents in a jazz line.
If students are playing electric guitar, make sure they use amps or headphones. Have them think about their picking velocity, like the volume knob on a stereo. They should be able to play a single note (open or fretted) or a chord at a volume of 1, 2, 3, 4 and 5. A good exercise is to have them copy a simple, single-note melody, like “Seven Nation Army,” at these different volume levels. They can then alternate loud and soft for every other note. With practice, this becomes second nature.
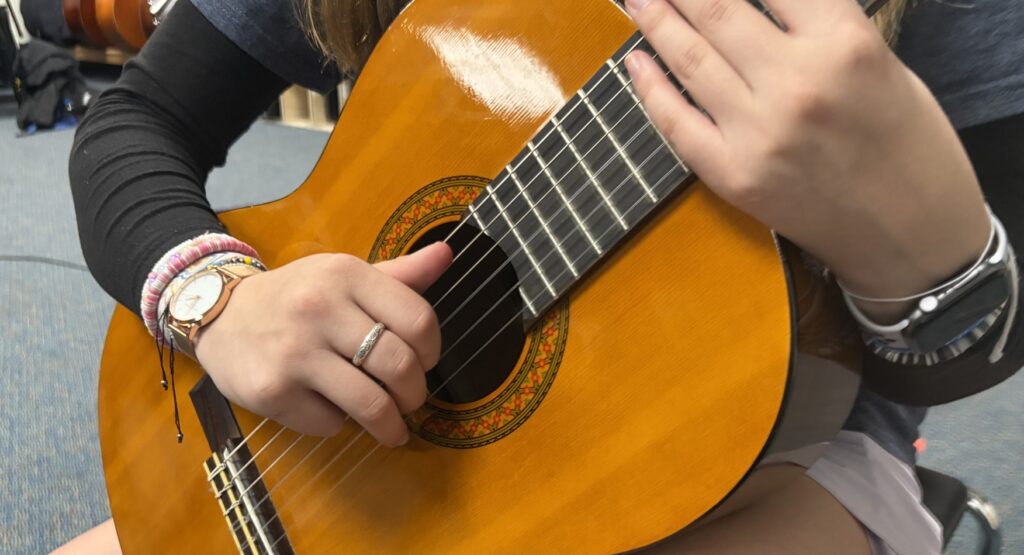
Proper fretting impacts the sound of the guitar, as well. Creating positive contact between the string and the fret helps make your instrument sing. Make sure students are using the fretting technique where their fingers are curled and they are using the tips of their fingers to contact the string. Students with small hands should place their fingers closer to the fret (never on it). This allows them to get a good ring without having the sting of pressing down too hard.
Unintentional ringing of strings outside of a chord or notes bleeding into each other during a single note can muddy the sound. To help with this, students must practice purposeful string muting. Have students fret a note on adjacent strings with each finger. For example, have them place finger 1 on fret 3 of the high E string, finger 2 on fret 4 of B, finger 3 on fret 5 of G and finger 4 (yes, the pinky!) on fret 6 of D. Students can shift this up if it’s too uncomfortable. Have them play the notes from high to low while keeping their fingers on the string when that string isn’t being played — this keeps it from ringing.
Pickups and Guitar Controls
Pickups are actually tiny generators. When the string vibrates in their magnetic field, it produces electricity. Don’t worry, you won’t get zapped by playing a G chord while holding the other end of an instrument cable — the level of energy that comes out of the pickup is called instrument level and it’s very weak. The controls on a guitar allow the player to quickly change the instrument level signal.
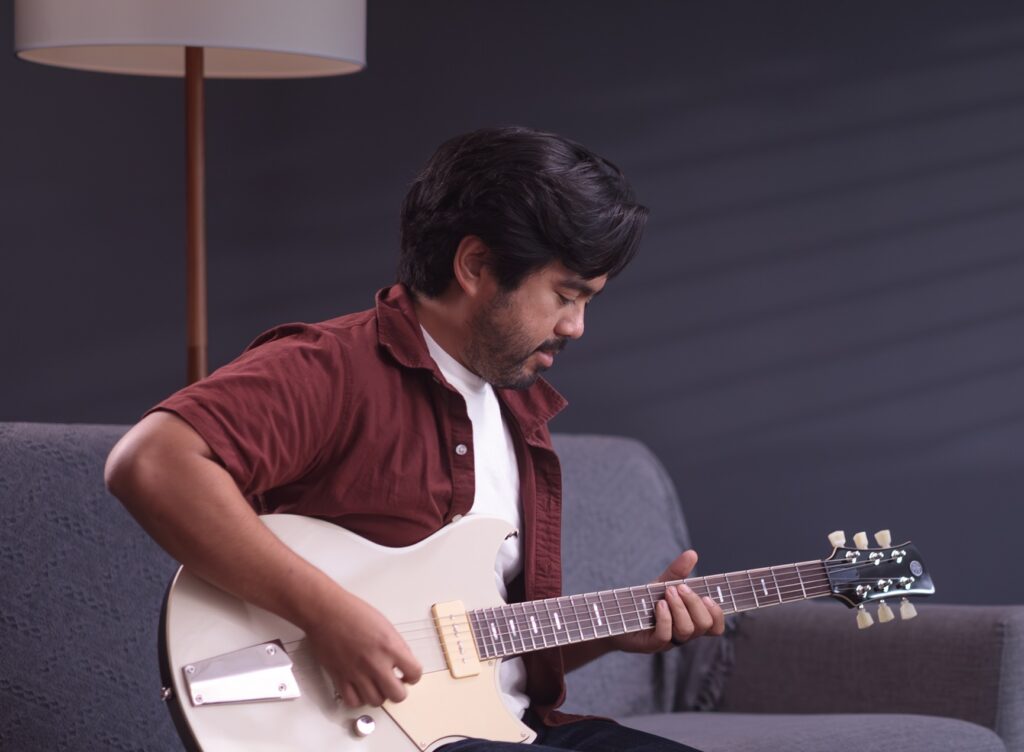
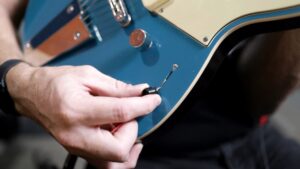
Pickup Selector: The pickup selector chooses which signal is allowed to pass through the guitar. These controls come in different shapes and sizes, but most allow you to choose the neck only, bridge only, either the neck or bridge, or some combination of a middle pickup.
The different pickups have different timbres that correspond to the different picking zones. The bridge pickup is usually very bright and is used for crunchy riffs, country twang and searing leads. The neck is much warmer and is used for bluesier riffs, jazz and different rhythmic patterns. The combo positions have a nice quack attack and are great for strumming parts or single-note funk.
Choosing the right pickup for a song or song section can make or break the sound. Students will hardly play clean chords and rhythm parts on the bridge pickup — it’s a common error. During a set, a guitarist may change the pickup control between songs or even between song sections. There are times when I have changed pickups during a solo to alter the timbre. The goal is to make students aware of what the different pickups sound like and to identify which pickup is being used on certain recordings. They can then try to copy these sounds when they play.
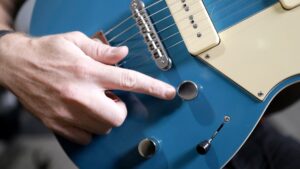
Volume: The next control in line is the volume knob. This isn’t as important a control as you might think. I have my students turn the volume all the way down when I don’t want to hear them noodle during practice, but I have them turn it all the way up when they are playing.
When you turn the volume knob down, you aren’t turning down the loudness of the amp, you are decreasing the amount of signal from the pickups, which makes it very thin and BELOW green. A more nuanced player will use this to their advantage, but I teach my students to keep the volume knob up at all times.
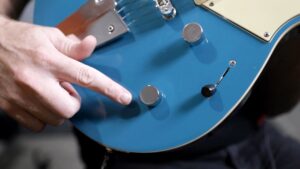
Tone: The next control is tone. When the tone control is all the way up, the signal from the pickups is unchanged. When it is turned down, the higher frequencies roll off. Turn it all the way down, and it gets very muddy. For the most part, I have my players keep the tone control all the way up, and we do adjustments to EQ on the amp because it’s more flexible. For a jazzier sound, have students pick a single note and slowly turn the tone down until the attack of the note is clear, but its character is darker.
Some guitars have a volume and tone control for each pickup while others only have one for all the pickups. The best way to find out is to have the student play and start turning knobs to figure out what does what. This is a great learning opportunity and is one of the first steps to get students in control of their sound.
In Part 2, I’ll go into amplifiers, effects and more.
Keep reading