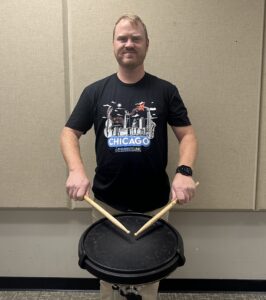
A Guide to Proper Stick Grips
Teach your students how to master matched and traditional grips to become a well-rounded percussionist and musician.
Before a sound can be produced on a drum, a percussionist must consider the physical aspects of their playing. Posture, hand and feet position, and proximity to the instruments can be applied relatively universally across many disciplines of percussion playing, but one physical aspect of drumming is notoriously multiplicitious: GRIP.
Mastering a variety of grips for a diverse range of performance environments is an essential process to becoming a well-rounded and marketable percussionist-musician. Let’s dive in and explore several grip options, their applicability and their transferability.

UNDERSTANDING FULCRUM
Before exploring our grip options, we must understand the term fulcrum, which will be used in all grip explanations. The Oxford Dictionary defines fulcrum as “the point at which a lever rests or is supported and on which it pivots.” The lever is the drumstick, and in most circumstances, it rests between the pad of the thumb and the first or second joint of the index finger and pivots back and forth using a combination of hinges — fingers, wrist and arm.
MATCHED GRIP
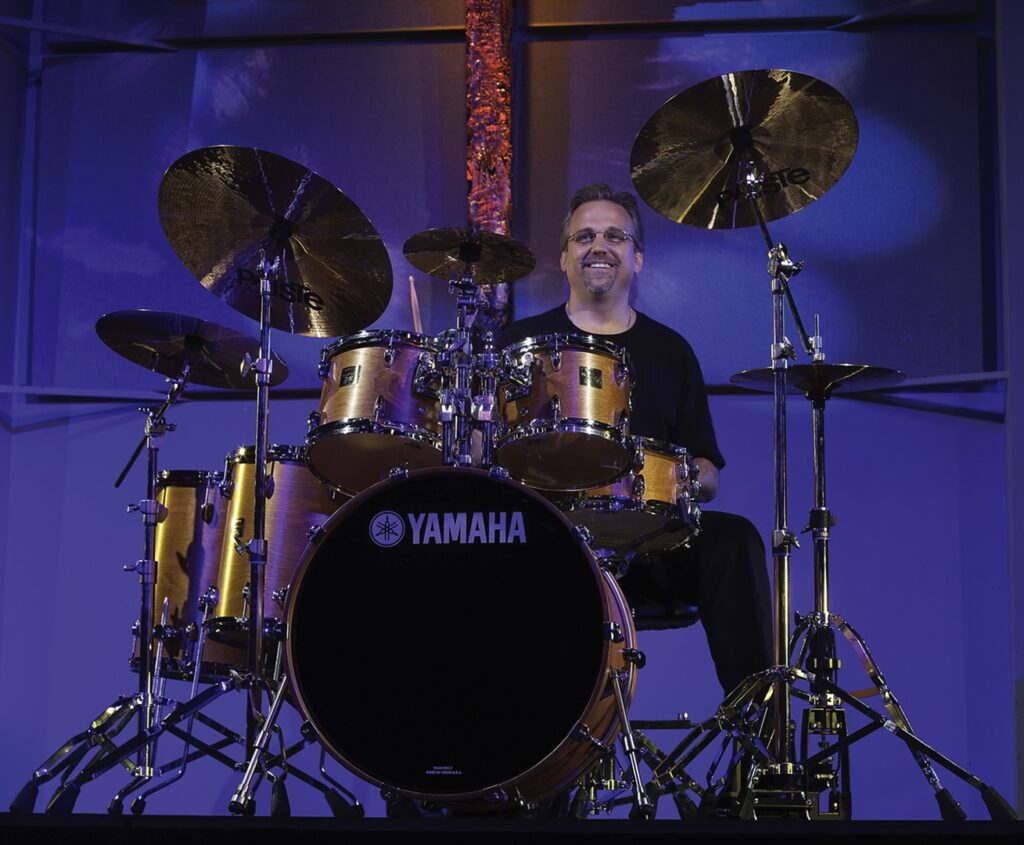
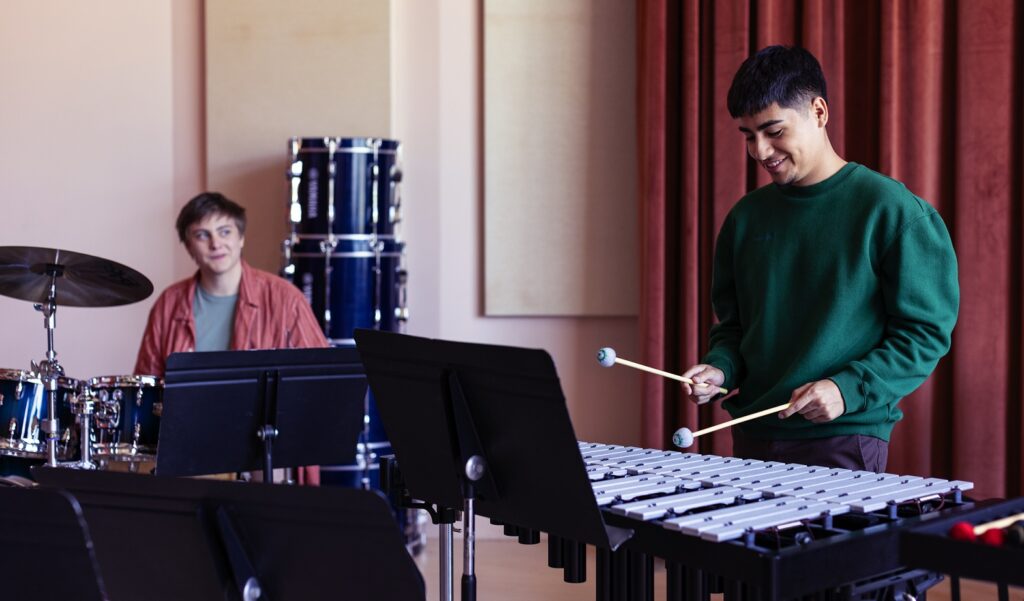
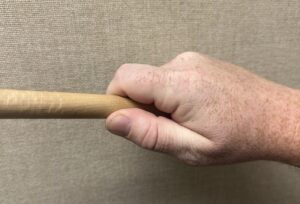
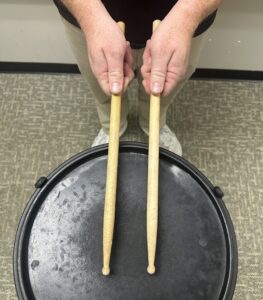
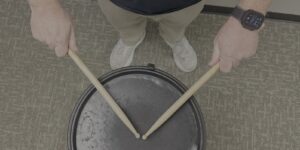
This is the most common grip used for today’s percussive world of instruments. Often referred to as “the grip that keeps on giving,” matched grip is popular for its ability to be transferred across most percussive mediums without much need for change. It’s called matched grip because of the identical hold used by the left and right hands. Simply grab the stick naturally as if you are picking up a small object off a desk or table.
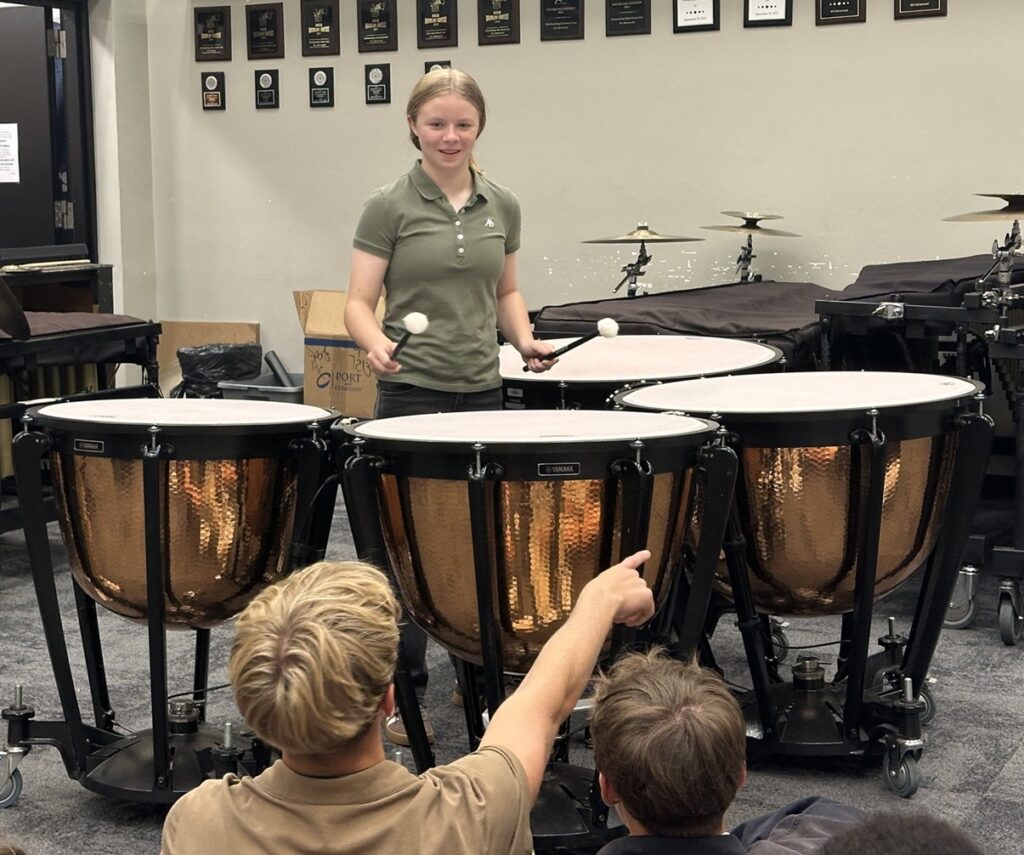
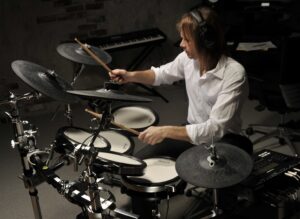
Most percussion students start their musical journey by playing matched grip, often on practice pads or practice keyboard instruments. Matched grip can also be used when performing concert snare drum, concert toms, timpani, drum set, crash and suspended cymbals, and all major keyboard instruments, lending to its applicability across most areas of percussion playing.
To achieve the correct matched grip, address these seven checkpoints.
- Proximity to instrument: Ensure that you are positioned comfortably to be able to play the instrument in the proper beating zones. Be careful not to stand or sit too far or too close to the instrument.
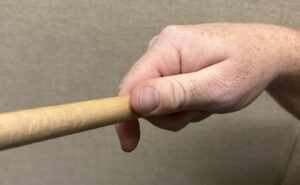
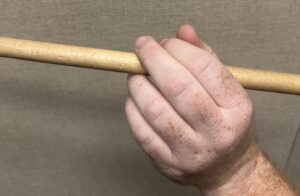
- Front fulcrum: The stick should be held firmly by the pad of the thumb and the second joint of the index finger, about a third of the way up the stick.
- Back fulcrum: The back three fingers (middle, ring and pinky) should wrap around the stick naturally and completely.
- Stick direction: Underneath the hand, the stick should cross the hand diagonally with the butt end of the stick traveling across the “meaty” part of the palm
- Wrist orientation: When in set position on the drum, keyboard or cymbal, the backs of the wrists should be almost completely flat, facing the ceiling
- Stick angle: When playing on a single drum, the angle of the sticks should create a 90° angle. When performing on multiple drums or large intervals on a keyboard instrument, the angle of the sticks can be flexible to accommodate for the space. Stick and mallet angles should almost never go past parallel.
- Bead placement: In most cases, beads or mallet heads should be placed in the center of the drum or keyboard bar. Special considerations should be made for cymbal and timpani playing.
When working on your matched grip, avoid the following common pitfalls.
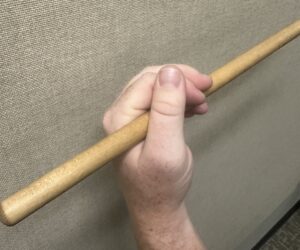
- Gap between thumb and hand: A firm fulcrum is one that does not leave a large gap between the thumb and the side of the hand. Ensure that the thumb is resting flat on the stick and close the hand around the stick to eliminate this common problem.
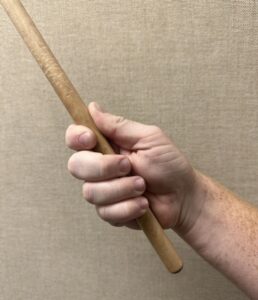
- Stick directionality: Oftentimes, young players will keep the butt end of the stick either in the webbing of their fingers, or without any back finger contact at all. Ensure that the butt end of the stick is traveling diagonally across the palm, crossing the meaty part of the underside of the hand.

- Choked up too far: When looking straight down at the stick when your wrists are flat, there should only be about one inch coming out of the back of your hand. If you are looking on the underside of your hand, two to three inches is appropriate.
- Hanging index finger: Ensure that the index finger is contacting the stick on the second joint and is not pointing down.
When using matched grip, strokes can be achieved by utilizing wrist, arm and finger motion. For faster playing, focus on the smaller groups like the wrist and fingers. For slower, fuller playing, the fingers should remain relatively intact with the stick, and the player should focus more on the larger muscle groups to achieve their best sound.
FRENCH GRIP
In some contexts, a similar grip called the French grip is appropriate and necessary. This grip can be achieved by following all the same checkpoints as matched grip, except for one main difference: The thumbs should face upward and the inside of the palms should face each other. By implementing this wrist orientation change, players can better utilize the smaller finger muscles to incorporate faster movements into their playing. This grip is often used by timpanists but is also utilized by drum-set players as well as orchestral snare drummers.
TRADITIONAL GRIP
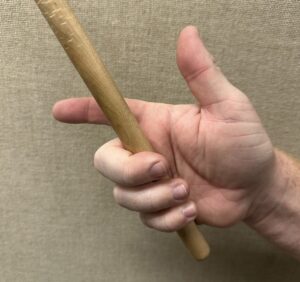
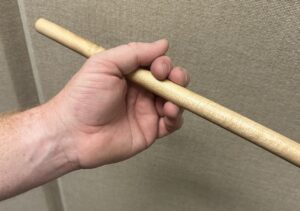
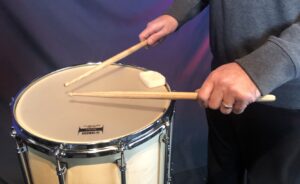
Stemming from the tradition of military snare drumming, which required wearing field drums on sling harnesses, the traditional grip was originally the most popular grip for marching snare drum players (dating back to the late 17th century) and drum-set players (dating back to the late 18th century). In this grip, the right hand utilizes the same overhand grip as the matched grip, but the left hand uses an underhand grip to account for the tilted angle of the sling drums. Traditional grip can be achieved by following all the steps listed in matched grip for the right hand, but the left hand requires a significantly different approach.
To achieve the correct left-hand traditional grip, follow these five steps.
- Hold your left hand out like you’re shaking someone’s hand, then rotate it slightly outward.
- Place the drumstick in the webbing of the hand, between the thumb and index finger.
- Form a “T” shape by placing your thumb on the side of the index finger’s first joint.
- Place the middle finger underneath the index finger, letting the stick travel underneath the middle finger and above the ring finger, making contact with the first joint of each finger.
- Rest the pinky finger underneath the ring finger, keeping it relaxed.
When working on your traditional grip, avoid the following common pitfalls.
- Index finger placement: This is where the index finger floats in the air (too loose) or is placed too far down the shaft (too tight) instead of guiding the stick in a relaxed fashion.
- Lack of finger engagement: This occurs when fingers do not play an active role in controlling the rebound motion of each stroke and “ride along” with the wrist rotations.
- Arm-over-wrist: To compensate for the unnatural wrist rotation required of traditional grip, players often resort to using their arm or elbow for rebound strokes, which results in inconsistent stick heights and adds fatigue and tension to the stroke.
Due to the underhand nature of traditional grip, players must develop their wrist muscles to be able to rotate back and forth (like turning a door knob). Many drum-set players, especially jazz musicians, prefer this grip for the greater level of control it gives them at the low-end dynamic levels, including executing “ghost notes” and brush strokes.
MATCHED GRIP VS. TRADITIONAL GRIP ON DRUM SET
From the inception of the drum set through the late 1950s, traditional grip dominated the style and approach from most players. This was due in part to the historical norm for drummers to use traditional grip on military sling drums, but was also necessary for the lighter, more intricate figures used in the popular music of the times: jazz. As rock and pop music took over in the late 1950s and early 1960s, famous drum set players like Ringo Starr of the Beatles and Jon Bonham of Led Zeppelin popularized the implementation of matched grip in contemporary drum-set playing. As the need for heavier backbeats of this newer style of music grew, matched grip playing in band settings became the standard, while traditional grip remained popular in jazz playing. Despite this dichotomy, traditional grip was still used by notable drum-set players like Steve Gadd, Dave Weckl, Vinnie Colaiuta and Todd Zuckerman.
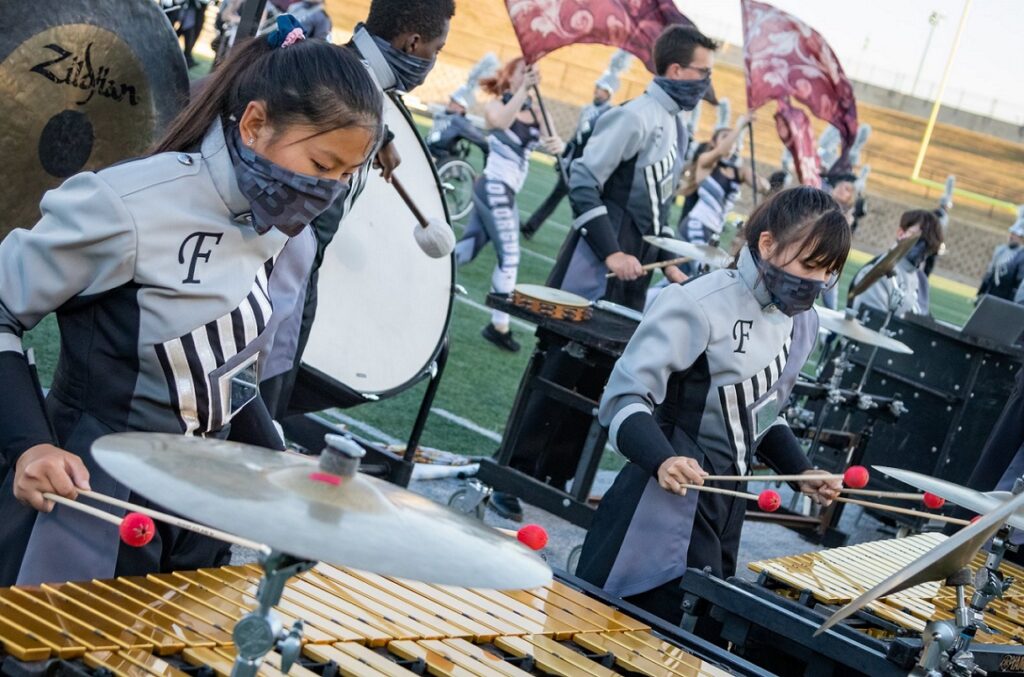
MATCHED GRIP VS. TRADITIONAL GRIP ON MARCHING SNARE DRUM
The conversation between matched and traditional grip in the marching percussion world has evolved dramatically over the last half-century. Historically, traditional grip dominated marching snare performance because of the tilted playing angle required by the sling-mounted drums of early drum corps and military bands. This setup made an underhand left-hand position not only logical but necessary for comfort and efficiency. Even after the introduction of modern harness systems, many ensembles retained traditional grip as part of their stylistic identity and visual heritage.
In more recent decades, matched grip has gained traction in the marching percussion community, particularly as drumlines began leveling their snare drum playing surfaces. With a flat drum angle, matched grip offers greater symmetry, balance and power, as both hands operate with identical mechanics. This can lead to improved endurance, dynamic range and consistency of sound — especially important in today’s high-velocity, high-demand competitive environments.
However, many performers and instructors still favor traditional grip for its refined visual aesthetic and distinct tactile sensitivity. The subtle rotational motion of the left hand can allow for nuanced rebound control and a more connected feel to the drum at softer dynamic levels. Additionally, for groups emphasizing tradition or seeking a specific stylistic flavor, traditional grip remains a powerful visual and cultural symbol.
Ultimately, the decision between matched and traditional grip in marching percussion often comes down to ensemble philosophy, individual comfort and visual identity. Some programs even teach both, ensuring players are versatile enough to adapt to any ensemble setup or artistic vision.
WHICH GRIP IS RIGHT FOR YOU?
Let’s face it — there are pros and cons associated with both traditional and matched grip. Each offers its own advantages depending on the musical context, physical setup and stylistic goals of the performer.
Matched grip provides clear benefits in terms of symmetry, ergonomic efficiency and transferability across all areas of percussion playing. It’s often easier for beginners to learn and allows seamless movement between concert percussion, marching battery, drum set and keyboards.
Traditional grip, on the other hand, connects players to the rich history of drumming and offers unique expressive possibilities — especially for styles that value finesse, articulation and visual presence. Its specialized mechanics reward players with enhanced control at low dynamics and a characteristic touch that can’t quite be replicated with matched grip.
No matter which path you choose, a complete all-around percussionist should develop a working understanding of both grips. Mastery of one should not preclude familiarity with the other. The modern percussion world values versatility, and the most successful players are those who can adapt to a wide range of musical and physical demands.
In short, the best grip is the one that allows you to produce your best sound comfortably, consistently and musically. The drumstick is merely an extension of your hand, and your technique should always serve your musical intent. Keep your mind open, your hands relaxed and your sound at the forefront of every technical decision you make.
Keep reading