Fix It: Clarinet Teaching Tips
The clarinet is the coolest and perhaps most versatile instrument in the band. It has an amazing 3.5-octave range, the greatest dynamic capabilities of any band instrument, and is used in many different genres of music from jazz to klezmer to classical.
But perhaps the most impressive and noteworthy fact is that Squidward Q. Tentacles (from SpongeBob SquarePants) plays the clarinet!
A well-intentioned band director may not always know the right thing to say to help clarinet players conquer their struggles. In this article, I have highlighted a few counterproductive approaches to common clarinet issues followed by a few tips and tricks to get the results you want.
How to Fix When Students Tighten Up Their Embouchures to Get the High Notes to Come Out
How to Fix When Students Blow More Air to Make Notes Resonate
How to Use “Ta” for Articulations
How to Fix When Students “Drop their Jaw” to Lower or Bend a Pitch
Fix It: When Students Tighten Up Their Embouchures to Get the High Notes to Come Out
 Perhaps this mistake stems from struggling to sing high notes, but many students and directors think that tightening or firming up the embouchure will help the high notes to respond. This is counterproductive because tightening up the embouchure often causes the student to put more upward pressure on the reed. This can result in the reed closing off, making the issue worse. We adjust the embouchure, specifically the firmness of the bottom lip, to control how clean or airy our tone is, but a tighter embouchure will not necessarily help with high note response.
To help your clarinet students with those high notes,
- Have students push up with their right thumb. For the high notes to respond, students must have enough mouthpiece in their mouths so the reed can fully vibrate the way it needs to for high notes to sound. One trick to get them to take in more mouthpiece is to tell them to push the instrument up into their mouths by pushing up with the right thumb.
- If the high notes respond but sound constricted, have students point their chin down to lessen the upward pressure against the reed. This allows the reed to vibrate more freely without constriction. In this way, students need to be more relaxed, not tighter.
Fix It: When Students Blow More Air to Make Notes Respond
Air is, of course, an essential part of producing and maintaining good pitch and tone. However, it is not the solution to all problems. Sure, beginners who are transitioning from recorders to the clarinet may need to be encouraged to use more air. If a student is using adequate air and the notes still will not respond, check the following things.
- Do students have enough mouthpiece in their mouths? To find out, ask them to push up with their right thumb or take in more mouthpiece. Once students make their way up to high G and above, if the notes will not respond and you can hear air, your students probably do not have enough mouthpiece in their mouths.
- Is the reed hard enough? Most students should start on a #2.5 reed. When students make their way up to high G and above, and the notes won’t respond and you do not hear air, then the reed is completely closing off. This is an issue that “more air” cannot fix. Move students up a half-size to a harder reed.
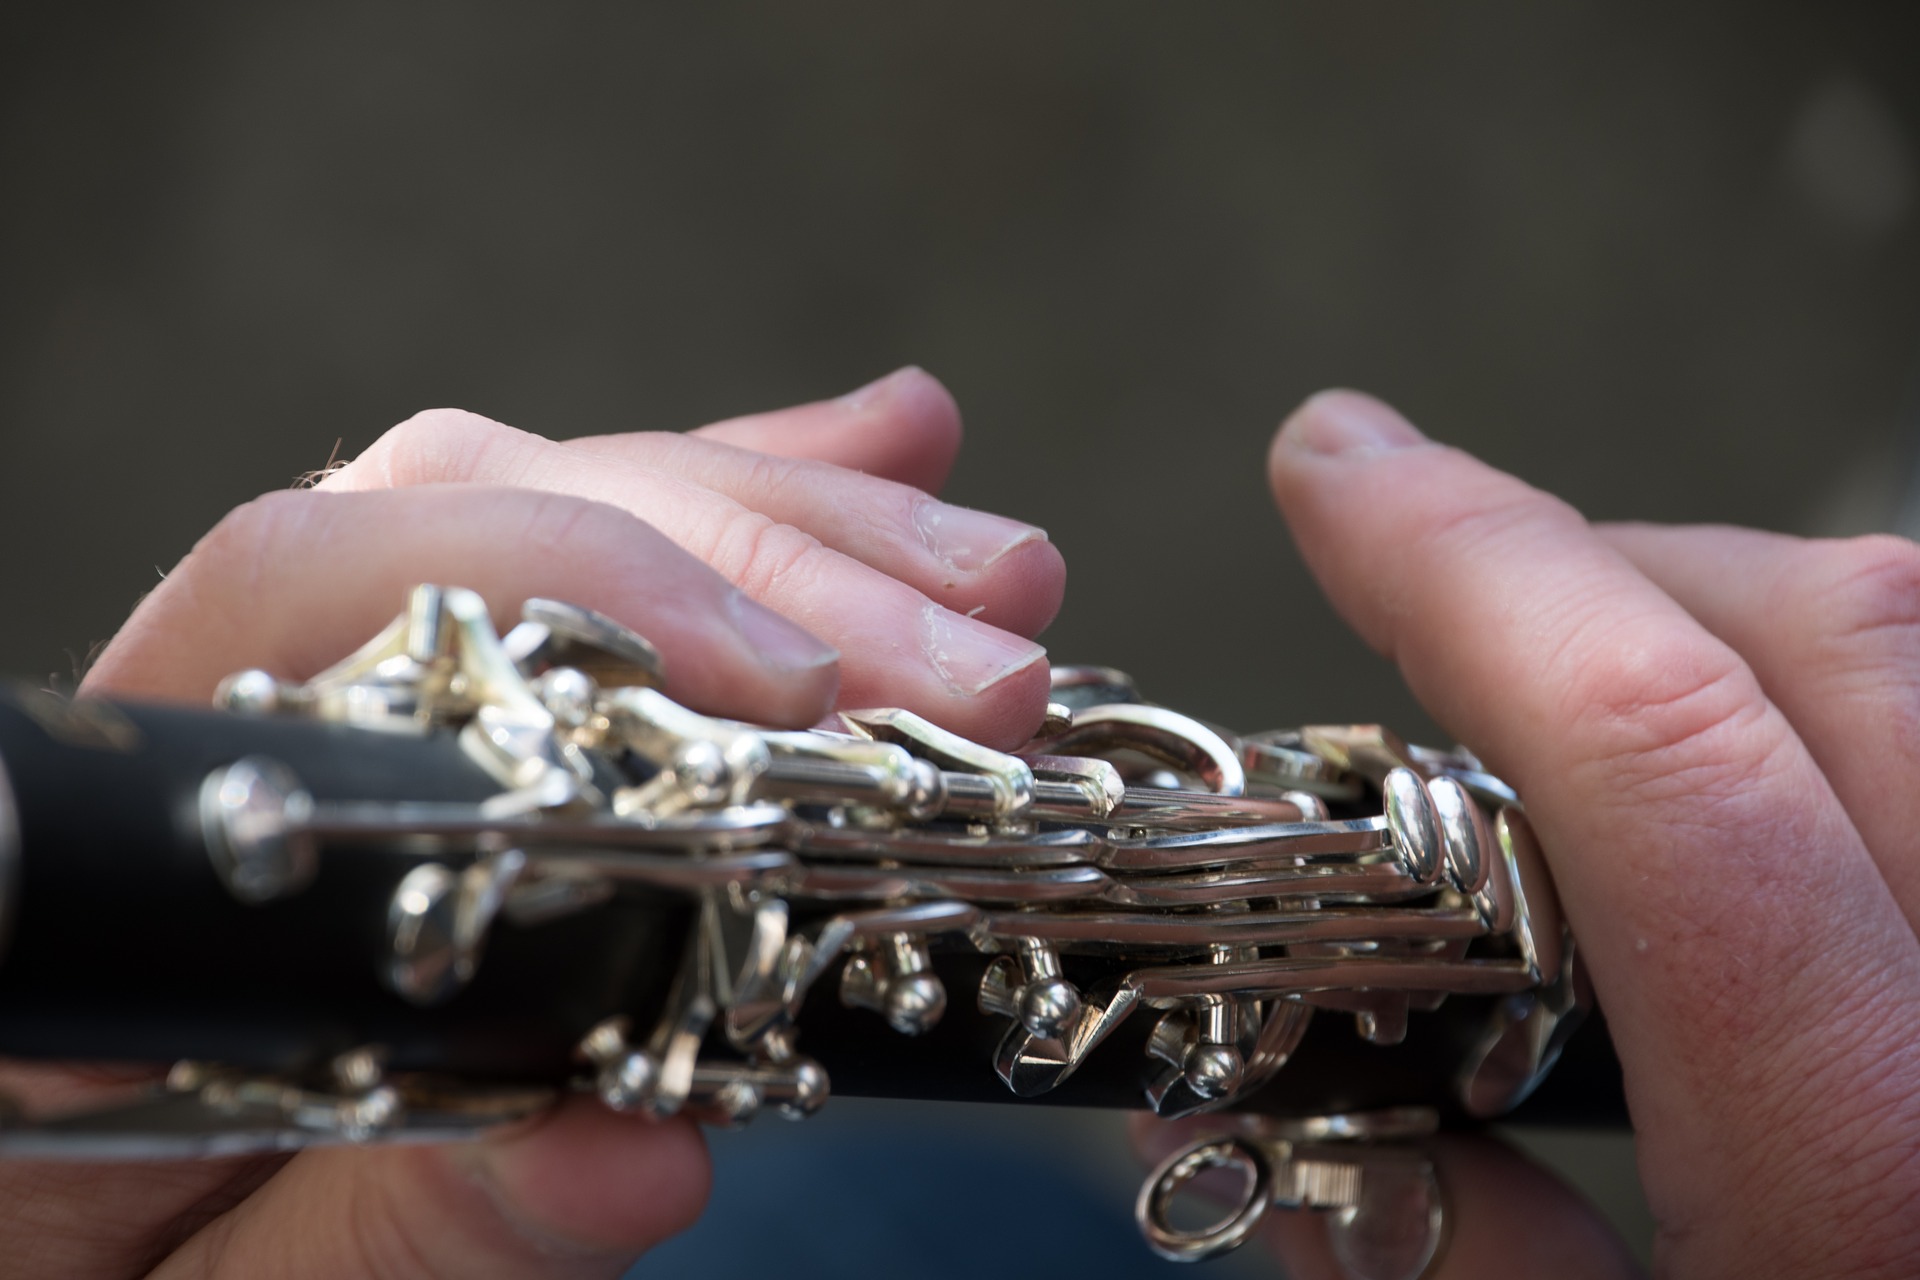 Look at students’ hands. Are they accidentally venting keys or not sealing all of the holes? Specifically, first look at their left hand and make sure they are not accidentally hitting their throat-tone Ab key. Then, make sure they are sealing their right-hand ring-finger hole. This is the biggest tone-hole on the clarinet and not sealing it is the most common issue for small-fingered students. Lastly, if the fingering requires left-pinky keys, check to make sure that the left-hand ring-finger is sealing the hole. Have the student stop, close their eyes, and put one finger down at a time all the way down the clarinet and ask them to feel the pads of their fingers completely covering each hole, then try again. This usually fixes the issue. Occasionally, a student with small fingers will curve their fingers into a C position, causing their fingers to not fully depress the key rings. Encourage students to curve their hand position like they are eating a burger, but to keep their fingertips flat over the keys and tone holes so that the pads of their fingers completely seal the holes and depress the key rings.
Fix It: Using “Ta” for Articulations
How we articulate affects so much of our playing. Which part of the tongue touches the reed (or doesn’t touch the reed, in some cases) directly impacts the tongue position, meaning what the middle and back of our tongue does. This affects pitch and overtones. How much of the tongue touches the reed determines how heavy or light our articulations sound. Which part of the tongue we use also impacts how fast we can articulate and the speed of the response of our high notes. For the most control and versatility, articulations should be produced with the tip of the tongue touching the reed.
- Say “ta.” Notice what specific part of your tongue touches the roof of your mouth when you say it. Now say “da.” Notice the difference? Also take note of how the shape of the middle of your tongue changes between these two syllables.
- When I want my students to use the very tip of their tongue, I tell them to use the “da” syllable to articulate. Tell students to think about using the one cell on the very tip of their tongue to touch the reed.
- For staccato, we touch the reed at the tip and hold the tongue on the reed in between notes. But the air continues to flow even when the tongue is on the reed. For legato, we lightly touch the reed slightly below the tip. For both techniques, use the “da” articulation syllable. For a more staccatissimo style, use a “dut-dut-dut-dut” syllable.
Fix It: When Students “Drop Their Jaw” to Lower or Bend a Pitch
Many students mistakenly believe that in order to make the pitch go down, they need to make their jaw go down. Unfortunately, dropping the jaw does not really affect pitch on the clarinet. Instead, when students drop their jaw to lower or bend a pitch, the note quickly stops responding.
- Tongue position affects pitch on the clarinet. This is because the tongue position focuses the airstream, much in the same way that we control the pitch with our tongue when we whistle. More specifically, the closer the middle of the tongue gets to the reed, the lower the pitch drops. This is how we bend the pitch without losing the response of the note or sacrificing tone.
- This is also the same technique we use for glissando, which is controlled 75% by the tongue and 25% by the fingers. The middle of the tongue grabs the air right in front of the reed and slowly returns to the normal resting position (usually “oh” for high notes, “ee” for low notes). Conversely, to fall from a note, such as in jazz, play the written note first, then quickly finger a descending chromatic scale while decrescendo-ing. Falls are typically accomplished this way rather than by bending the pitch down with the tongue and are almost never accomplished with jaw movement.
 Troubleshooting
The clarinet often seems counterintuitive. If the above tricks do not work to solve these clarinet problems, have your students experiment and work together to find a solution. There will always be that one kid who is doing something differently than everyone else, and part of the fun is figuring out how to help him or her. One of my former students used to articulate with her tongue on her lip. It sounded light and fine until she got into her altissimo register. I could not figure out what she was doing until I saw her tongue peeking out of the corner of her mouth when it touched her lip.
If you cannot figure out what a student is doing, pick up a clarinet and try to imitate the sound they are making. Once you can do what they are doing, come up with baby steps to transition the student from what they are doing to what they should be doing.
If you would like to access more clarinet or jazz specific resources, including activities to try with your students that address the above problems, please visit www.shawngoodmanjazz.com and click on the “educational resources” tab. There, you will find handouts, videos, PowerPoints and more. Please reach out to me on Facebook (Shawn Goodman Jazz) and let me know if any of these techniques worked for you or to let me know if you have another tricky issue to solve.
Good luck, educators. Thank you for all that you do!
Keep reading