Instrument Repairs, Hacks and Fixes
Try these common techniques, alternative approaches and money-saving tips to deal with instrument repairs.
We’ve all encountered this scenario: The baton is up, the group is ready to play, the downbeat almost hits the air, and then a hand goes up. You respond, “Yes?” A student says, “My instrument isn’t working.”
You spend the next 10 minutes trying to figure out what’s wrong. Then the rest of the group comes back into focus and you finally say, “We’ll have to send this to the shop. See if there’s another instrument somewhere or just finger along.”
Instrument repairs can be costly in both time and money. Surprises like the situation above can derail an entire rehearsal. Here are some common techniques, alternative approaches and money-saving tips to deal with instrument issues.
Understanding Your Options
If an instrument is repairable, you have two options: 1) fix it yourself or 2) send it in for repair. There are pros and cons to both approaches.
If you fix it, the instrument will get back in the student’s hands quicker. It will also cost less than paying for the repair in the shop.
However, most music teachers do not have access to the vast array of tools that an instrument repair technician might have, nor do most music teachers have the trade experience.
When Should I Not Repair an Instrument?
You Don’t Have the Right Tool: Nothing is more frustrating than trying to fit a square peg in a round hole. I love the sense of accomplishment when I successfully “MacGyver” something, but I also have to realize when sunk-cost fallacy comes into play. Sometimes, if you don’t have the proper tool to fix something, the answer is simply “no.” Send it to the shop.
A related scenario is that you have the right tool, but someone else might have a better tool. I can change the oil in my car at home, but it involves quite a bit of work, plus I have to carve out time to properly dispose of the oil. Or, I can pay the local mechanic to do it in about 20 to 30 minutes. If I have the funds, I almost always choose the time-saving option.
I would be remiss if I didn’t mention super glue. Avoid using super glue at all costs. There are quite a few reasons why, but the most important is safety. Repair technicians often operate with flames to repair some instruments. Super glue + flame = noxious fumes.
You Might Make it Worse: I’ll work on students’ personal instruments, but only to a certain point. Once I get into uncharted territory, or I have to use anything that resembles force, I’m out. For school-owned instruments, I’ll work a little further.
Stripping screws are my most common mistake. Once I’ve stripped a screw, it requires much more time and sometimes a specialized tool to extract it. I’ve learned to know when to give up on these instances.
You’ve Never Done the Repair Before: If you’re confident in your skills and it seems like a no-risk or low-risk repair, consider going for it. However, if it’s something you’ve never done before or you’re not sure how the repair might turn out, you can either send the instrument to the shop or you can practice. I have practiced some minor repairs on decommissioned instruments in the past. Practicing gave me confidence and experience to tackle the repair on a functional (well, almost functional) instrument.
The Cost of Your Time
It seems like things always take at least three times longer and twice the amount of money to complete than you expect. I’ve had instances where sending an instrument to the shop would have made much more sense, but I’m a fixer, and I will spend hours on a minor repair — especially since I’ve already spent two hours on it.
At this point, it’s OK to abandon the repair and send it in. Think about all the things you’ve said “no” to during these two hours.
THE YAMAHA EDUCATOR NEWSLETTER: Join to receive a round-up of our latest articles and programs!
Essential “Tools”
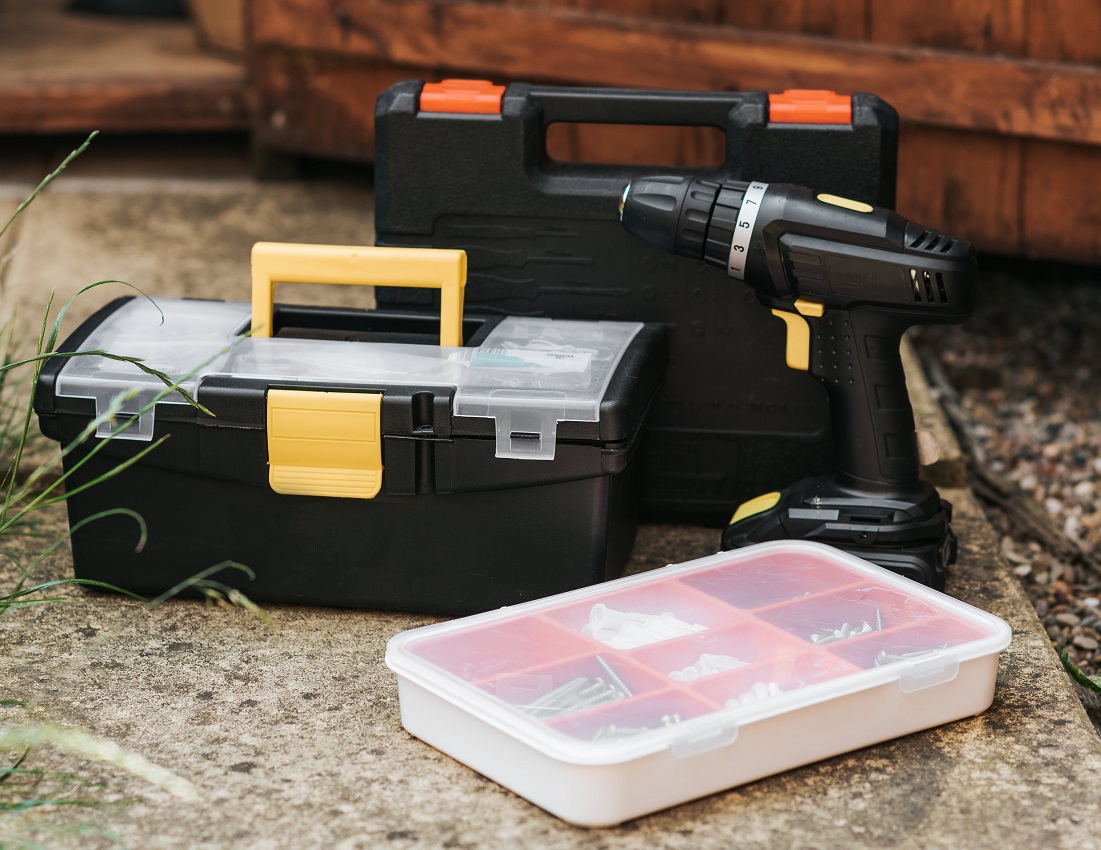
Once you’ve determined that you’re going to attempt a repair, what tools do you need? I’ve had the most success when I buy an instrument repair kit from music dealers. They can be costly, but they include most items you will need for essential to intermediate repairs. Listed below are a few other things to add to your repair toolbox.
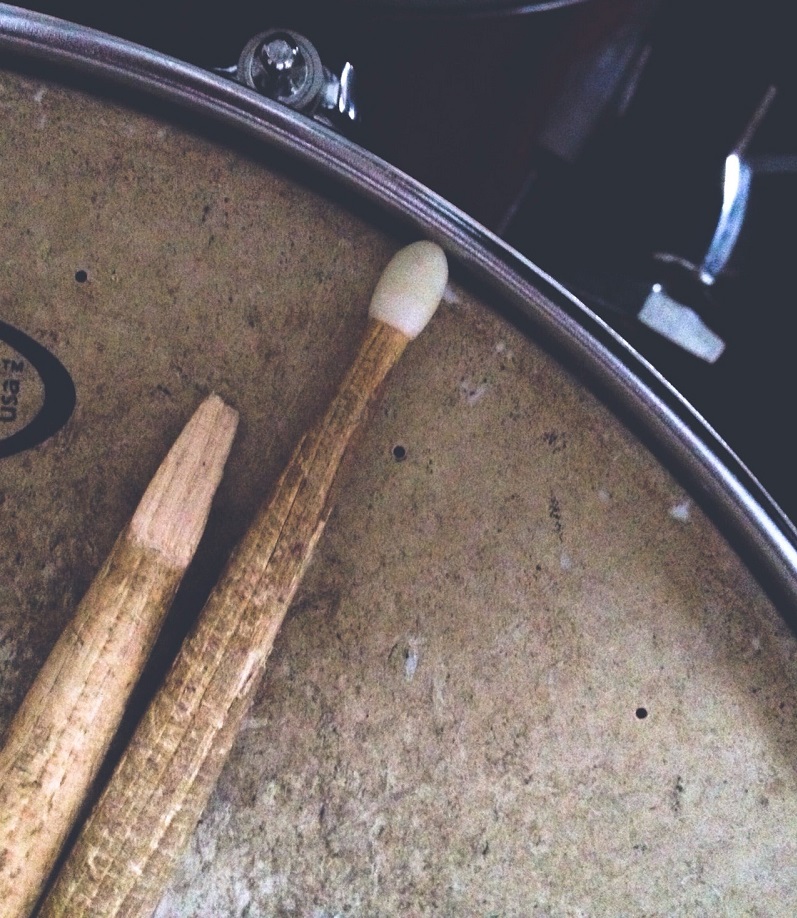
 Broken/Old Drumsticks: I’ve used these for everything from removing stuck slides to rolling out small dents on a brass instrument. Sand down any rough edges before using.
Contact Cement: One of the most common repairs is cork replacements on clarinet and saxophone necks. Have a small supply of contact cement and corks on hand so you can tackle these repairs on your own, which saves money and time. Make sure to complete these repairs in a well-ventilated area or you may see visions of musicians from the past!
Pantyhose: You can save so much money on timpani mallets by using pantyhose. This tip comes from Kevin Lepper, former director of percussion at VanderCook College of Music. Cut stockings to size and place them over the head of the timpani mallet and secure them with a rubber band. Pantyhose eliminates the static electricity that pulls the material away from the mallet head and makes the head last for as long as the pantyhose does. Plus, you get to send out an email to your band parents with the subject line “Pantyhose Needed” — an unforgettable experience!
Spring Hook/Crochet Needle: Needle spring adjustments are extremely common on woodwind instruments. Buy a spring hook or a small crochet needle to make quick adjustments.
 Eyeglass Screwdrivers: A set of small screwdrivers are always helpful in a pinch. I also have some longer screwdrivers on hand, which can help to loosen some stuck screws. Warning: Don’t force screws too much because a stripped head is a more significant repair.
Plastic Drinking Straws: This quick fix was a particularly fun one. We were at a festival, and the snare strainer broke. A percussionist and I went to the concession area to get a few plastic straws. We put these in place, screwed the bracket over them, cut off the excess and were able to get through the performance. The drinking straw repair is a good temporary fix until you can repair the instrument.
Instrument Graveyard
My band program is 110 years old. We have an inventory of some old, beautiful, classic instruments. We also have some junk. Ask for student volunteers to strip down out-of-commission clarinets and saxophones for parts. These extra screws and springs come in handy for some minor repairs. We’ve also salvaged some third valve slide trumpet rings, brass valve guides, water key springs and similar items.
Some Additional Tips
Ask Your Parents/Custodians/Community Members to Contribute: Many community members are willing to donate to your cause, especially if you are specific with your wants and needs. Consider sending a call out for materials. Here’s a sample script:
Dear Community Member:
 Would you consider donating to our program if you have any of the items below in your garage, basement or workroom?
-
-
-
- Toolbox/tacklebox
- Plastic organizers
- Eyeglass screwdrivers
- Needle-nose pliers
- Rawhide hammer
- Sandpaper/nail files
-
-
We would love to recognize you in our program for our next concert if you can donate. Please get in touch with me to discuss this further.
Hire an Hourly Repair Person: Talk to your instrument supply company and see if they have a repair tech who would be willing to come to your school for a few hours to do some repairs. We have hired a repair tech to come to our school for three to four hours at a negotiated hourly rate. A significant number of instruments were repaired and students were able to watch the repair tech work.
 Explore Other Options
Here’s a final tip for those of you who may not have enough money in your budget to afford costly repairs. Talk to your administration to explore other repair accounts in the school, such as a building repair budget. Some of these funds are available to repair capital outlay assets (think large items that cost at least $500 or more, although this may vary by school).
Finances are certainly a decision your administration must make, but you can always provide information that proves that instrument repairs fit the bill. An $1,800 student string bass that is property of the school could qualify as a capital asset, allowing other budgets to cover the repair cost legally.
What other instrument repair tips or hacks do you have? Send them to educators@yamaha.com.


