How to Make Your Acoustic Guitar Easier to Play
Five easy steps to improve playability.
On a recent vacation in Bali, the manager of the resort I was staying at surprised me one night by asking if I would perform a few songs, impromptu, for the guests at the beach restaurant.
The resident performer handed me his guitar. I sat down, adjusted the microphone height, and got ready to launch into a few of my favorite tunes … and then it dawned on me that the strings were unplayably high up off the fretboard (some were rusty too) and the intonation was way off, yet I was now obligated to perform for everyone.
In these scenarios, all you can do is figure out a way to simplify chord voicings, shorten the song length, and smile through the pain and dissonance. There are also times when you inherit a guitar from a friend or relative, find one at a pawn shop, or play a brand new one that just isn’t set up the way you’d like it to be.
In this posting, I’ll tell you about some simple adjustments that can make any acoustic guitar really nice to play. A couple of caveats, though:
- These steps have to be taken ahead of time. There’s really nothing you can do in the short term to remedy rusty strings, high string action or a less than optimal neck; and
- If in doubt as to your fix-it abilities, I strongly suggest having any work undertaken by a professional luthier.
1. Adjust the Action
A guitar action refers to how close the strings are to the fretboard. If the action is too high, it may take an inordinate amount of effort to press the strings down, thus making the instrument virtually unplayable — especially if you’re a relative newcomer and have not yet developed sufficient hand muscle strength. If it’s too low, some notes may buzz or may not ring out correctly. The optimum is somewhere in the middle, though some players (especially beginners) prefer that the action be set as low as possible.
If the action seems off, start by looking down the neck from the headstock to the bridge saddle on both the bass side (i.e., where the low E string is) and treble side (high E string) of the neck. Luthiers call this sighting the neck.
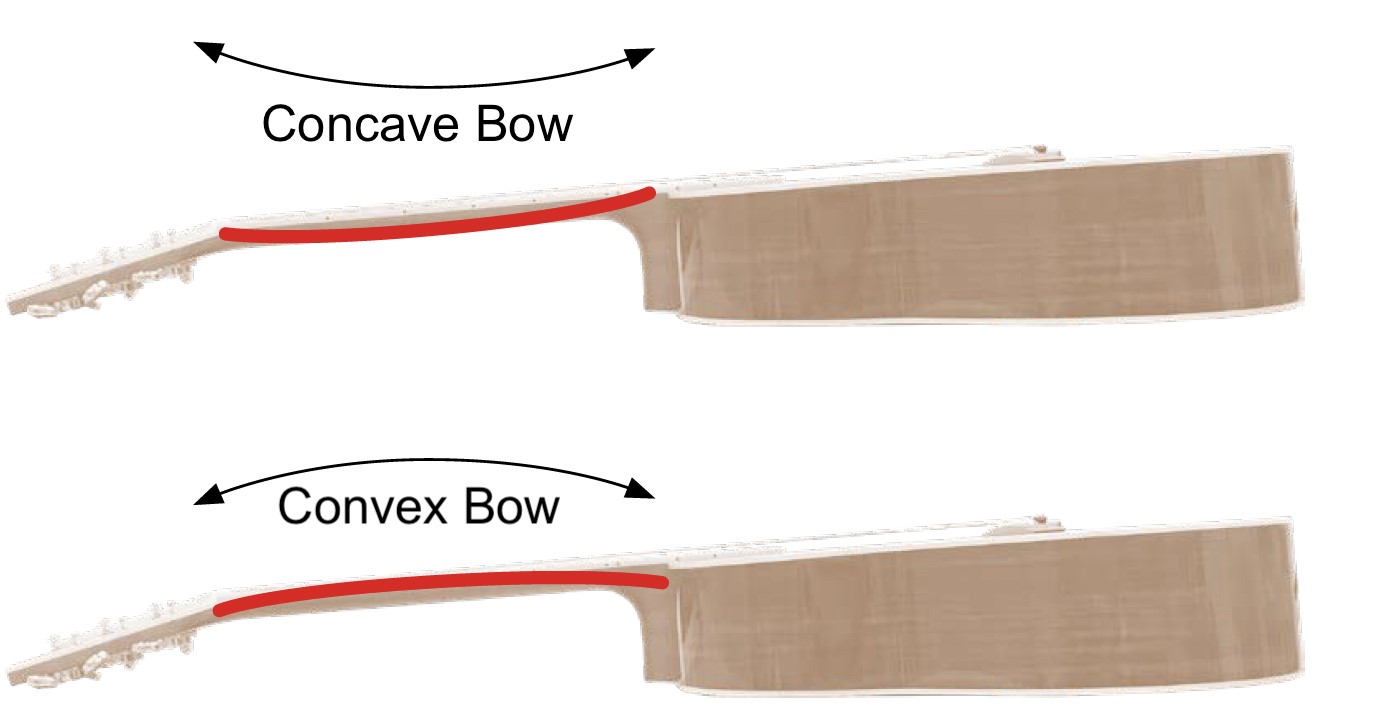
Check to see how much space (“neck relief”) there is between the strings and the fretboard. Ideally, the neck will be relatively straight, with a tiny amount of concave relief. This will allow the strings to be fretted everywhere along the fretboard without buzzing. Place a capo at the first fret, then place your first finger on the sixth string (low E) past the last fret. With your other hand, tap the middle of the string to see if there is a small space between the bottom of the string and the tenth fret. This will determine if there is enough concave relief on the neck to allow the strings to vibrate freely.
If, however, you see a large concave bow away from the middle of the strings, there’s too much relief and you’ll have to add tension on the neck to alleviate the problem. If the bow is convex and touches the strings, you’ll need to relieve tension on the neck so the strings won’t buzz and rattle against the fretboard.
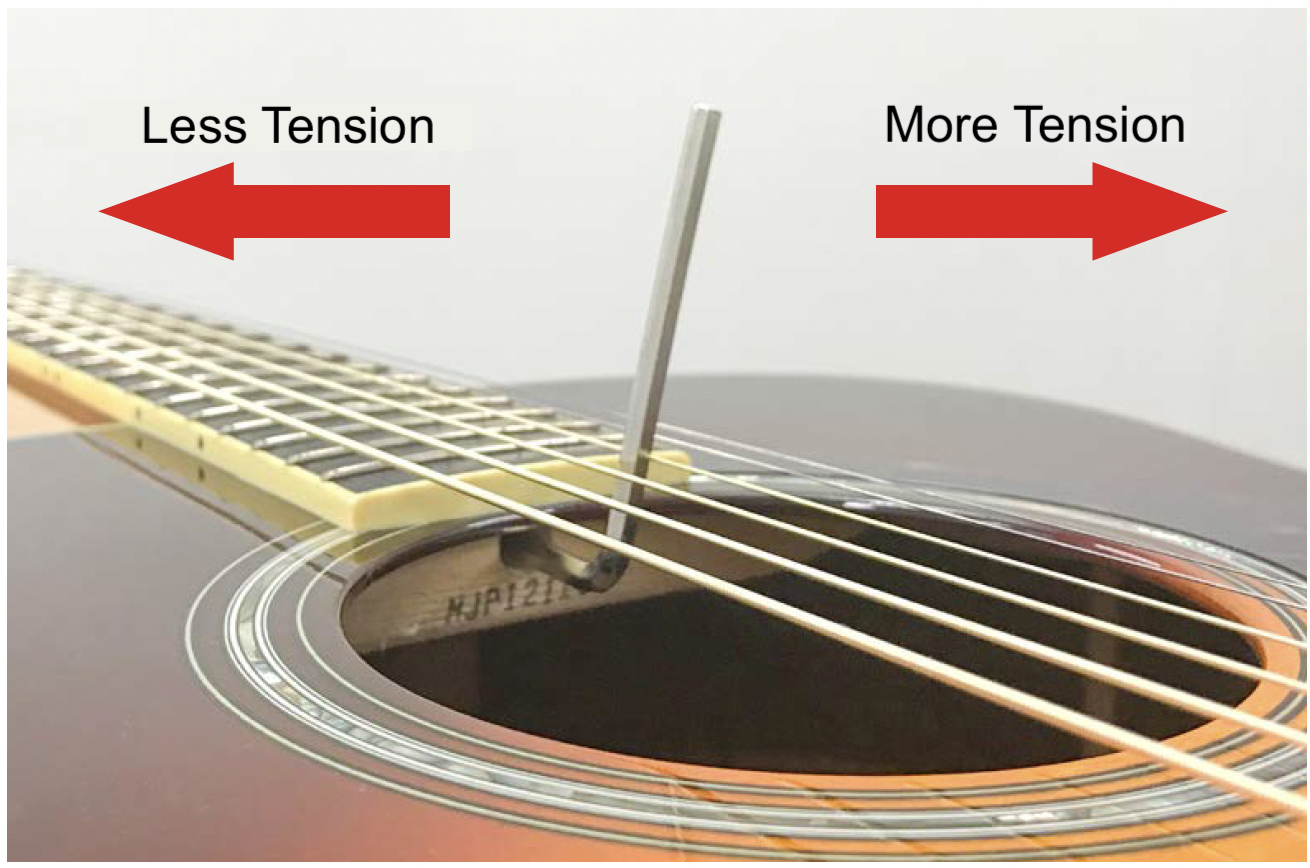
These adjustments are made by adjusting the guitar’s truss rod, a metal rod that runs inside the entire length of the neck and fretboard. Depending upon the model of acoustic guitar, Allen key truss rod adjusters are located either inside the sound hole, at the headstock under the plastic cover plate above the nut, or less commonly, at the heel of the neck.
Turning the truss rod clockwise will straighten a concave bow by adding more tension to the neck, while turning the truss rod counter-clockwise will relieve a convex bow and reduce tension. Note that these adjustments have to be made very slowly, no more than a quarter turn at a time, or you risk doing permanent damage to the guitar neck. Again, if in doubt, give this task to a qualified luthier.
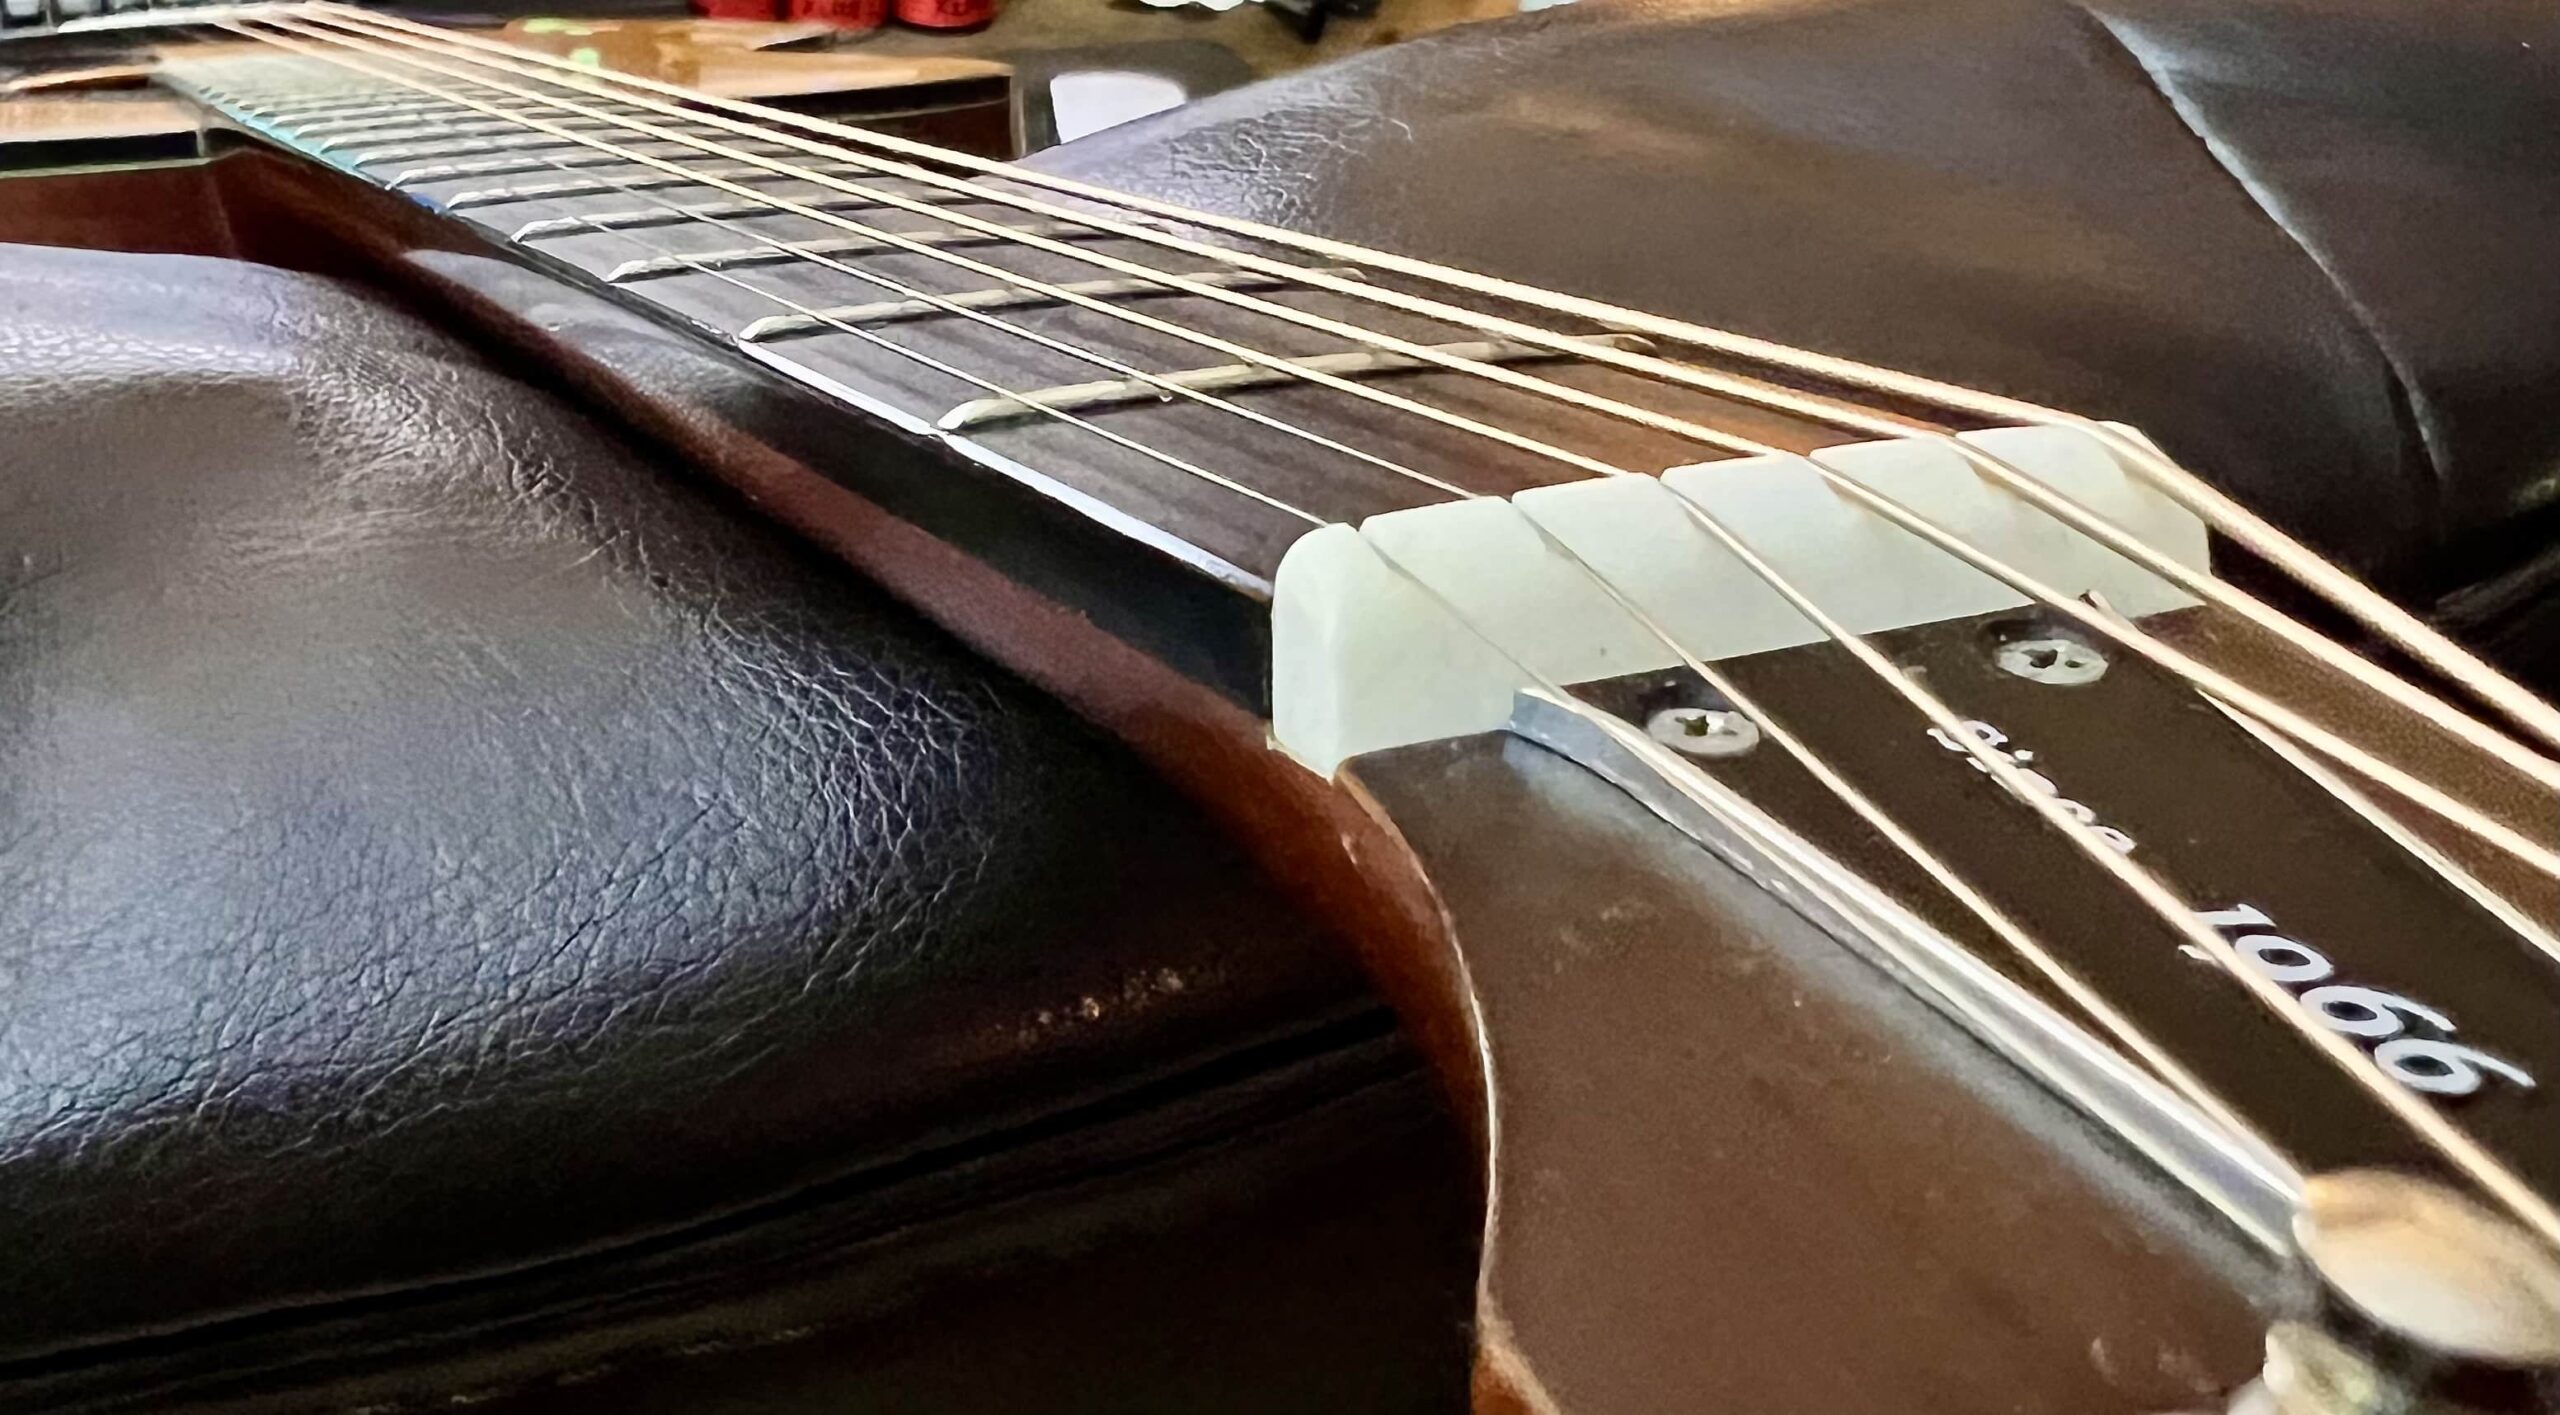
2. Adjust the String Height
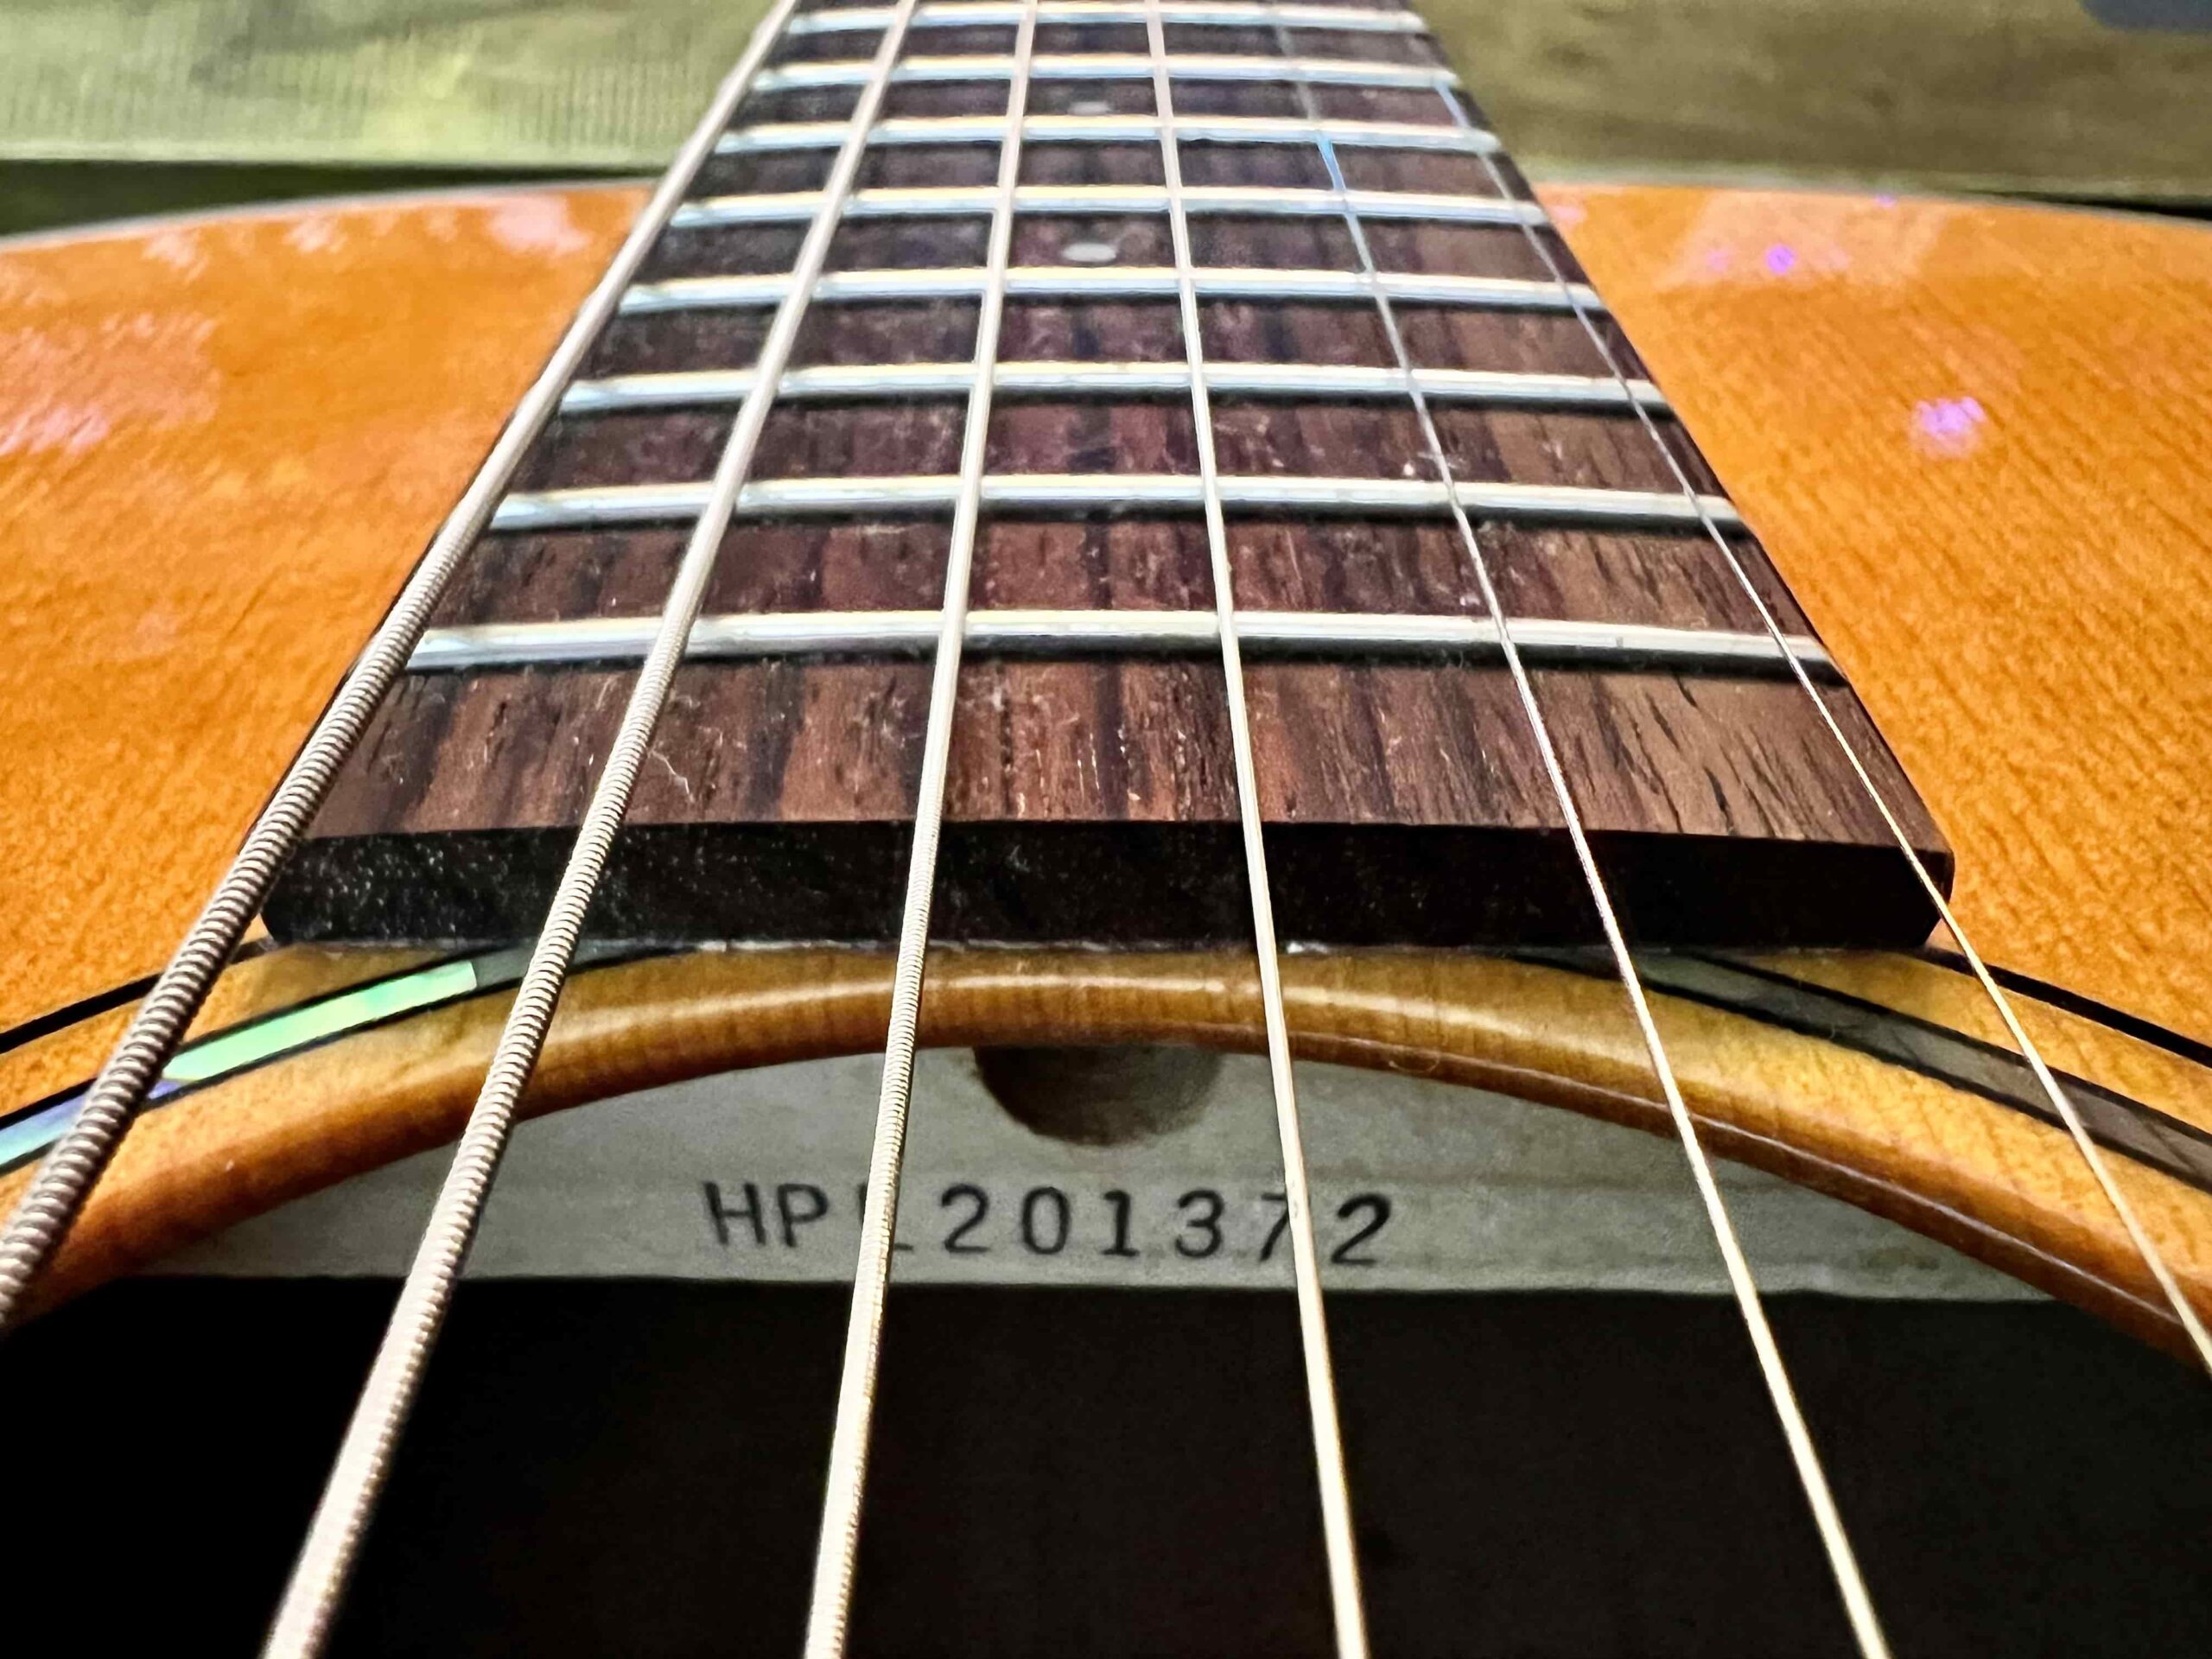
Even if the neck is straight, the strings might be too high. Ideally there should be just enough space between the strings and fret wires to slip a regular business card between them without sticking.
Guitar nut slots are sometimes cut to allow for rattle-free fretting of chords in open position, but in my experience, this can make the action too high. If necessary, a luthier can re-cut the nut to adjust string action. (This is not a do-it-yourself job!)
It’s not uncommon for the string action at the bridge to be set too high for most players. Of course, this depends on your hand strength, playing dynamic, the thickness of the string gauge and the type of music you play. (Bluegrass players, for example, often prefer higher actions.)
The good news is that the bridge saddle simply comes out of the bridge housing slot, enabling a luthier to sand the underside of the bridge, reducing its height until a desirable playing action is obtained. The bridge saddle string slots can also be re-cut to accommodate larger string gauges. (Again, these are not do-it-yourself jobs.)
If you are reducing the string gauge (see below), sometimes a new saddle or nut blank can be cut to replace the existing saddle and nut.
3. Put on Lighter Strings
It’s true that heavier strings (i.e., those with larger gauges) will give you more volume, and subjectively, better tone. That said, I have found that the string gauges used on most acoustic guitars (usually 12-53 or 13-56 gauge) are way too heavy for beginners or finesse-based players. Lighter-gauge strings will also have a lower tension to them and often allow you to set your playing action a little lower.
I want to play my guitars, not fight them, so I choose lighter-gauge strings for my acoustic guitars. Personally, I like 11-52 gauge phosphor bronze strings. I think choosing ease of playability over volume and tone is the best way to go … at least to begin with.
4. Adjust the Intonation
Intonation refers to the accuracy of tuning across all strings at all frets. A well-manufactured acoustic guitar should have perfect (or at least good) intonation right out of the box.
However, if you’ve changed string gauges as suggested above, you may find that the nut and saddle slots need to be cut in order to compensate for any intonation discrepancies. Again, this is a job for a luthier.
You should make a point of telling the luthier what string gauge you’d prefer prior to any work being done. That way, they’ll adjust everything based on the string gauge, nut and saddle heights you prefer. I even tell my luthier how gently I play the guitar and ask them to set everything up to accommodate my light playing touch.
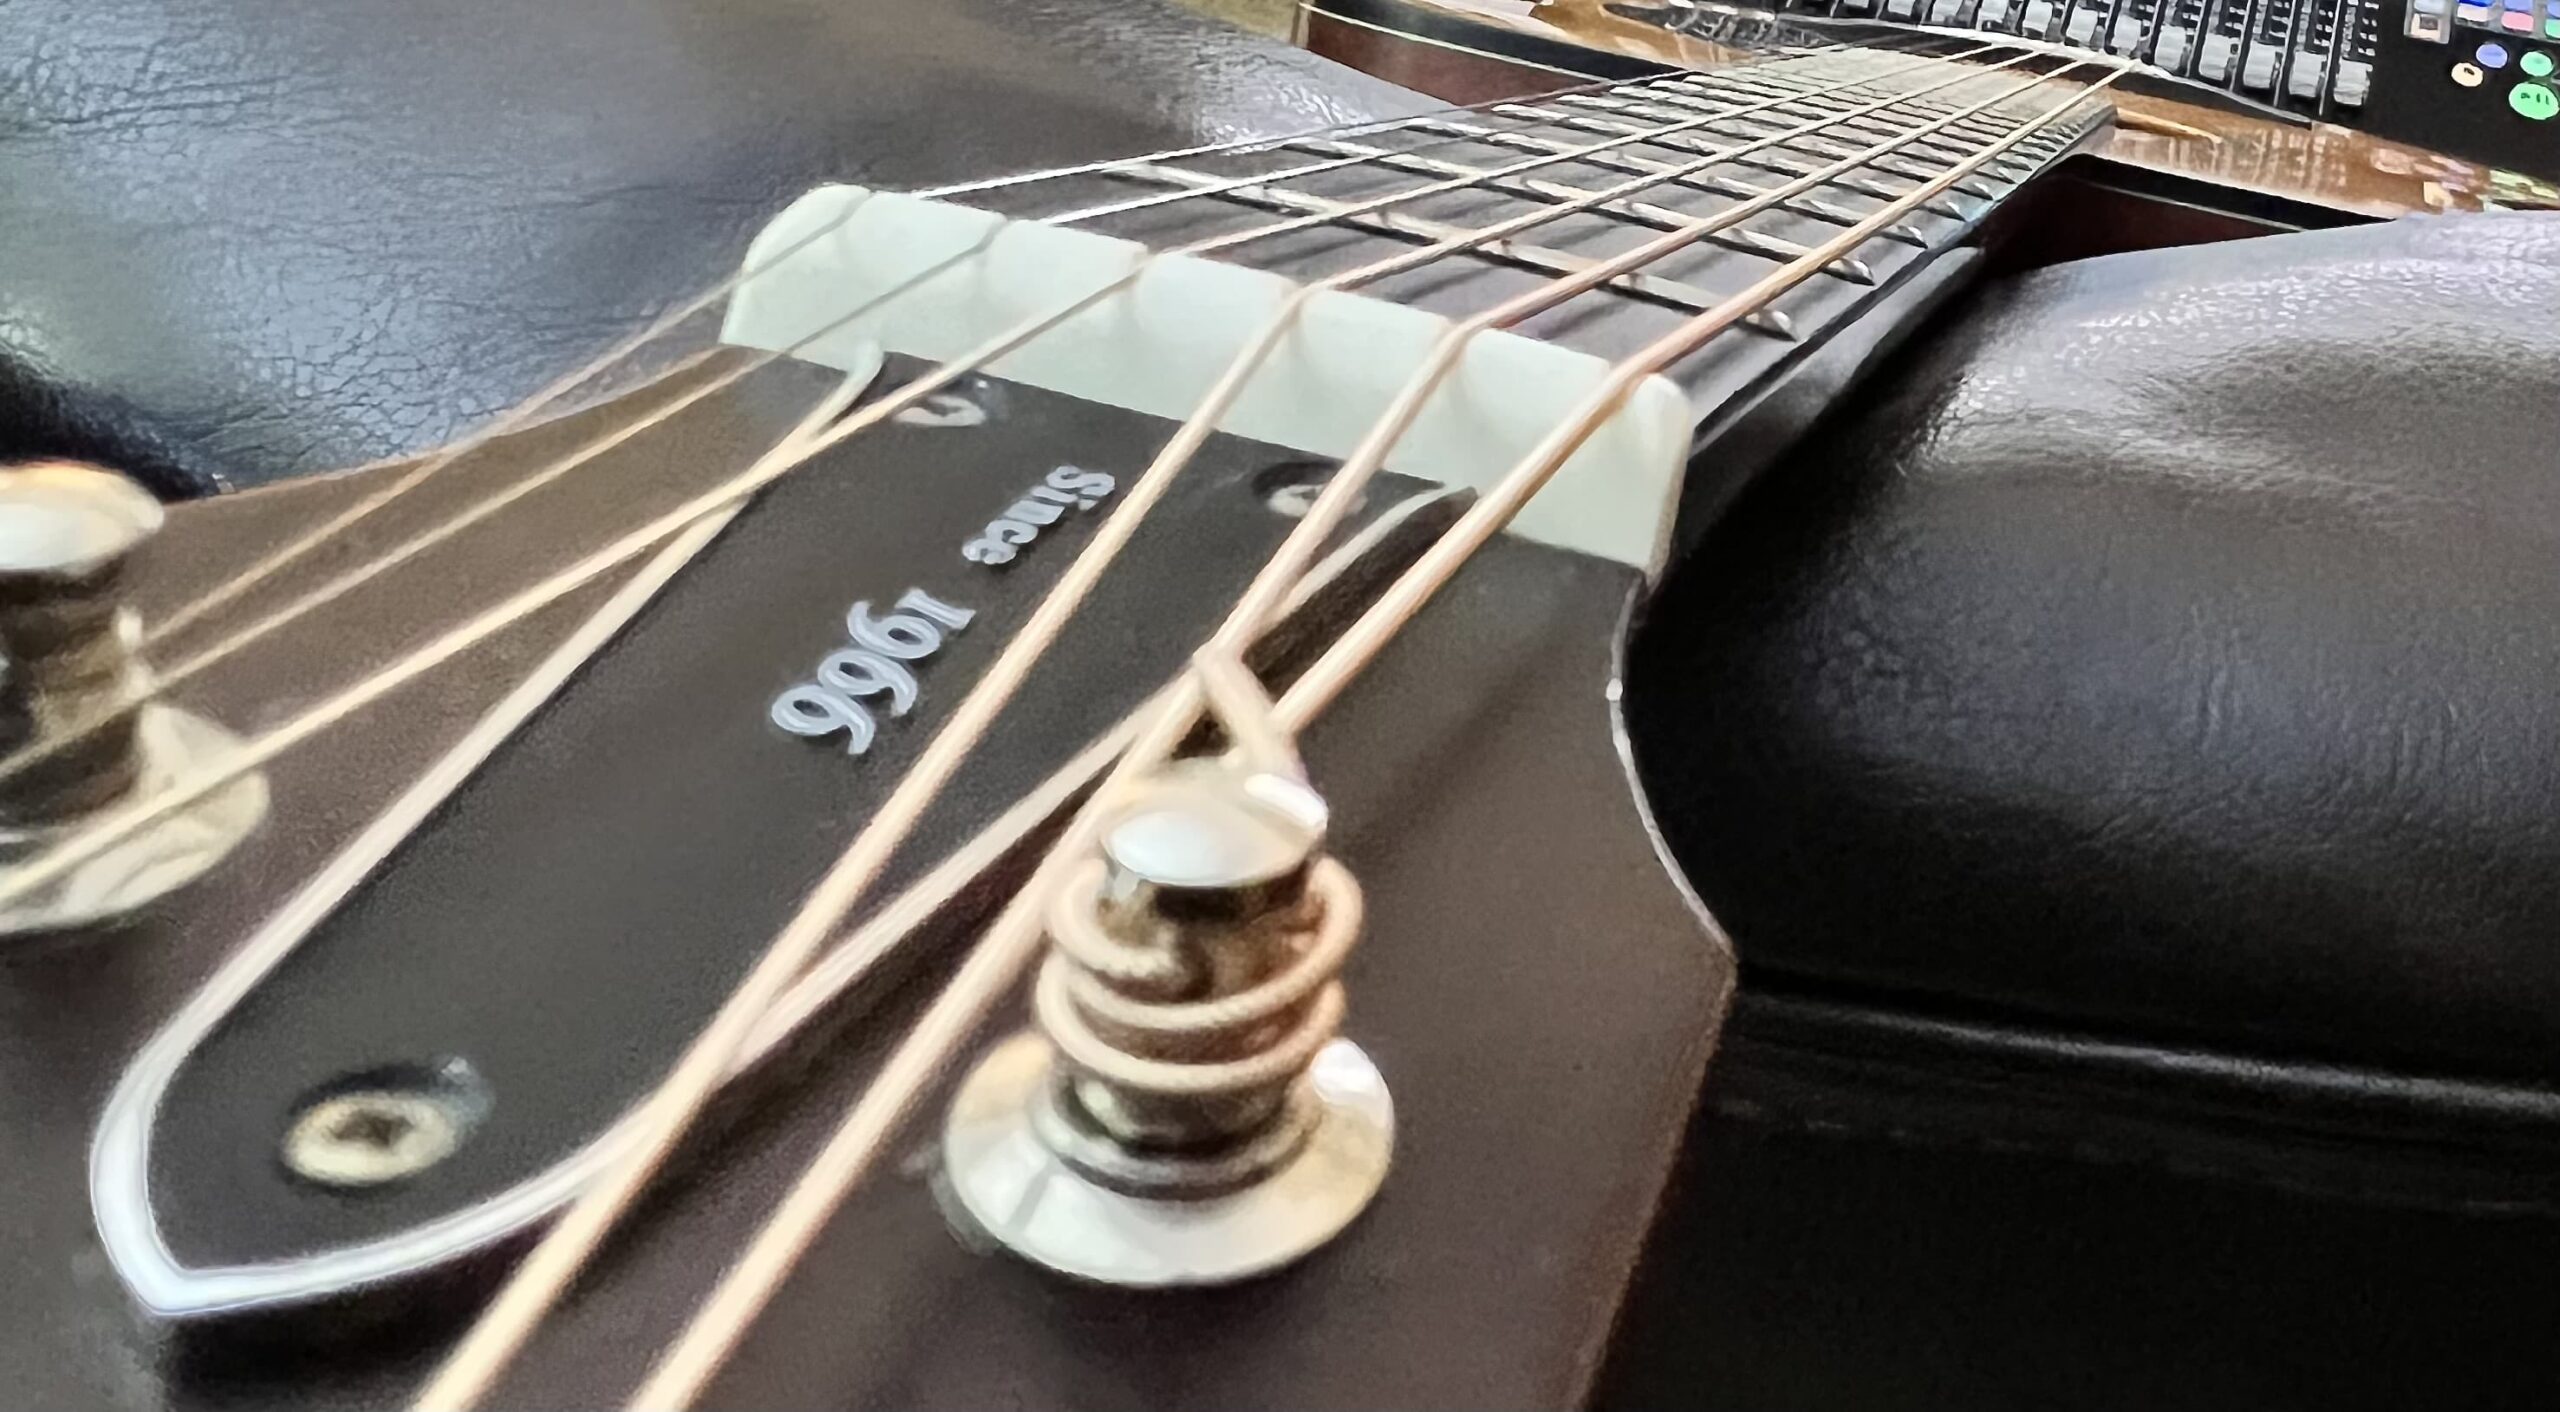
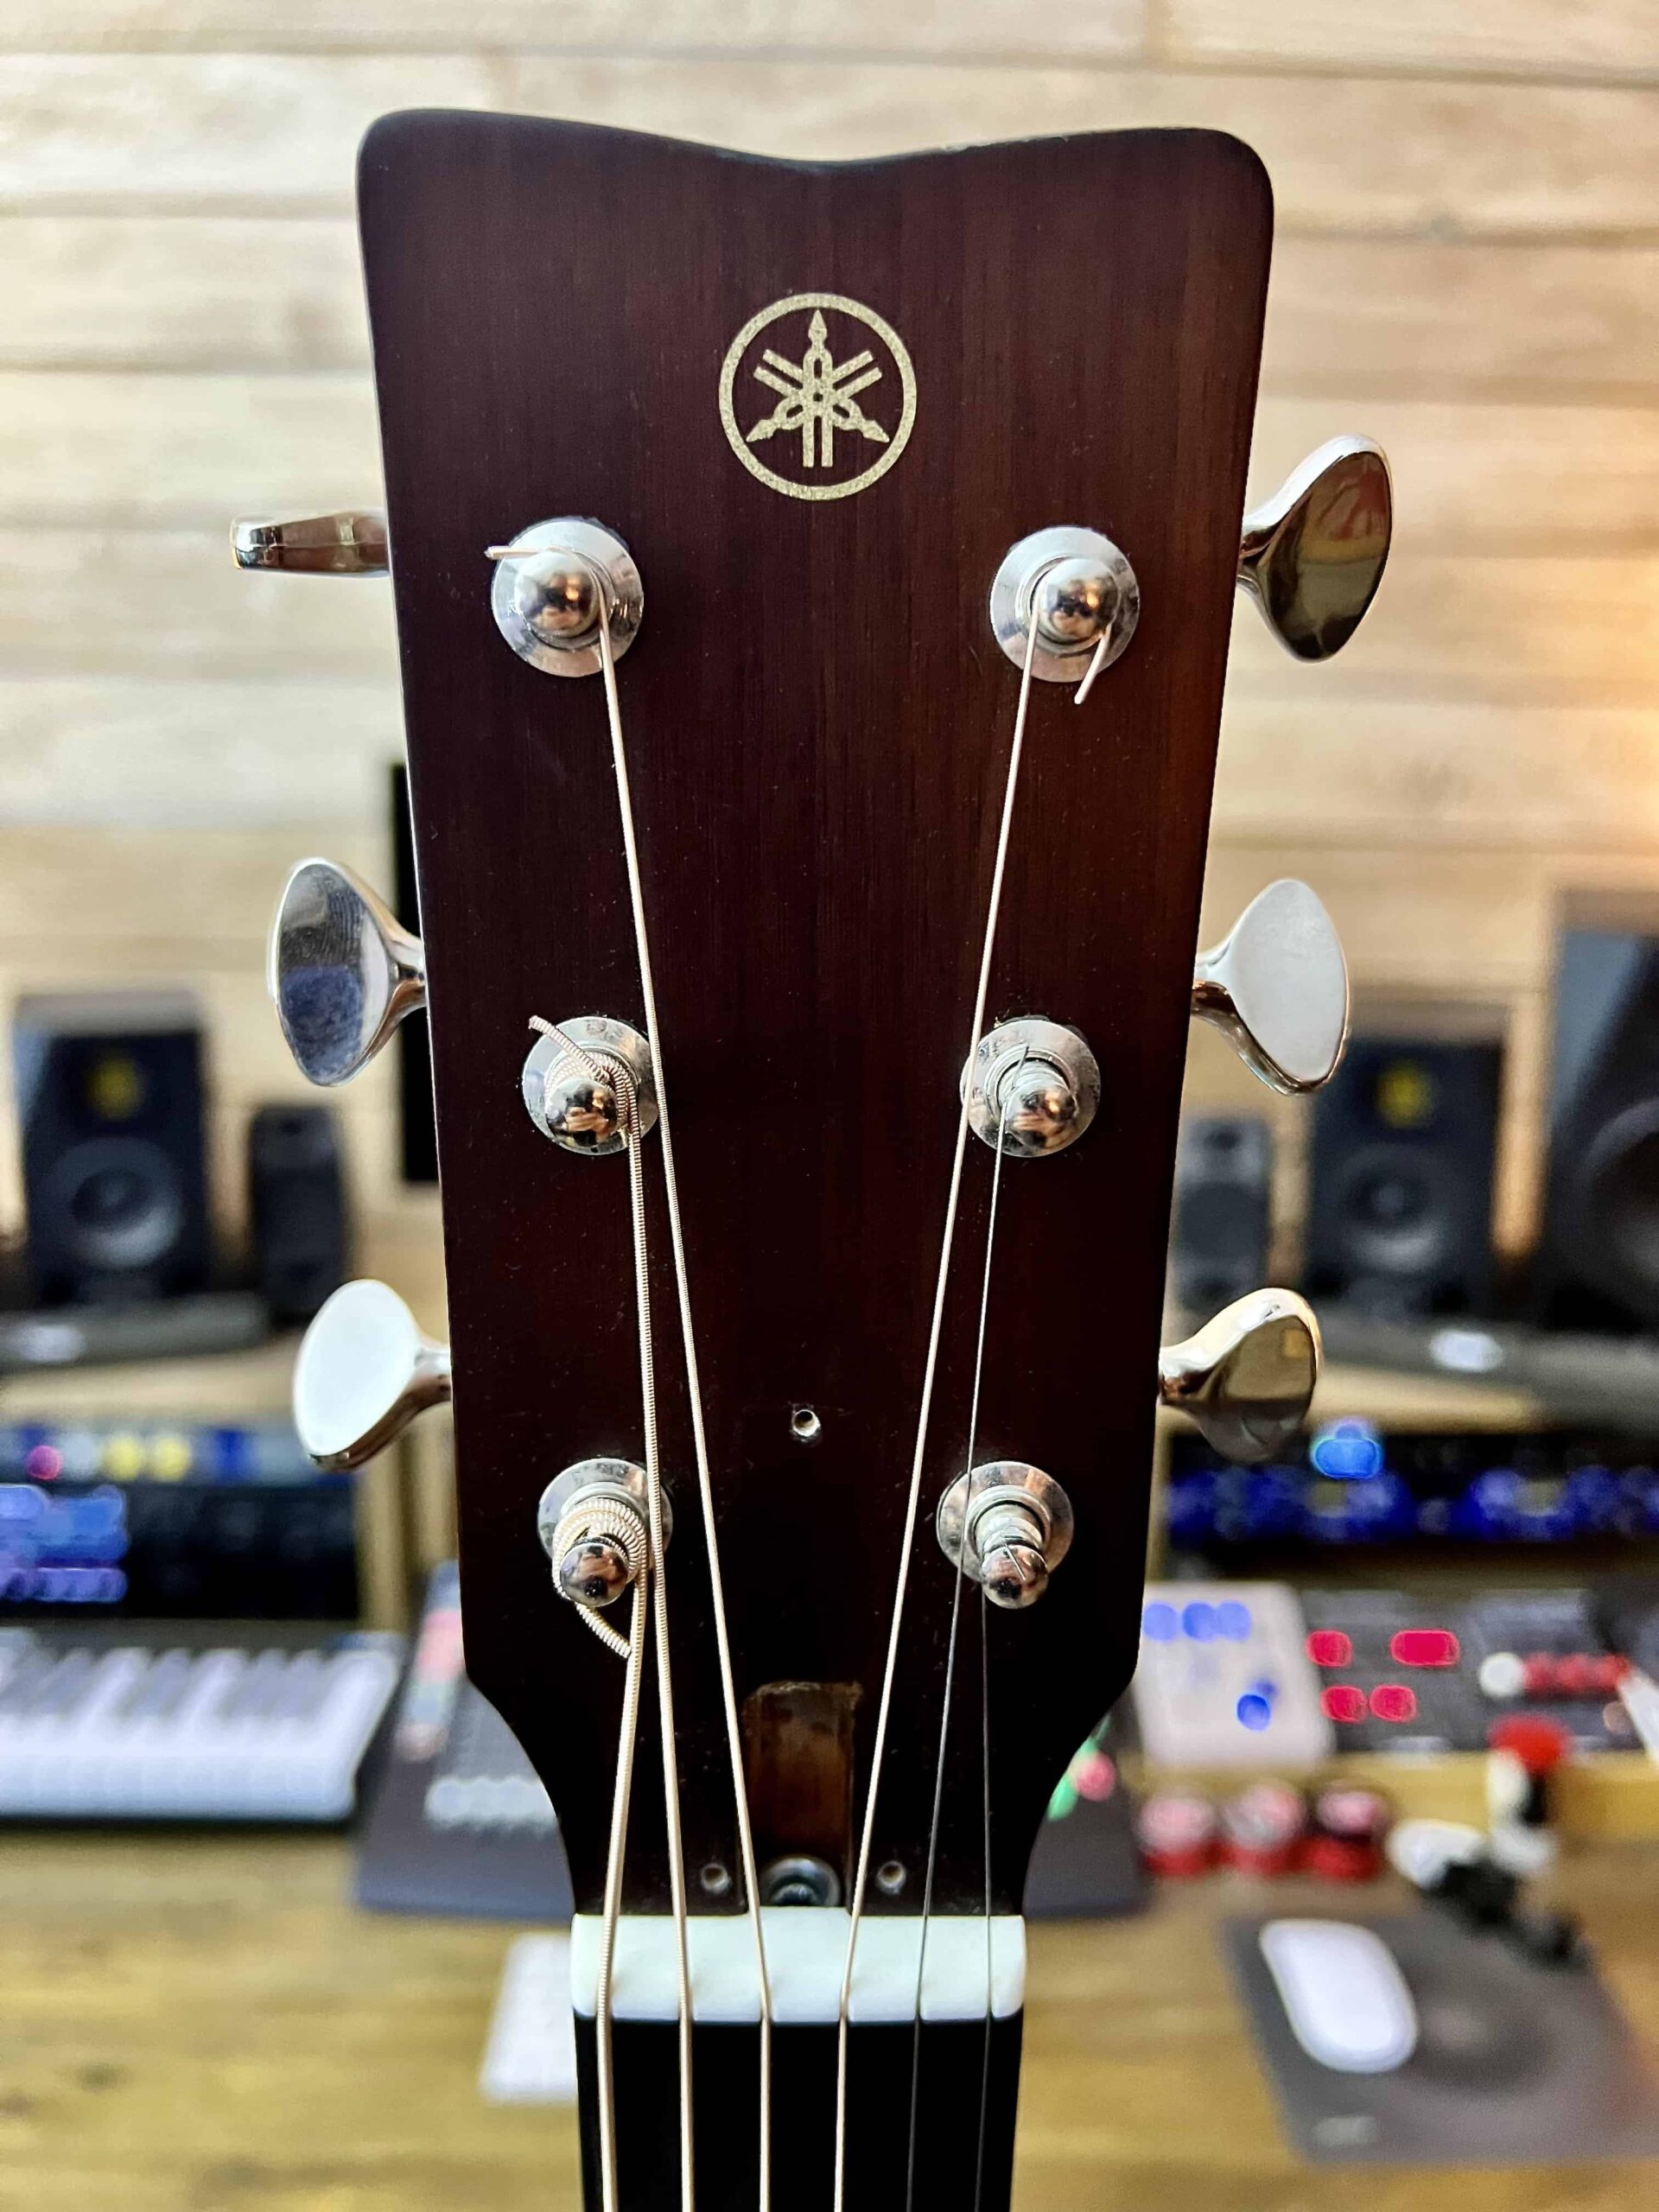
5. Check the Tuning Pegs
Check that the tuners are working properly by tuning each string up, and then down again. You’ll want the strings to stay in tune without slipping, and to be able to finely adjust the tuning of each string in small, smooth movements.
If the strings slip out of tune, it may be that the tuning peg itself needs replacement, but quite often it could just be an insufficient winding of the string around the post. Check out this blog posting and video for more information.
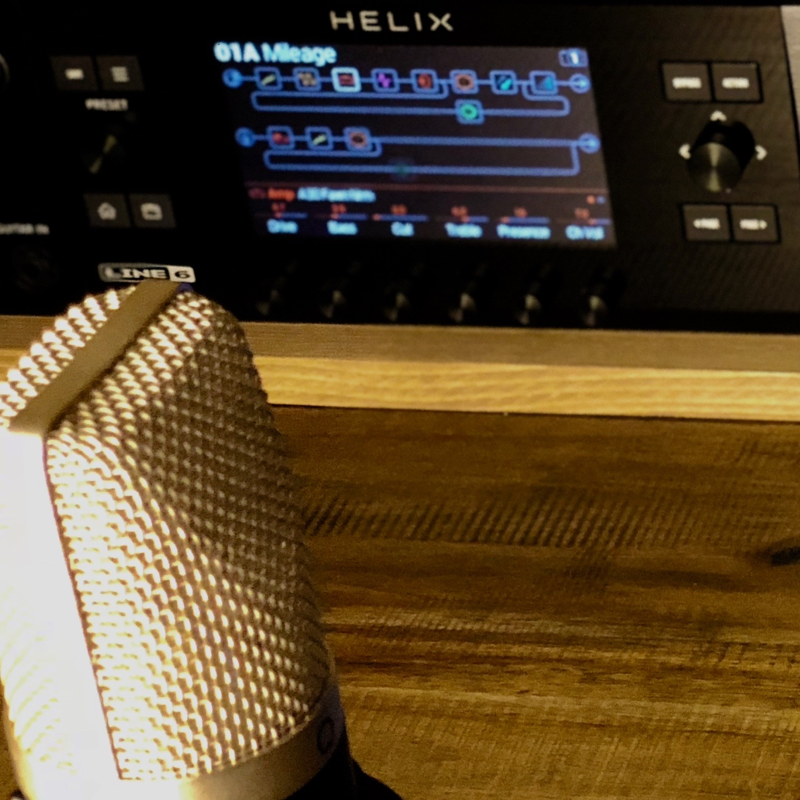
The Video
In this video, I layer four distinct guitar parts on a Yamaha FSX3, much like that of a looping performance. Each part was recorded direct to my DAW (Digital Audio Workstation), demonstrating the sonic versatility of the instrument.
Note how my right-hand finesses the strings with light spreads and percussive subdivisions to accent each chord change. I also wanted to define the bass movement in each chord, so I added a simple bassline on the low E-string using sixteenth notes.
The third, arpeggiated guitar part utilizes chord fragments from the first guitar part … proving that even the most basic overdubs can be extremely musical.
The melody line is a simple melodic motif using the C major scale, making sure that the melody line resolves to the chord tones of the last chord within the progression (G major).
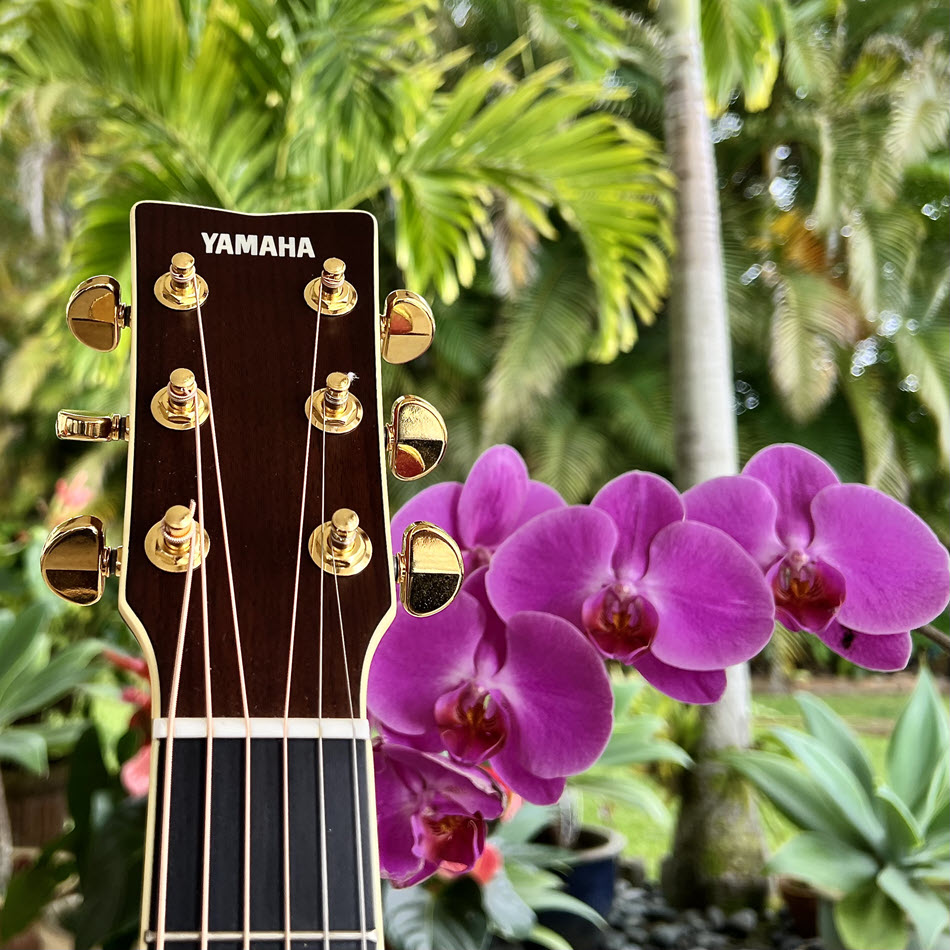
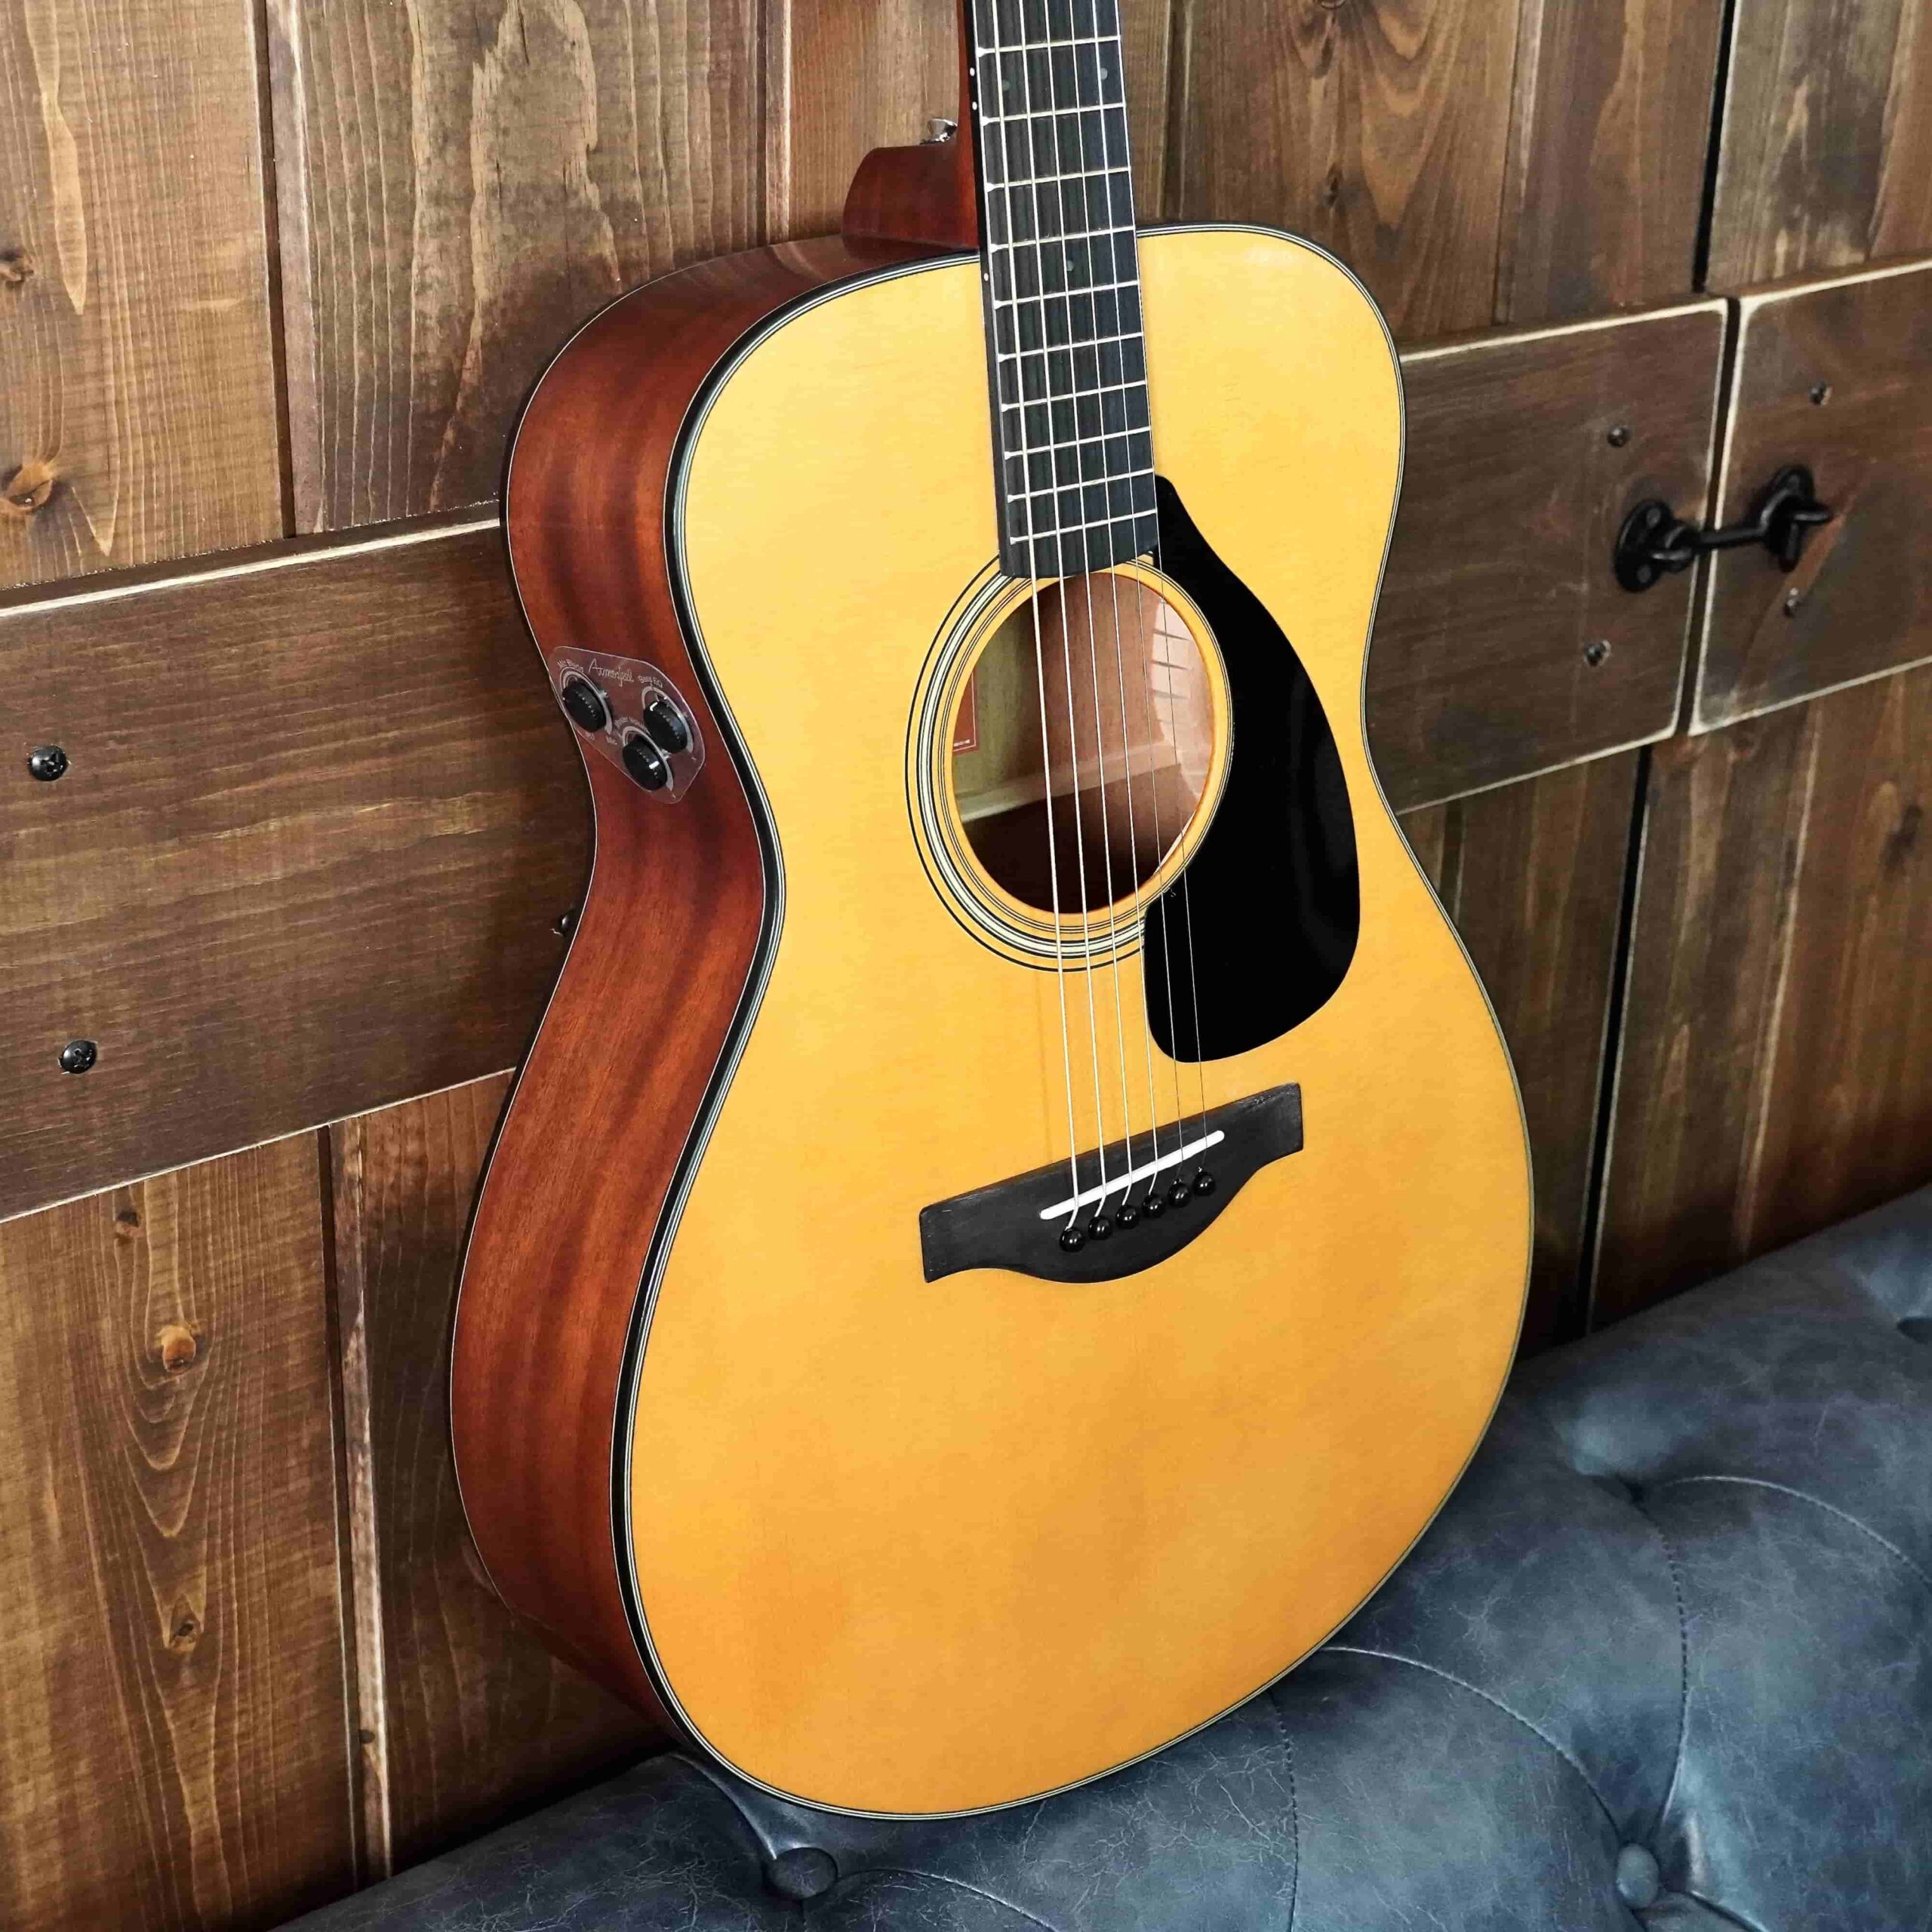
The Guitar
I’m a huge fan of Yamaha Red Label Series guitars — in particular, the FSX3 model. Its concert body size is perfect for me, allowing my picking hand to rest comfortably on the lower bout of the guitar without stress to my shoulder.
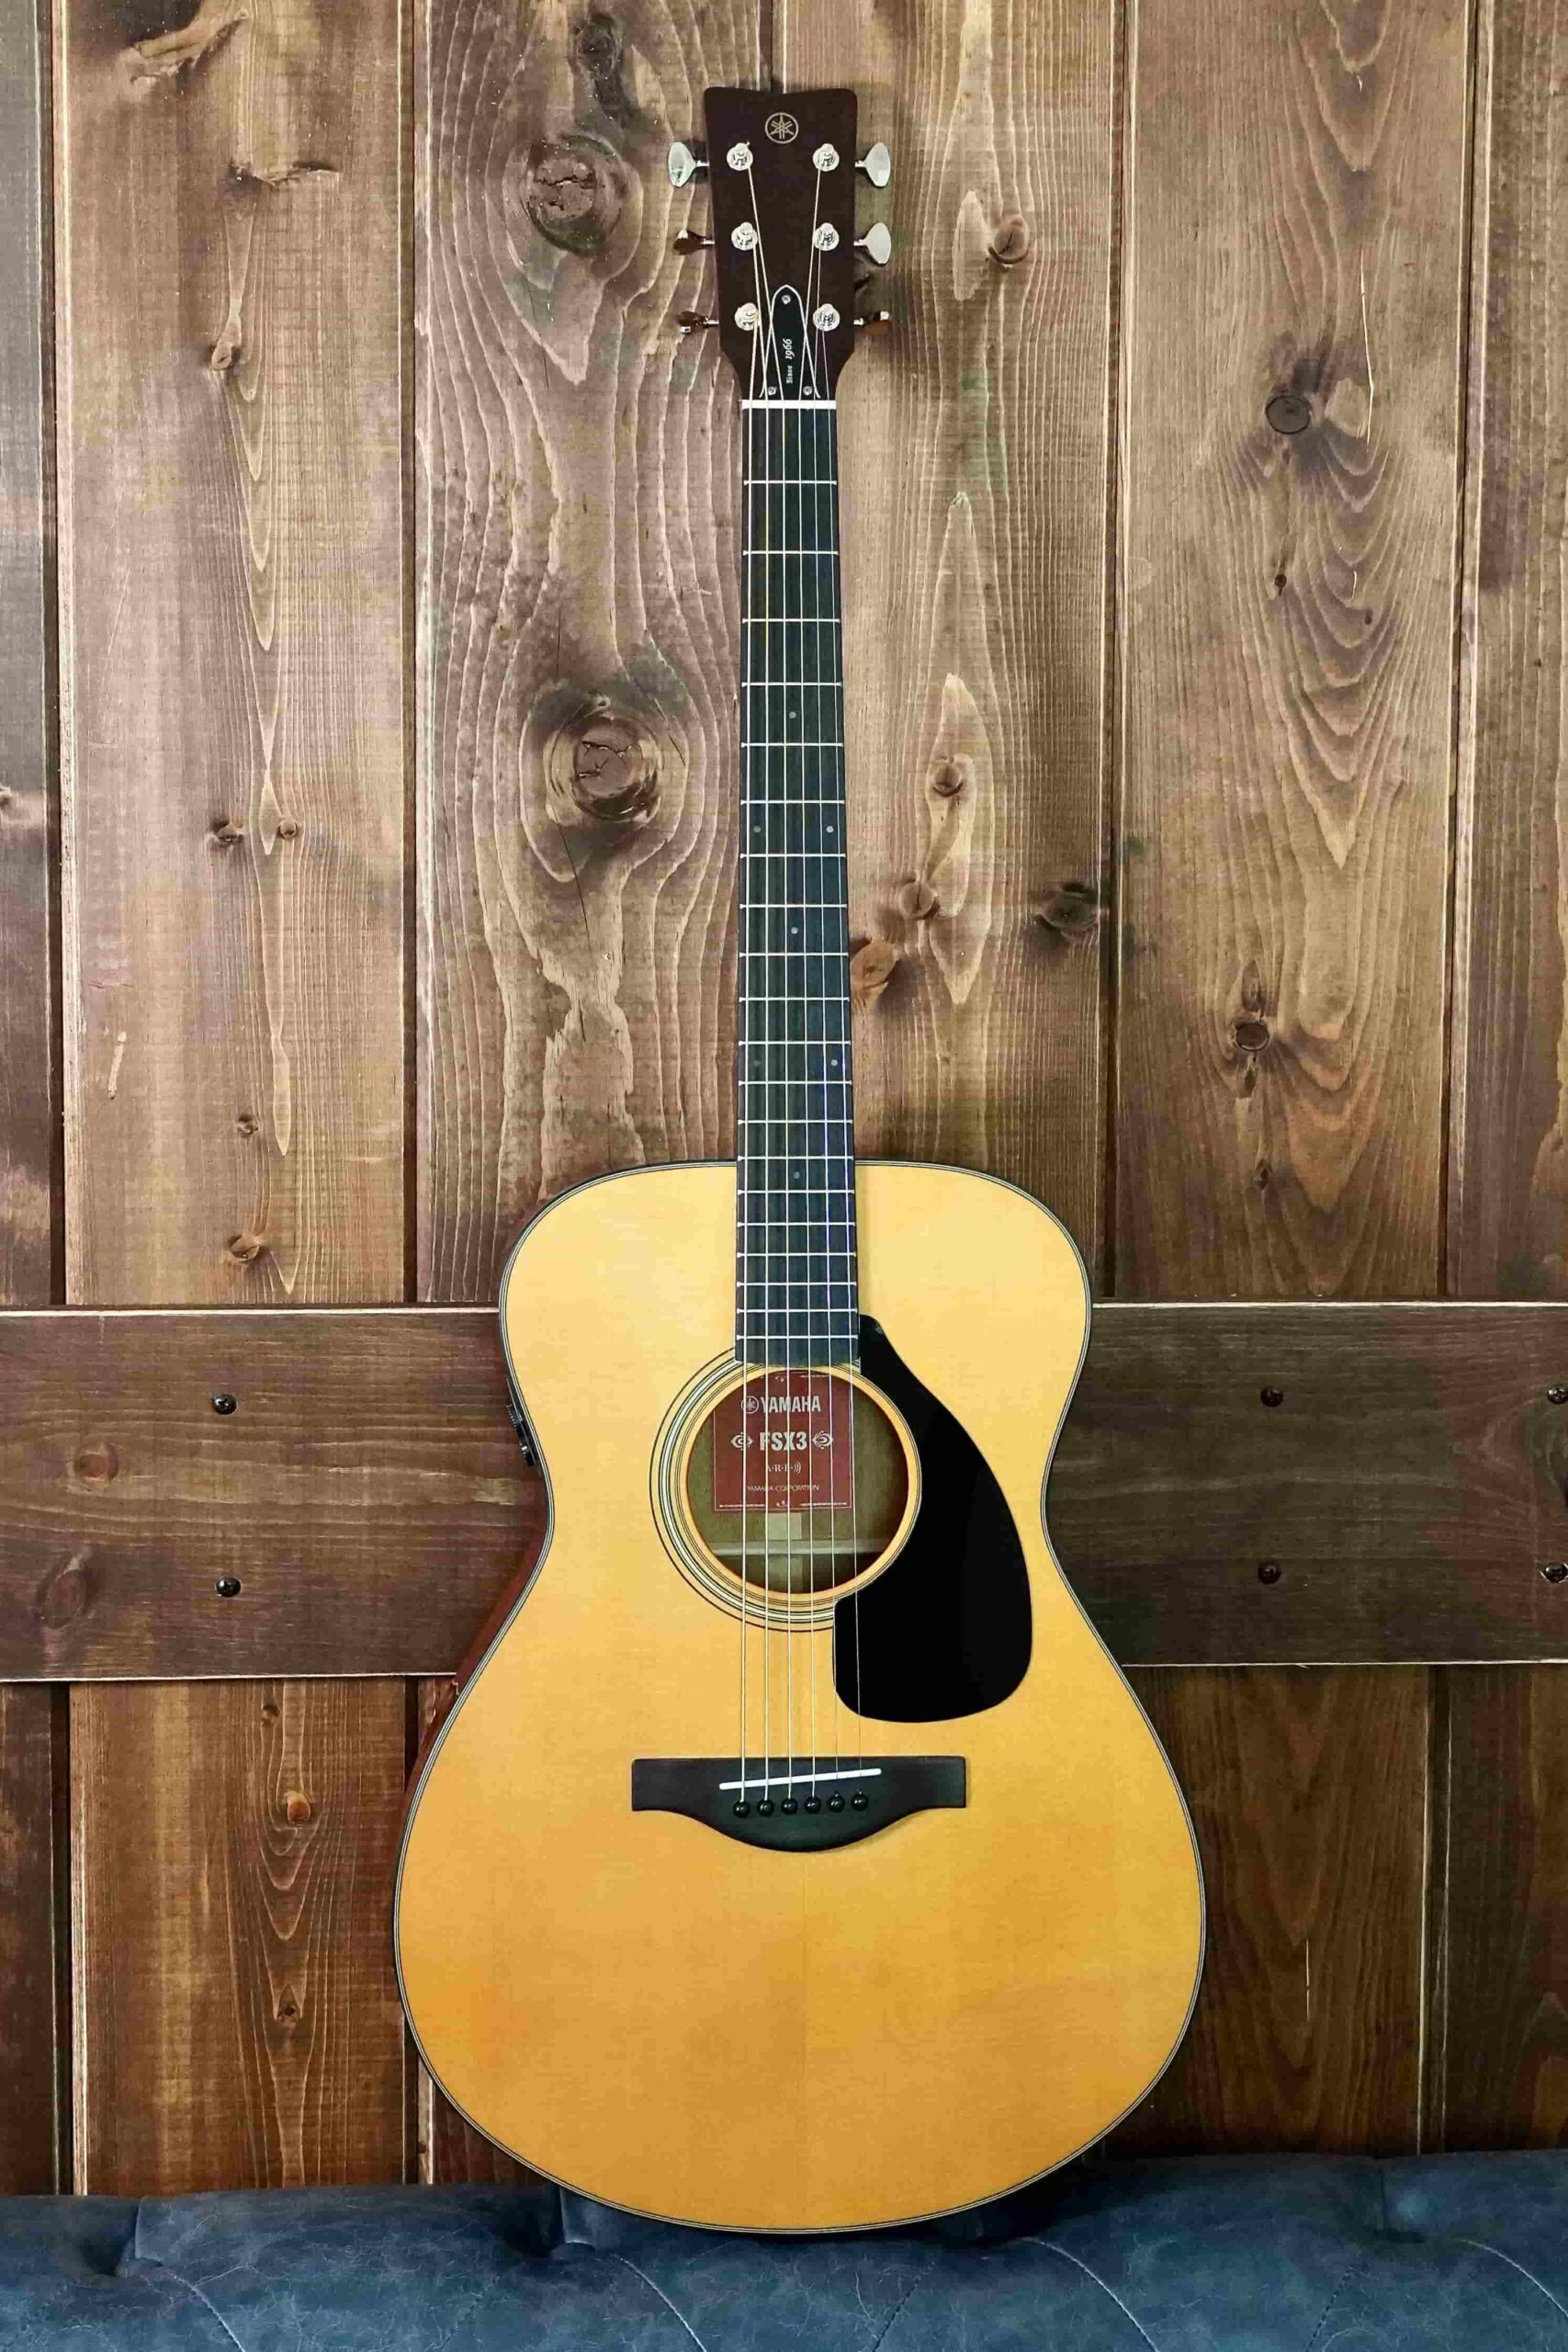
In addition, the satin-finished neck of the FSX3 is slim and fast, giving a similar feel to that of my electric guitars. This allows me to transition between acoustic and electric with minimal adjustments to my fretting hand.
The solid mahogany back and sides, combined with the solid spruce top, provide clarity and warmth for both strumming and fingerstyle playing. Red Label guitars are treated with the proprietary Yamaha A.R.E. treatment (Acoustic Resonance Enhancement), allowing the tonewoods to resonate freely, much like that of an older, played-in instrument.
Acoustically, the FSX3 creates a wonderful volume balance between the guitar and my vocals. What’s more, its Atmosfeel three-way pickup system combines a body sensor, microphone and piezo undersaddle pickup to create extraordinary plugged-in acoustic tones.
The Wrap-Up
Sometimes we find an acoustic guitar sitting in the corner of a second-hand store, or in the attic of our parents’ house, that seems at first glance to be unworthy of our time or effort. Yet small body cracks, missing binding, and aesthetic wear and tear usually won’t affect its tone or playability. And with the right attention to specific details and a little tweaking (possibly with the assistance of a qualified luthier), even the roughest diamond in the rough can often be restored to its former glory and become one of your go-to instruments.
Photographs courtesy of the author.
Keep reading