Tips for Recording Acoustic Guitar
Capturing the sound of acoustic guitar may seem a bit challenging at first, but there are really only a few techniques for doing so, and once you have your parts down, there are additional ways to help your guitar sit perfectly in the mix or stand out on its own, depending on the musical context.
In this article, we’ll share some tips for getting a great recorded acoustic guitar sound and making it the star of the session.
Microphone Techniques
The most basic method of recording acoustic guitar — or any acoustic instrument, for that matter — is to put a microphone in front of it. Knowing where to position the mic is the tricky part.
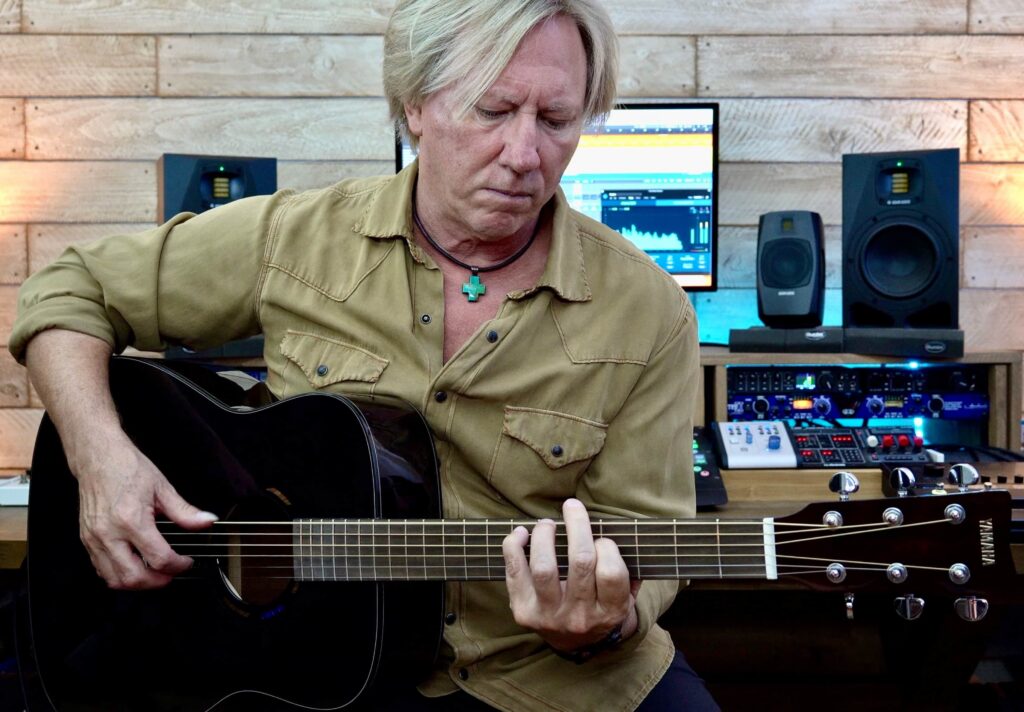
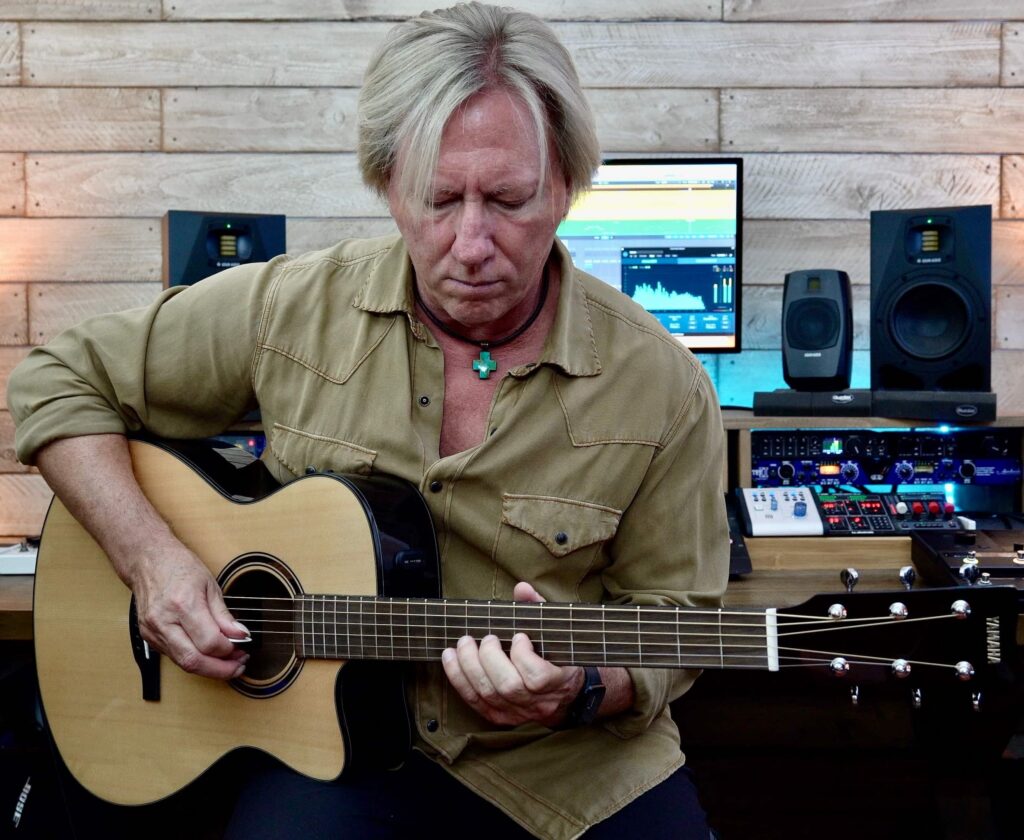
I find that I generally get the best results by placing a directional (cardioid) mic about six inches away from the front of the guitar, near where the end of the fretboard meets the sound hole, as shown in the photo below. (Listen closely over headphones while moving the mic around to find the ideal “sweet” spot.)

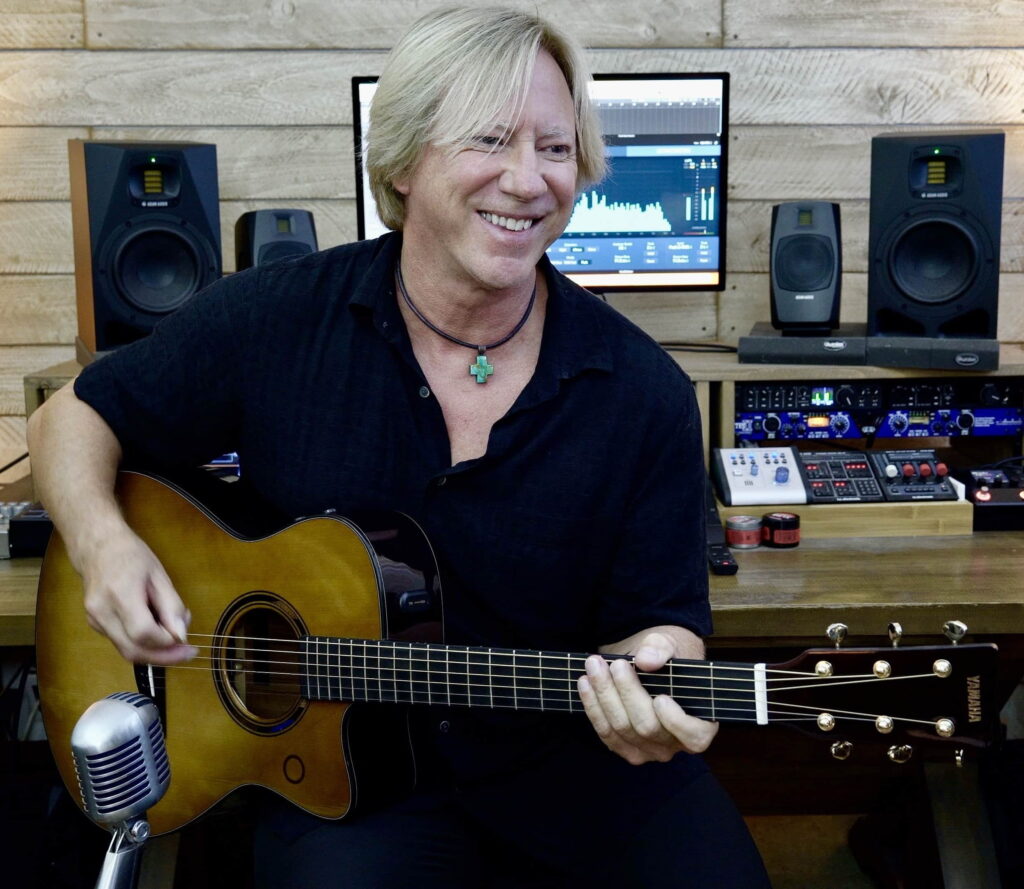
As you can hear in this audio clip of me playing the URBAN Guitar by Yamaha, this mic placement yields a nice balance of lows, mids and highs and delivers an overall natural sound inherent to the instrument.
Note that if you move a cardioid mic closer than six inches from the guitar, you’ll get more bottom end due to a phenomenon called the “proximity effect.” If you move it further from the guitar, more room sound will be introduced, which may not be a good thing if the room you’re recording in is not acoustically treated (typically, an untreated room will make things sound more boomy and/or reverberant).
You can also use two microphones to capture the sound of acoustic guitar, though you really won’t want to place any more than two on it (or any sound source, for that matter) due to the potential for phase cancellation issues. If I opt to use two mics, I will place the second one near the body to capture additional low frequencies, as shown in the photo below.

By combining the first microphone (the one near the fretboard) with the second one on the body, you’ll get a good, overall sonic picture of the instrument’s full tonal range, as you can hear in this audio clip:
Another very popular method of using two mics on acoustic instruments is called the “XY” technique. This is where you use two identical cardioid microphones set to a 90 degree angle from each other, as shown in the photo below. Some engineers actually place the tips of the microphones slightly on top of each other, which is fine as long as the mics are not touching each other.

Especially when the resulting tracks are panned fully left and right, the XY mic technique captures a very wide stereo image of the guitar — one that’s almost larger than life, as you can hear in this audio clip, especially if you listen over headphones:
That said, two microphones are not necessarily better than one. If one mic sounds better than two, by all means just use it on its own. Note that there is, however, one drawback to recording acoustic guitar with a microphone (or two), which is a potential problem if you are recording live along with loud instruments like drums, and that is that the mic will capture the sound of everything else in the room too, unless the other instruments are especially well-isolated. For that reason, I have found it best to record acoustic guitar on its own whenever possible. This also offers the best production options during mixing, since you’ll have more control over the sound.
DI Recording
If your acoustic guitar has a built-in pickup (not all do), then another method of recording it is available to you: Simply plug a guitar cable into its output jack (this is called taking the “DI” or “direct” output) and connect it to an instrument input on your audio interface, or to a “DI box,” which takes the instrument level signal and boosts it to microphone level, after which it can be connected to any mic input on your audio interface or mixing board.
One advantage of using a DI instead of a mic is that the sound will not be affected by external noise coming from other instruments in the room or the sound of the room itself. DI recording works especially well if your acoustic guitar has a high-quality built-in pickup and preamp (such as Yamaha FG/FS Red Label guitars, which employ the company’s revolutionary three-way Atmosfeel™ system).
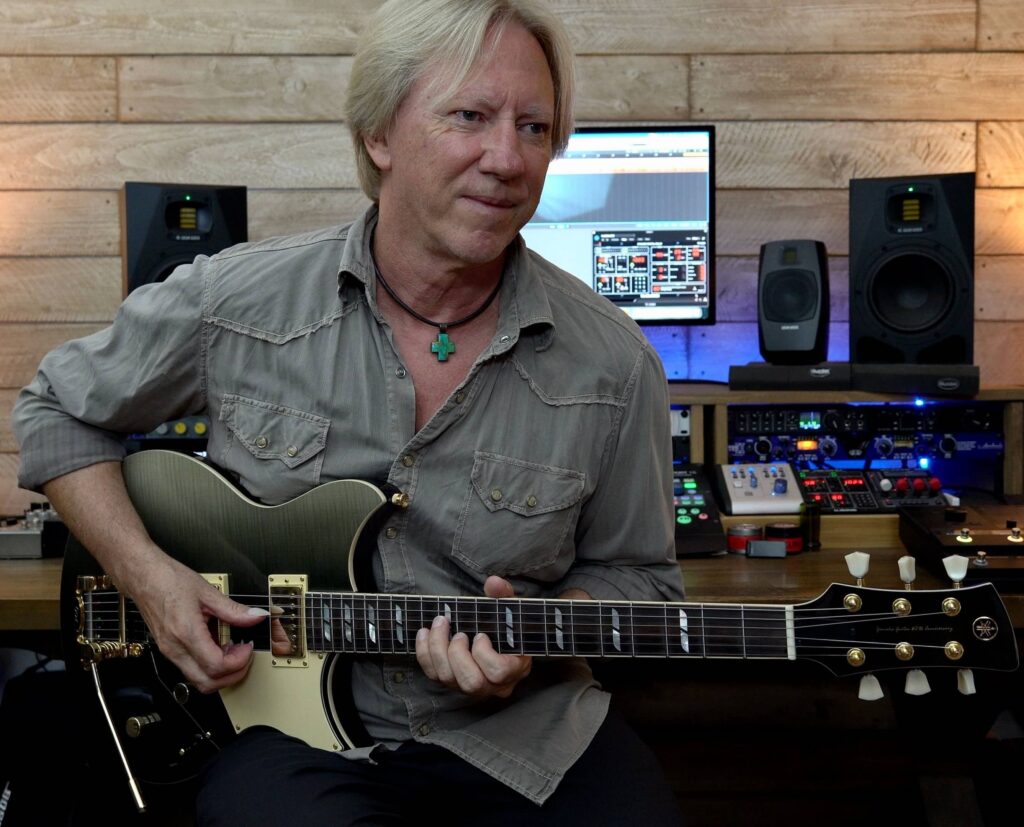
I usually record acoustic guitar with a single microphone and DI blended together. I actually do this even when using my Yamaha FG-TA TransAcoustic guitar, which is capable of creating its own chorus and reverb effects in the air, even when it’s not plugged in (click here for more information about how this remarkable technology works). Two simple knobs on the side of the instrument give me complete control over the effects, making it easy to “dial in” the ideal sound.
Here’s what the FG-TA DI sounds like on its own:
And here’s what the FG-TA sounds like miked, with a single microphone placed at the 12th fret:
With this guitar, I like to use a blend of the two. In this next audio example, the mic signal is panned to around 11 o’clock and the DI signal is panned to around 4 o’clock:
The bottom line is that there is no right or wrong way to get a good recording when it comes to choosing between using a microphone or the DI output. Both approaches can work well, depending on the particular instrument, the musical context, and the quality of the mics you have on hand. Best of all, you can use them together at the same time.
Double Trouble
One of the ways I get big acoustic guitar sounds is to simply double the part (a recording technique known as double-tracking) and pan the resultant tracks left and right. This utilizes the natural differences in the two performances (the “rub,” as I like to call it) to create a wider guitar sound. Sometimes I will change up the tonality of the guitar for the double-track when using a DI, or alter the mic position to get a slightly different sound.
Doubling also helps you bring the guitars more upfront in the mix, as they are in the left and right speakers independently, as opposed to the often-crowded center of the soundstage where the snare and kick drums, along with the bass, usually sit. Here’s an audio clip that demonstrates the power of double-tracking:
EQ and Compression Tricks
How you equalize (EQ) your acoustic guitar tracks depends on the needs of the song. I rarely apply EQ during recording, but often do during mixing. I tend to use some EQ on a DI signal to help bring the guitar forward in the mix since there is no room sound involved. Another way to move the acoustic guitar signal forward in the mix is to cut some of the low midrange frequencies out of the DI signal at around 200 Hz; creating this kind of frequency “hole” leaves sonic room for the other instruments. I will also sometimes carefully boost some of the high frequencies above 7 kHz for additional sparkle and clarity. You can do this to the microphone tracks too if need be.
For a bit of extra punch, I will also sometimes apply a small amount of gentle compression to the acoustic guitar during mixing. However, you have to be careful not to cut off the transients (the very beginning of the signal), so back off on the attack time. I tend to use a very small amount of gain reduction so as to keep the natural sound of the instrument intact.
All DAWs come with EQ and compression controls, plus there are a number of specialized plug-ins that add their own unique sonic footprint, such as digital emulations of vintage analog equalizers or compressors. You can also use a channel strip plug-in that includes both controls. A good example of this is the Steinberg Cubase Channel Strip, which allows you to apply various processing modules to the audio as needed.
Use Fresh Strings
This may sound obvious, but putting a fresh set of strings on your guitar right before you record can make a world of difference. Especially when it comes to steel-string guitars (nylon strings do not need to be changed as much), the extra clarity and brightness you get out of the instrument can be significant … and remember, what you hear in your ears is pretty much what is going to be amplified by the microphone and/or pickup. Not only do new strings tend to sound better, but the guitar will stay in tune better as well, and that’s critical to the big picture of capturing a great acoustic guitar sound.
One final piece of advice when it comes to recording acoustic guitar: Just use your ears and don’t worry about how things look on the screen. If it sounds right, it is right.
All photographs courtesy of the author.
Click here for more information about Yamaha TransAcoustic guitars.
Click here for more information about Yamaha FG/FS Red Label guitars.
Keep reading