
Why Compress?
The compressor is right up there with EQ as the most commonly used signal processor in the studio, both during recording and especially when mixing. In most contemporary mix sessions, almost every track gets compressed to some extent.
Choices, Choices
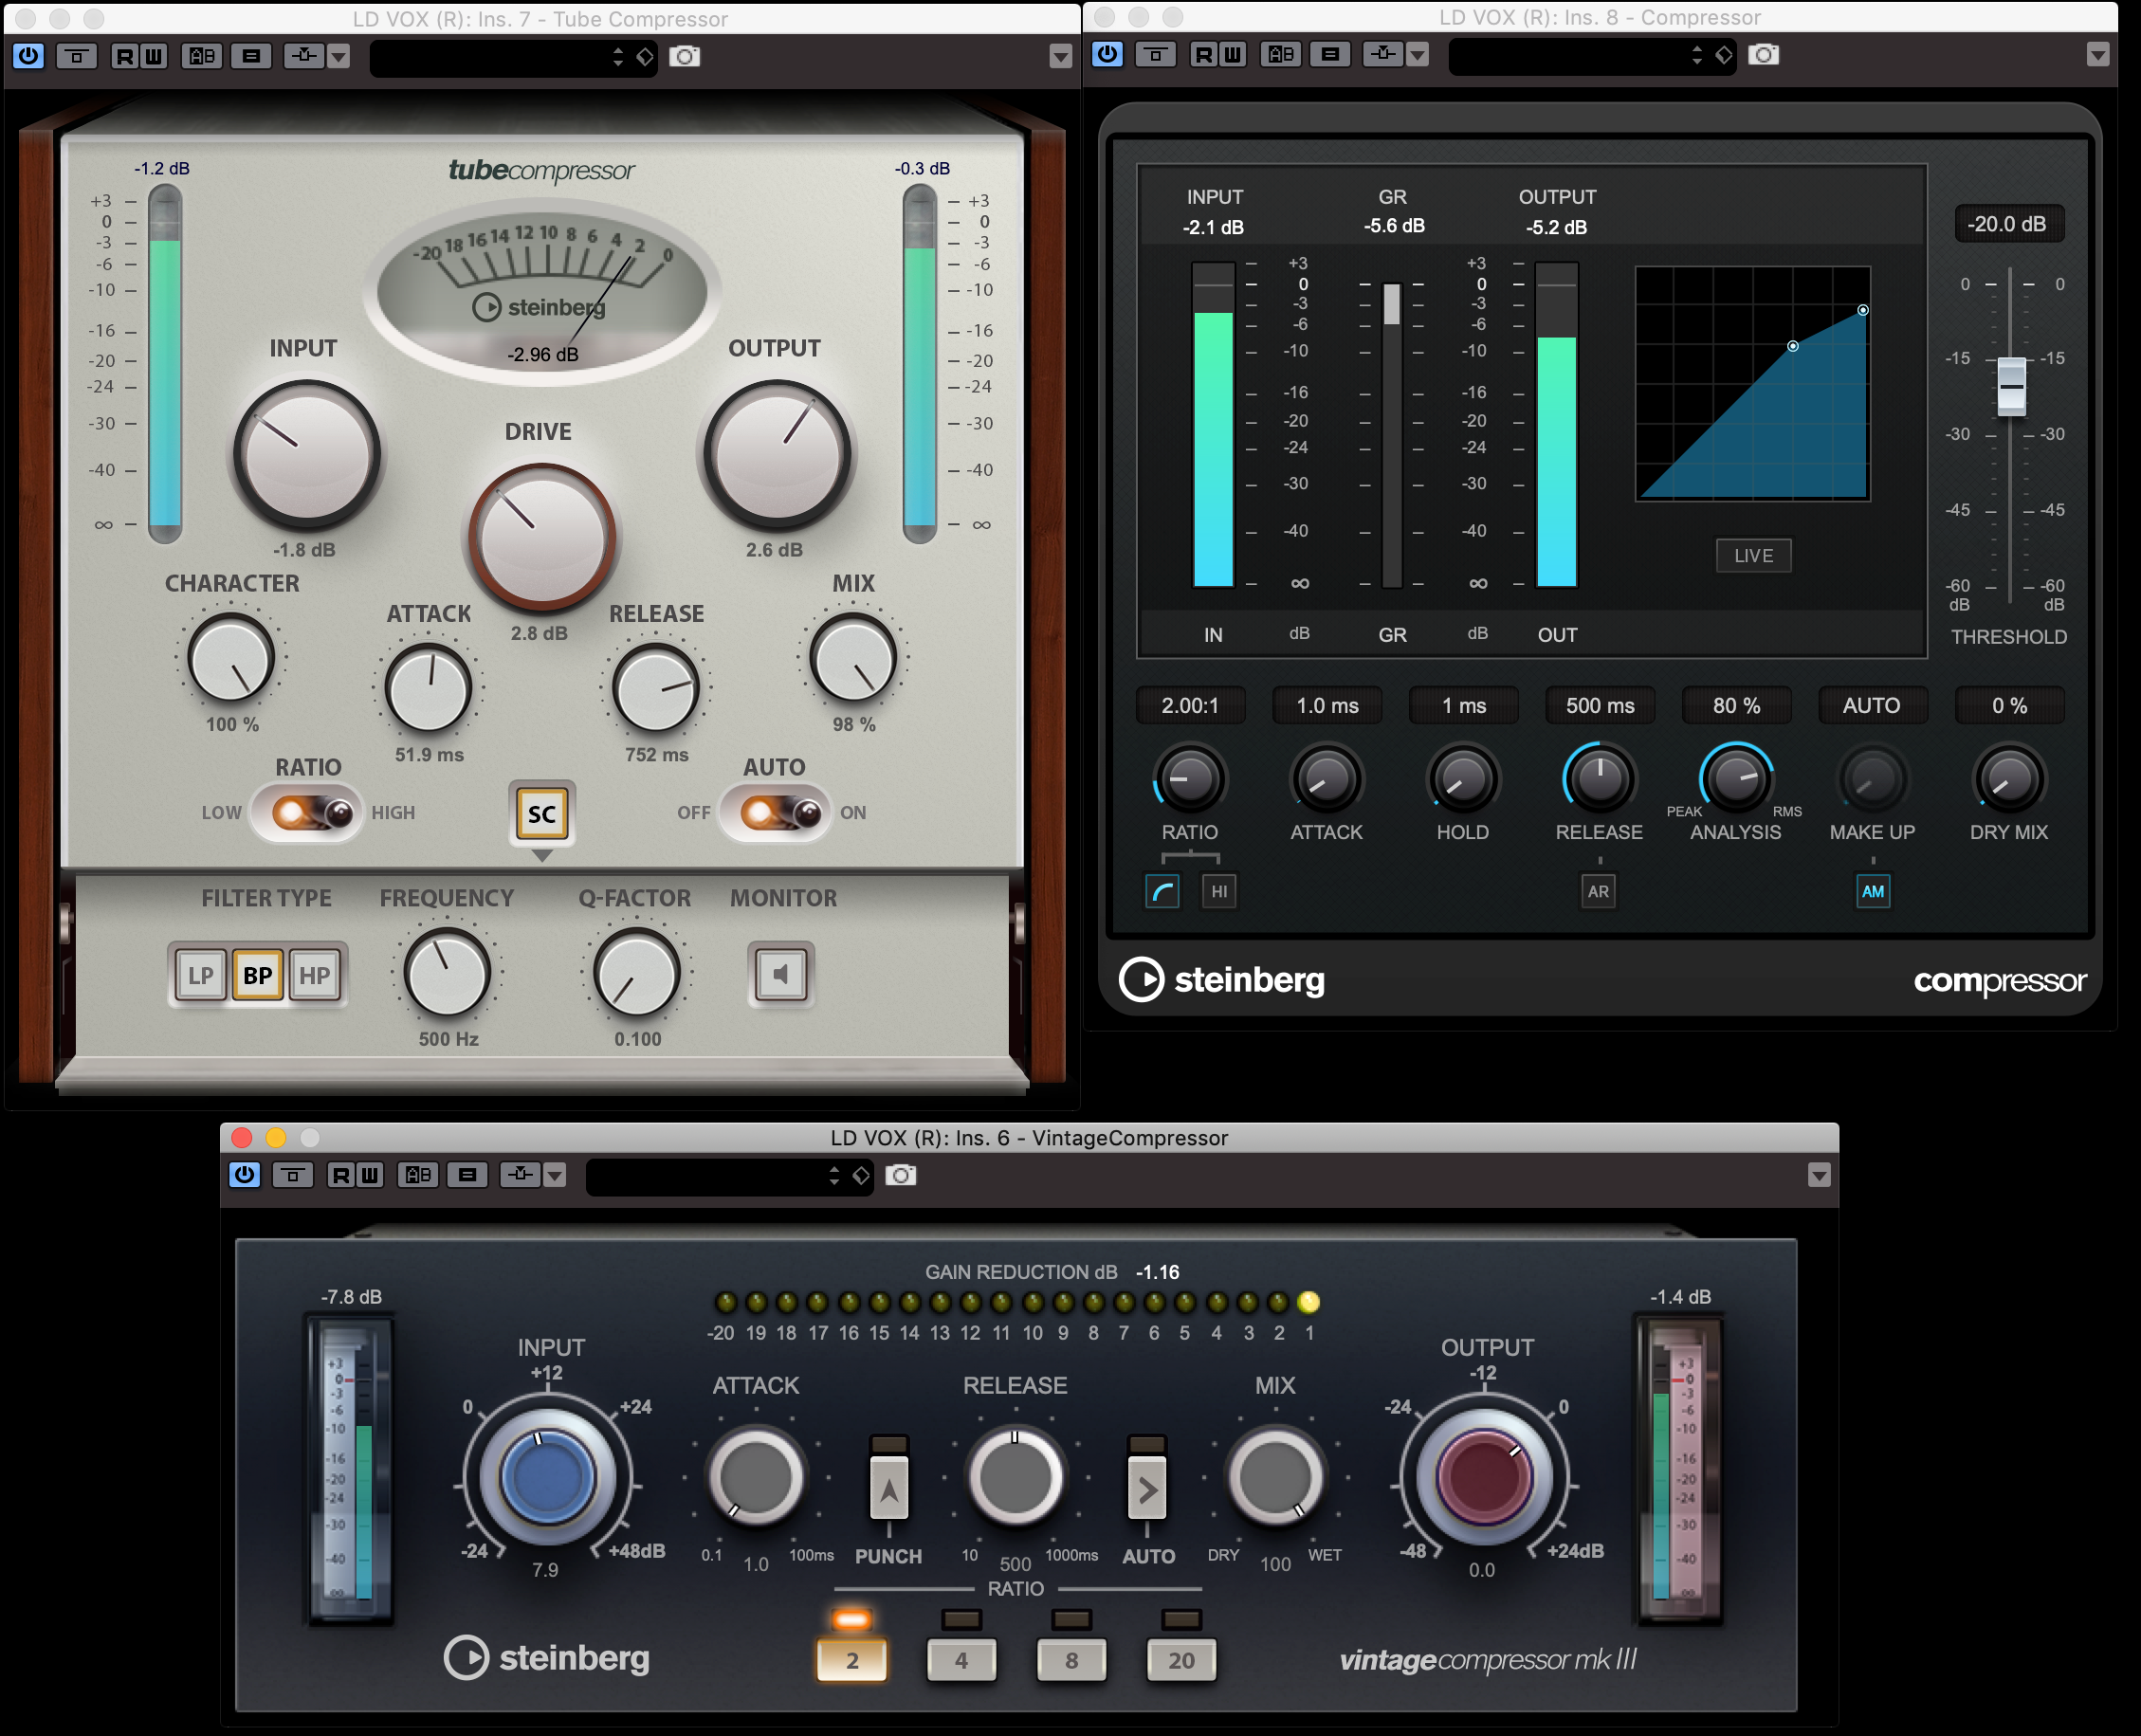
No matter what DAW you use, each channel strip will have a slot reserved for a compressor. What’s more, all DAWs offer a variety of compressor choices, for the simple reason that each compressor type behaves and sounds differently. If you open the pulldown menu in Steinberg Cubase, you’ll see that you can choose between three different compressors: Standard, Tube and Vintage:

We’ll talk a little more about each of these shortly. Note that Cubase also offers several other individual compressor plug-ins that you can insert directly into the channel.
Crushing It
Compressors were developed originally as tools to control the dynamic range of audio signals (that is, the difference between the loudest and quietest parts) by reducing peaks. While that’s still their primary function, they have other uses as well, which we’ll discuss a little later in this article.
A typical compressor reduces peaks that exceed a user-selectable amplitude (volume) threshold. Any signal that’s louder than the threshold gets attenuated by a user-specified amount, which is expressed as a ratio:

For instance, if you set the ratio to 2:1, the compressor will attenuate every decibel (dB) of signal that exceeds the threshold by two decibels. If you have a peak that goes over the threshold by 4 dB, it will be reduced by 8 dB, and so on.
With the dynamic range reduced, you can turn the track up, and the whole thing will sound louder. That’s because the quieter parts will be closer in volume to the louder ones. Vocals in particular have especially wide dynamic ranges and are almost always compressed during the mixing process, and often during recording too:

Many Flavors
Most compressor plug-ins are based on the circuitry of analog hardware compressors. Many provide accurate models of particular classic units, utilizing digital algorithms that emulate the behavior of the originals very closely as onscreen knobs are “turned” and virtual switches are “pressed.” Plug-in emulations of hardware compressors also bring with them — at least in theory — the flavor of the original units’ analog tonality.
Different hardware compressors add varying colors to the sound, depending on their circuitry. Those colorings are dictated not only by a particular model’s proprietary circuitry, but also by which type of compressor they are, generically speaking. Here are the main types:
– VCA (Voltage Control Amplifier) compressors are the most common. These solid-state units are versatile and can be used for most compression applications. Depending on how they’re set, VCA compressors can handle everything from applying transparent dynamics control to squashing a source with a lot of color. The Cubase Standard compressor is modeled on this type.
– FET (Field-Effect Transistor) compressors offer the fastest attack times and therefore excel on sources with sharp transients such as drums, percussion, electric guitars, and basses. They can even create subtle distortion at extreme settings. The Cubase Vintage compressor is modeled on this type.
– Optical (Opto) compressors make a copy of the input signal, turn it into light, and then detect the level with a photosensor. They tend to offer warm sound and relatively slow attack times. The Cubase Tube compressor is modeled on this type.
– Variable Mu compressors are tube-based units known for their warm sound.
You can use compressors both correctively and creatively. For example, aggressive compression can bring additional intensity and liveliness to a track. If you’re using a plug-in that’s a hardware compressor emulation, you can also use it to give a sterile digital track some analog-like characteristics.
Side by Side
One of the most powerful ways to use a compressor is in a so-called “parallel” configuration. The basic idea is that you don’t compress the original track, but instead send a copy of it to a separate channel (in Cubase, via an Effects Track), then compress that copy heavily.
Here’s how it works: First, set the desired level of the uncompressed track. Then slowly bring up the level of the heavily compressed one until you’ve achieved the degree of compression you want. Many compressor plug-ins, including those offered by Cubase, provide a mix (“wet/dry”) control that can be used to create a similar effect.
Many mixing engineers swear by this technique. It’s used a lot on drum tracks and vocals but can be applied to any source that you want to make sound more squashed. In fact, the only time parallel compression doesn’t work well is if you’re looking for transparent dynamic control, where you don’t want the effect to be sonically apparent.
In the Zone
While most compressors work across the whole frequency spectrum, specialized tools called multiband compressors allow you to set up several frequency “zones” (most commonly, four) and apply compression separately to each. As a bonus, these can be used to not only compress, but also shape frequency content:

For example, say a vocalist sings a lot louder during a chorus because she has to sing in a higher range, but when she does so, it creates harshness in the upper midrange. You could use EQ to reduce those offending frequencies, but that would affect them for the whole song and might not sound good when she’s singing more quietly in the verses and bridge. Much better to use a multiband compressor to affect only that one frequency area, with the threshold set high enough so that the attenuation only happens when her voice gets louder during the choruses.
The bottom line is this: Whether you’re using them to control dynamic range, add excitement, change tonal color, soften transients or reduce particular frequency ranges at specific amplitude levels, compressors are potent creative tools in the studio.
Check out our other Recording Basics postings.
Click here for more information about Steinberg Cubase.
Keep reading


