How to Create Lo-Fi
If you search online for “Lo-Fi production tips” or “creating Lo-Fi tracks,” you’ll find websites touting production and arrangement approaches that vary quite a bit. As with many musical styles these days, there are many variations of Lo-Fi. And, as is pointed out in our What is Lo-Fi? blog, Lo-Fi techniques can be applied to any genre of music.
This article will focus on one of the more prominent ones: Lo-Fi hip-hop, also known as “ChillHop.” However, the methods described for reducing audio quality can be used in any Lo-Fi style.
ChillHop (which is referenced on YouTube as “Lo-Fi beats to study to”) is considered a form of the broader “Downtempo” category of electronic music. Accordingly, its tempos are slow — usually between 70 and 90 bpm. Chillhop music is almost always instrumental (though some pieces utilize vocal samples), and it typically has several key ingredients. Let’s look at some of the most common ones.
Ethereal Chords
Many ChillHop productions are based around a reverb-y ambient-sounding electric or acoustic piano, or a clean jazz guitar, typically playing a hypnotic progression of sustaining chords. For ultimate flexibility for editing it later, I advise that you record this as a MIDI track, as opposed to audio.

If you’re using guitar for this purpose, try recording an electric guitar DI and use an amp modeler such as VST Amp Rack in Steinberg Cubase, being sure to select a clean-sounding amp emulation. You can also consider using an audio loop for the piano or guitar if you find one you like.
Processed Samples
Another way producers construct Lo-Fi beats or songs is to base them around a sample from a section of a memorable song (hip-hop, R&B, jazz, etc.). They’ll process it heavily to make it fit the Lo-Fi vibe, and it will serve as the foundation of the track (the “beat”) in the same way the ethereal chords do.
Bear in mind that, if you’re sampling other peoples’ music, you have to either use material that’s in the public domain or is royalty-free (for example, the samples offered on Landr.com), or you’ll have to get clearance from the copyright owner if you intend to distribute it publicly. (Search “copyright clearance for music” on the web to find sources for getting such permissions.)
In addition to the song’s chordal or sampled “bed,” there’s also often an instrument playing a simple melody on top. If you base your track around piano chords, that melody could be part of the piano part or it could be played by a different sound altogether — the choice is yours. If the latter, you’ll probably want to go for something jazzy-sounding, such as sampled vibes, sax, clarinet or acoustic piano. You don’t often hear synthesizers used as melody instruments in ChillHop.
Down Below
The bass track in a Lo-Fi track usually consists of a basic synth or sampled bass. Compared to those used in hip-hop, ChillHop basses tend to have a little more upper-mid and high-end information, though they still often contain sine waves like hip-hop basses. You can probably find an appropriate sound in one of your DAW’s synths or samplers. In Steinberg Cubase, open Loops and Samples under the Media tab in the Right Zone, then scroll down to the Lo-Fi Dreams collection. There, you’ll find a selection of one-shot low-fi bass notes. Once you find one you like, simply create a Sampler Track and drop the sample in. Here’s a bass line created from one of Cubase’s Lo-Fi Dreams bass samples.
Of course, you’ll have to make sure that the sample plays in tune and is in the correct octave. This might involve making some adjustments in Cubase’s Sampler Control (accessed from the tab at the bottom of the Lower Zone, as shown below), such as turning on AudioWarp. You can get a pretty decent bass sound if you keep this sampled bass within about an octave either way of the root note. Of course, because this is Lo-Fi, you don’t want it to sound too good!

Stick to It
The drum tracks in ChillHop music are usually relatively simple, and they often don’t start playing until after several intro measures of the main (unaccompanied) chordal instrument. The drum samples used are generally acoustic and tend to be dry-sounding and reminiscent of hip-hop drums in tone. Avoid super busy parts like hi-hats playing sixteenth notes.
Lo-Fi drum parts are typically looser rhythmically than in other genres, so you don’t have to quantize them precisely to the grid. One way to get a loose feel is to use MIDI drums and play the parts in from your controller. These drums can be constructed from drum loops, a sampler loaded with a kit or individual samples, or a drum instrument like Steinberg’s Groove Agent SE. You can also find quite a few snare parts that use a sidestick for a more mellow, clicky sound rather than full snare hits — something that’s popular in Lo-Fi, especially on the backbeats.

What’s That Noise?
Another popular Lo-Fi technique is to layer in a sound effect such as vinyl crackle, rain, a waterfall, a forest ambience or any sustaining sound that’s predominantly in the upper-mid to high frequency range. Such a sound bed adds a location vibe to the song and also restores some of the highs to the mix that might be lost due to the various methods for degrading audio discussed in the next section. One way to accomplish this is with the Grungelizer plug-in in Cubase, which lets you add elements like crackle and noise — even air conditioner hum (in your choice of 50 or 60 Hz!) — that will play indefinitely.

Crushing It
We struggle to make everything sound as good as possible for most musical styles. In Lo-Fi, the bar for what is “good” is different, and lower. The idea is to evoke the sound of tape-era fidelity, so Lo-Fi music doesn’t have the crisp and present high-end that we’re used to hearing in modern-day digital recordings. This means you’ll usually have to reduce the quality of your tracks to achieve the desired sound.
One of the best and easiest ways to do this is to use a bitcrusher plug-in, such as the one provided by Cubase (shown below). These kinds of effects reduce the bit depth; that is, the digital resolution of the sound you’re processing. You can think of a bitcrusher as a technology time machine that lets you dial back your audio to the bad old days of 12-bit or 8-bit sampling. If you make the settings too extreme on a bitcrusher, you’ll hear audible distortion, and the transients (particularly those on the drums) will get softer and less powerful, so you should be subtle with this effect.

To demonstrate, let’s start by listening to a “clean” drum track created using sounds from Groove Agent SE:
Here’s that same track with the Steinberg bitcrusher plug-in applied, set to 8-bit, with the Sample Divider knob (which sets the amount of effect) on 6:
Narrowing the Range
Another way to reduce a track’s fidelity is with equalization and filters. You can easily do this by opening an EQ plug-in and using its high-cut (“low-pass”) filter. For Lo-Fi, try setting it to roll off everything above 2 or 4 kHz.
You’ll have more control if you apply equalization and filtering to individual tracks rather than the full mix, although you could do it that way too, if the material lends itself to such major surgery. Experiment with the frequency settings and the steepness of the filter slope until you find a setting that evokes low fidelity without sounding just plain bad.
The Magneto II plug-in included with Cubase lets you target a frequency range for its tape saturation effect, and it has a Solo button for auditioning purposes. Normally, you’d check your setting in Solo and then turn it off. But if you leave it on, you’ll get significantly reduced fidelity at the plug-in’s output, in addition to tape saturation — a hack that’s perfect for Lo-Fi.

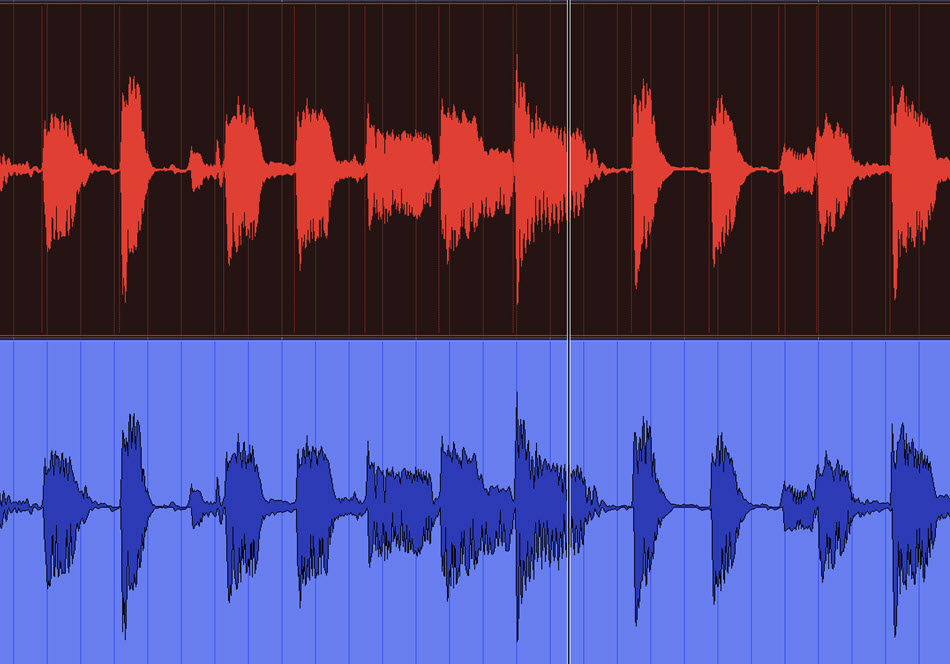
To demonstrate how this works, start by listening to this rhythm guitar playing a jazz chord progression. It was recorded direct, with Cubase’s VST Amp Rack providing a clean amp sound.
Here’s that same track run through Magneto II with the solo button in and the highs set to 2.2 kHz, the lows set to 140 Hz.
Up, Down and Around
Another hallmark of bad fidelity is warbly pitch, such as that produced by the “wow and flutter” introduced by a warped vinyl record or a cheap or poorly maintained tape machine. You can simulate that with a chorus effect. Keep the speed low and the width (“depth”) pretty high. Adjust until you hear slow warbling without the track sounding egregiously out of tune.
Here’s another tip: Try using a pitch correction plug-in to destabilize the pitch on a chordal or melody instrument. In Cubase, insert Pitch Correct on the track and set it for extremely light correction. This will not only introduce pitch modulation but also create digital artifacts that dirty up the sound in a good way for Lo-Fi.

To demonstrate, here’s an electric piano playing a ChillHop part:
Now, here it is with Steinberg’s Pitch Correct plug-in inserted as well as the Frequency equalizer plug-in. The former has a very light setting and the latter has a low-cut filter set at 1.31 kHz, rolling off everything above it.
Copy Then Go
One last piece of advice: If you want to produce tracks that will attract fans of Lo-Fi, start by trying to emulate the sound and vibe of whatever Lo-Fi subgenre you’re into. Once you get the hang of it, nothing is stopping you from injecting your own creative variations into the music.
Producing Lo-Fi music? Be sure to check out the free Steinberg LoFi Piano VST instrument.
Click here for more information about Steinberg Cubase.
Keep reading