Tagged Under:
How to Get Started Producing Music at Home
Essential gear, software and setup considerations.
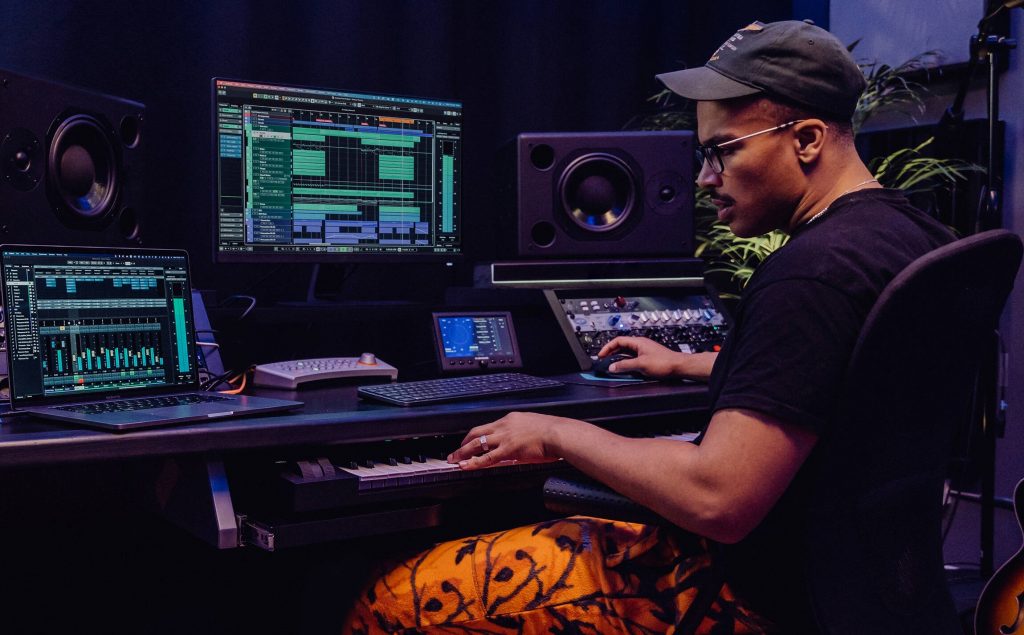
It’s never been easier to record and produce music at home. Digital technology allows anyone with a computer, audio interface, digital audio workstation (DAW) software and one or more microphones to create a studio that, in some respects, is more powerful than commercial studios of the analog age.
In this blog, we’ll explain what you need to start recording and producing music at home. It helps if you have recording experience, but you can learn that as you go. (One great way is to read the Recording Basics postings here on the Yamaha blog.)
What’s Your Goal?
Before putting together your home studio, think about what you want to accomplish with it. Having a good understanding of your goals will help your gear-buying decisions and influence where you set up your recording equipment.
Do you intend to record bands or other ensembles? If so, you will need enough space to accommodate a drum kit (preferably in a separate room), and you’ll be much better off in a house rather than an apartment because of the noise levels your sessions will create.
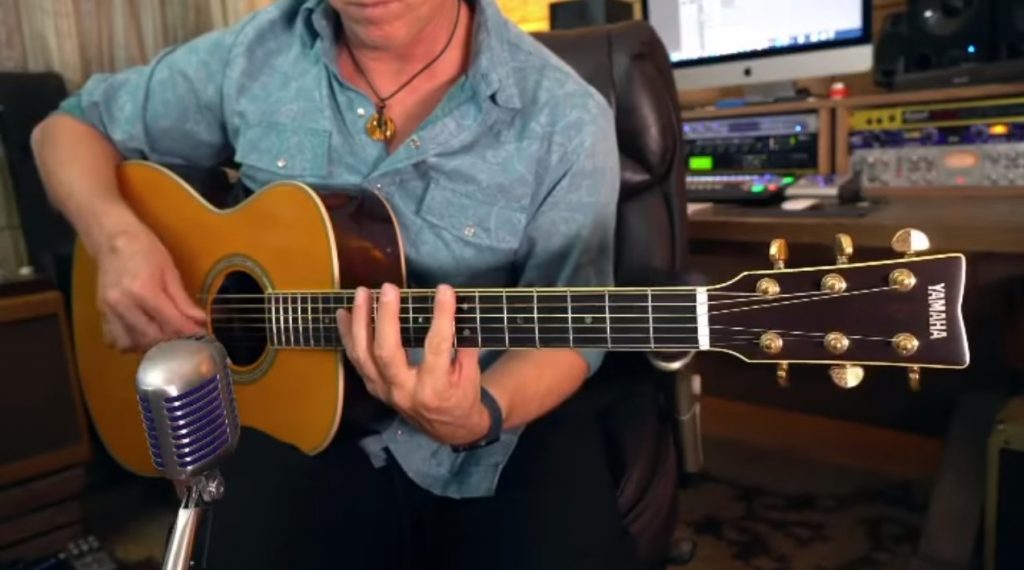
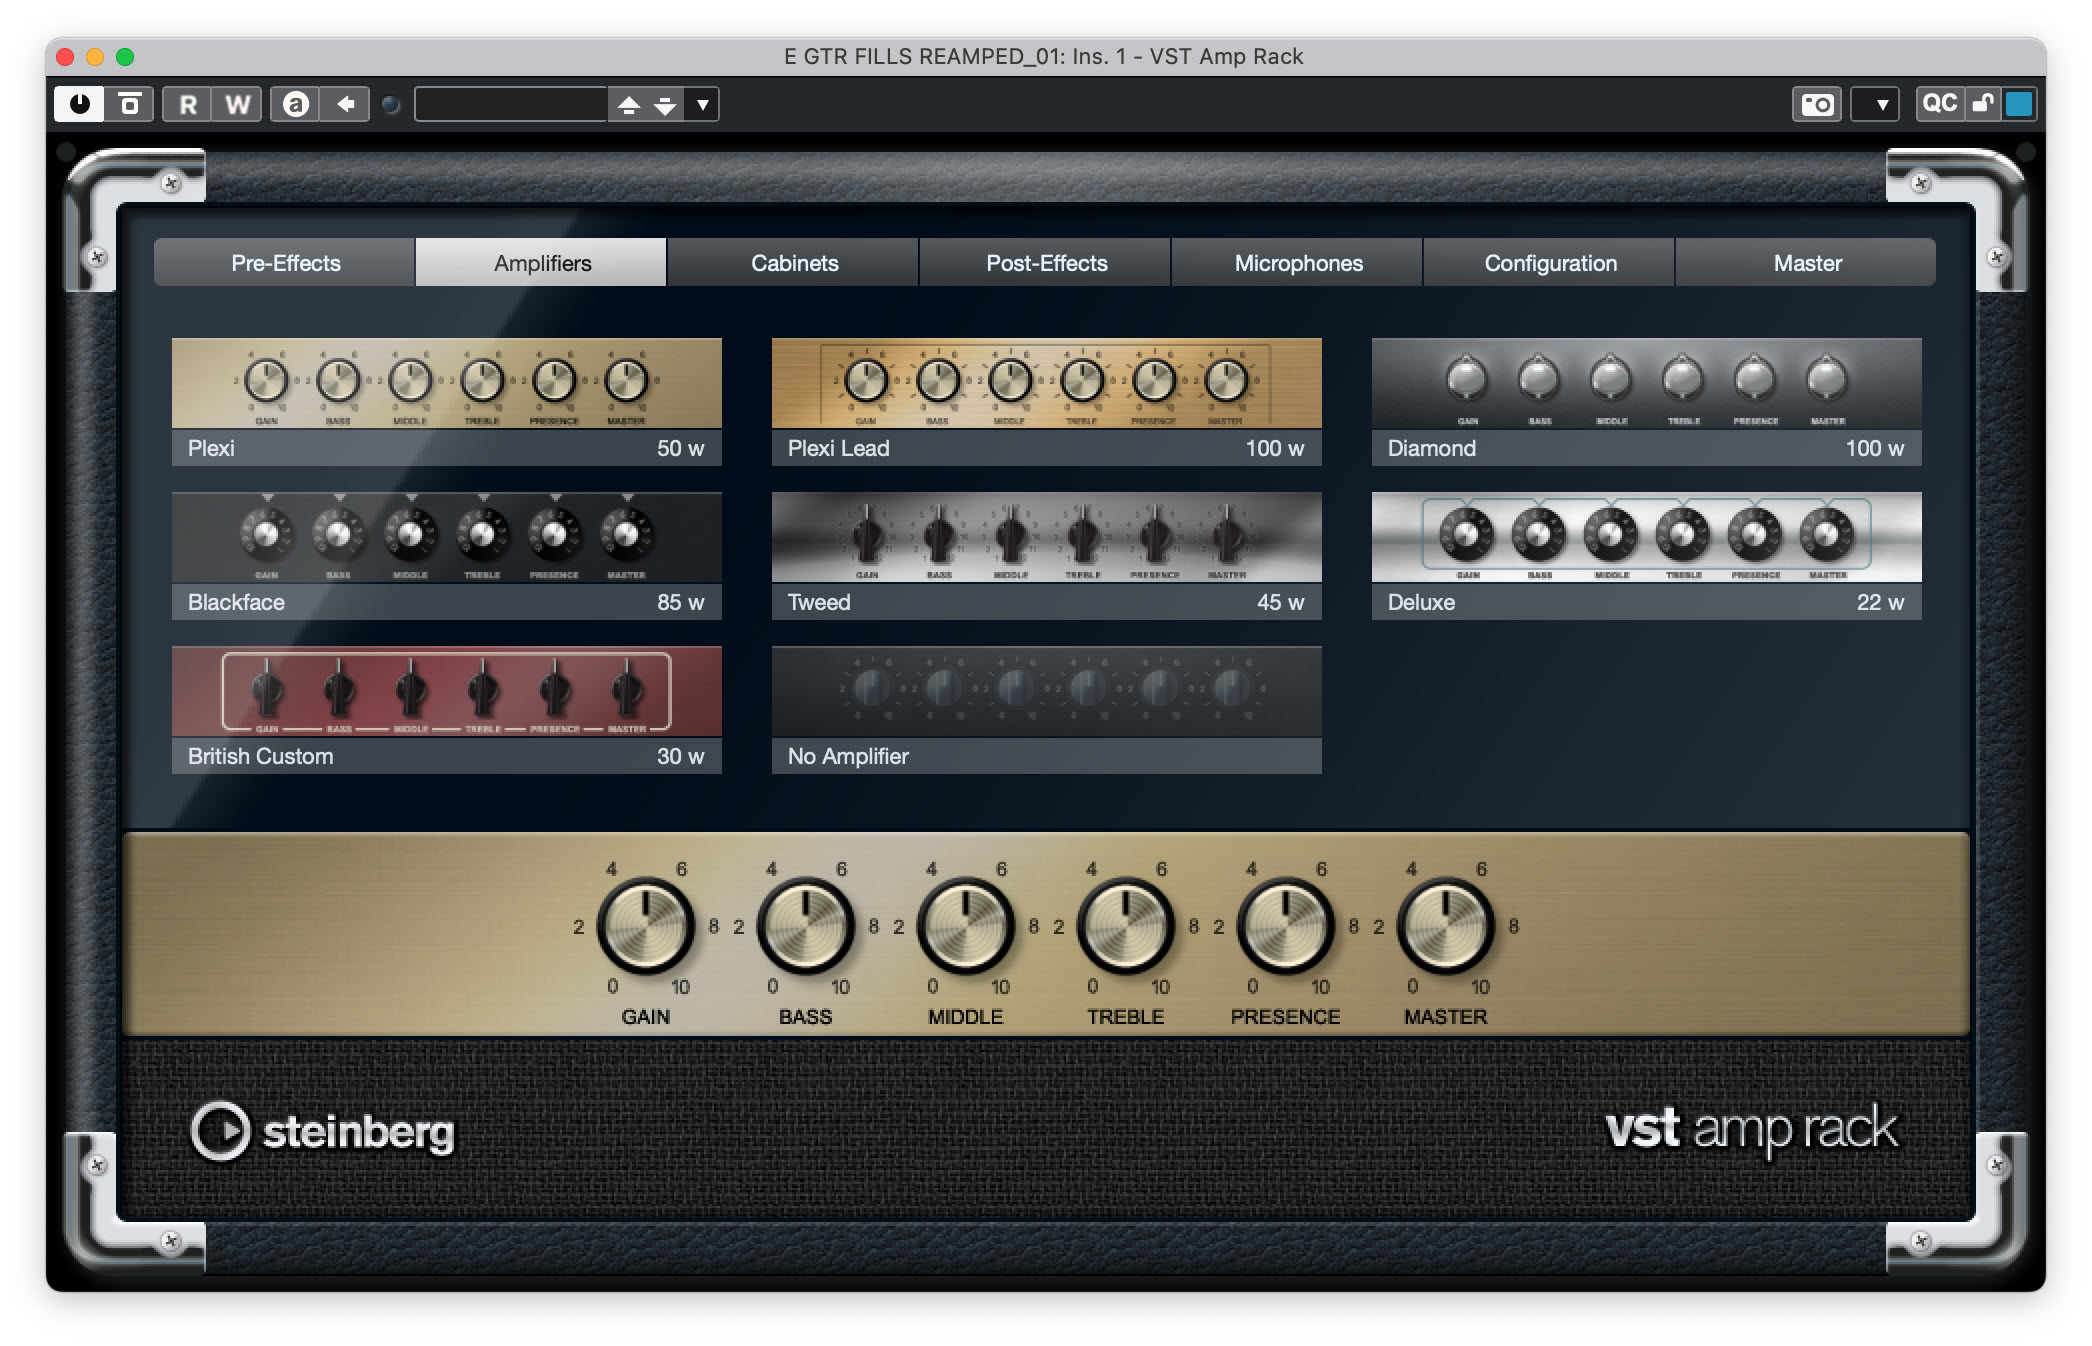
An apartment-based studio is fine for vocals, MIDI instruments, and relatively quiet instruments like acoustic guitar, violin, flute, mandolin, etc. You can also record electric guitar and bass direct (also known as DI, short for Direct Inject). That means plugging them straight into your audio interface so you can record them without an amp. You can later bring those tracks to life with amp-and-effects modeling software such as VST Amp Rack (a plug-in included with Steinberg Cubase) and add amp and cabinet sounds, as well as effects, when it comes time to mix.
Workspace
Another consideration is the desk or table that you put your gear on. You’ll need enough room for your audio interface, your computer (along with its keyboard and mouse) and possibly your studio monitors too. If your table is too small for all of those components, you can opt to deploy your monitors on speaker stands placed behind the table.
You’ll be much happier if you’ve got some open space on your worktable because you’ll likely need to plug in cables and connect additional hardware, at least occasionally. If you’re squeezed for space from the beginning, it will only worsen over time as you add to your setup.
Power is also an issue. Depending on the electrical wiring in your house or apartment, you might pick up radio-frequency (RF) interference and/or hums and buzzes from the wiring, which could find their way onto your recordings. Consider investing in a power conditioner with multiple outlets. A good one will help remove RF and other noises from your AC and also protect your gear from voltage spikes, which have the potential to fry your equipment. Keep your use of daisy-chained power strips to a minimum because they can create a fire hazard.
CPU
A computer running DAW software is the linchpin of any contemporary home studio. To run the latest version of the DAW of your choice, you’ll need a relatively modern computer. A model from ten years ago may have trouble running current software and could even be incompatible.
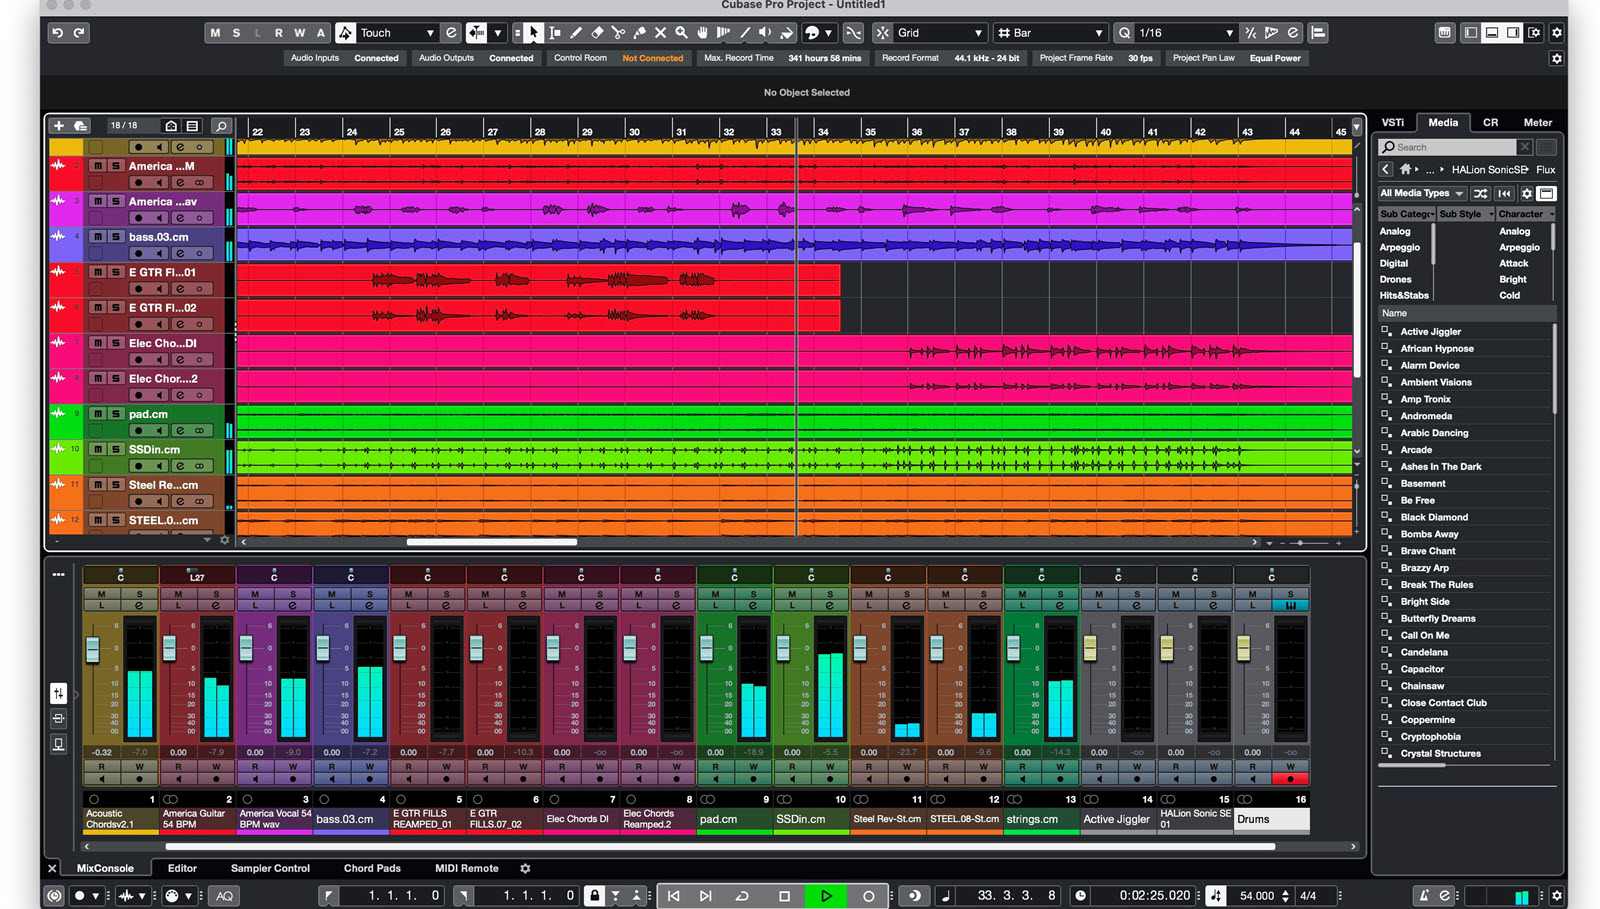
You can run your DAW on either a desktop or laptop computer, and it can be a Mac or a PC. (Many top DAWs, including Cubase, are compatible with both platforms.) You’ll also want your computer to have at least eight gigabytes (8 GB) of Random Access Memory (RAM), preferably more. RAM is the dynamic memory that your computer uses for running applications and its operating system. How much your computer has will determine how many applications it can open simultaneously and how much it can allocate for the recording process. If it has less than 8 GB of RAM, your computer will likely get bogged down frequently as you’re recording, plus you’ll be limited in your ability to add effects and tracks. With many computers, it’s possible to upgrade to more RAM.
DAW
DAW software combines the functions of a multitrack recorder, a mixer and an effects processor, all in one application. There are many DAWs on the market, all of which allow for recording, mixing and editing both audio and MIDI.
The differences are in the user interfaces and advanced features. Steinberg offers Cubase in a variety of tiered versions (“editions”), at different price points; these include Cubase Pro, Cubase Artist and Cubase Elements. If you purchase a Steinberg audio interface (more on that below), it will include a free version of Cubase — either Cubase AI or Cubase LE, depending on the product.
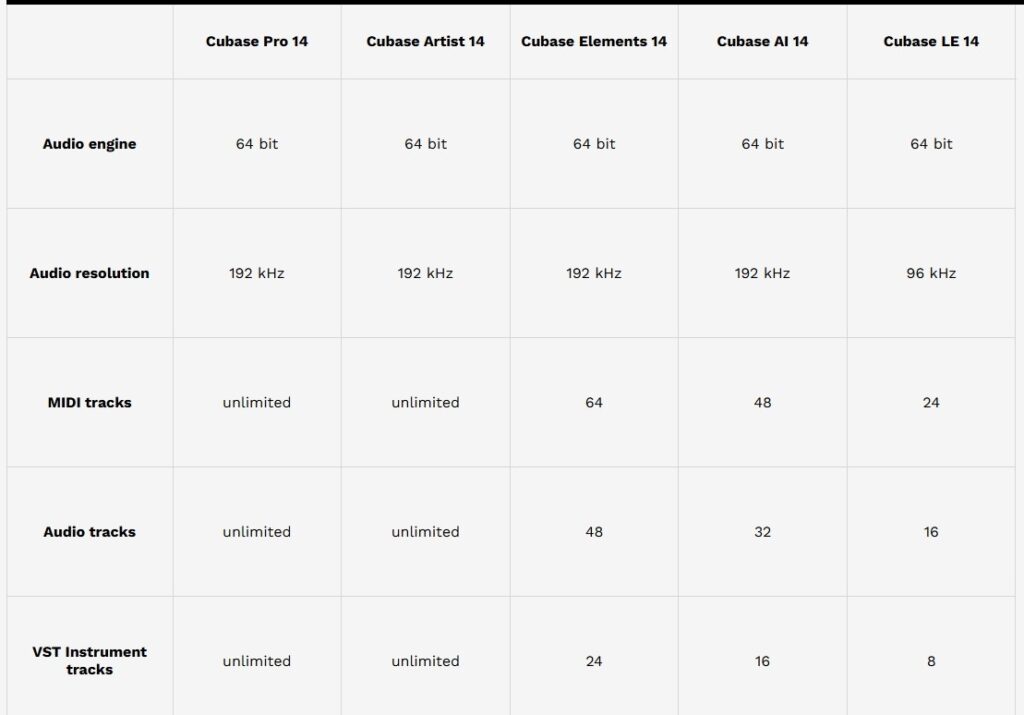
Unless you own Cubase Pro, which is the flagship, you can always upgrade to a higher version to add more capabilities.
Audio Interface
Another essential piece of gear is an audio interface, which acts as the bridge between your recording gear and your computer. It’s also where you connect your mics, instruments and line input sources, as well as where you plug in your headphones and monitor speakers.
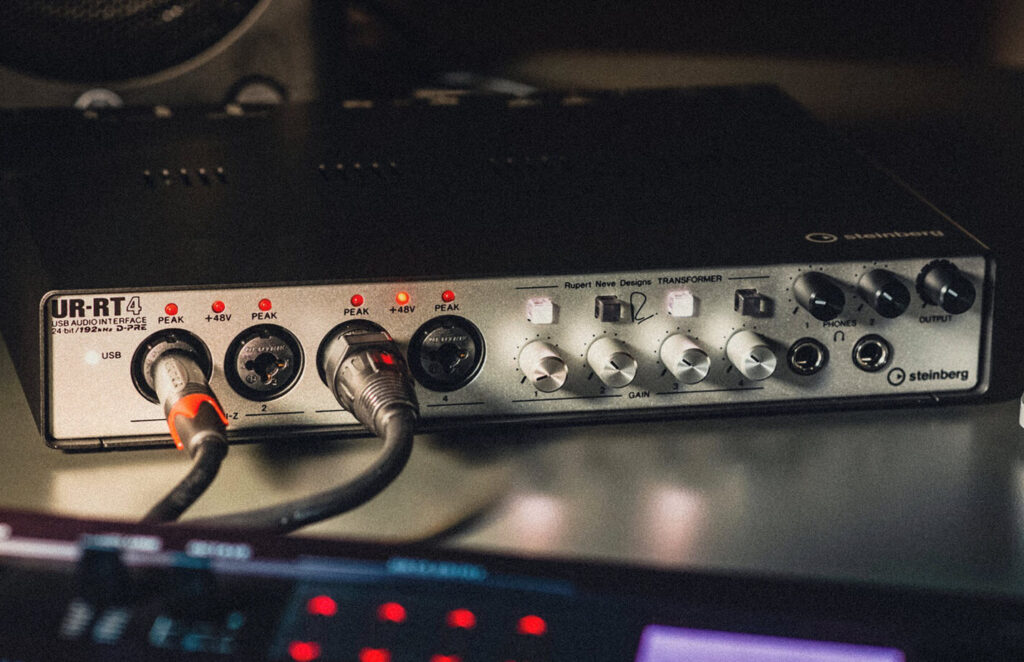
A wide variety of interfaces are available, offering two, four, eight, 16 or even more inputs. Which model you purchase will largely depend on what you need now or think you’ll need in the future. For many home recording musicians, two inputs and two stereo output channels are sufficient. You’ll probably only need more if you’re planning to record a band or ensemble.
These days, most audio interfaces connect to computers via USB 2.0 or USB 3.0, although some use Thunderbolt. It’s best to buy an interface with the same connectivity format as your computer.
However, USB is backward compatible; in other words, assuming you have the correct adapter, you can connect a USB 3.0 device to a USB2.0 computer … but not vice versa. Whenever you connect a newer version of a format to an older one, the data will get processed at the speed of the slower format. Even if you don’t yet have a USB 3.0 computer, it still might make sense to get a USB 3.0 interface and use an adapter. That way, you’ll gain in connectivity speed and bandwidth when you do buy a new computer.
Two of the most important components in an audio interface are its microphone preamps and its converters. A preamp is necessary for raising the microphone signal to line level so that it has sufficient gain for recording and connecting to other gear. The converters transform your incoming audio signal from analog to digital on the way into the computer and from digital to analog on the way back to the interface. Better converters equate to better quality audio.
Generally, the more you spend on an audio interface, the higher the quality of both mic preamps and converters, but some models, such as the Steinberg UR-C Series (all USB 3.0 devices), offer excellent quality preamps and converters at an affordable price.

Monitors
Unless you plan to mix solely on headphones (which is possible but not advisable), you will need a pair of studio monitors. Studio monitors are designed to accurately reproduce the frequencies of the audio you’ve recorded. That’s crucial for creating mixes that translate to other audio systems outside your studio.
Monitors come in a variety of sizes, defined by their woofer size. Most contemporary monitors are self-powered, so you don’t need a separate amplifier.
The size of the woofer largely determines how much bass you’ll hear; for example, eight-inch woofers deliver more low-end than monitors with six-and five-inch woofers. If your budget allows and you can comfortably fit them in your studio, consider getting eight-inch monitors like the Yamaha HS8.
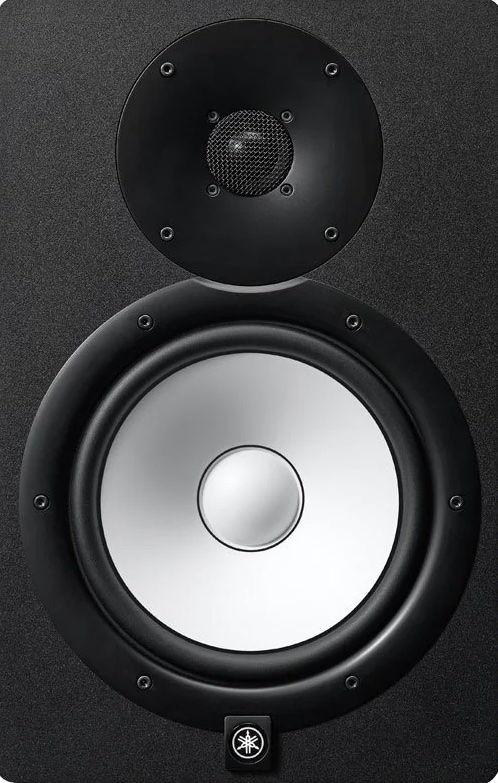
Another option for adding bass to your monitoring setup is to augment your system with a subwoofer. Adding a sub like the Yamaha HS8S to monitors with 5-inch woofers (like the Yamaha HS5) will give you enough bass response to mix even low-end-heavy hip-hop or EDM music. A configuration with two monitors and a subwoofer is called 2.1-channel.
One of the significant differences between home and commercial studios is that the latter are purpose-built for recording and mixing, with rooms that are acoustically treated. Home studios are almost always set up in existing spaces like bedrooms and dens, which are almost never constructed with acoustics in mind.
As a result, many home studios have problematic acoustics that can make it hard to monitor accurately. For example, you might hear more bass or less high-end than what’s in your mix because the room acoustics exaggerate those frequencies.
Proper monitor placement can help but won’t eliminate acoustical issues. If you have the budget, consider getting acoustic treatment for your studio. (Do an online search for “acoustic treatment.”)
Mics and Accessories
Another critical ingredient in your studio is your microphone (or microphones). Mic type and quality can considerably affect the sound of your recordings.
If you can only afford one microphone, get the best large-diaphragm condenser model your budget allows. Such mics generally offer good sonics and are versatile enough to be used on both vocals and instruments.
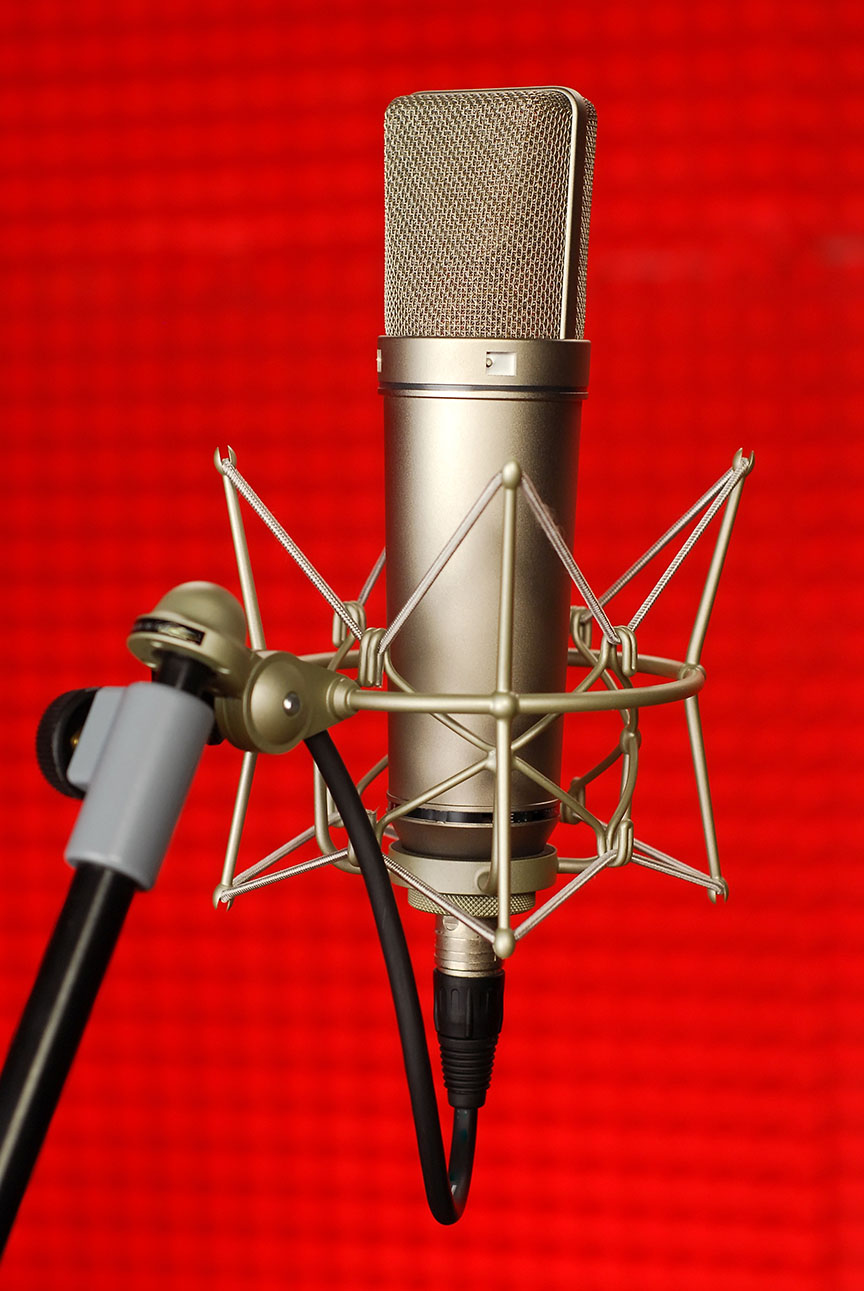
You’ll also need cables and a stand for each mic. In the studio, boom stands offer much more flexibility of placement than straight stands. It’s worthwhile to invest in a heavy, good quality boom stand because it will be easier to manipulate and more durable than a cheap one.
If you’re planning to do any MIDI recording, you’ll also need a controller keyboard and/or a pad controller. (Most MIDI keyboards offer some pads, but they are rudimentary in what they can do compared to a dedicated pad controller.) You’ll likely want to tap in drum parts to give them a more realistic feel.
Fade Out
Once you get your gear and setup squared away, you can focus on learning how to record. Like any skill, you can’t become proficient overnight. Although you want to learn as much as possible from friends with studios and online learning resources, there’s no substitute for experience. Record some projects, even if just for practice. The more you do, the better you’ll get.
Check out our other Recording Basics postings.
Click here for more information about Steinberg Cubase.


