Recording Acoustic Instruments, Part 1
Learn about microphone types and mic placement.
One of the more challenging aspects of producing music in a home studio is recording acoustic instruments. Without the acoustic treatment and expensive gear you find in a commercial studio, it requires effort and experimentation to get high-quality results.
In the first of this three-part series, we’ll cover some critical concepts; in Part 2 and Part 3, we’ll give you some specific recommendations for how to mic various instruments.
Microphone Options
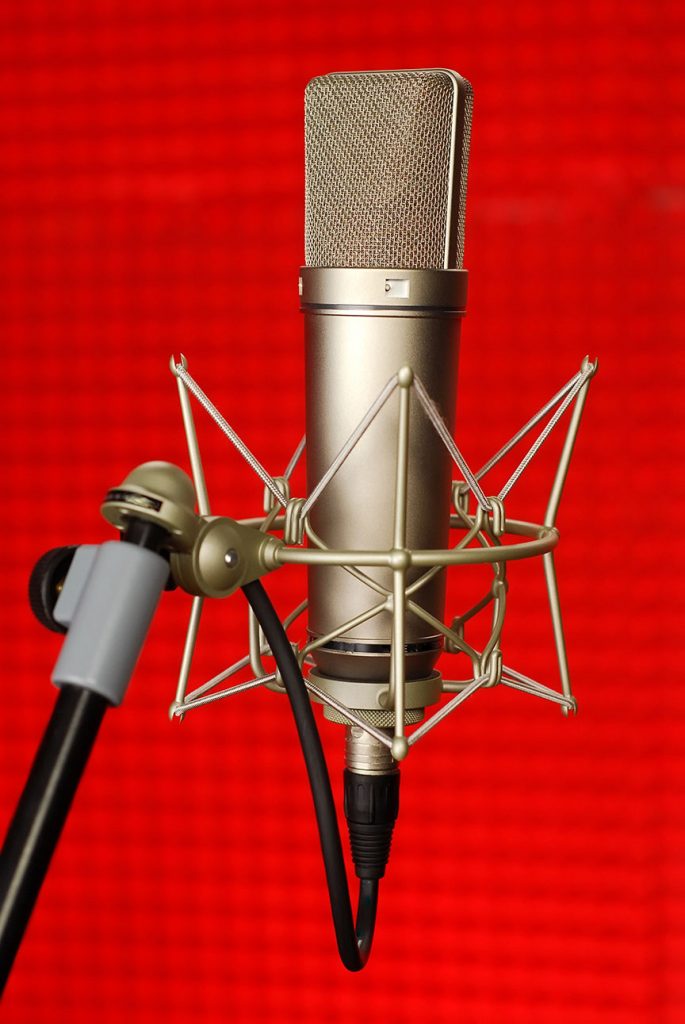
Let’s start by looking at the different types of microphones available. Condenser mics, which require an external power supply (48 volts of phantom power), are the best all-around choice for recording because they most accurately pick up detail and are especially good at responding to transients — the initial peak of a sound wave.
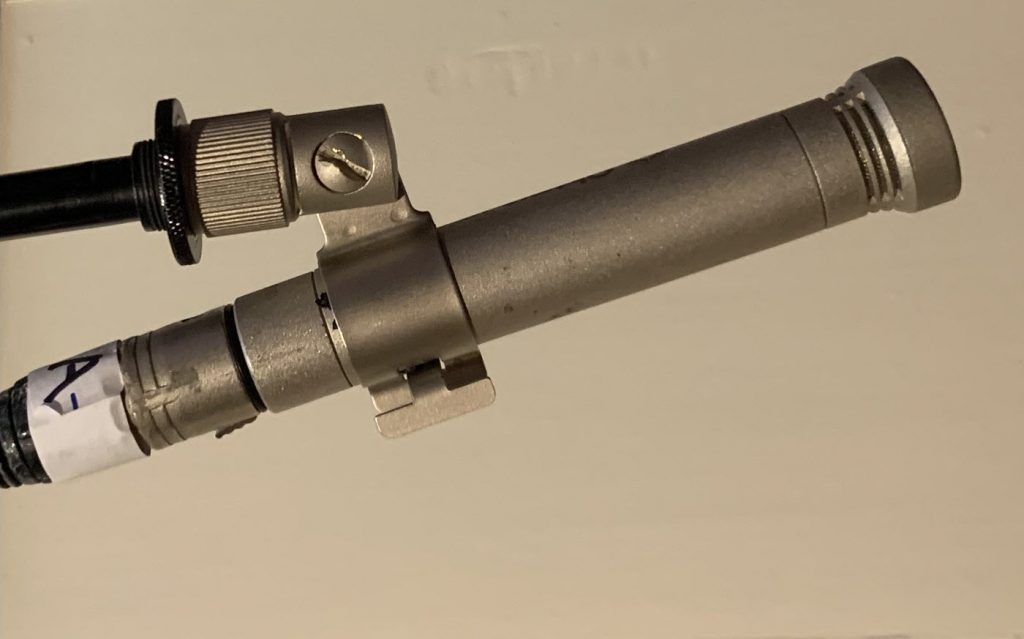
Condensers fall into two categories: small-diaphragm (sometimes also referred to as “pencil” mics) and large-diaphragm. Small-diaphragm models are particularly good for capturing high-frequency content such as the attack of a pick on a guitar, or a stick striking a cymbal. However, large-diaphragm condensers are better at capturing the sound of instruments that produce a wide range of frequencies, including lots of mids and lows … which is one reason they’re also the preferred type of mic for recording vocals. If you’re only going to get one mic for your studio, a large-diaphragm condenser is the most versatile and therefore your best option.
Dynamic mics are less sensitive than condensers, so they deliver lower-level signals than similarly placed condenser mics. They are rugged and come in a variety of sizes and shapes, plus they can handle loud sounds without overloading, which is why they are often used for live performance; however, they generally don’t capture as much high-end detail as condensers. That makes dynamic mics less desirable for recording applications, although they are often used on drums and for certain wind instruments.
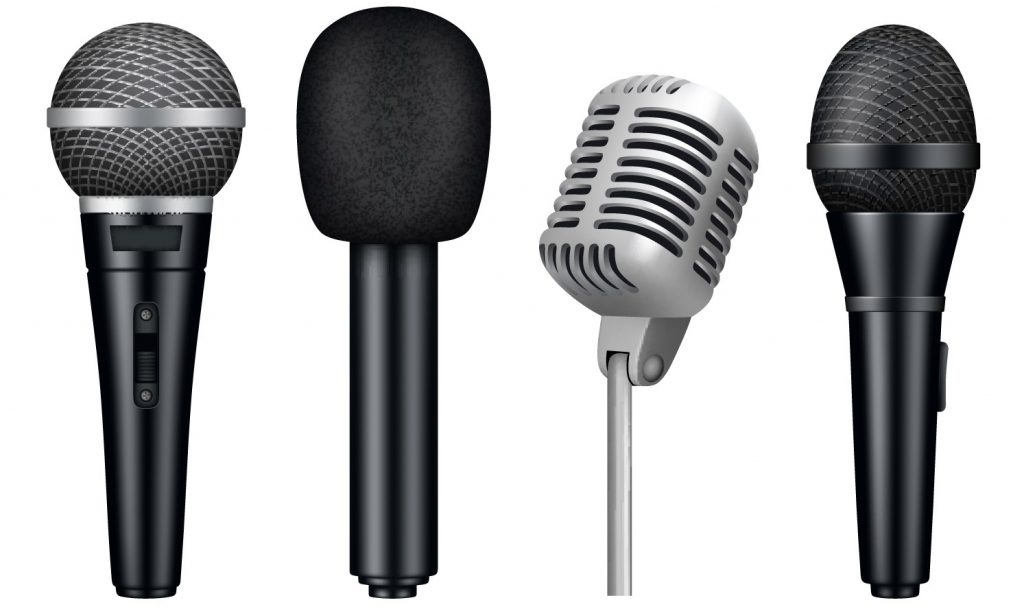
Ribbon mics don’t capture the high-end as accurately as condensers, but they impart a warm tone that can be highly pleasing when used on the right source. However, good quality ribbon mics are generally more expensive than equivalent condensers or dynamics and tend to be somewhat fragile.
A Pattern of Capture
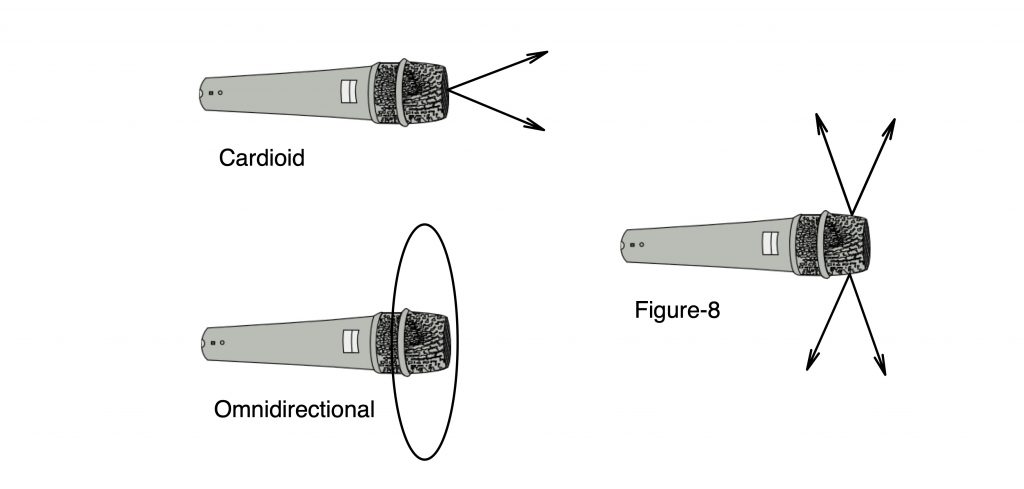
Every mic exhibits a particular polar pattern — a measure of its directionality. A mic with a cardioid polar pattern picks up mainly from the front and rejects sound from the back and sides. Two variations, hypercardioid and supercardioid, are even more directional but pick up a little more from behind. All the variations of the cardioid pattern are referred to as unidirectional mics. You generally want a mic with a unidirectional pattern if you’re pointing it directly at a source.
Omnidirectional (“omni”) mics pick up equally from all around. Most ribbon mics have a bi-directional figure-8 polar pattern, meaning that they pick up equally from the front and back but reject sound from the sides. Many condenser mics offer multiple patterns so you can change them from cardioid to omni to figure-8 with the flip of a switch, making them quite versatile.
The Proximity Effect
An important concept to understand about miking is the proximity effect that occurs with unidirectional or figure-8 mics, which causes increased bass response as they are placed closer to the source. You’ve probably experienced the proximity effect with vocal mics. When you put your mouth right up to the mic, your voice gets bassier. (Radio DJs often use this to make their voices sound bigger and more authoritative.)
Although you won’t notice it as much on instruments, it does factor in when deciding on mic placement. Mics with an omnidirectional pattern exhibit virtually no proximity effect, which is something you can use to your advantage in certain situations.
Finding The Sweet Spot
Microphone placement is probably the most critical aspect to successfully recording acoustic instruments. Just putting a mic in front of the source is not enough. You want to find the “sweet spot” — the place where the mic will capture the sound of the instrument with the greatest accuracy.
Finding the sweet spot can be as simple as walking around and listening to the instrument as it is being played — you may be amazed at how different it sounds up close versus a few inches (or feet) away. All you have to do then is to place a microphone where it sounds best. However, if the goal is to record yourself playing the instrument, that’s obviously impossible. A better method is to gain an understanding of how the instrument creates sound. That knowledge will inform you about where to start placing the mic. Some instruments sound fuller if you move the mic back a little. If you put a mic quite close to one of those instruments, you might not be getting the complete sonic picture. On many instruments (most notably, acoustic piano), the sound emanates from their entire body.
You also must consider the circumstances of the session and the acoustics of the room you’re recording in. If there are multiple musicians playing in the same room simultaneously, for example, you’ll have to mic instruments more closely in order to minimize bleed (the sound of other instruments coming into the microphones). This will have the (perhaps unintended) consequence of giving you more direct sound — that is the actual sound of the instrument.
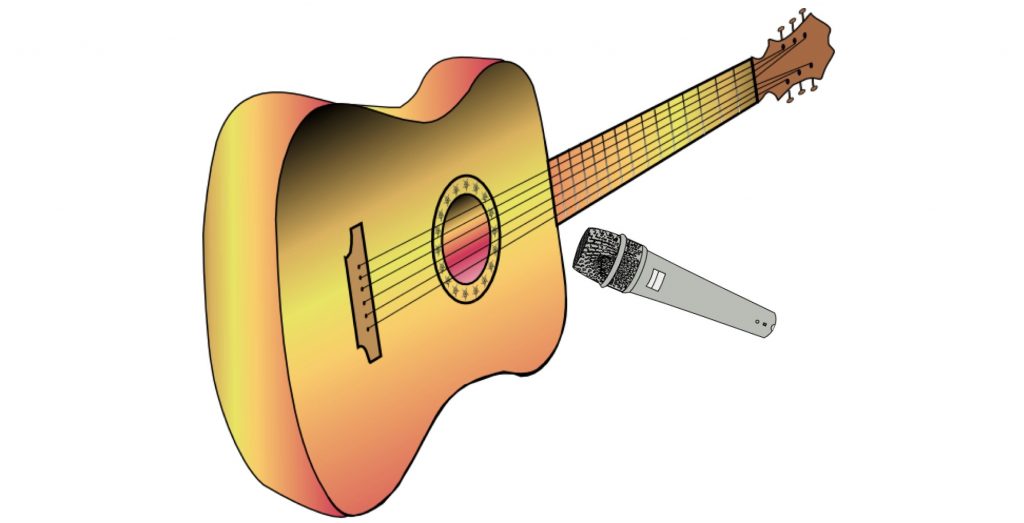
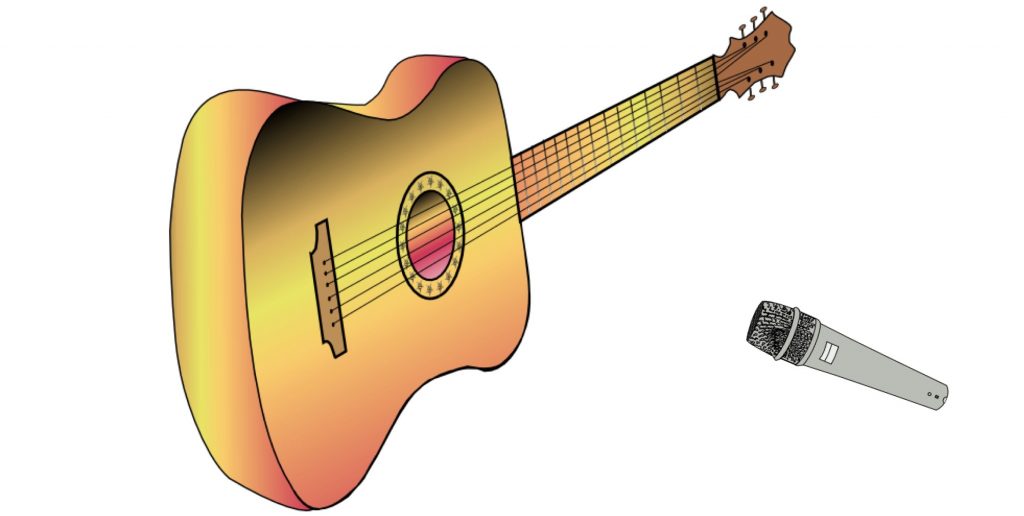
Conversely, moving a mic further back means that you’ll be capturing less direct sound from the instrument and more of the reflected sound coming from the waves bouncing around the room. If the acoustics are favorable, a little room sound can be good. However, in an acoustically challenged room (like one that’s overly boomy or reverberant), the further back you place the mic, the more it will pick up the not-so-desirable room sound.
What Are You Going For?
Last but by no means least, you also need to consider the instrument’s role in the song arrangement and its sonic characteristics — for example, if it’s playing long sustained notes or short accents, or whether the guitarist is playing with a pick or with their fingers.
Let’s say you’re overdubbing an acoustic guitar that’s strumming chords underneath a dense arrangement of many other instruments and vocals. Because it will be serving as a rhythm component and mixed relatively low, you may want to approach it differently than if it’s the only (or the featured) instrument supporting the vocal.
In the case of a strumming guitar, your goal would be to capture the guitar’s mids and highs clearly and cleanly because those are the frequencies that will cut through a full mix. But if a guitar (or piano) is the sole instrument in an arrangement, or part of a duo or trio of instruments without drums — and thus featured more prominently — you’ll want to record a more full-frequency sound. In that situation, you also might consider recording the instrument in stereo.
Doubleheader
Unless you have a purpose-built stereo mic, stereo miking requires two microphones, preferably of the same type. Placement is tricky when you have more than one mic on the same source, and it can create phase problems if you don’t follow specific rules of physics. That’s because, depending on the distance of the mics to the source, the sound of one mic can arrive sooner than the sound coming from the other.
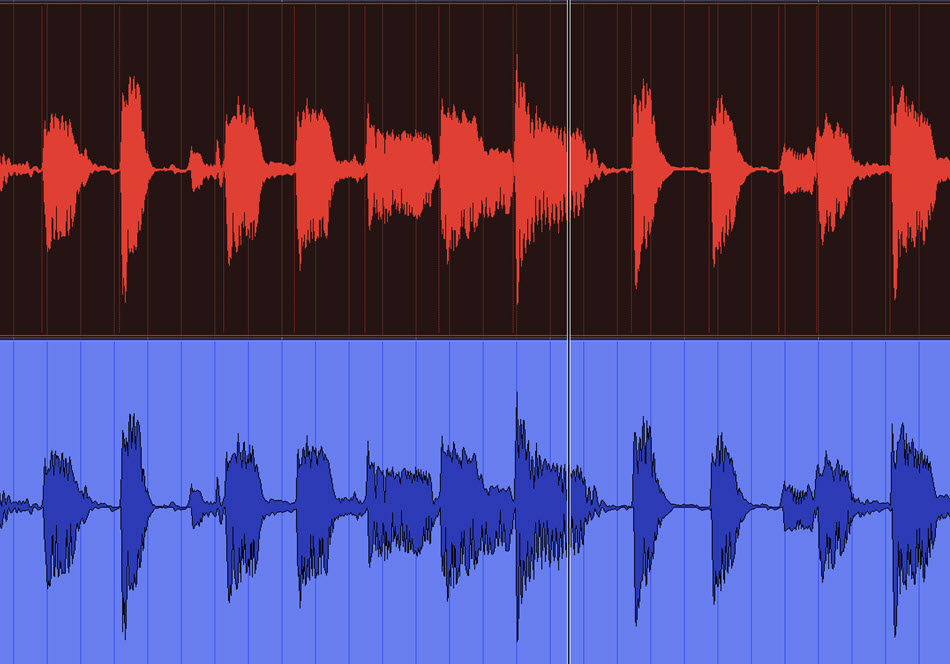
When the timing of the waves on the two tracks is not synchronized, they’re considered out of phase. When that happens, it creates a phenomenon called comb filtering, in which the waves interfere with each other and degrade the sound quality when played back together, particularly when listened to in mono.
One way to avoid phase issues when using two mics on a source is to observe what’s called the 3-to-1 Rule: Make sure that the distance between the microphones is at least three times greater than the distance of each mic to the source.
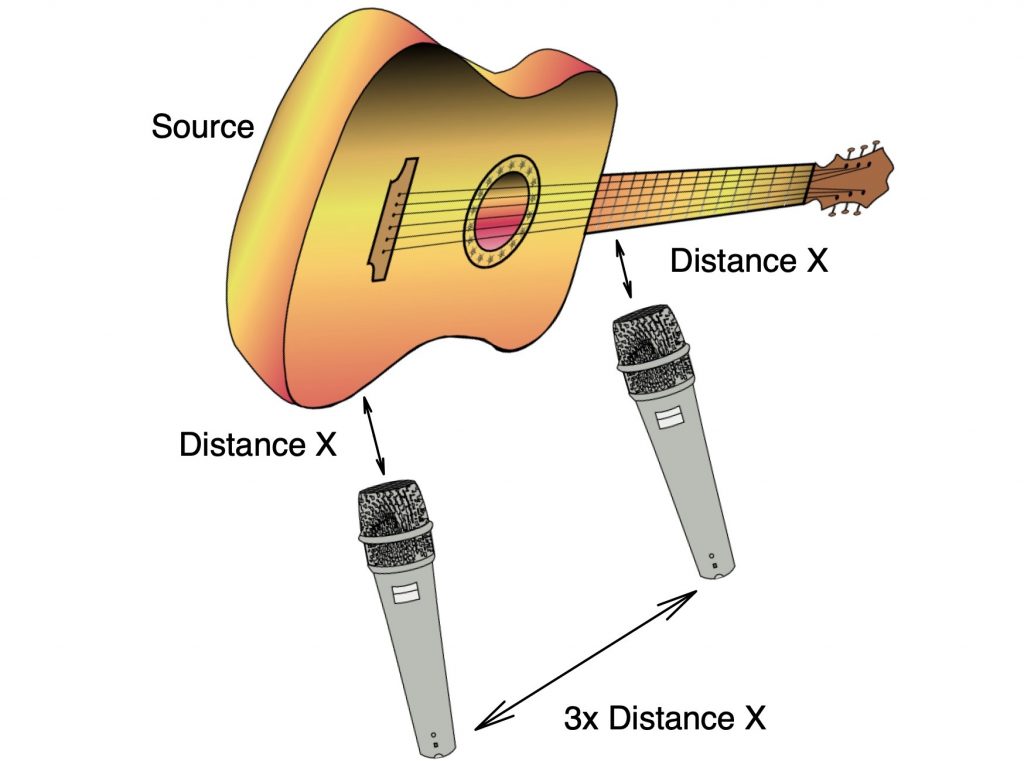
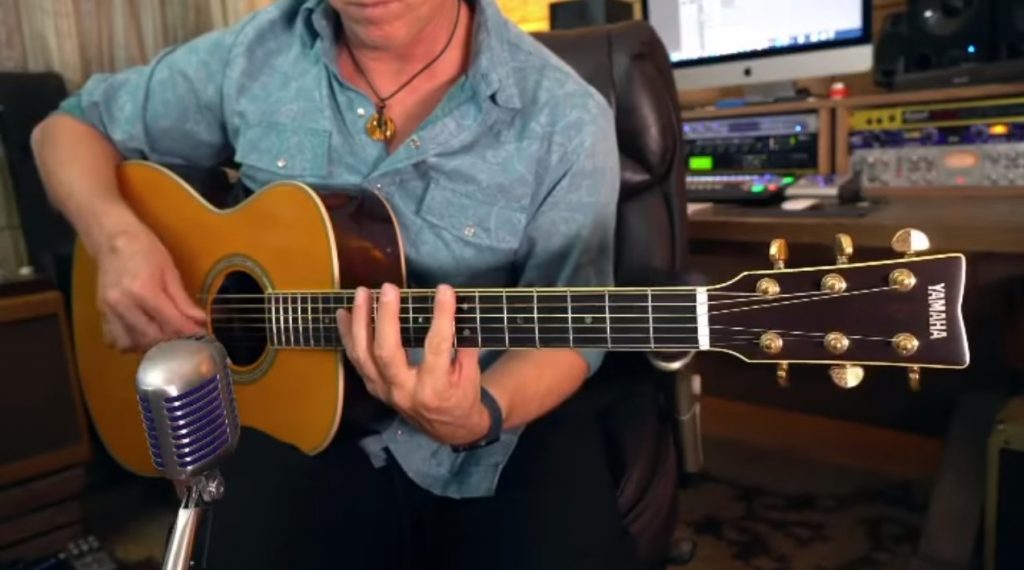
For example, suppose you’re recording an acoustic guitar, and you have one mic aimed behind the bridge and one at the 12th fret, with both mics 10 inches from the guitar. To follow the 3:1 Rule, you’d need to make sure that they were at least 30 inches apart.
There are actually many different stereo miking techniques, the simplest of which is the X-Y method, often used when recording acoustic guitar. A little online research will give you information about other methods, such as A-B, Mid-Side (M-S) and ORTF.
Check out Part 2: Miking strategies for various instruments.


