
Recording and Mixing Background Vocals
Almost all recorded songs that have lead vocals also include background vocals — harmony parts, oohs and ahhs, call-and-answer sections, you name it. In this article, we’ll offer suggestions to help make your background vocal recording and mixing as efficient as possible.
Use the Right Mic
Although you often see live performances with multiple singers on separate mics, such a setup isn’t usually practical in a home studio. Beyond space issues, having more than one open vocal mic in a room will lead to a lot of leakage (“bleed”) between the microphones and possibly some phase problems as well. That’s why, in most cases, you’ll get the best results recording background vocals one part at a time after the lead vocal is done. Another advantage to this approach is that it gives you the ability to focus on each part as it’s being recorded and thus make sure the performance, pitch and timing are as good as they can be.
For such overdubs, you want to set up the same way you would for lead vocals, with a pop screen in front of your best quality vocal mic (preferably a large-diaphragm condenser). If that mic offers selectable polar patterns, set it to cardioid (unidirectional) so that only picks up signal from the front. (This is the standard setting for most mics.)
That said, many singers are so used to blending their parts live that can be difficult for them to adjust to overdubbing their parts individually. In those cases, you’ll be best off recording multiple singers simultaneously singing into one mic. Here, the microphone’s polar pattern is key. If there are just two singers, you can get by with the mic set to a standard cardioid pattern, or, if the mic offers a bi-directional figure-8 pattern, you can use that and place each singer on either side of the mic, as shown here.

If there are more than two singers, you’ll need a vocal mic that offers an omnidirectional pattern. These mics pick up equally from all sides, so you should be able to get a good balance after experimenting with how far back everyone is standing. Start by positioning everyone about five inches or so away and do some test recordings. If one part sounds too loud, move that person back a little. If they’re too soft, move them forward. Since you’ll be recording this mic on a single track, you won’t be able to adjust the blend afterwards, so make sure it sounds right before going for a take.
Bear in mind that you’ll also need to have enough headphones on hand for however many singers there are, plus one for yourself if you’re in the same room with them (few home studios have the luxury of a soundproofed control room, as you’ll find in a professional studio). Here, devices known as headphone amplifiers or headphone distribution boxes will come in handy, as they not only split a single incoming headphone signal into multiple outputs but often also allow each person to independently adjust their own headphone levels.
Double-Track or More
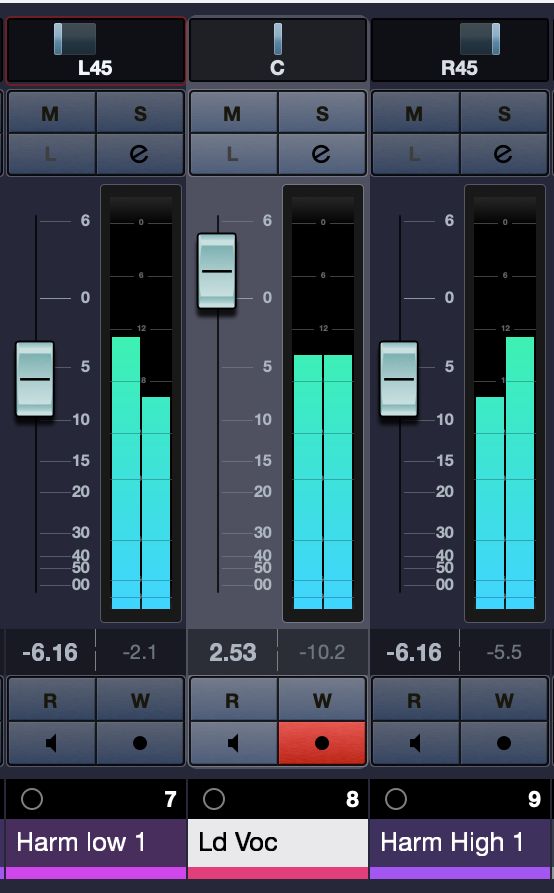
If you want the backing vocals to be spread across the stereo spectrum (which will make them sound bigger and wider), you’ll need to record them several times on several tracks. Not only does this thicken the sound, it also allows you to create better balances and more interesting panning configurations. The screenshot below shows two harmony parts — one high and one low — each double-tracked and evenly balanced on either side of the lead vocal.
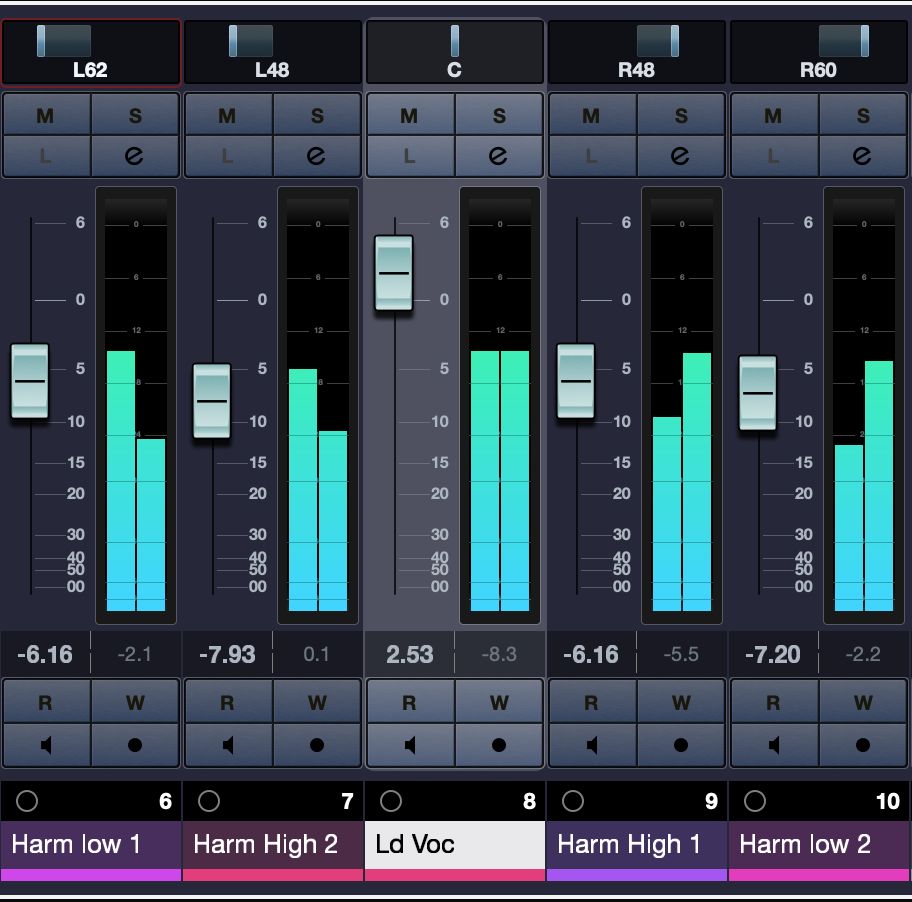
If you’re going for a more minimal sound, you can get by with just one pass of each harmony; however, this gives you fewer options for panning.
In addition to harmonizing with the lead vocal, consider doubling it — in unison or an octave up or down — during the parts of the song where the harmonies are. This can add additional heft to the vocal sound as a whole.
Artificial Doubling
If you want to thicken the vocals but the singers are no longer available to do another performance, consider doubling their parts by duplicating the original in your DAW. Doing this isn’t as impactful as using doubles that are actually sung, but it can help fill out the sound.
However, you can’t simply use the Duplicate command on a track, pan it opposite and expect it to sound like an actual double. It won’t. Two of the same parts panned to either side will just sound like a louder mono part panned to center. To make it sound like two separate parts that are panned in stereo, you need to make the duplicated track sonically different by changing its timing or pitch (or both) slightly.
For a start, try delaying the copied track slightly. This can be accomplished by inserting a mono delay on the copy, setting the mix (dry/wet) control to 100% wet and setting the delay time to 40 or 50ms as a starting point:

You can also use a plug-in to apply a few cents of pitch shift up or down to the copy. Just don’t shift it so much that it perceptibly affects the tuning.
Clean It Up, Line It Up, Pitch It Up (or Down)
It’s essential to make sure that all vocal parts are cleaned up, lined up and pitch-corrected where necessary.
For the clean-up, edit out any extraneous noises picked up during the recording of each part.
For the line-up, make sure that the harmony parts match the lead vocal’s phrasing. That includes not only when notes start but how long they sustain. You can usually see alignment issues by visually comparing the waveforms of the lead and harmony tracks. If the start- and end-points of lines are inconsistent, you can edit the waveforms to correct them. This might entail sliding the first note of a harmony forward or backward in time to make it starts at the same time as the lead, or it might require shortening the end of a harmony line so it cuts off at exactly the same time as the lead vocal. Steinberg Cubase offers an Audio Alignment feature that can be quite helpful in these situations.
Lastly, pitch correction functions or plug-ins, such as the VariAudio feature in Cubase, can be employed if you hear singers going flat or sharp on certain notes or phrases.
All Together
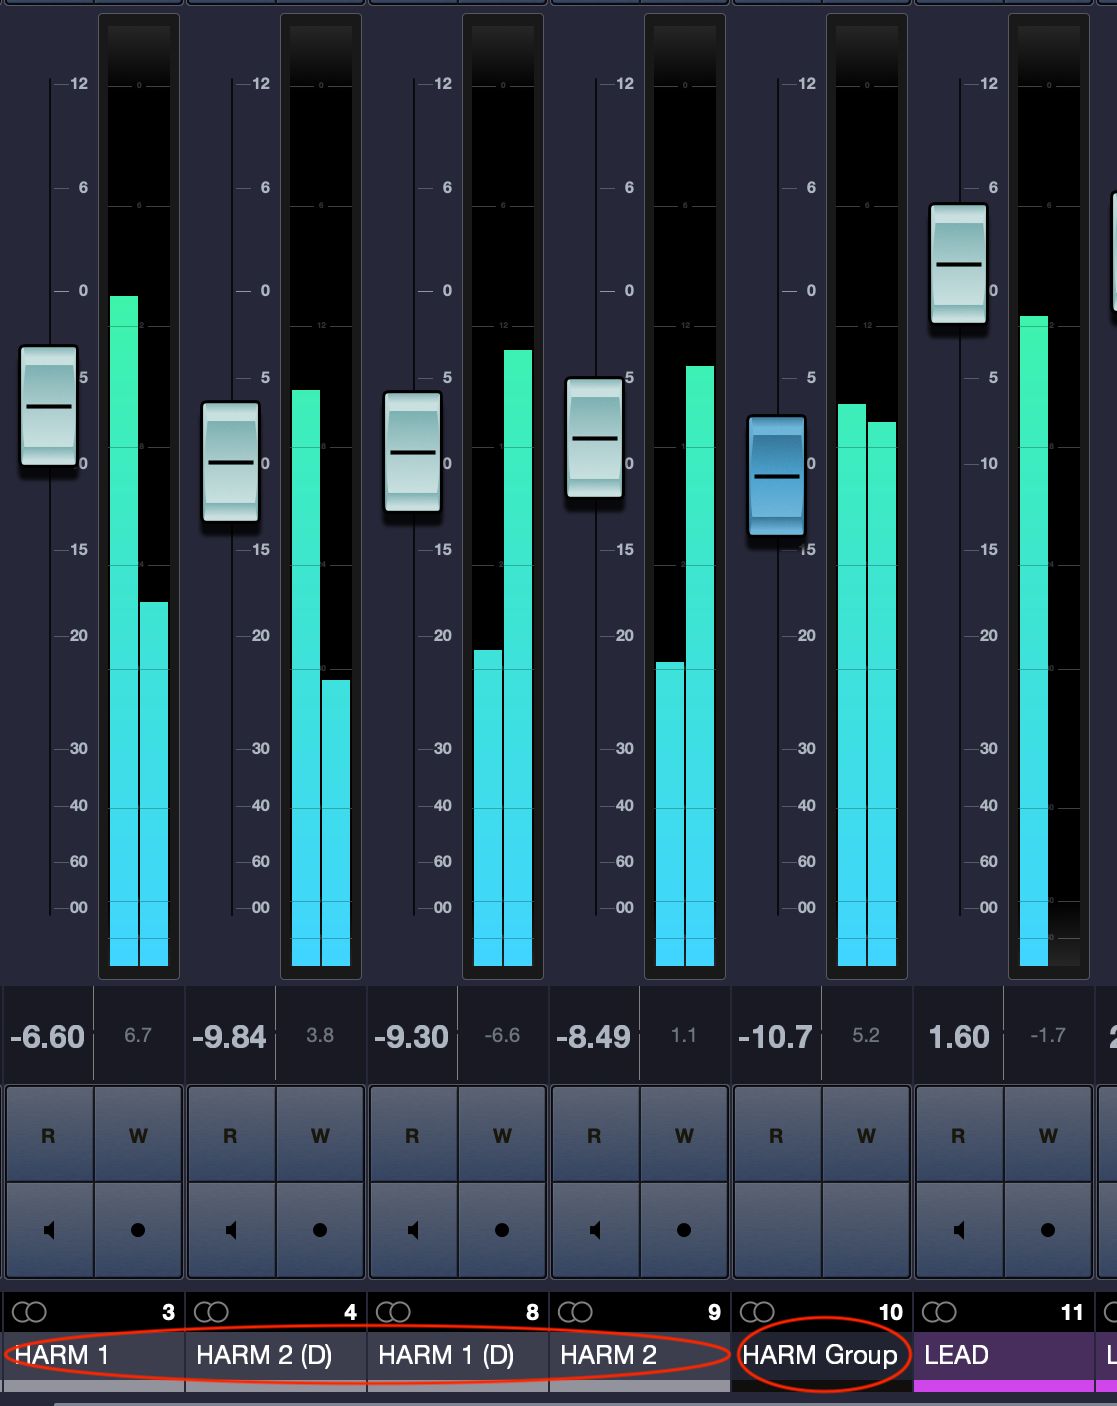
When mixing harmony parts, think of them as a single instrument rather than as individual tracks. For that reason, it’s helpful to route them — especially if you have a lot of them — to stereo aux channels (called Group tracks in Cubase). That way, you can globally adjust their level and process them, which will help them sound more integrated.
For example, if you have two different harmony parts that you’ve tripled, you’ll end up with six background vocal tracks. You’re going to want to compress them all together to make them more similar from a dynamics standpoint, and you might also want to equalize them the same way, or add the same amount of reverb to all of them. By routing them all to a stereo aux track, you can insert a compressor, EQ or reverb plug-in.
You’ll probably want to do most of your panning on the individual tracks beforehand and leave the vocal bus panned hard left and right (in Cubase, you can switch to the Stereo Combined panner for your bus track, which lets you pull the left and right sides inward).
Listen Up
Here are some audio clips of a three-part vocal harmony (one lead and two harmony parts). First, here’s what the harmony sounds like with the two parts panned wide. Particularly if you listen on headphones, you’ll notice that it sounds a little unbalanced.
In this second clip, the harmonies are panned close to the center. The result feels more glued together.
Now, we’ll add doubles of each harmony part and give them a wide, balanced panning treatment.
Next, we’ll bring the higher harmonies closer to the center.
In this last example, the lower harmonies are panned on the inside and the higher ones on the outside.
To my ears, this is the most balanced approach. Whether or not you agree, one thing is certain: panning placement can drastically or subtly impact the background vocals.
The best way to become adept at recording and mixing background vocals is by doing it. Even if you’re not yet producing final tracks in your studio, try recording songs with separate lead and harmony vocals as an exercise. This will also give you an excellent opportunity to practice your arrangement and mixing skills.
Check out our other Recording Basics postings.
Click here for more information about Steinberg Cubase.
Keep reading


