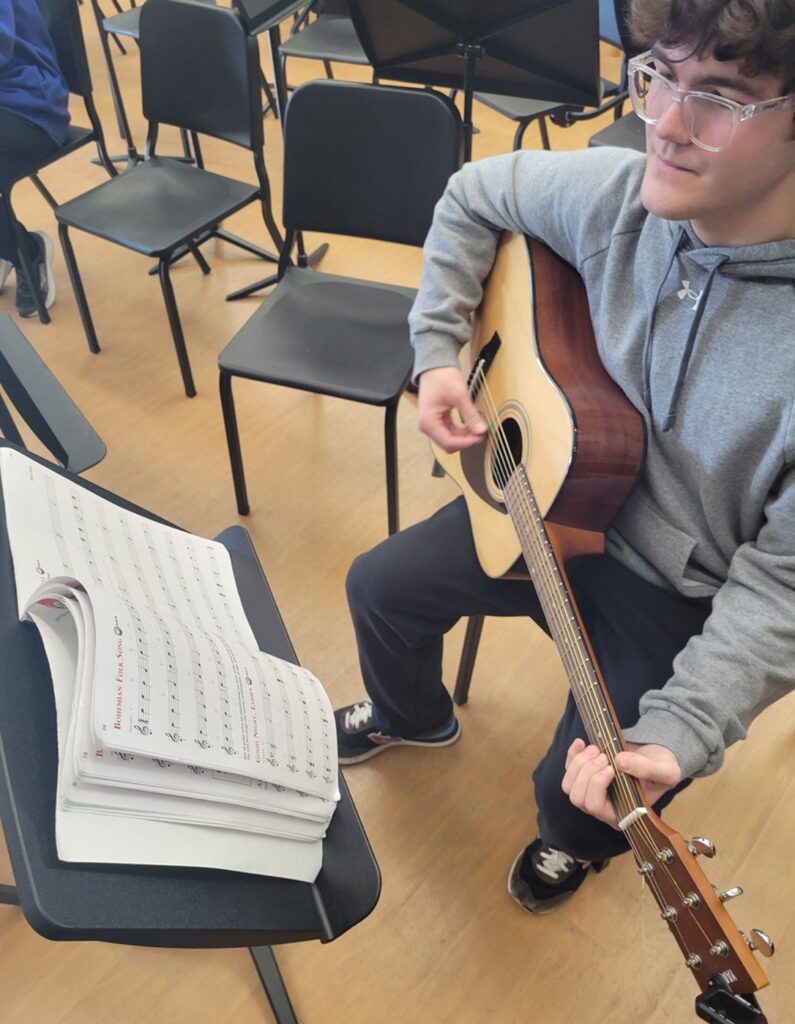
Teaching Chord-Based Songs for Beginner Guitar and Ukulele
A music educator in Pennsylvania uses The Beatles’ “Eleanor Rigby” to teach students how to play chords in a structured manner.
After I wrote an article about starting a guitar and ukulele elective at Springfield High School in Pennsylvania, I found a social media comment about it that said: “It’s always why, not how.”
I hear you!
In this article, I will share how I teach beginner-level high school guitar and ukulele classes using chord-based songs. In a separate article, I focus on learning melodies from traditional notation using method books.
Teaching Chord-Based Songs
Learning to play chords in an accompanying style along with popular music is what draws most students to the guitar and ukulele elective. While there are many method books that help you teach students the chords to their favorite pop or rock hits, I have built my own instructional content when teaching these selections because it allows me to:
- Tailor selections to meet our curriculum.
- Use songs that directly appeal to each class’s musical interests.
- Present the material in a structured manner that emphasizes practice and reinforcement.
- Simplify/modify selections to meet the needs of my students.
The songs you chose to study will vary based on your curriculum and your students’ interests, age level, experience and general skill level entering the class. I look for songs that are geared toward teaching students chords in common key signatures like C major, G major, D major, E major, etc. One great thing about teaching chords in common keys is that you can substitute a large number of songs that share the I, IV and V chords in those keys based on student interest.
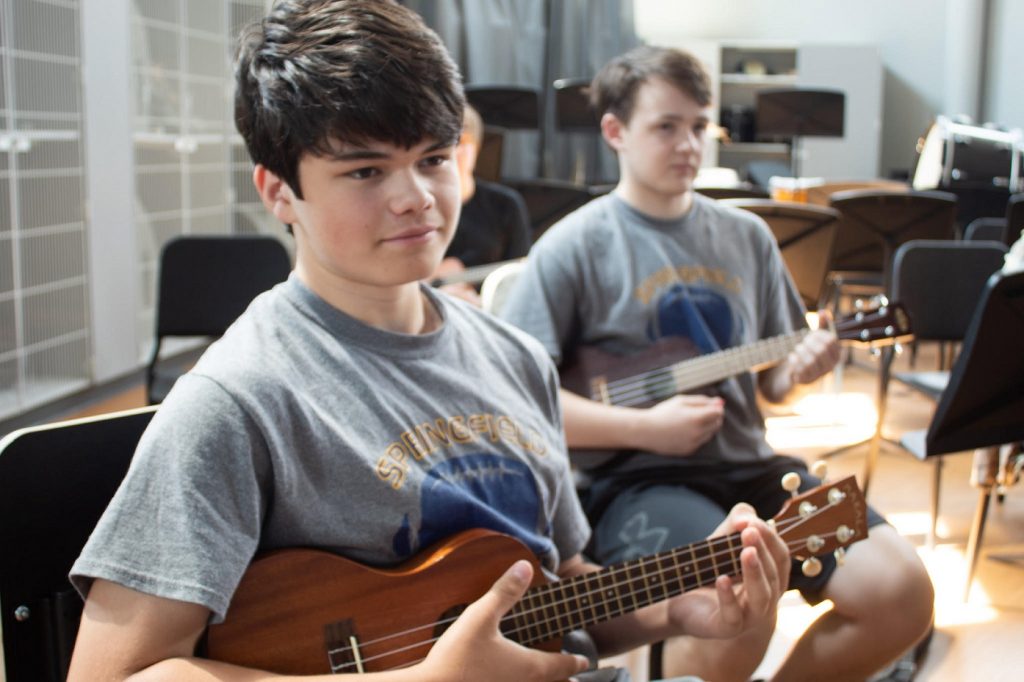
I start the semester with one-finger chords, which use only the top three strings to ease students into chordal playing. This is great for scaffolding because you can teach a song with the reduced chord fingerings and then introduce the full chord once students have mastered the technique.
As I continue through this article, I will refer to my slide deck for “Eleanor Rigby” by The Beatles, one of the first songs I teach. My slide deck includes materials for guitar and ukulele. Feel free to use it for your classes!
I start with “Eleanor Rigby” for several reasons.
- It uses only two chords.
- The chords are common and not technically challenging.
- It introduces major vs. minor.
- It has a simple, steady strum pattern.
- Students often know and enjoy the song.

The Beginning of the Teaching Process
Slide 1: Every instructional unit for a song starts with me identifying the song and artist and listening to a recording of the song. I usually pull these from YouTube and sometimes provide multiple examples, especially for selections like “Twist and Shout,” which have several well-known recordings.
Slide 2: The next step is to identify the key signature and the chords within that key signature. Students will learn the I, IV and V chords in common keys and recognize their relationship within the key signature. Because “Eleanor Rigby” only uses two chords and is the first selection I teach, I use this opportunity to teach major vs. minor chords. Most students in my guitar and ukulele classes have limited knowledge of music theory, so I focus on identifying the audible characteristic differences of major vs. minor. This is a great opportunity to plant the seed of interest in music theory!
Introducing Chords
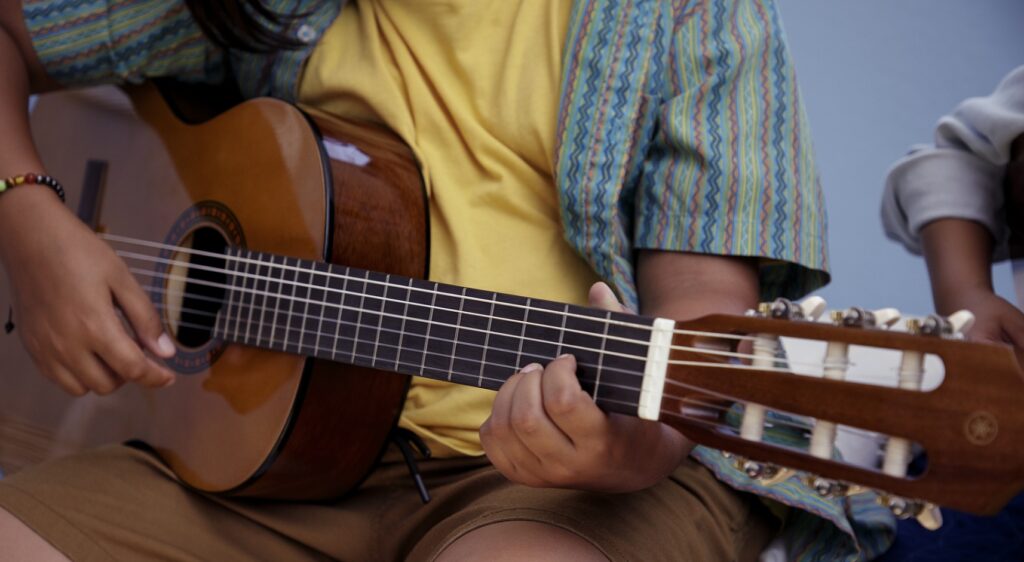
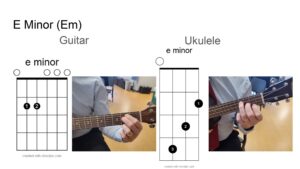
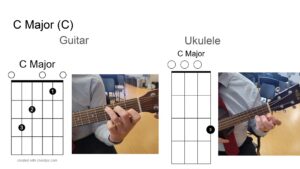
Slide 3 and 4: Next, I introduce students to the chords using chord charts and photos. For this to be effective, students must already have an understanding of how to read and apply chord charts.
I recommend including photos of someone playing the chord along with the chart. I didn’t originally use photos in my lessons, but when I did, I received a lot of positive student feedback. You can take photos yourself or find examples with a simple Google search. There are almost endless resources for chord charts, but I make a lot of my own on chordpic.com, which allows me to customize finger placement and make all my charts consistent.
When teaching students chord charts, I describe where every finger goes but description alone can be confusing — for example, when we move “down” the fretboard, we are moving up in pitch. Demonstration and physical assistance are really the keys to success. If you have a camera, project your hand placement on a smart board. As students are figuring out the finger placement of the chords, you should circulate around the room and provide feedback. Pointing to locations on the fret board as well as guiding their fingers to the right destination, with their permission, is a quick and effective way to help students figure out finger placement.
To reinforce chord finger placement, have students squeeze the shape for 10 seconds, release for 10, then repeat. This will help them develop muscle memory and develop strength with their fingers and fingertips.
Once everyone’s fingers are correctly placed, allow students to free strum a bit so they can hear the chord and get used to avoiding strings if the chord calls to only play certain strings.
Note: There are many “correct” fingerings for a chord, but I choose ones that keep fingers in the same location when transitioning to the next chord, which minimizes motion.
Chord Transitions
Slide 5: Next is one of the most challenging parts of teaching guitar: chord transitions. On this slide I outline a structured progression of exercises that you can use to help students build confidence transitioning between chords, which can be applied to any song. The goal is to create “transition time” between chords early on and then reduce that time as they gain confidence and accuracy.
There are a few big ideas that students must think about as they learn chord transitions:
- Think about common finger placement between the transitioning chords.
- Think about minimizing the amount of motion necessary.
- Think about the overall shape of the hand in that chord and not just individual fingers.
I often spend several days on transitions before putting the song together.

Putting it All Together
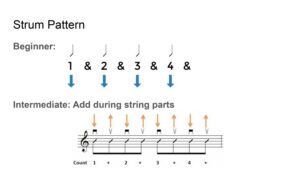
Slide 6: Next, I teach the strum patterns through counting, speaking, demonstration and repetition. Students play the strum pattern on every chord as a way to reinforce both the strum and chord shapes. I include simplified strum patterns where I can so students can achieve success quickly.
Slide 7: Next, we put it together and start making music! Early on in the course, I break down the song into sections of the form and focus on teaching how many strums or counts to play on each chord. As we progress, I will move into playing the chords along with the lyrics so students associate the chords with the form and not just a number of counts.
Just like anything else in music, the key to success is SLOW practice and ACCURATE repetition. For ”Eleanor Rigby,” I teach one section at a time and highlight the repetitive nature of most chord progressions. Once students have mastered the sections, I move to adding the lyrics on top of the progression.
Slide 8: The final step is to add lyrics to the progression. Just like the previous slide, students will play the progression and pattern in each section and then add lyrics on top. Initially, I prefer to sing along with the selections. This gives me a lot of flexibility with tempo as we are learning as well as stopping, starting and repeating with ease. When students are ready, I have them play along with a recording.
When playing with a recording, note that you may have taught the song in a different key than the original … no problem! I highly recommend using the free Transpose tool, which is an extension on Google Chrome. This allows you to shift keys and tempos on YouTube selections. I love this tool for my courses and my own individual practice.
________________________________
There are many other great pedagogical strategies that can be used and deployed within this framework. If you would like to share one, please email me and check out my article on teaching students to play melody with traditional notation.
Keep reading