How to Install In-Ceiling Speakers
Finding a spot in your room for a pair of speakers can be difficult. Another challenge is that some speakers do not distribute sound evenly. For these reasons, in-ceiling speakers often provide the best solution.
In this article, we’ll show you everything you need to know to install a pair of in-ceiling speakers, using Yamaha NS-IC800s as an example. These speakers provide rich sound with excellent dispersion to fill your room with high-quality audio.
First, gather the tools you will need:
– Ladder
– Floor covering / tarp
– Stud finder
– Drywall saw
– Blue painter’s tape
– Measuring tape
– Pencil
– Wire stripper
– Screwdriver
Now you’re ready to get started! Simply follow these steps:
1. Plan your placement. Your in-ceiling speakers should be central to the room, and they should also be oriented with your furniture or prime listening spot so that the left and right speakers are actually to the right and left of where you will be sitting. You will also probably want to align the speakers with other ceiling elements (like recessed lighting fixtures) so there is a visual sense of symmetry.
2. Mark your locations. Locate your ceiling joists with a stud finder and mark them with blue tape so that you can properly align the speaker opening between the joists. Measure your distances from the other ceiling elements for alignment purposes. A good rule of thumb is to keep the speakers about eight feet apart or so. This will vary based on room size.
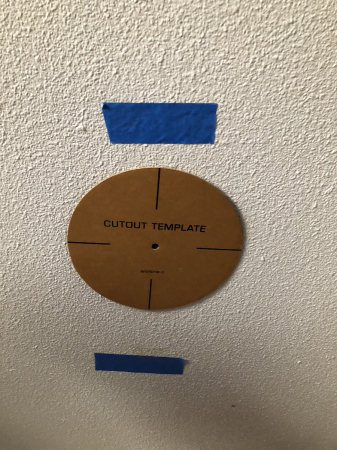
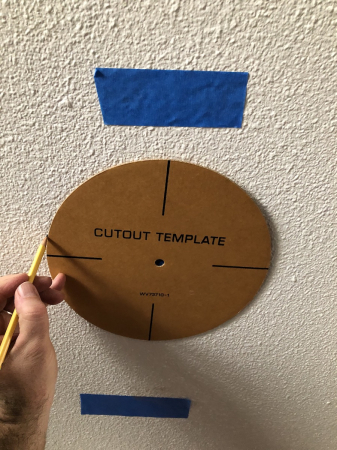
3. Use your template. A nice feature of the Yamaha NS-IC800 is that it includes a template that is the exact opening size you will need to cut. If you’re using a different make or model of in-ceiling speaker, you can create a similar kind of template with a piece of stiff cardboard. Place the template on the ceiling and in alignment with your other ceiling devices, then trace around it with your pencil.
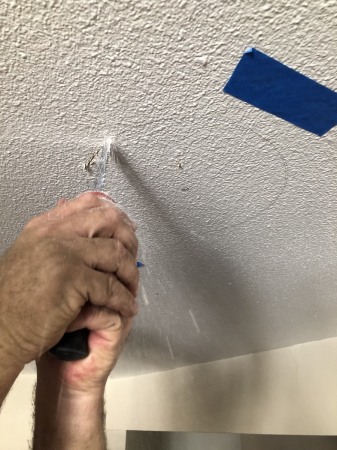
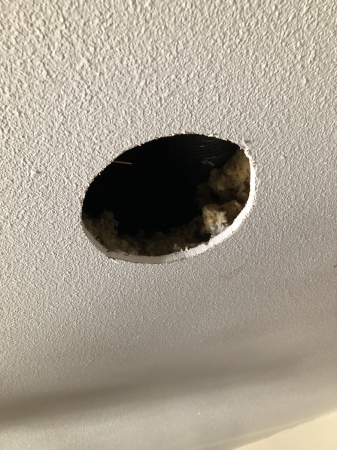
4. Cut your openings. Once you have your opening marked out, grab your drywall saw and get to work. Keep in mind that you are going to make an enormous amount of dust, so be sure to protect your floors before you start cutting those holes.
5. Run your wires. Now that you have your openings cut, this is the perfect time to run wire back to your amp or AV receiver. Take advantage of your attic space if there is one over the room. Hopefully you are connecting to a receiver like the stellar Yamaha RX-V6A, which has a handy “Zone 2” feature that lets you fill an additional room with sound.
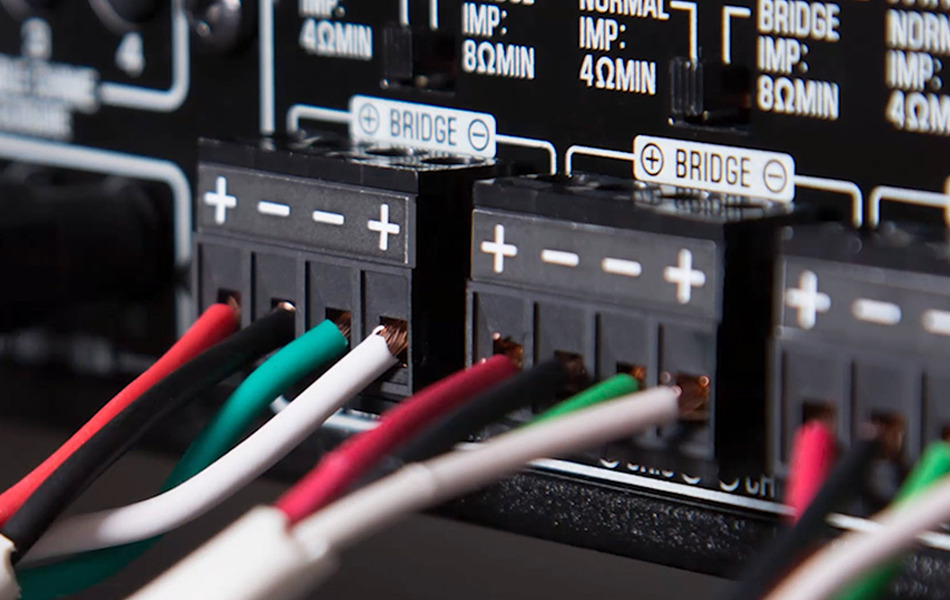
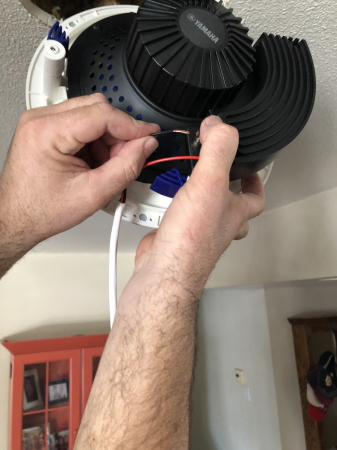
6. Make your connections. With your amp or receiver turned off, strip the conductors of your speaker cable and connect them to the speakers before you install them in the ceiling. Only expose enough copper to fit in the terminals. Any additional exposed copper leaves you susceptible to creating an electrical short and potentially damaging the amplifier.
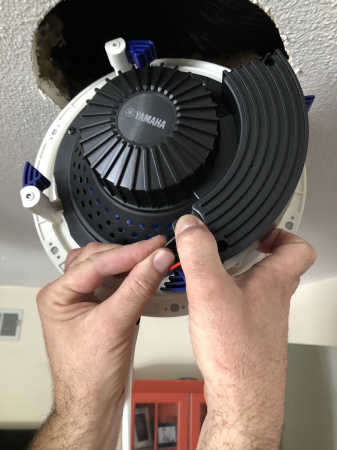
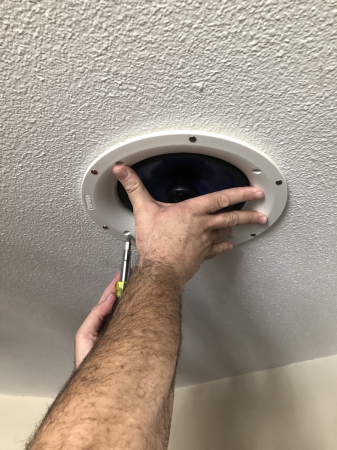
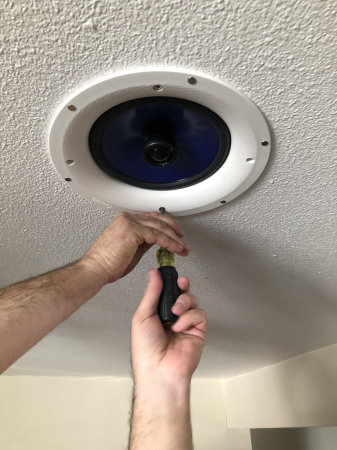
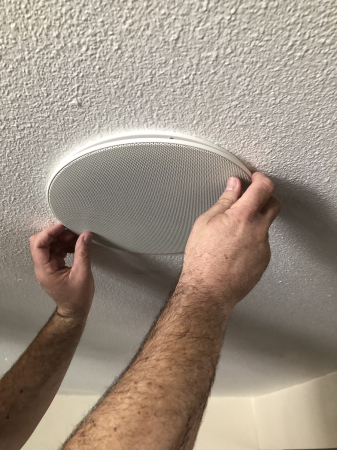
7. Install your speakers. With your speaker wires firmly in place, place the speaker into the opening and use a manual screwdriver to tighten the screws. (I recommend a manual screwdriver so that you don’t run the risk of over-tightening and damaging the drywall.) The NS-IC800s have dogleg brackets that will grab the inside of the drywall and allow you to clamp the speaker in place by simply tightening the screws.
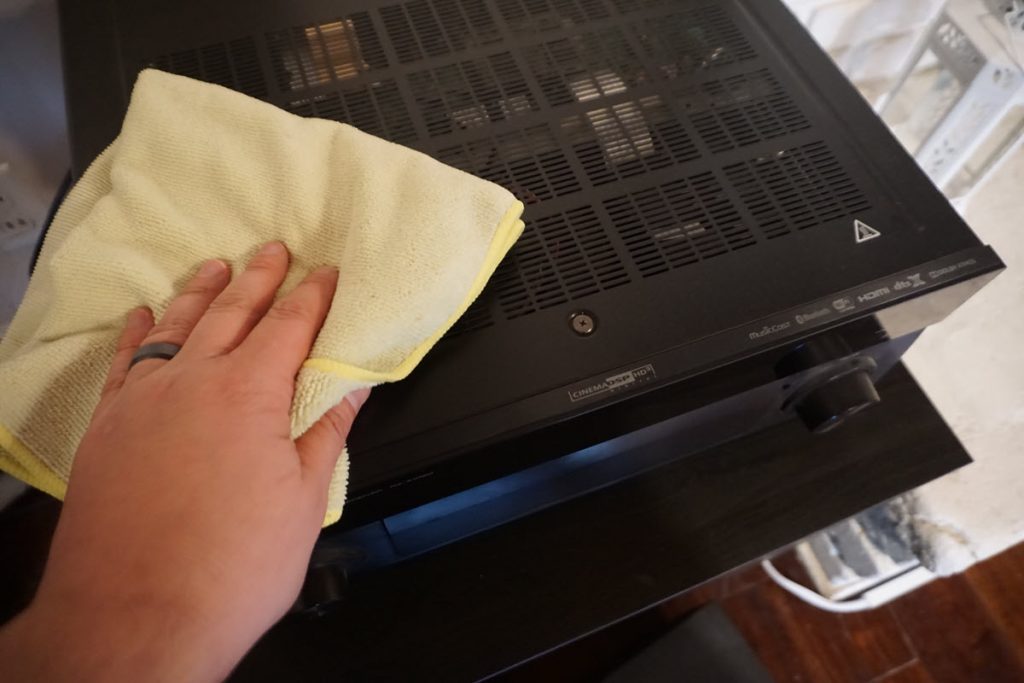
8. Put on the finishing touches. Now that the speakers are in place, add the finishing touch by putting on the magnetic grills. While you are still on the ladder, clean off any fingerprints that you may have left on the grills.
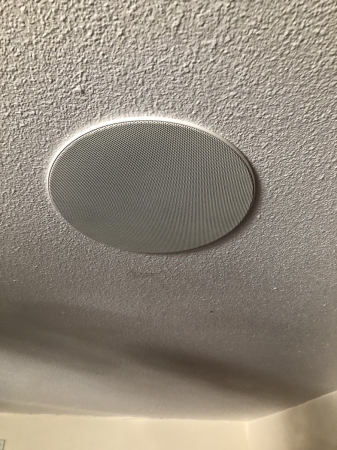
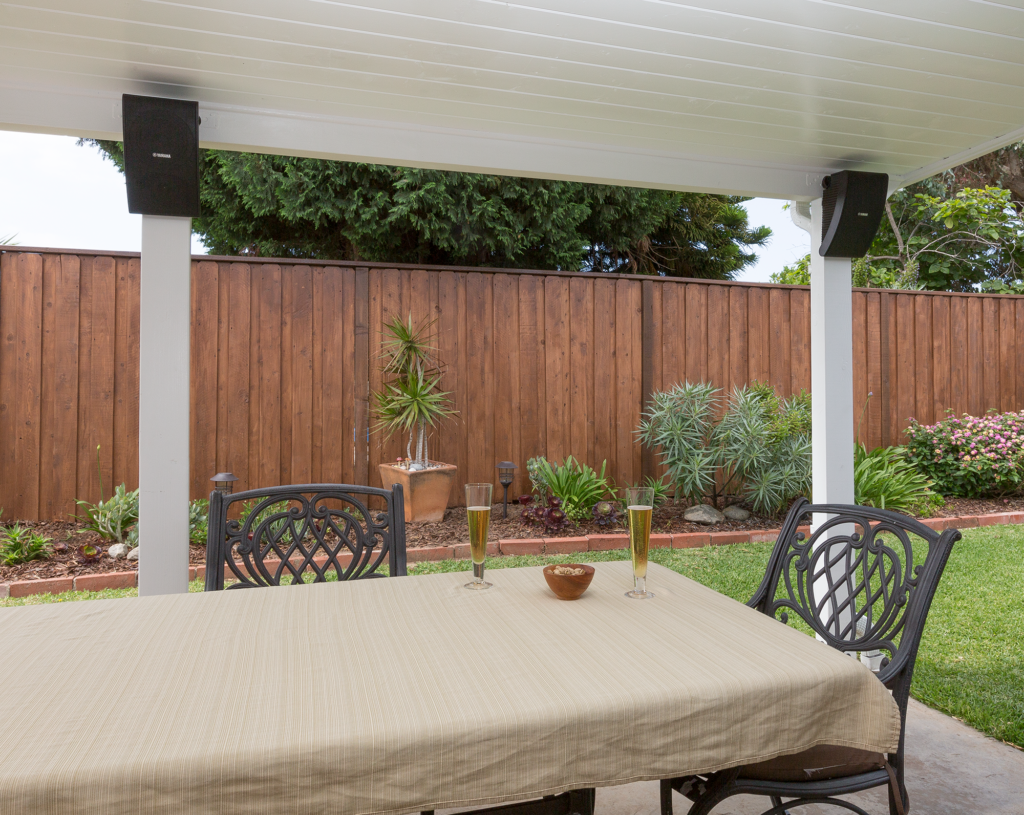
9. Turn the receiver on and enjoy your music! Here’s what the finished installation should look like:

All photographs courtesy of the author.
Click here for more information about Yamaha NS-IC800 in-ceiling speakers.
Click here for more information about the Yamaha RX-V6A AV receiver.
Keep reading