How to Install In-Wall Speakers
A living room is for living in, right? For many of us, that includes being able to listen to great music over a great audio system from the comfort of our sofa or favorite easy chair. But there are times when it’s simply not possible to add a pair of tower or bookshelf speakers to your living space, whether it’s due to space restrictions or spousal disapproval.
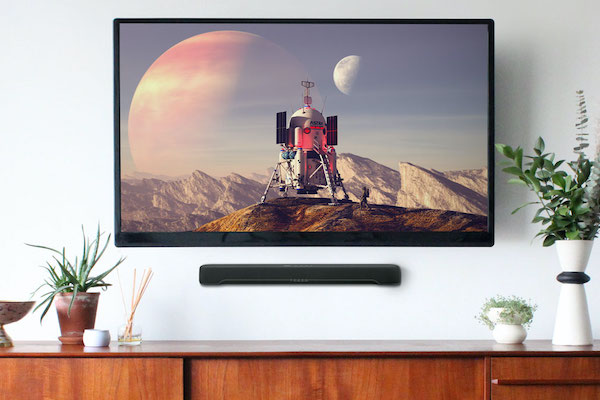
In those situations, the best solution might be to install a pair of in-wall speakers: speakers that literally disappear into the wall, making them essentially invisible. These will typically satisfy your listening requirements … and without interfering with the room’s interior design.
In this article, we’ll give you step-by-step directions for installing a pair of in-wall speakers, using Yamaha NS-IW960s as an example. These speakers offer dynamic sound and a number of unique features, including paintable grills and the ability to swivel the tweeter and midrange driver to aim high frequency sounds toward the main listening position.
First, gather the tools you will need:
– Floor covering / tarp
– Tape measure
– Stud finder
– Pencil
– Masking tape
– Level
– Drill
– Drywall saw
– Wire stripper
– Screwdriver
Now follow these simple steps:
1. Plan your placement. Your speakers should be positioned so as to give you great stereo sound in the spot where you do most of your listening. Ideally, they should be the same distance apart as the distance from each speaker to your listening area; in other words, if you were to draw lines between your listening position and each speaker, they would form an equilateral triangle. As far as height goes, try to position each speaker so that its tweeter is approximately 42″ off the floor. This is the typical height of your ear when sitting.
2. Mark your locations. Using a stud finder, locate the studs in the wall in the general area where the speakers will be placed. Try to identify two cavities (one for each speaker) that have some symmetry on your wall. Use your tape measure and masking tape to mark off each cavity.
3. Use your template. A nice feature of the Yamaha NS-IW960 is that it includes a template that is the exact opening size you will need to cut. Place that template on the wall in the area of the marked cavity, use your level to ensure that it’s straight, then trace around the template with your pencil.

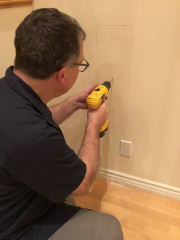
4. Cut your openings. Now that you have your opening marked out, grab your drill and drywall saw and get to work. To protect your walls, mask off the area immediately around the marked opening using masking tape. Keep in mind that you are going to make an enormous amount of dust, so be sure to protect your floors with tarp before you start cutting those holes.
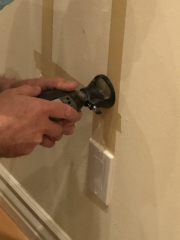

5. Run your wires. Now that you have your openings cut, this is the perfect time to run wire back to your amp or receiver. Take advantage of your attic space if there is one over the room. Hopefully you are connecting to an AV receiver like the stellar Yamaha RX-V6A, which has a handy “Zone 2” feature that lets you fill an additional room with sound.
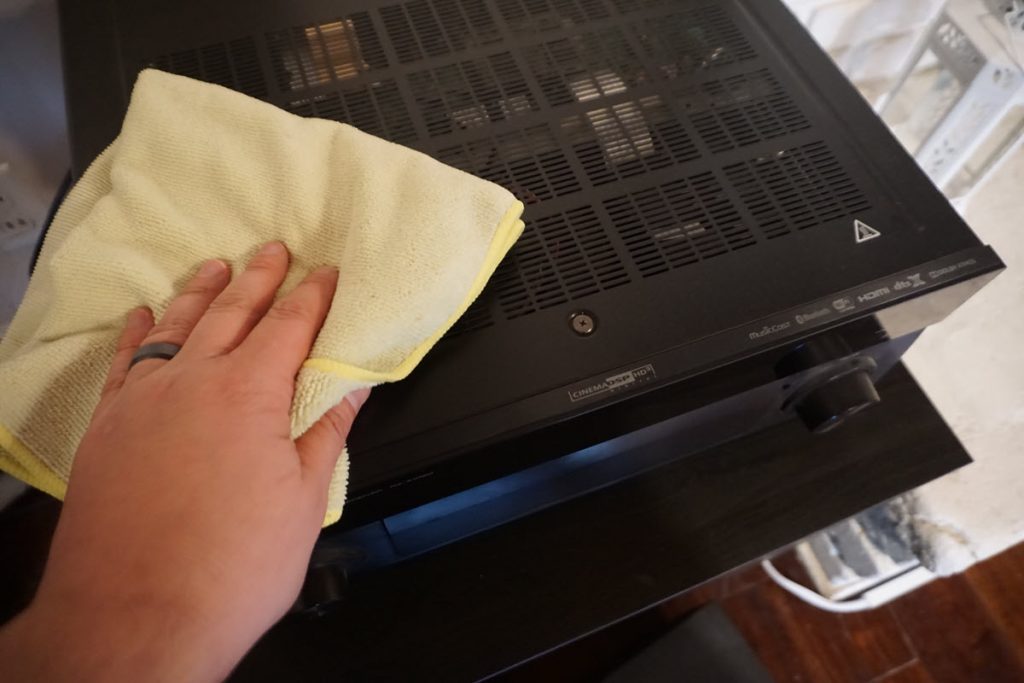
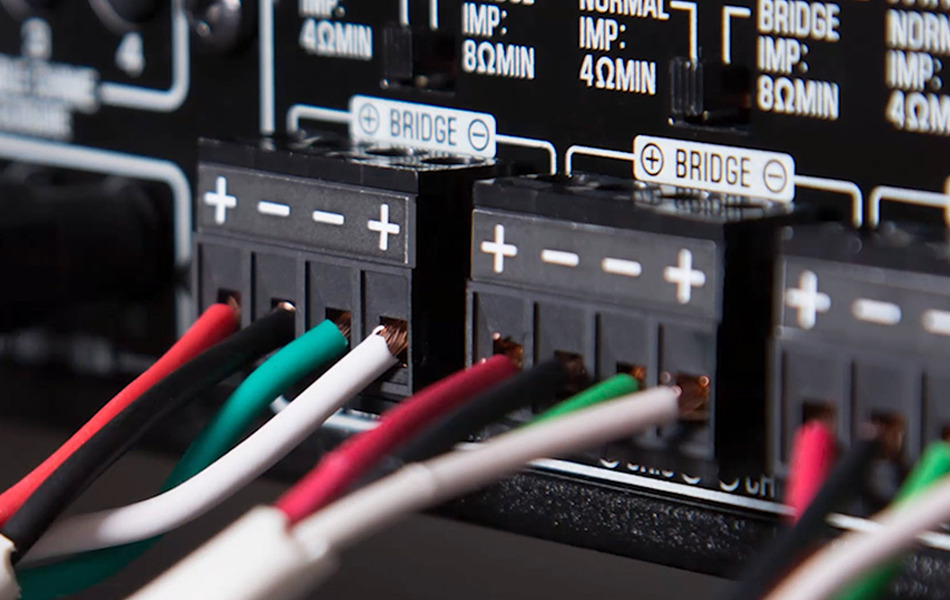
6. Make your connections. With your amp / receiver turned off, strip the conductors of your speaker cable and connect them to the speakers before you install them in the wall. Only expose enough copper to fit in the terminals. Any additional exposed copper leaves you susceptible to creating an electrical short and potentially damaging the amplifier.

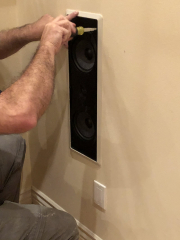
7. Install your speakers. With the speaker wires connected, place the speaker into the opening and use a manual screwdriver to tighten the screws. (I recommend a manual screwdriver so that you don’t run the risk of over-tightening and damaging the drywall.) The Yamaha NS- IW960s have dogleg brackets that will grab the inside of the drywall and allow you to clamp the speaker in place by simply tightening the screws.
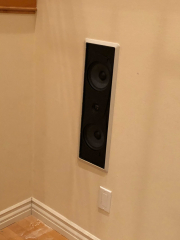
8. Put on the finishing touches. Now that the speakers are in place, add the finishing touch by putting on the grills. Be sure to clean off any fingerprints that you may have left on them.

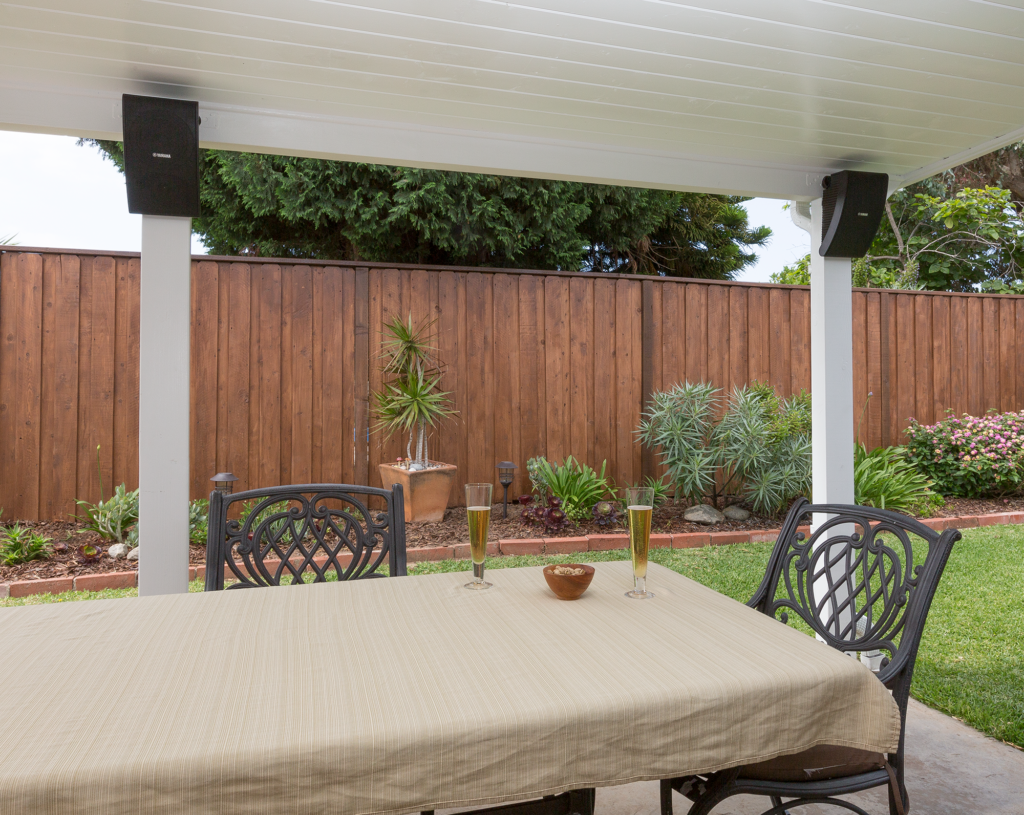
9. Turn the receiver on and enjoy your music! Here’s what the finished product should look like:

All photographs courtesy of the author.
Looking to install in-ceiling speakers instead? Check out this blog.
Click here for more information about Yamaha NS- IW960 in-wall speakers.
Click here for more information about the Yamaha RX-V6A AV receiver.
Keep reading