How to Install Speaker Wire
Installing speaker wire without plugs on the ends is the fastest and simplest way to connect speakers to your receiver.
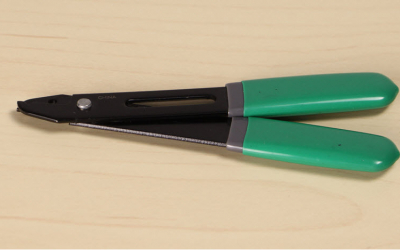
It’s so simple that you only need one tool: a wire stripper.
Before you begin, power off your receiver.
Before you begin, power off your receiver.
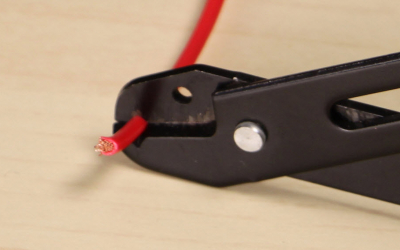
1. Use the wire strippers to strip off 3/8" of the speaker wire insulation.
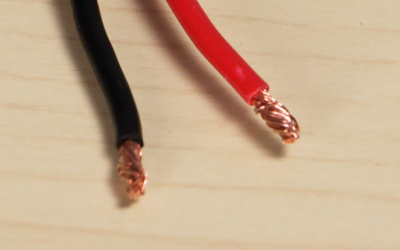
2. Twist the ends of the exposed copper wire so that the strands stay together.
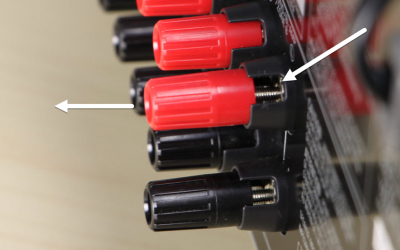
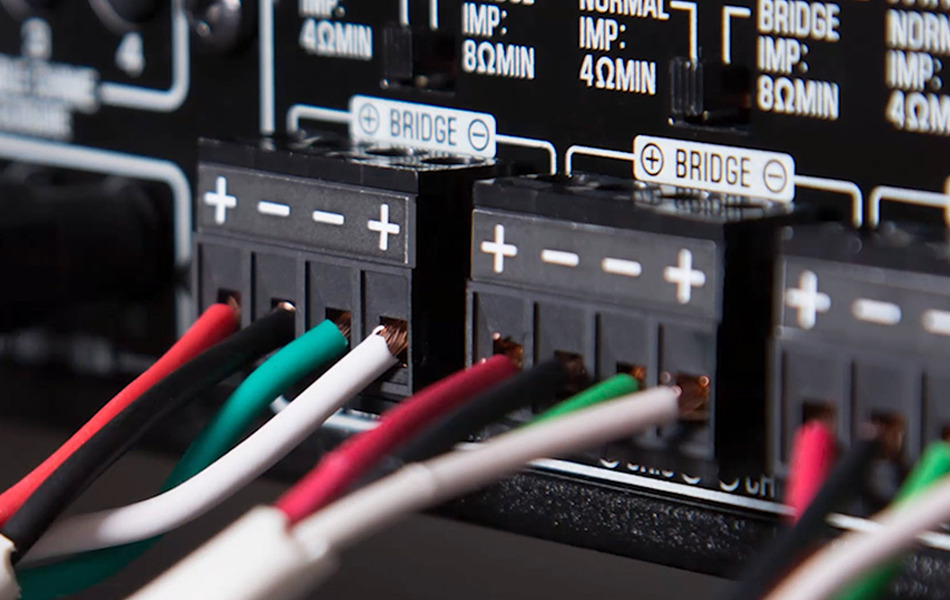
3. Loosen the speaker terminal so that the gap is exposed.
Let’s talk about convention for a minute. Some speaker wire pairs consist of a black wire and a red wire.
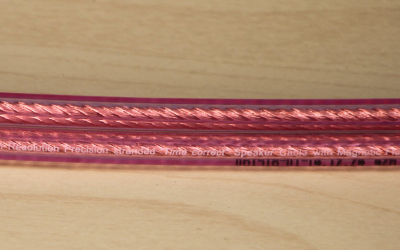
In other speaker wires, if you look closely, you’ll see that one wire of each pair has writing on it. The red wire or the wire with writing on it is the positive wire. There are other methods of indicating the positive wire. The important thing is to connect the positive wire to the red terminals on your receiver and the red terminals on your speakers.
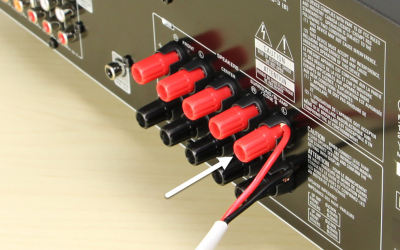
4. Insert the twisted end of the positive speaker wire into the gap on the side of the red speaker terminal.
5. Tighten the terminal.
6. Repeat this process for the negative (black) speaker wire, inserting it into the black speaker terminal.
5. Tighten the terminal.
6. Repeat this process for the negative (black) speaker wire, inserting it into the black speaker terminal.
7. To connect the speaker wire to your speakers, if your speakers have spring clips, press down on the red or black spring clip.
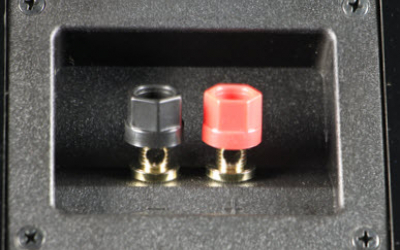
If your speakers have binding posts, loosen the nut to expose the gap.
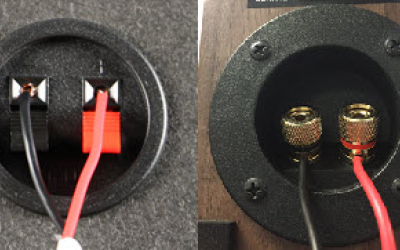
8. Insert the twisted end of the red speaker wire into the red spring clip or binding post, and release the spring clip or tighten the nut on the binding post to hold the wire in place. Repeat the process for the black speaker wire.
Now you’re ready to power on your receiver and adjust your settings for the optimal listening experience – and enjoy!
Keep reading