How to Level and Position Your Turntable
Listening to vinyl records is a great way to enjoy music, but to get the most from an audio system that includes a turntable, it’s important to follow positioning guidelines. Turntables have sensitive mechanisms that won’t perform optimally if not set up correctly. In this article, we’ll show you a few simple steps to optimize both performance and sound quality.
Good Spin
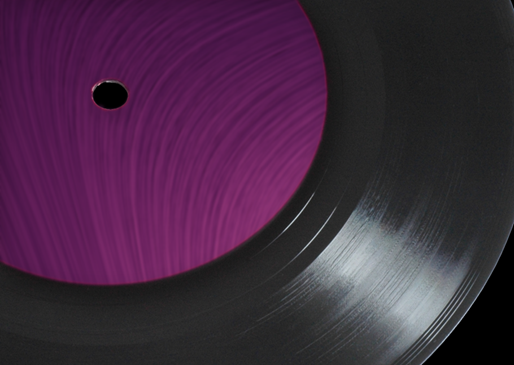
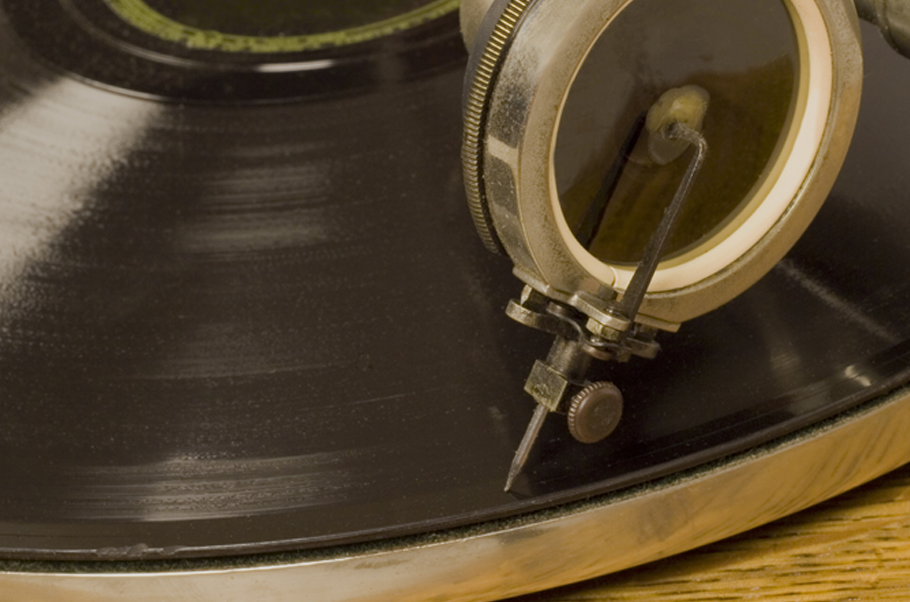
For context, let’s first quickly review how a turntable helps create sound. It starts by “reading” the grooves on the surface of a vinyl record. The grooves represent vibrations from the sound waves of a recording that were cut into a master disc by a lathe during the mastering process. This master disc was then used to create a “stamper” for pressing copies of the record from molten vinyl in a pressing machine.
As a turntable spins, its stylus (needle) vibrates in the grooves, and the cartridge it’s attached to converts those vibrations back into an electrical audio signal that is routed from the turntable’s output to an amplifier or receiver, and then on to speakers or headphones.
For this process to accurately reproduce the music from the original recording, the turntable needs to spin at the correct speed (usually 33 1/3 RPM), and the stylus and cartridge need to accurately translate the information in the grooves into electrical energy.
Bad Vibrations
So far, so good. But external vibrations can compromise the ability of your turntable to accurately translate the information in the grooves into an equivalent (“analog”) electrical signal and can also cause noise. The chief culprit for such vibrations are your speakers and, especially, subwoofers, because low frequencies cause the most extreme vibrations. Ironically, by working as they’re supposed to, speakers and subwoofers can hinder the performance of your turntable.
The solution is to find a place to put your turntable where the speaker vibrations won’t impact it. So rule number one is to put the speakers on a different surface from the turntable. You wouldn’t want to, say, put both on the same table, nor should you stack the turntable on top of a speaker or subwoofer. Ideally, the turntable should be placed on a solid, heavy piece of furniture that sits firmly on the floor and doesn’t wobble. A stereo cabinet is a good choice, or a heavy wooden shelf unit.
You can also reduce speaker vibrations by using dedicated speaker stands or speaker isolation pads, which go between the speakers and the surface they’re on. If you have no choice but to put the turntable on the same surface as the speakers, consider using a turntable isolation platform, a relatively inexpensive tabletop device made of sound-absorbent material.
Rule number two is: You should avoid stacking your turntable on top of a receiver or stereo amplifier. That’s because blocking the airflow that the receiver/amplifier needs for ventilation can cause the unit to overheat or result in damage to its circuitry over time. It’s especially important not to block any air vents that may be on the top of a receiver or amplifier.
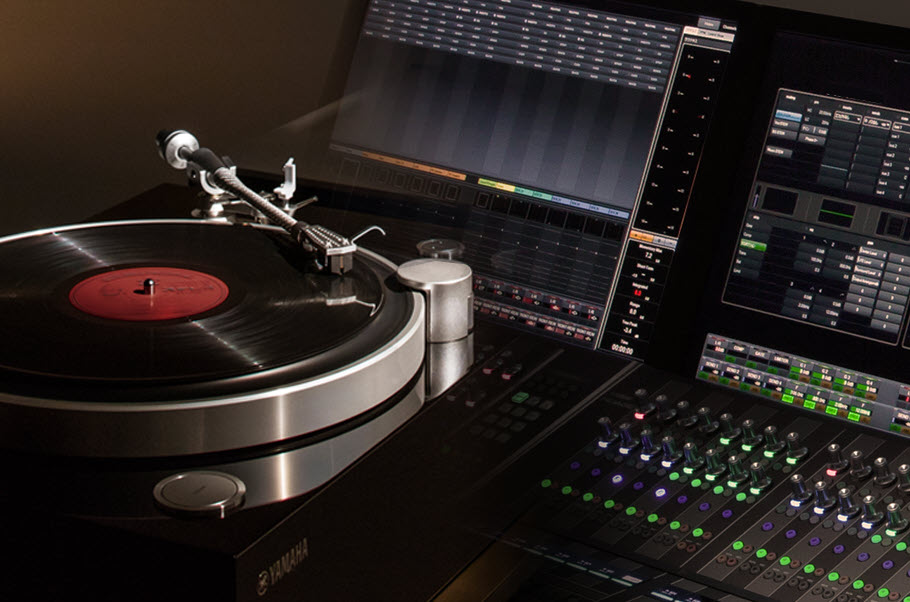
Turntable manufacturers are aware that not everyone will know about, or follow, these rules. That’s why they do all they can to isolate their products from vibrations. The base of a turntable is called the “plinth.” Often made of wood, the thickness of the plinth helps reduce external vibrations. Mass is the best way to stop sound waves, so the heavier and denser the plinth, the better the isolation. The substantial plinth on the Yamaha GT-5000 turntable, for example, greatly reduces susceptibility to vibration.

On the Level
Another essential part of setting up your turntable is to make sure it’s level (which is rule number three). If it’s not, the stylus will exert extra force in the downhill direction (due to gravity), potentially affecting the rotation speed. Playing vinyl on a turntable that’s not level can also cause the stylus to contact the grooves at an incorrect angle, which will wear your records unevenly and eventually cause distortion in the signal.
Many turntables (such as, for example, the Yamaha MusicCast VINYL 500) have adjustable feet for leveling purposes. To do so, you’ll need a small bullseye-style level; alternatively, you can use a level app on your smartphone. Start by placing it on one side near the outer part of the platter (the spinning part of the turntable) and then again on the opposite side. (Make sure there isn’t a record on the turntable when you do this!) Next, move the level by 90 degrees and do the same thing. Try these measurements both with the turntable off and with it spinning. That should give you a good indication of which leg or legs need adjustment. Then it’s just a matter of rotating those legs clockwise or counterclockwise until the bulls-eye or app indicates that the turntable is perfectly level.

Setting up a sound system that includes a turntable requires some forethought and attention to detail. It’s certainly not as simple as placing other audio components, where reducing vibration and leveling are non-issues. But if you care enough about sound quality to listen to vinyl, you’ll want to spend a little extra time to optimize your system. Your ears — and your record collection — will thank you.
Keep reading