Don’t Be Afraid of the DI
Here’s a great way to record the Yamaha AC5M acoustic guitar.
Historically speaking, DI signals from acoustic guitars (that is, the “Direct Inject” signal coming from the instrument’s internal pickup system) tend to have a bad reputation. In some instances, the sound they deliver can be overly nasal and midrangey, sometimes to the point of being completely unrealistic.
Fortunately, technology has evolved over the years, and the Yamaha AC5M guitar is a perfect example of this, with an advanced pickup system designed to deliver great sound. In this posting, I’ll tell you about a recording technique I’ve developed for the instrument that embraces both its internal electronics and the use of an external microphone. The end result is a clean, clear and full acoustic sound perfect for every application.
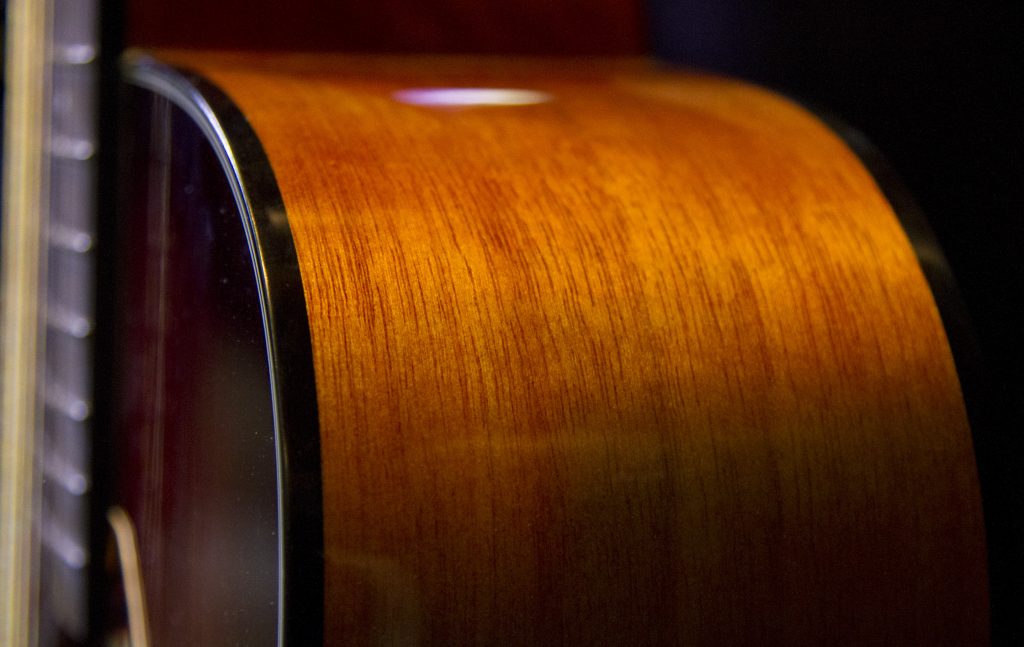
The Guitar

The AC5M ARE is a concert body cutaway guitar with a solid mahogany back and sides, a solid Sitka spruce top and interior scalloped bracing. Features include Gotoh open-gear tuners, an African mahogany neck, and an ebony fingerboard and bridge. Like other guitars in the AC5 (and AC3) series, it includes Yamaha SRT2 electronics. This flexible system offers both a piezo-type pickup and digital models of vintage studio microphones, with the ability to create custom blends of the two. The “ARE” in the name stands for “Acoustic Resonance Enhancement,” a proprietary process developed by Yamaha that delivers the warm tonality of aged wood.
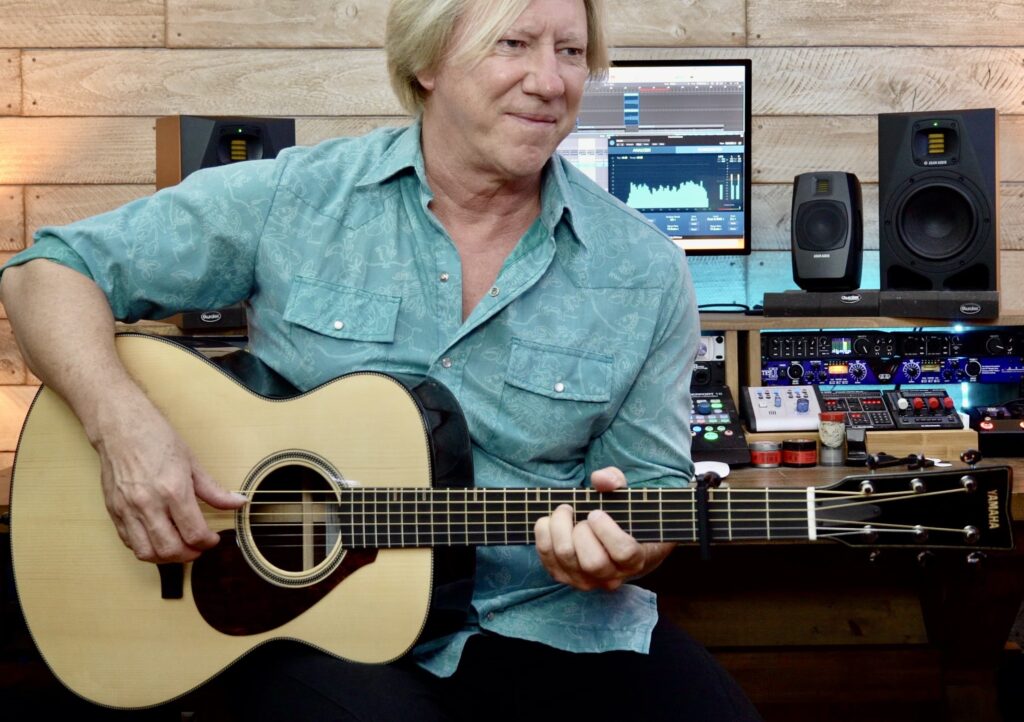
The Technique
While this guitar is stage-ready right out of the case, I wanted to take it for a spin in the studio and use it on some TV sessions. After a little experimentation, I discovered that combining the AC5M’s pickup system (both the piezo and the mic models) with an external omnidirectional mic gave me the best results. This setup also has the bonus of offering maximum sonic flexibility when it comes time for mixdown.
For my first cue, I tuned the AC5M to a D-A-D-G-A-D tuning, and placed a capo on the 4th fret. This gave me a nice open sound from which to work. For the first pass, I used the SRT2 Mic2 setting (a model of a Royer R122 active ribbon microphone), enhanced with a small amount of added room reverb, courtesy of a plug-in on my DAW. Here’s what it sounded like:
At the same time, I also placed one of my omnidirectional microphones a few inches from the 12th fret and recorded it on a second track. In this next audio clip, you can hear a blend of both the external mic and the AC5M mic model:
As I mentioned in a previous blog posting about recording TransAcoustic guitar effects, I often double my parts in order to get a bigger guitar sound. I don’t just copy and paste the first one — I play it again. While there will be slight imperfections between the two passes, they help create a subtle, natural-sounding chorus.
Accordingly, for the second pass, I played the part again, this time just using the DI from the AC5M piezo pickup. While not as natural-sounding as the mic models, it still adds a certain midrange characteristic that I quite like:
Then I added the sound from my omnidirectional mic (again, recorded on a separate track) to help thicken things up:
Finally, I combined both takes and panned them to opposite sides:
This technique yielded four tracks (AC5M mic model, external mic, AC5M pickup, external mic) that I could mix and match to get the tone that best fit the production. The end result was a bigger, cleaner, punchier acoustic sound than I could have achieved using either an external mic on its own or any of the three DI options (piezo pickup, mic model 1, mic model 2) offered by the AC5M SRT2 system.
Curious as to what the final result sounded like, with all the other instruments added in? Here it is:
So don’t be afraid of the DI, especially when it sounds this good!
Click here for more information about the Yamaha AC5M ARE A Series acoustic guitar.
Keep reading