Tagged Under:
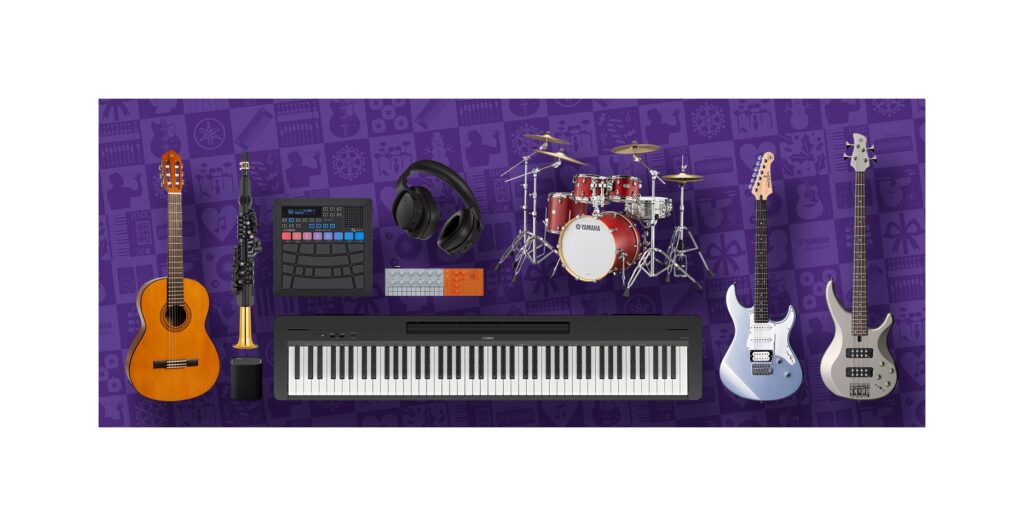
NAMM 2026 Yamaha Guitars Recap
Three days of music, grooves and gear.
The Yamaha guitar displays at the annual National Association of Music Merchants (NAMM) show are always major hubs of activity, filled with new product announcements and appearances from some of the most popular guitarists and bassists in the world … and this year was no different. Here’s a look back at what was happening with Yamaha guitars at NAMM 2026.
THE SHOW BEFORE THE SHOW
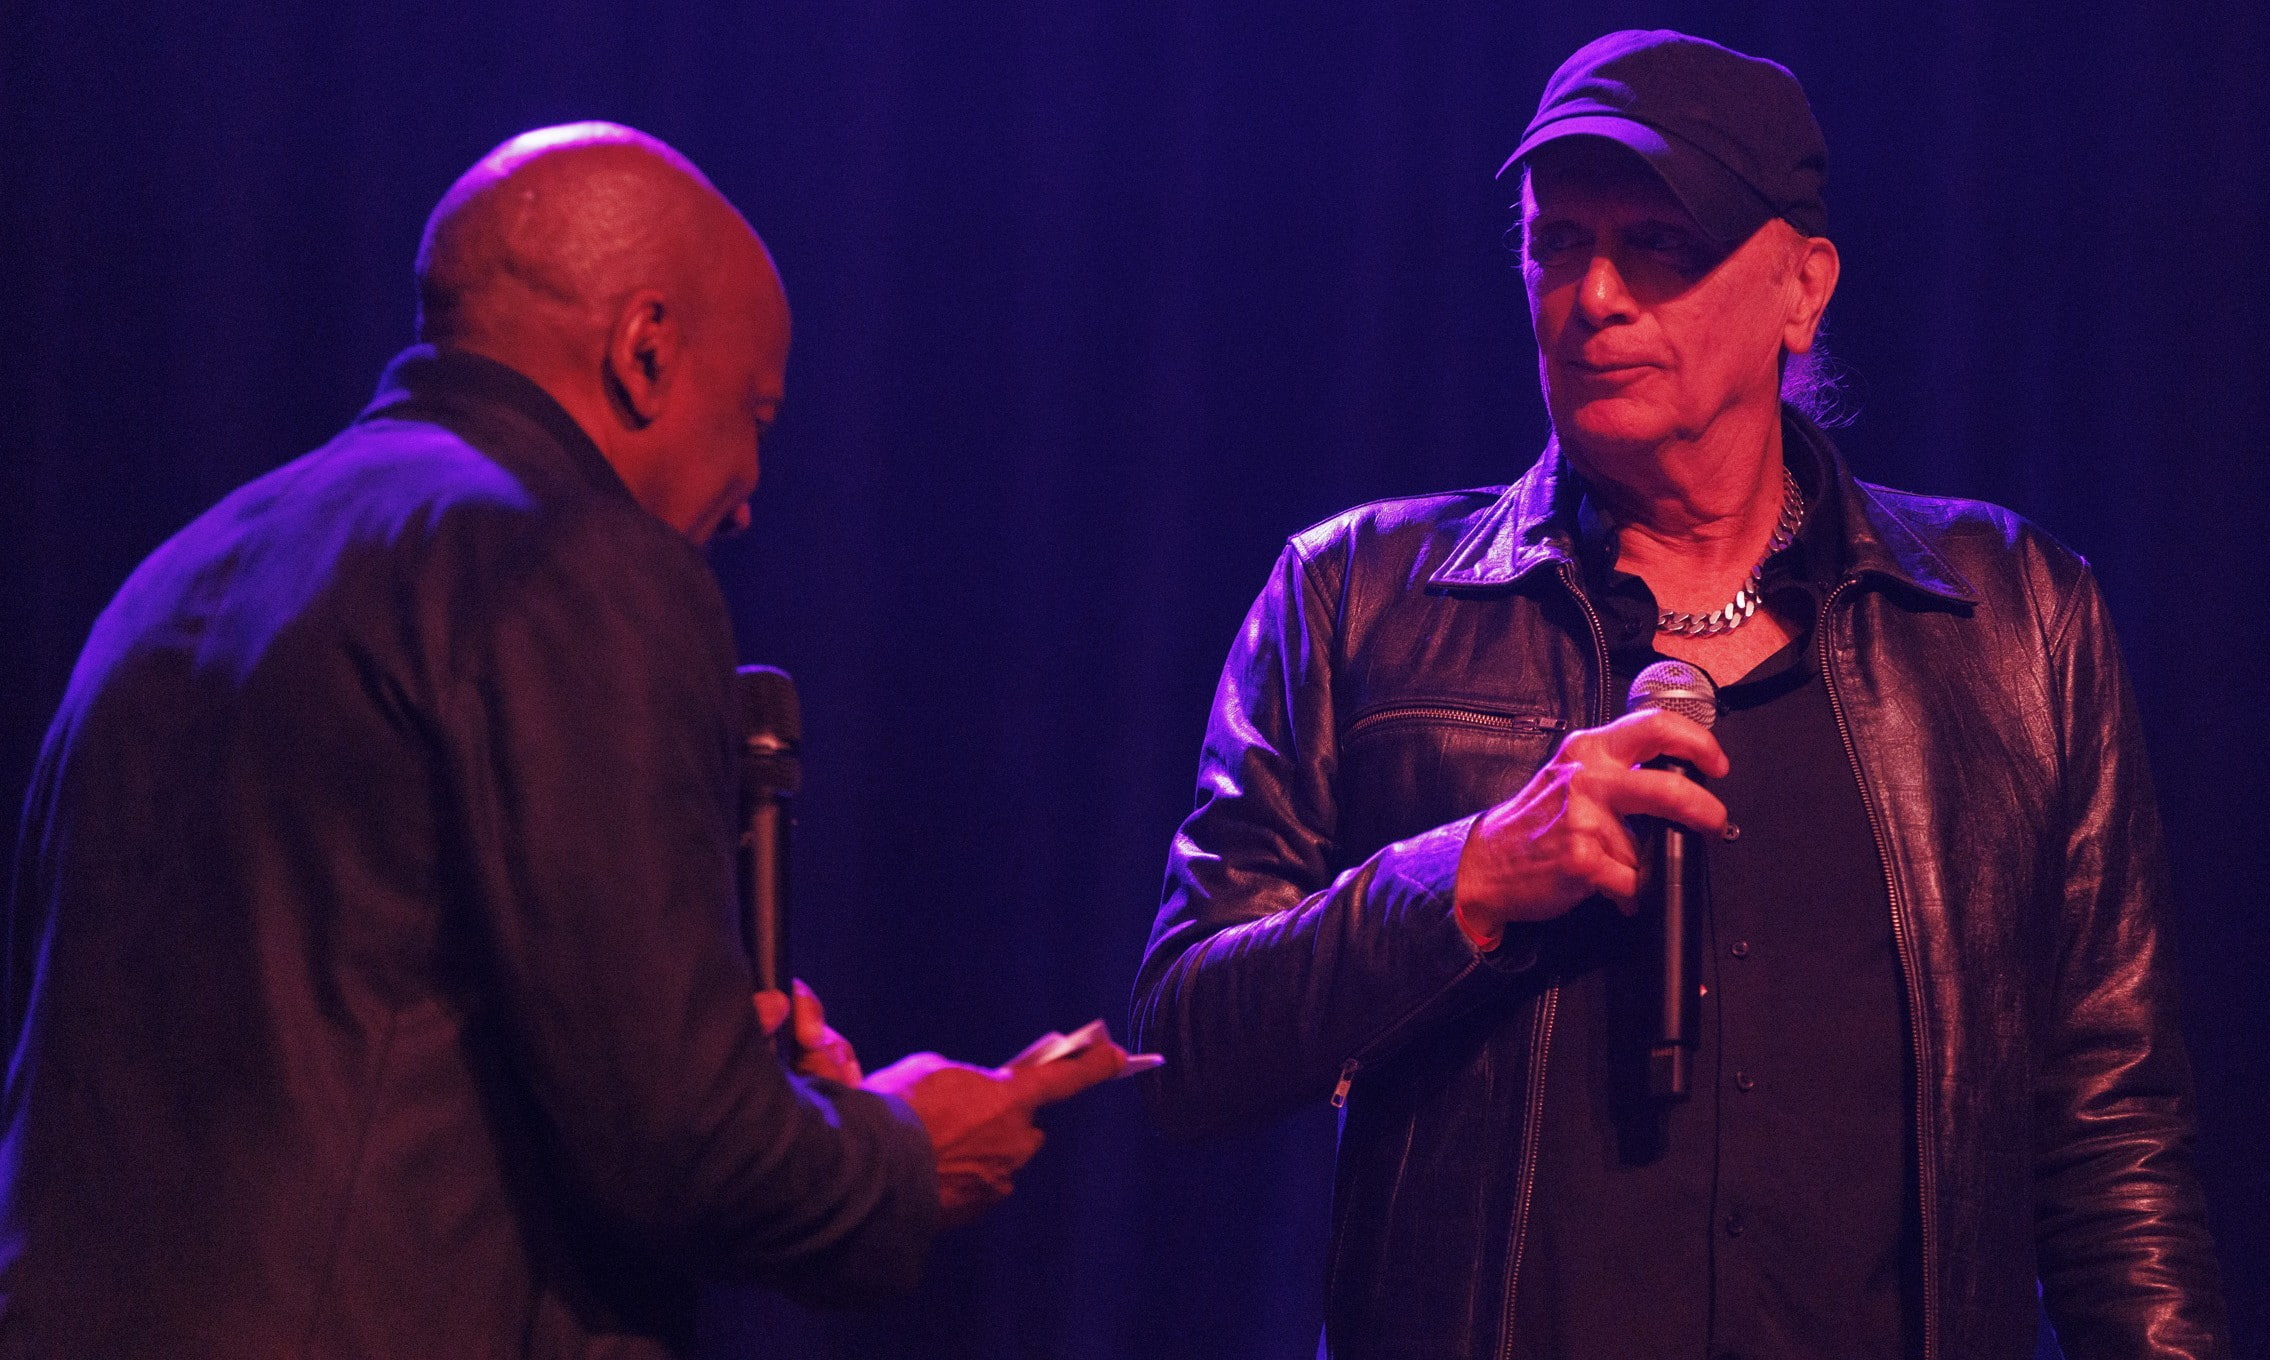
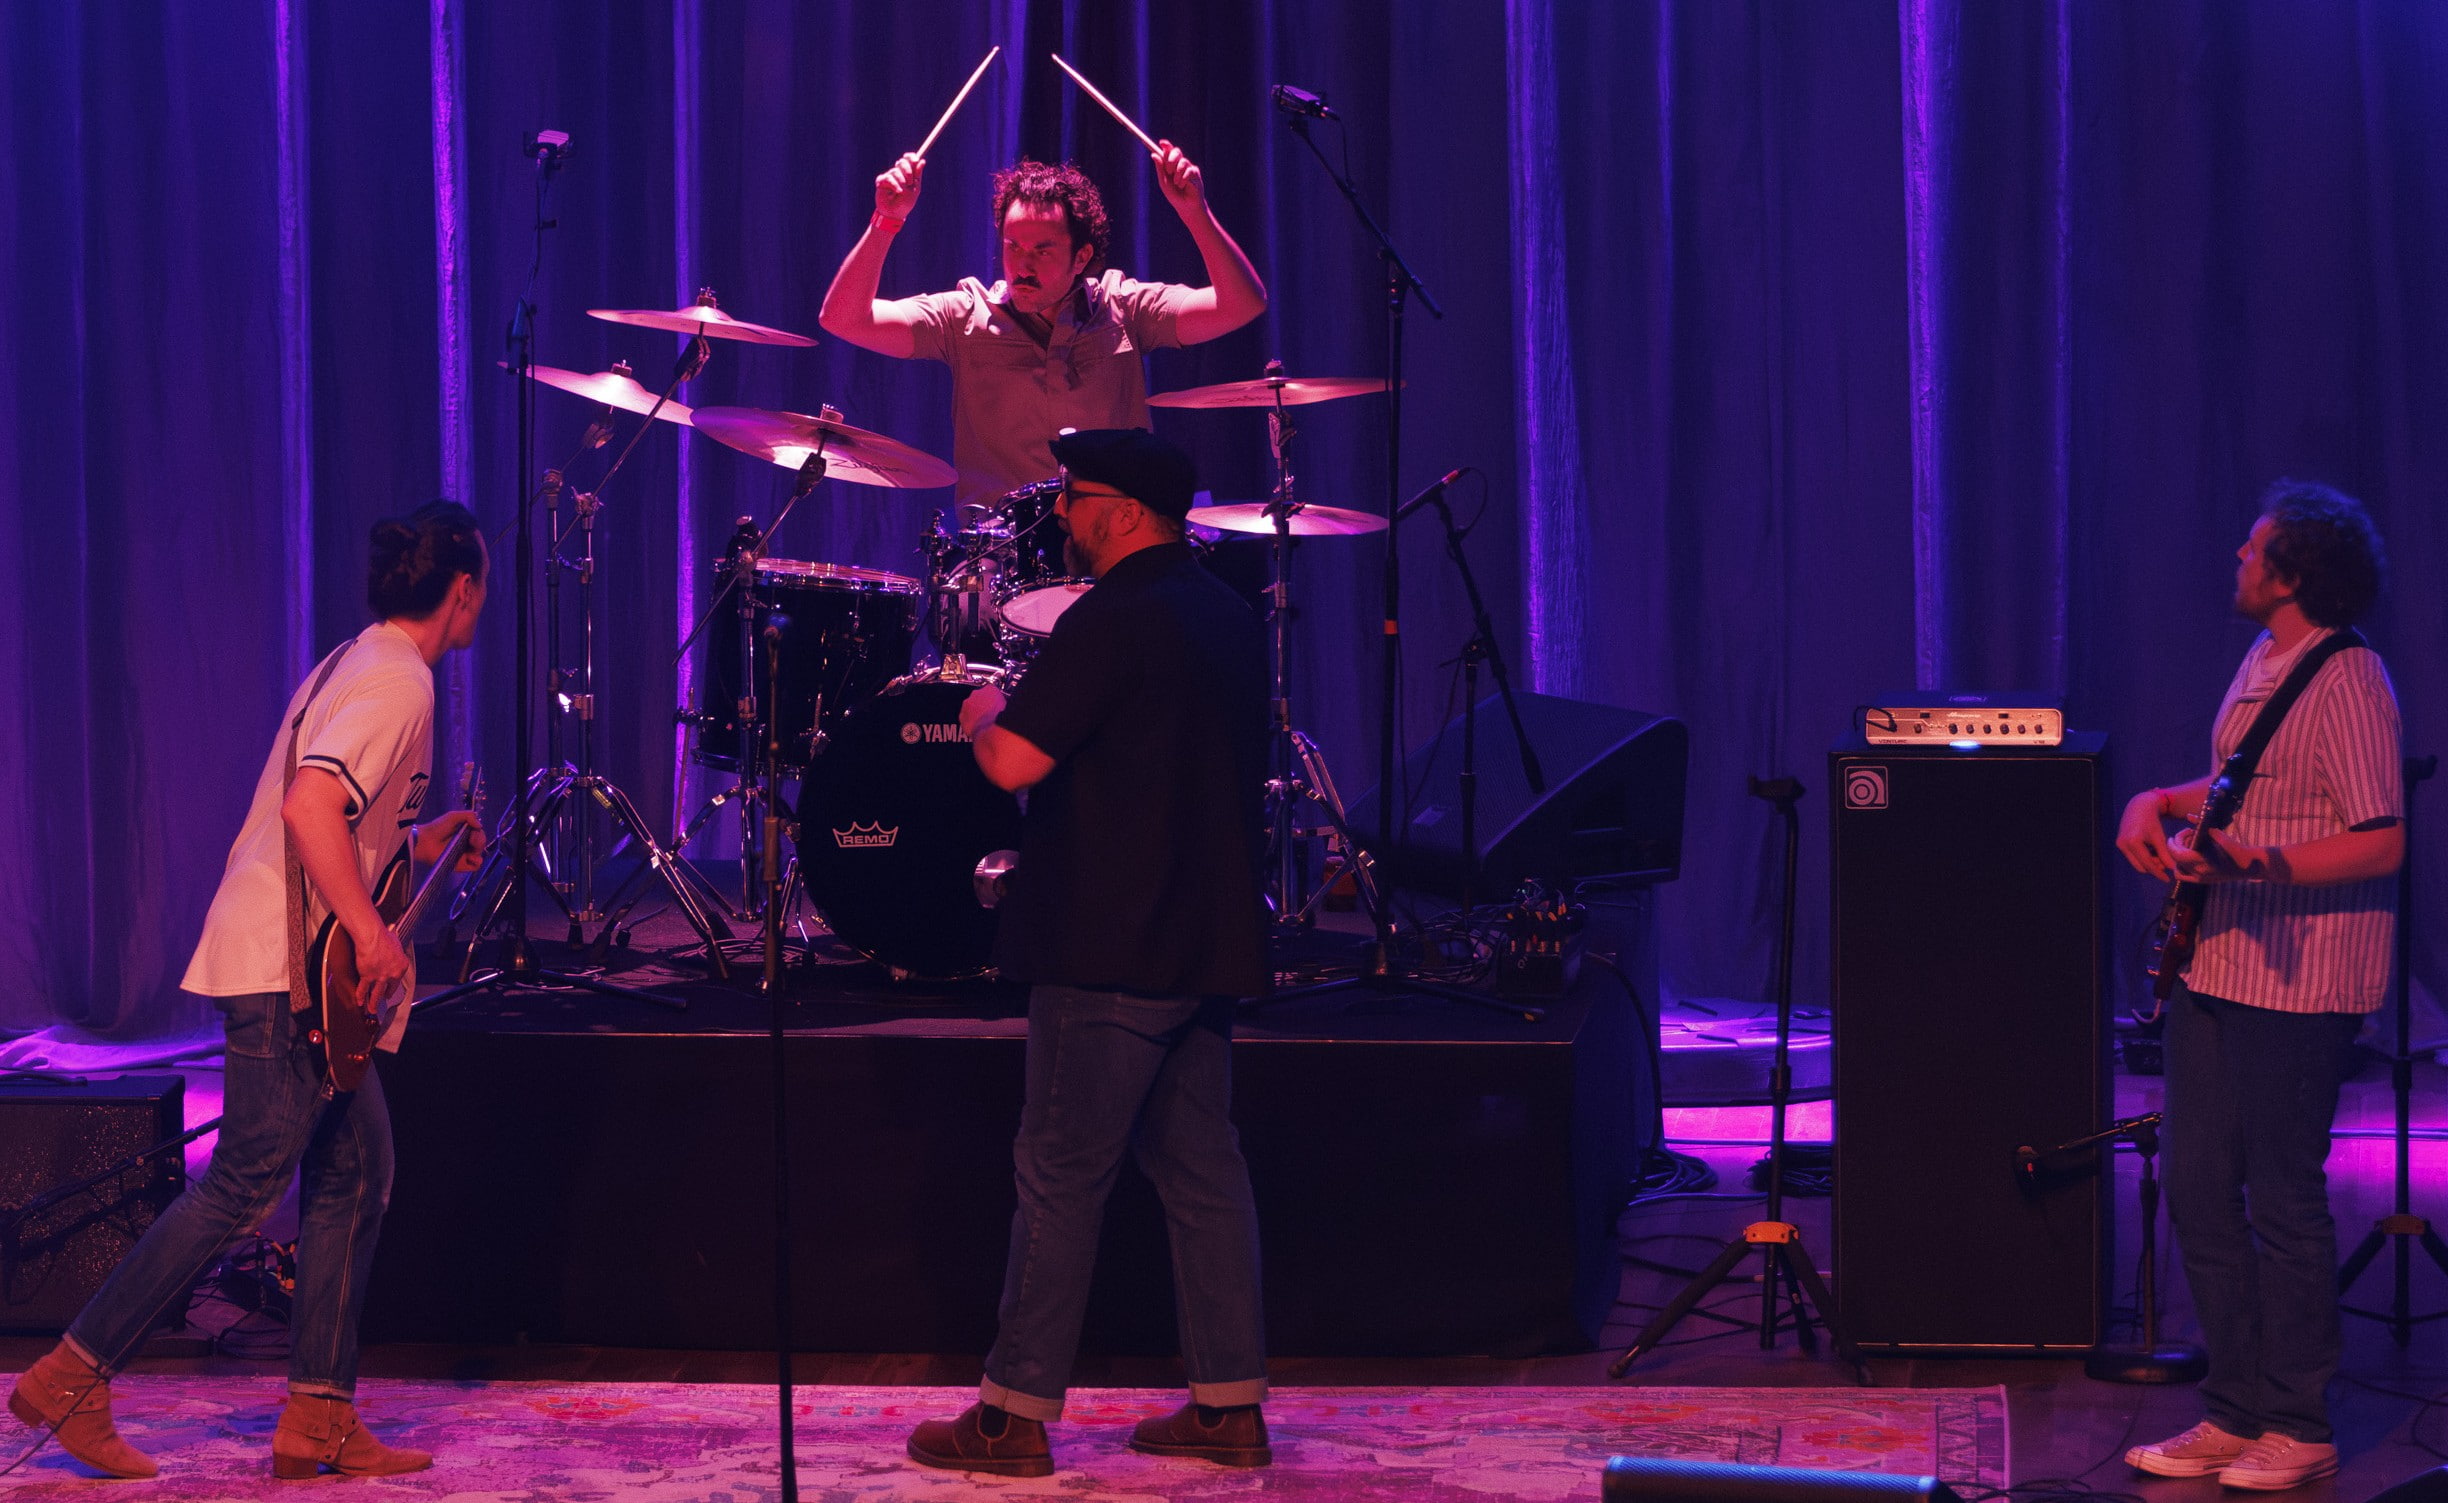
Two days before NAMM, Yamaha kicked off its 60th anniversary of building guitars with a special event at the House of Blues in Anaheim, emceed by Nathan East and Billy Sheehan.
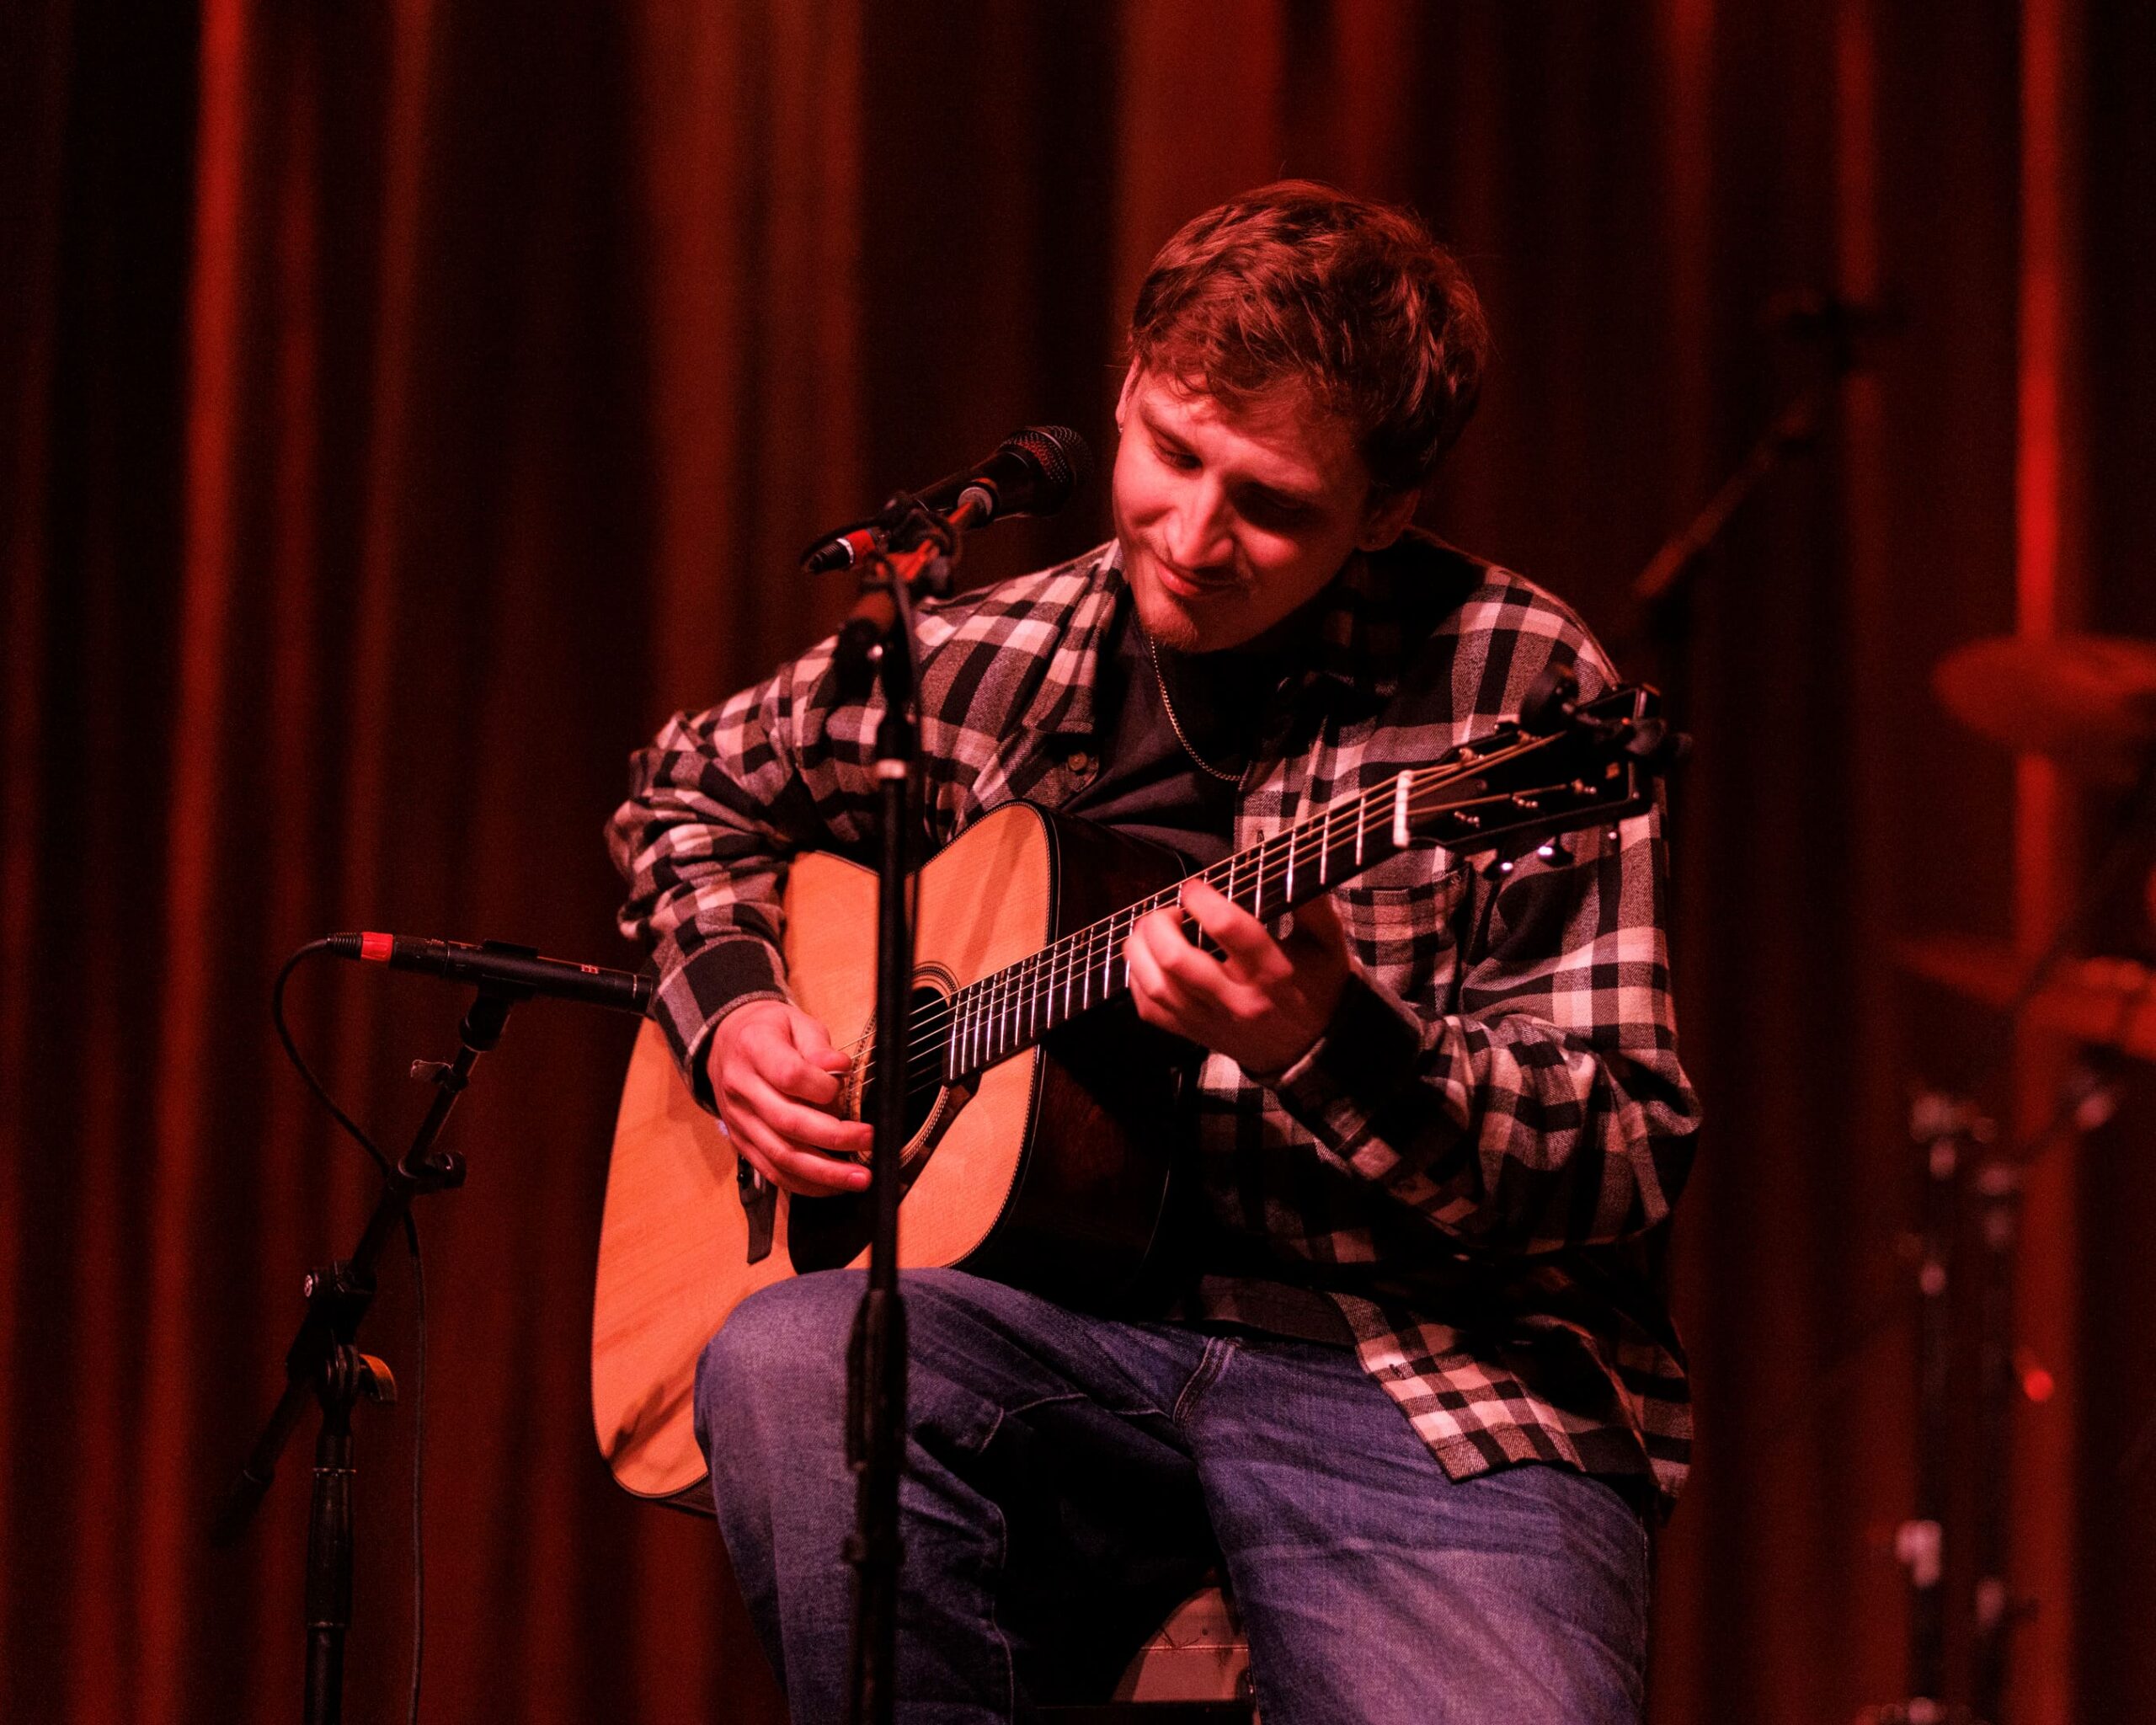
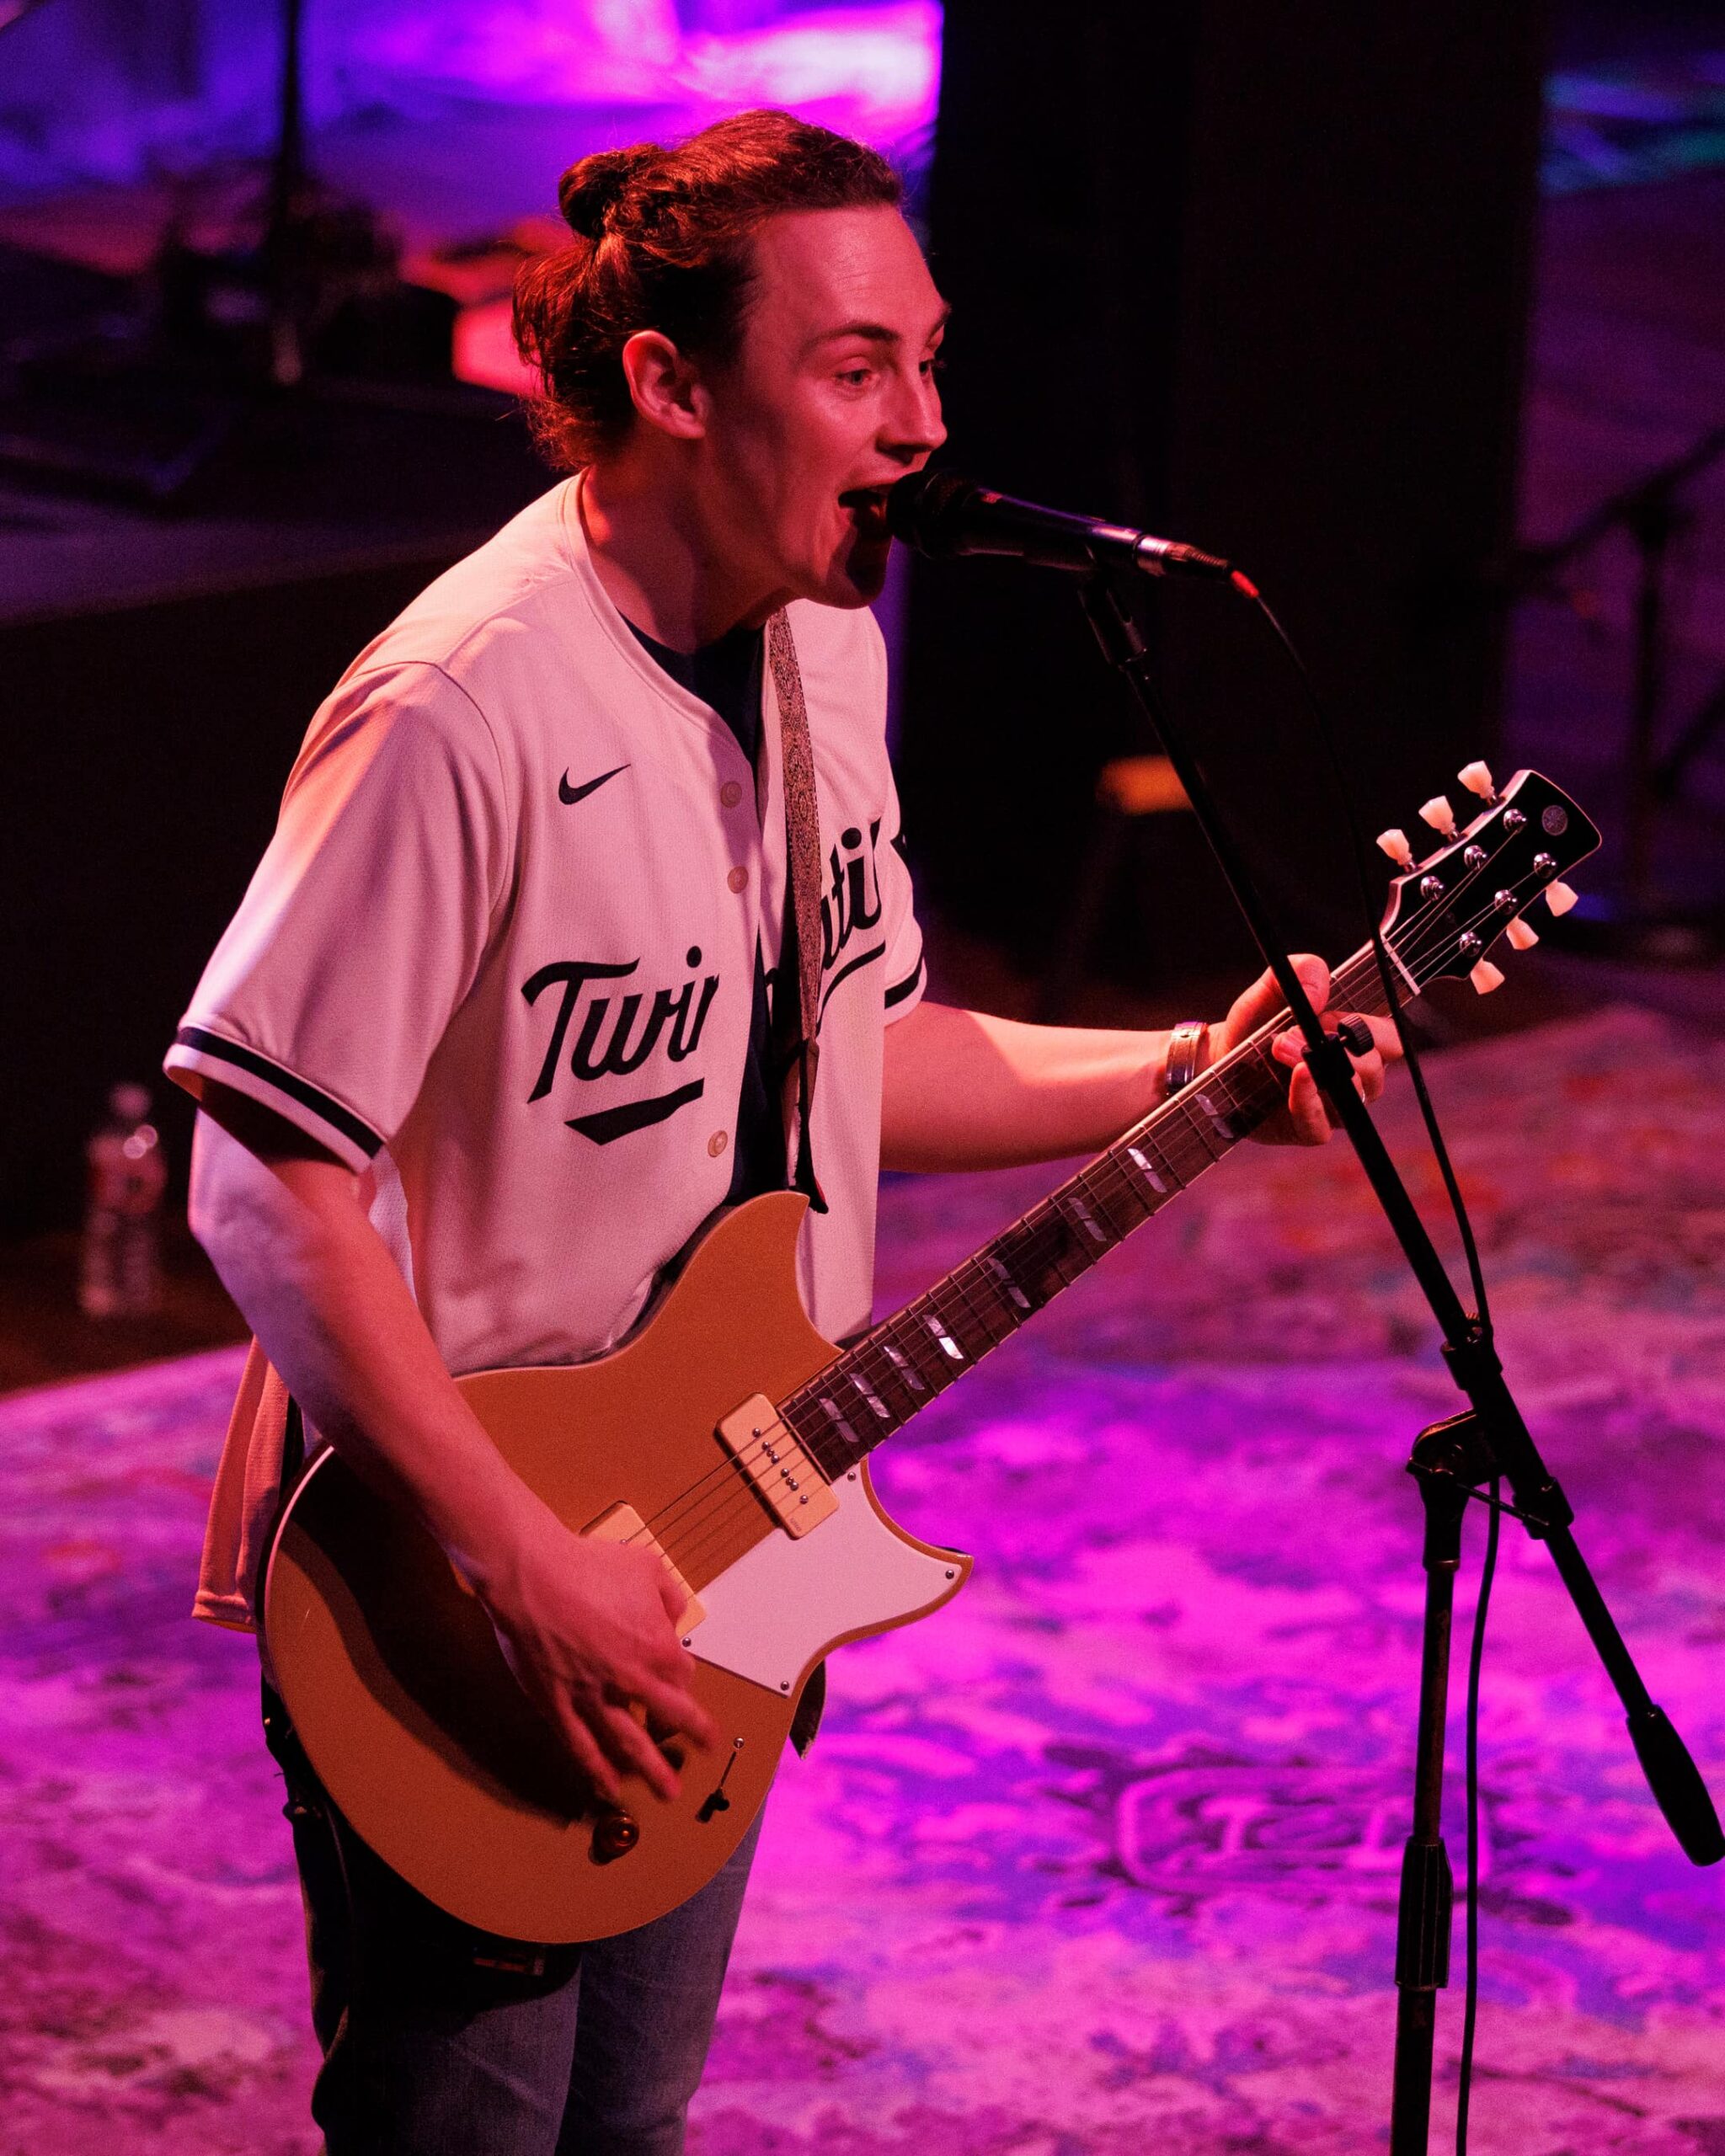
Ethan Ridings opened the night, playing the newly unveiled 60th Anniversary FG9 acoustic guitar, followed by sets from Welsh band Cardinal Black (featuring Chris Buck playing his Signature Revstar) and Matteo Mancuso with bassist Vincen Garcia.
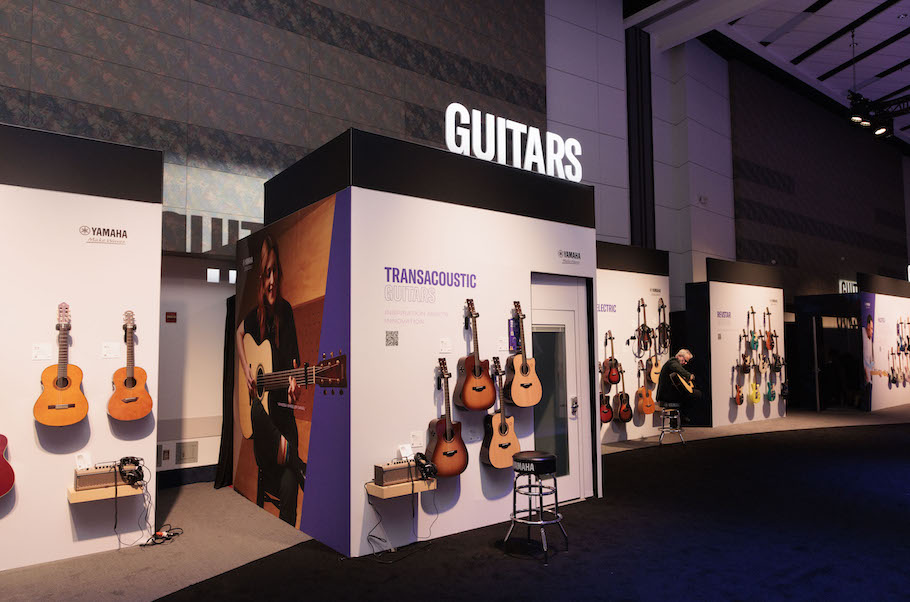
NEW GUITAR PRODUCTS
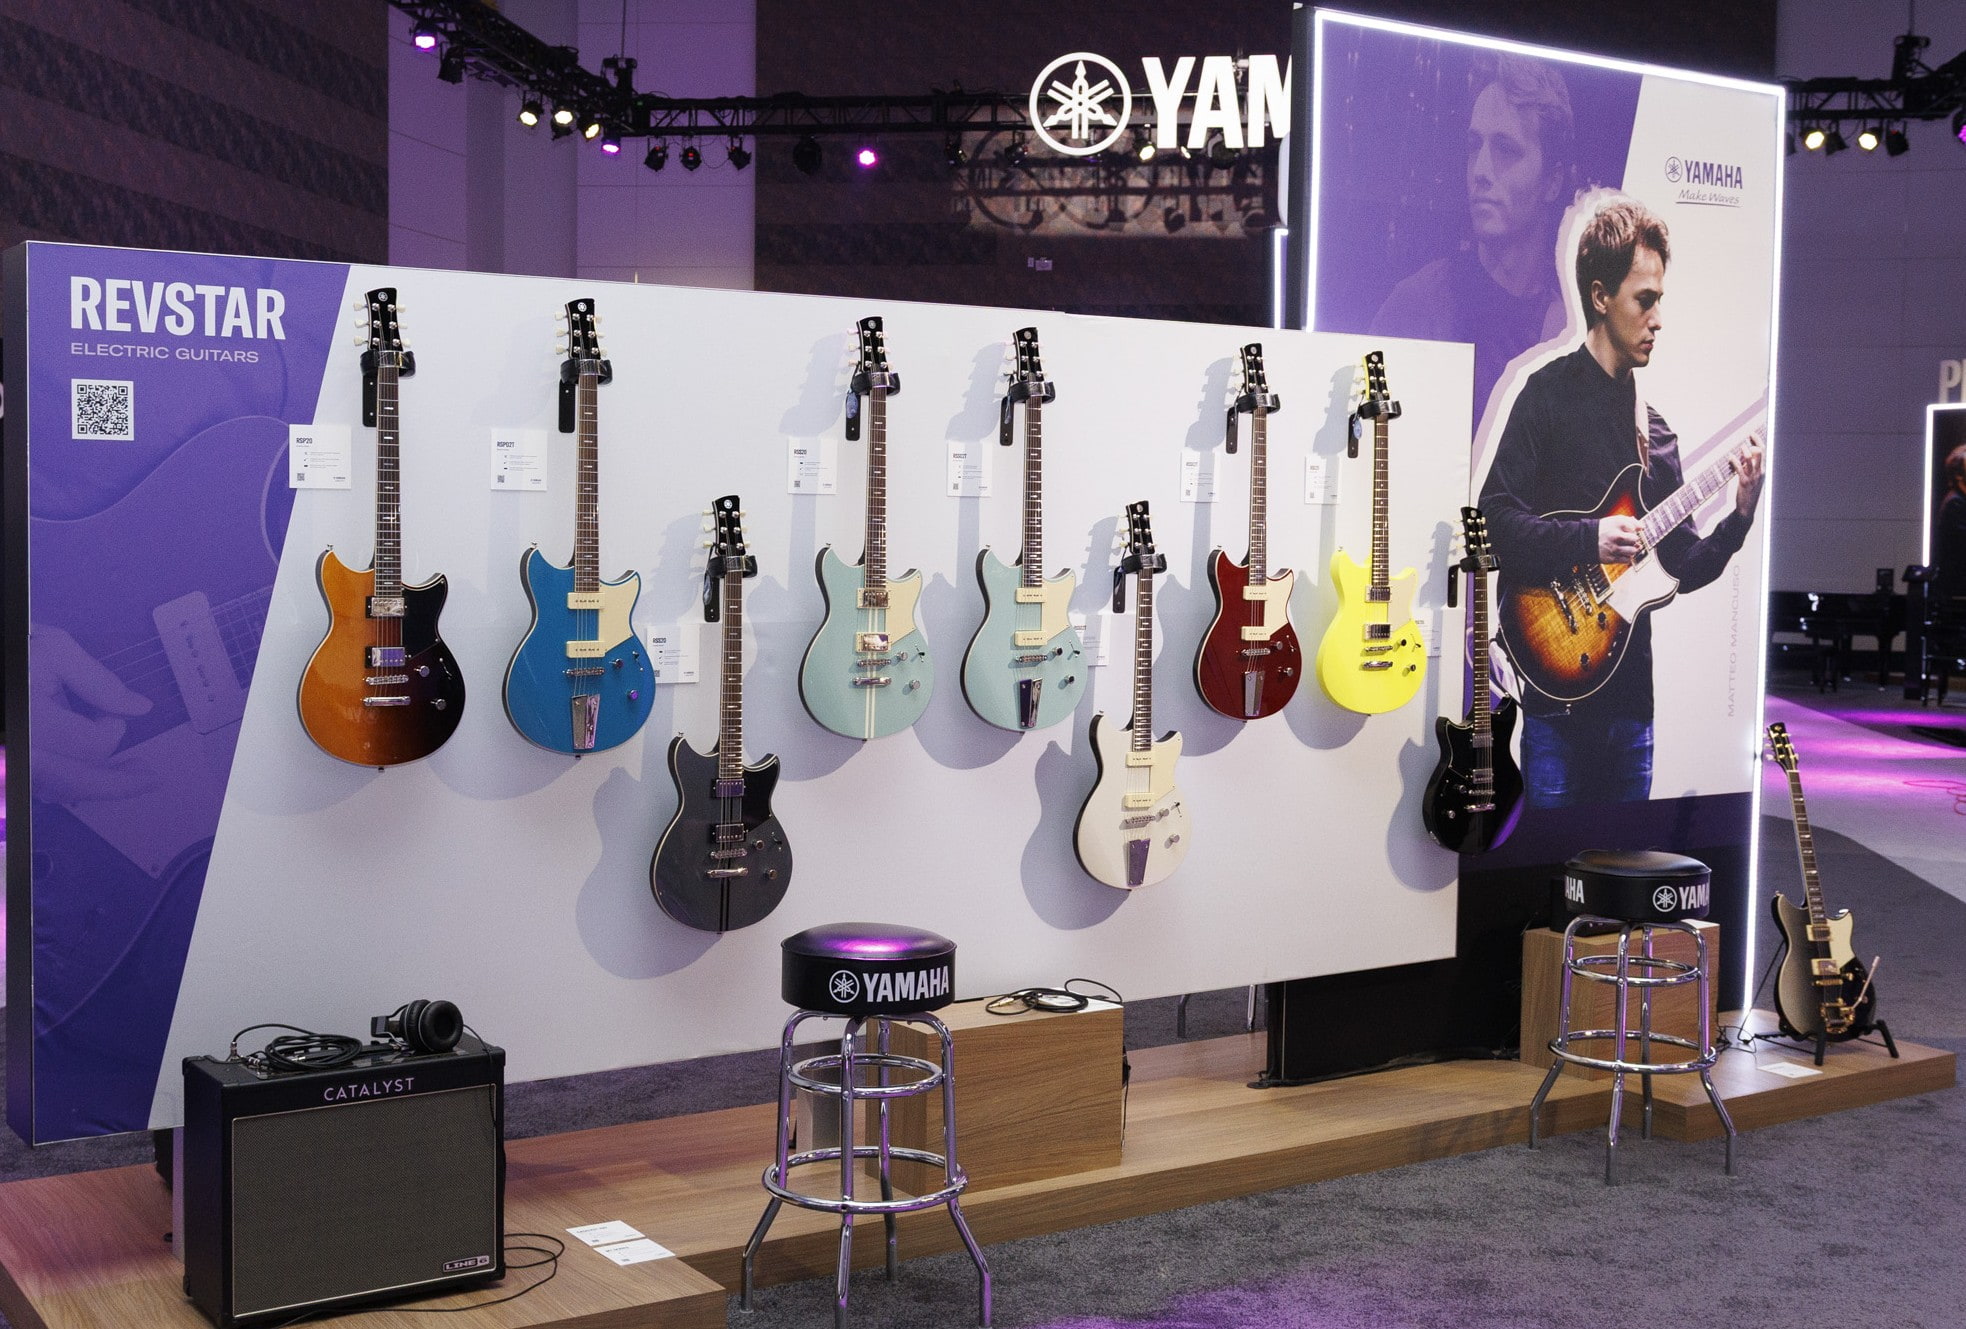
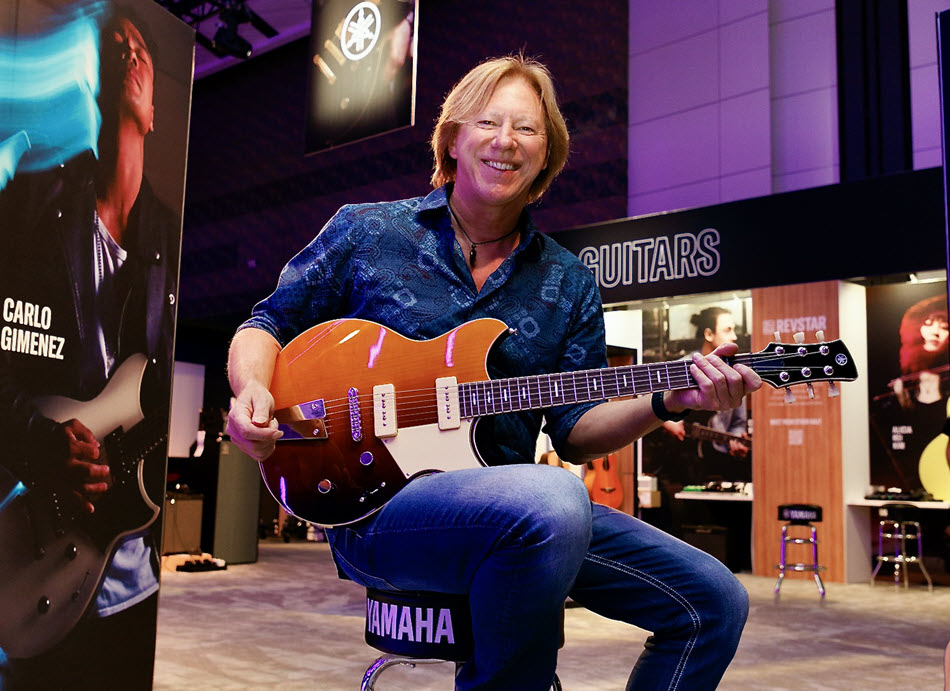
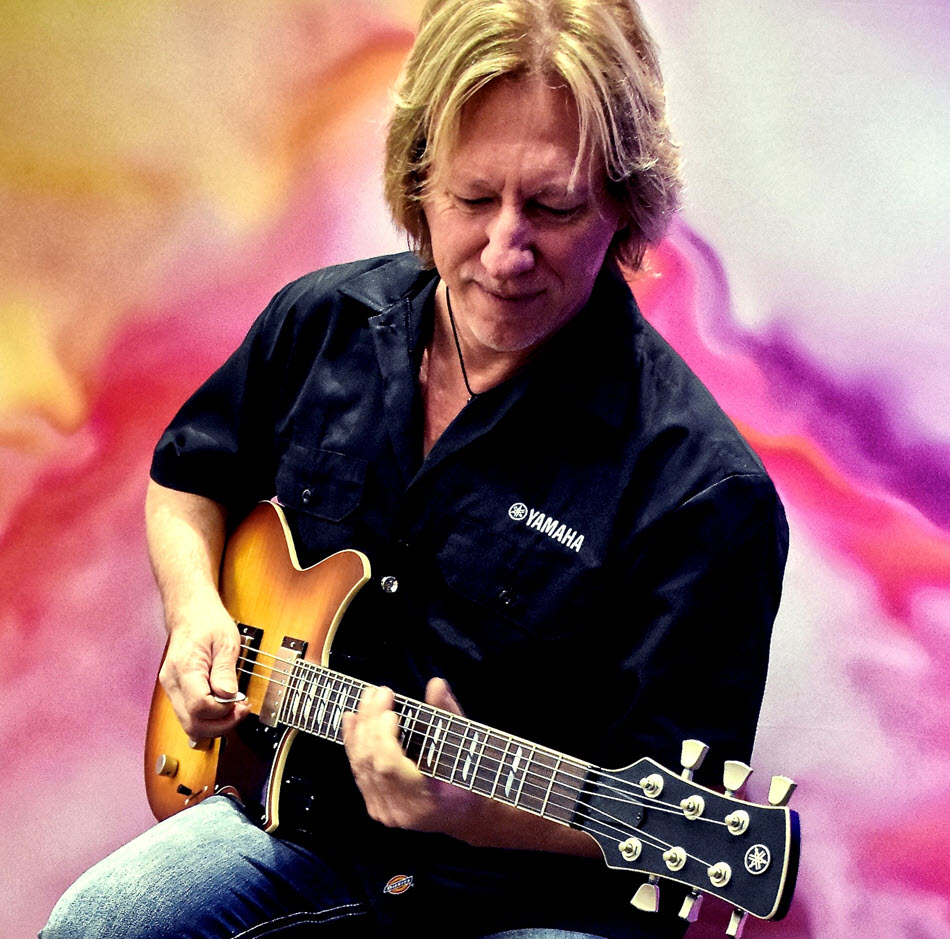
On the show floor, Yamaha showcased many of its classic instruments, as well as a heap of new products. In addition to several new colors of Revstar electrics, Cardinal Black guitarist Chris Buck’s Signature Revstar debuted. This distinctive guitar offers custom-voiced P90-style pickups, a wraparound bridge, a chambered body and a carbon-reinforced neck.
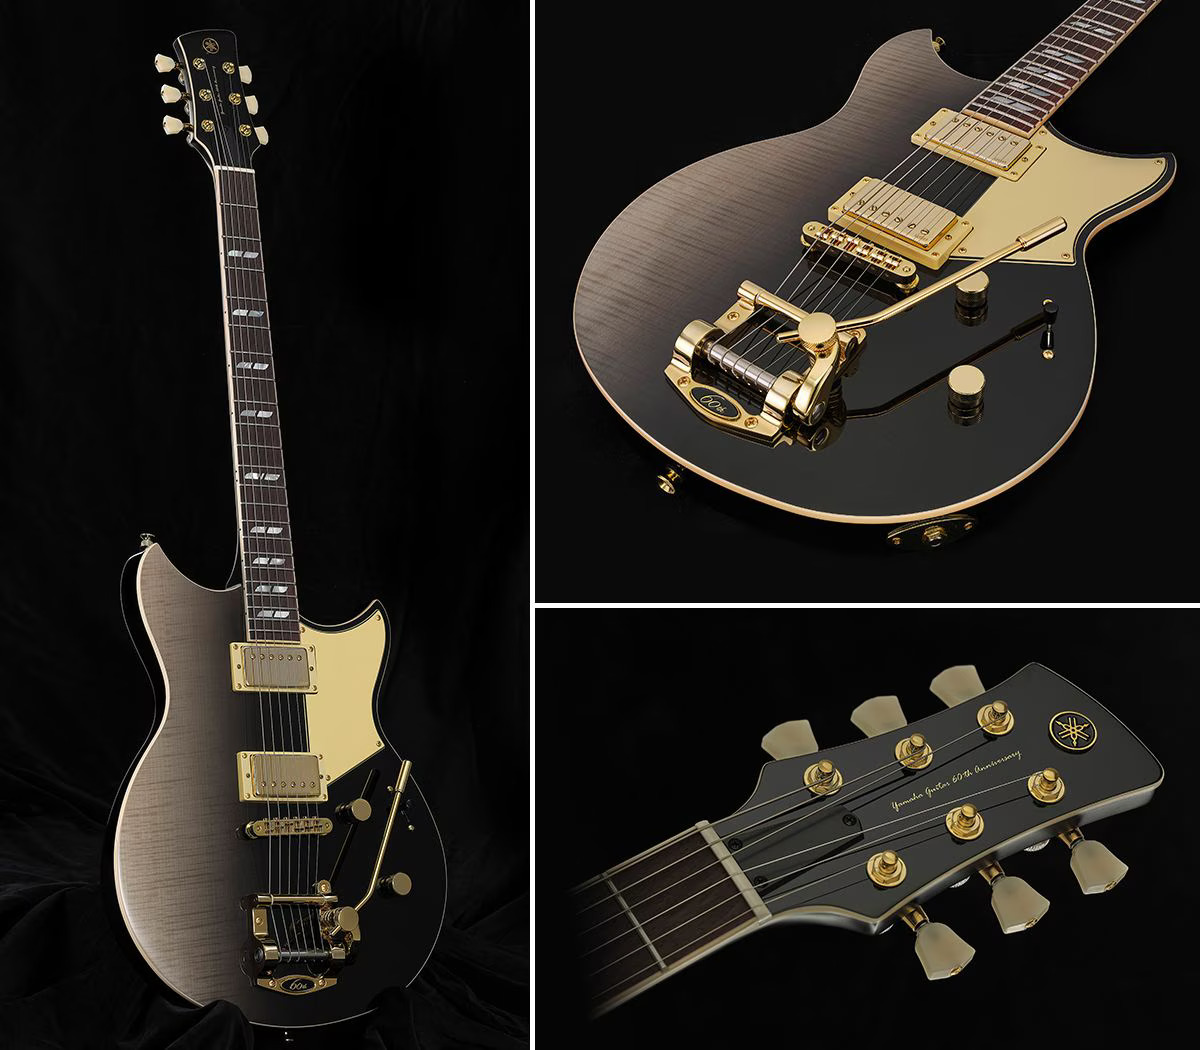
Complemented by exclusive 60th-anniversary specs available only on this commemorative model, the limited-edition 60th Anniversary Revstar is one of the most distinctive Revstars ever released. It boasts a refined Noble Black Burst finish, chambered body, Göldo tremolo, Gotoh locking tuners and custom-designed dual humbuckers.
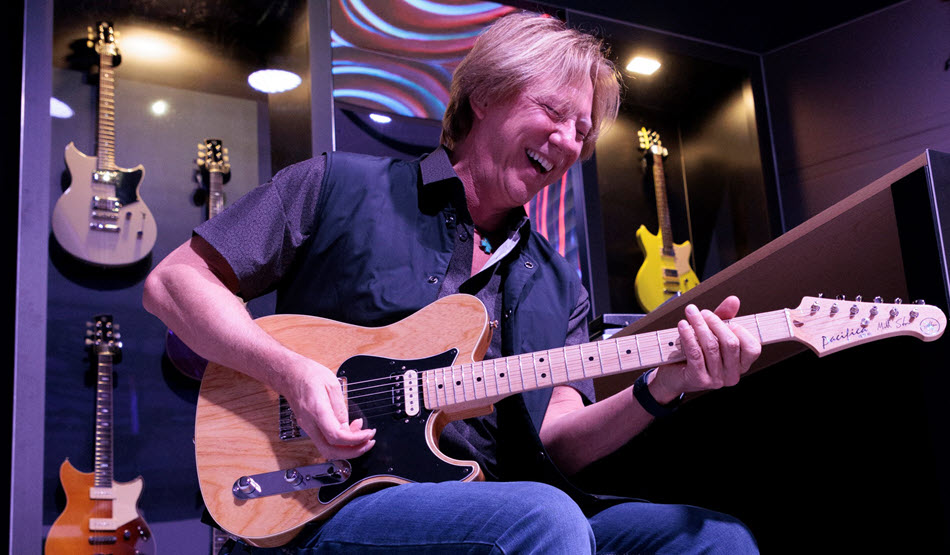
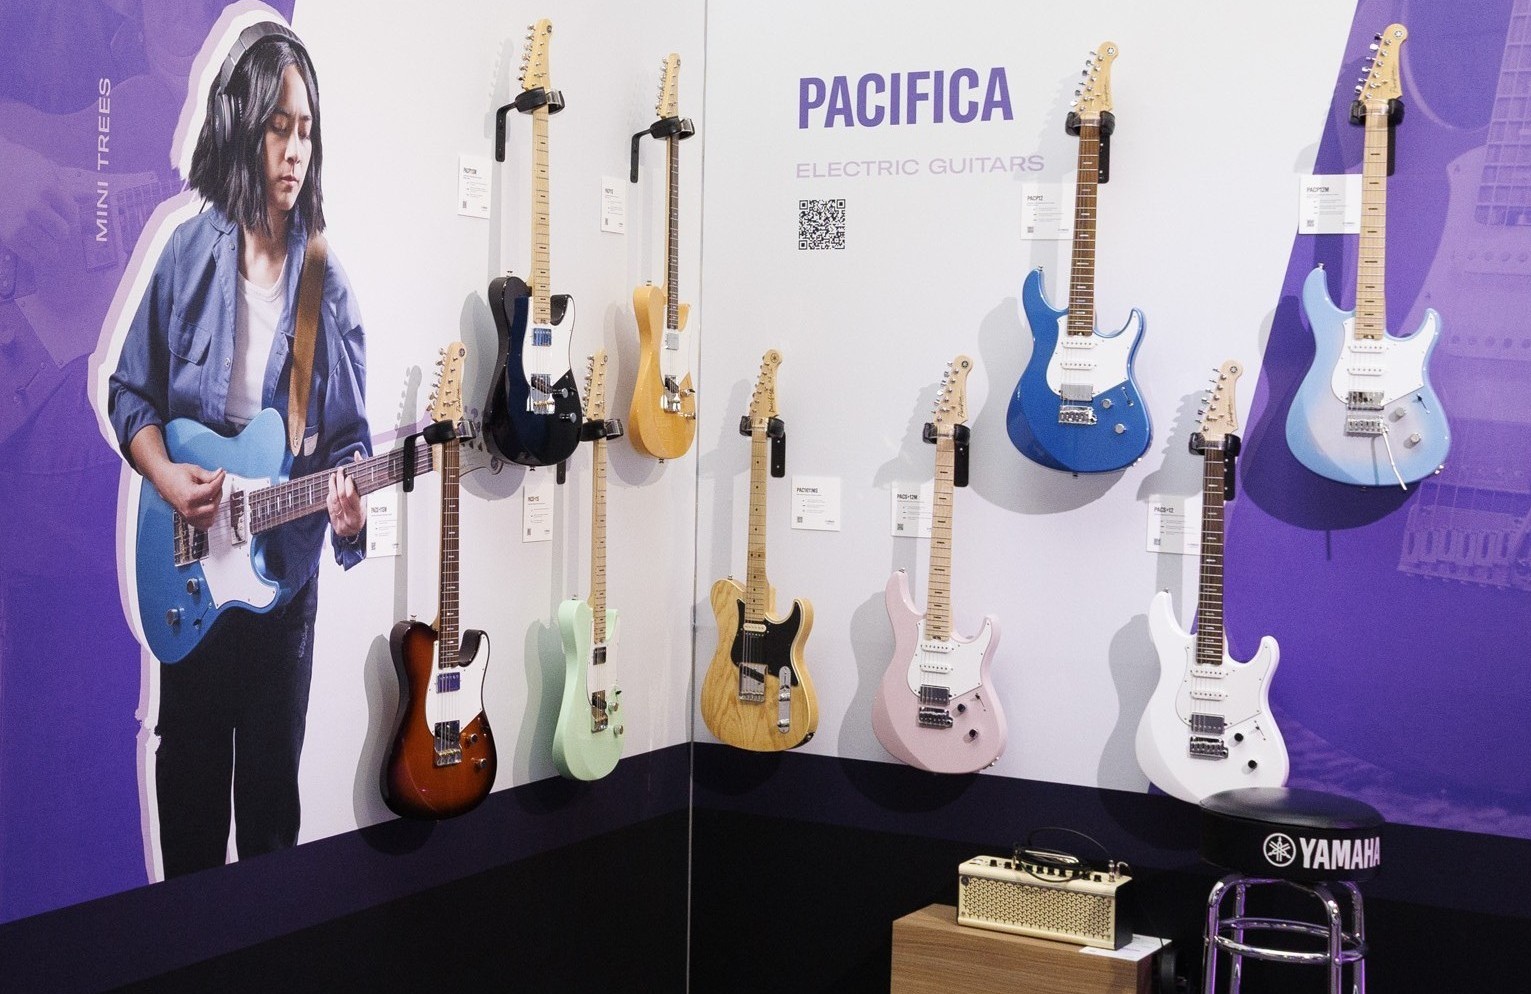
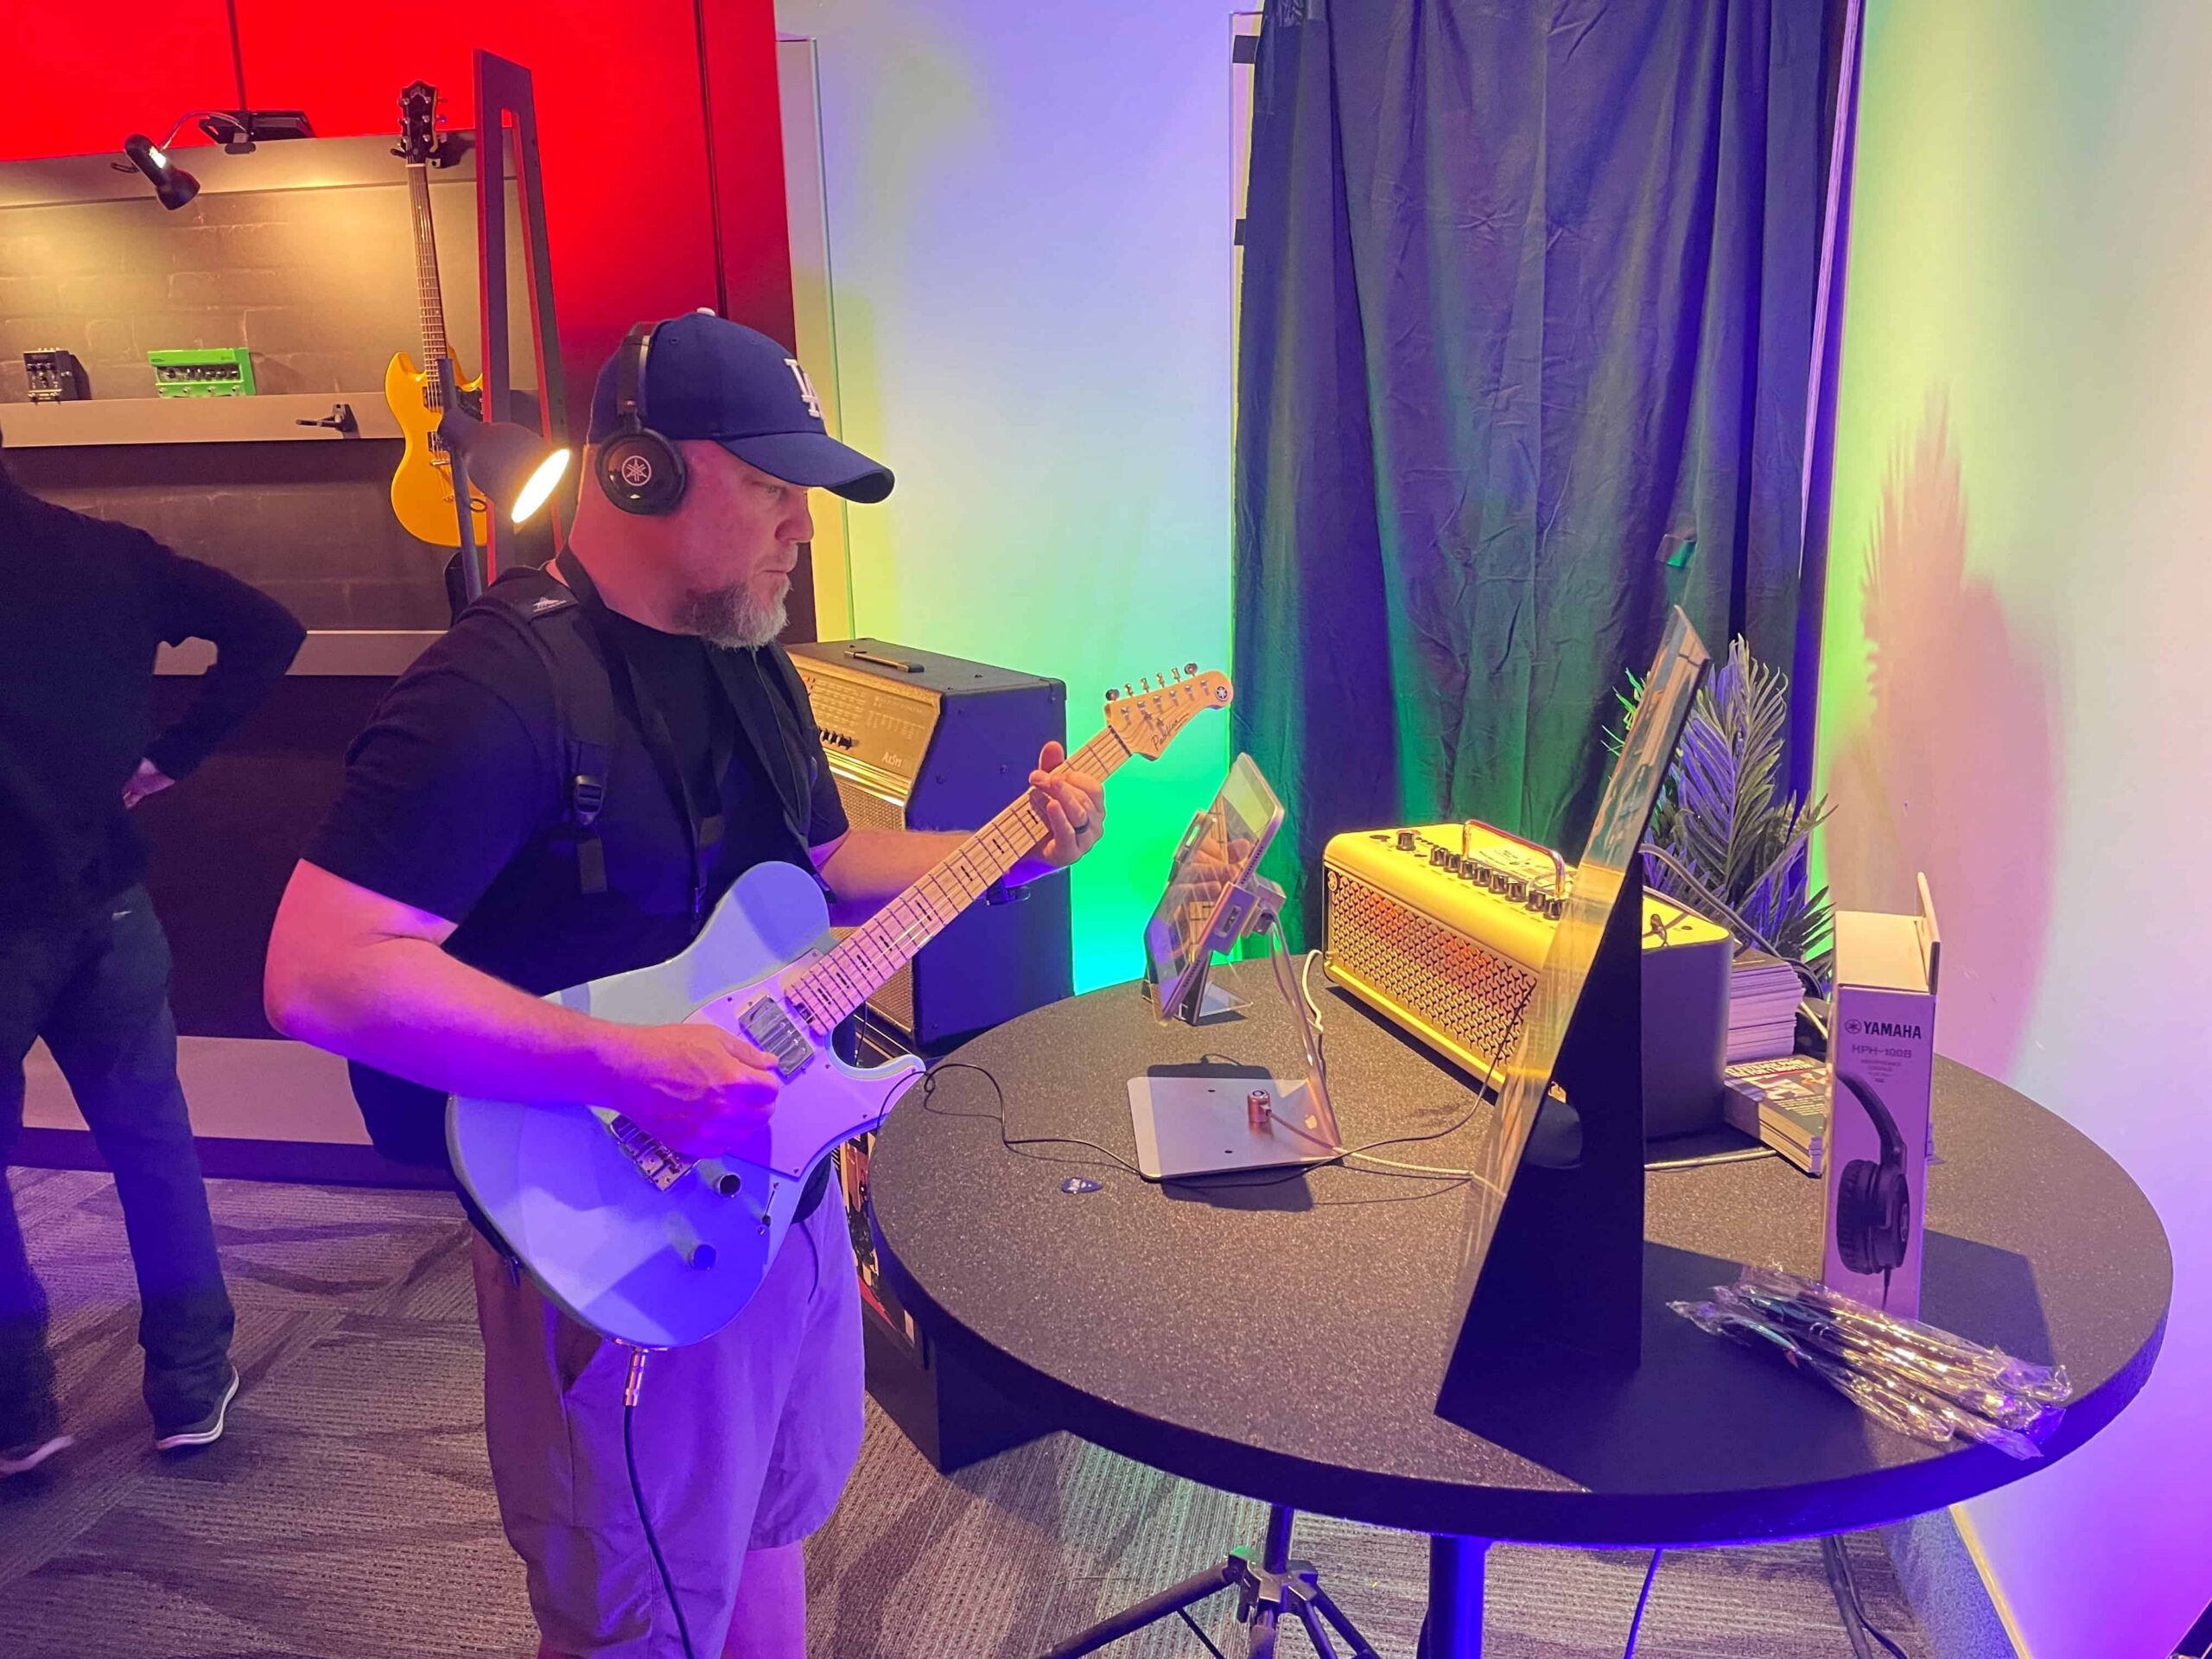
The newly debuted line of Pacifica SC Professional and Standard Plus electrics definitely made waves. They combine easy playability with extreme versatility by virtue of their Reflectone™ pickups, Focus switch and Acoustic Design Technology.
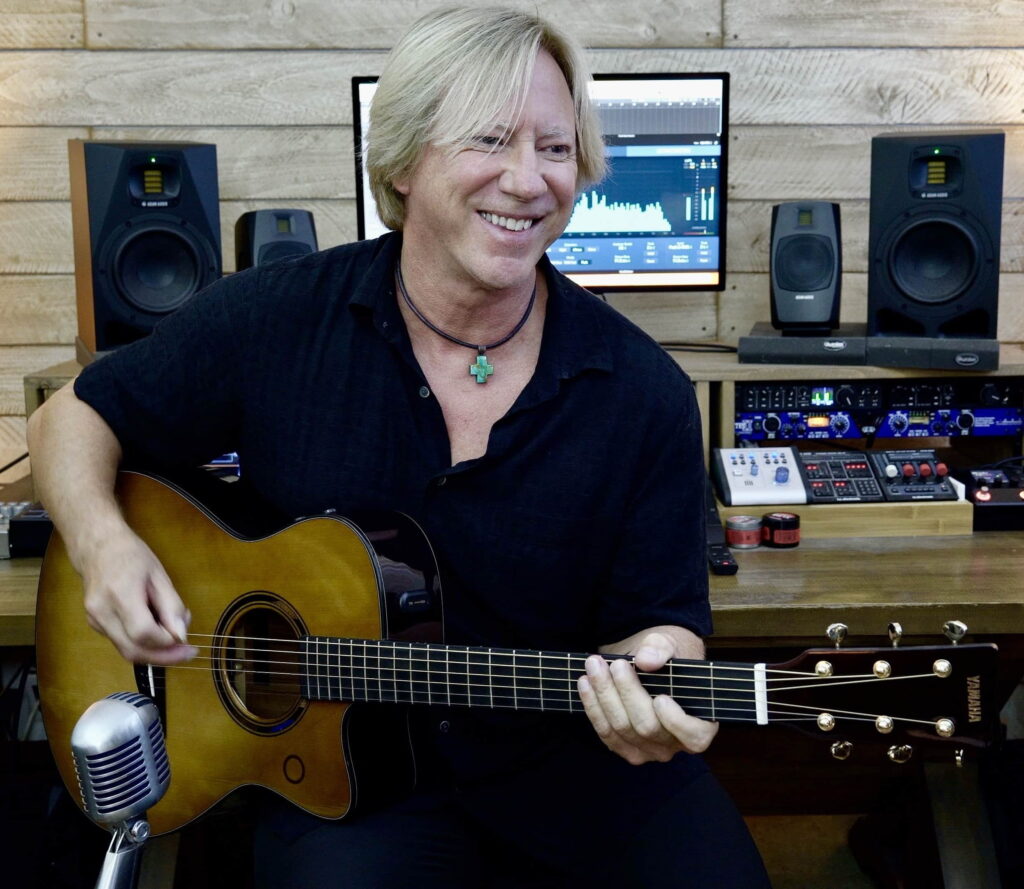
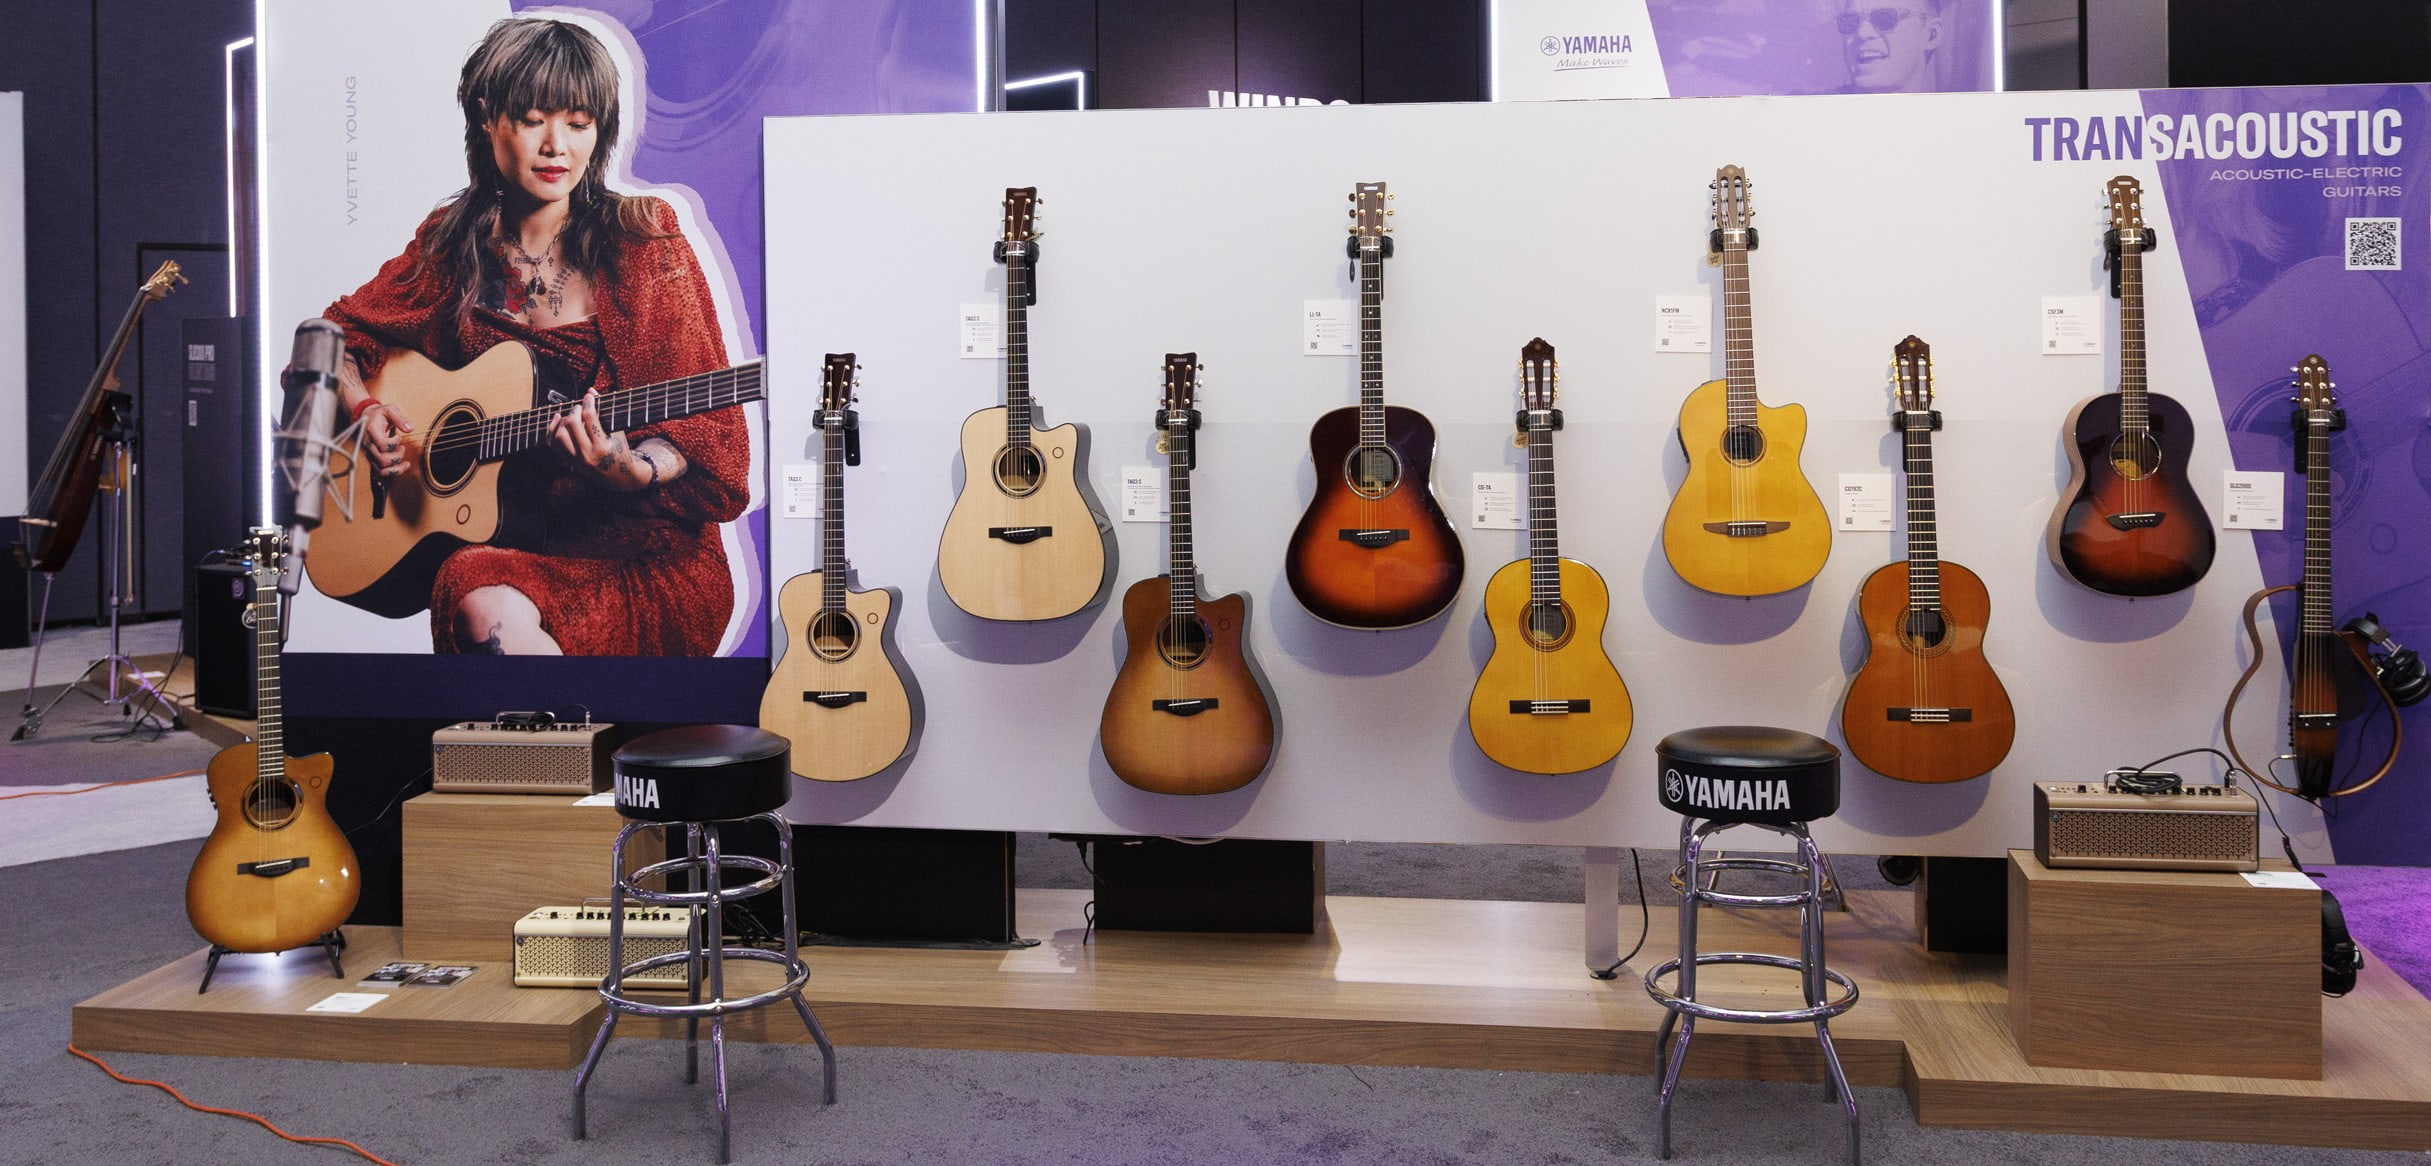
The new TAS3 C second-generation TransAcoustic guitar also got a lot of attention. It offers modern technology in a concert-size body, incorporating a built-in looper along with reverb, chorus and delay effects, as well as a rechargeable battery and Bluetooth connectivity.
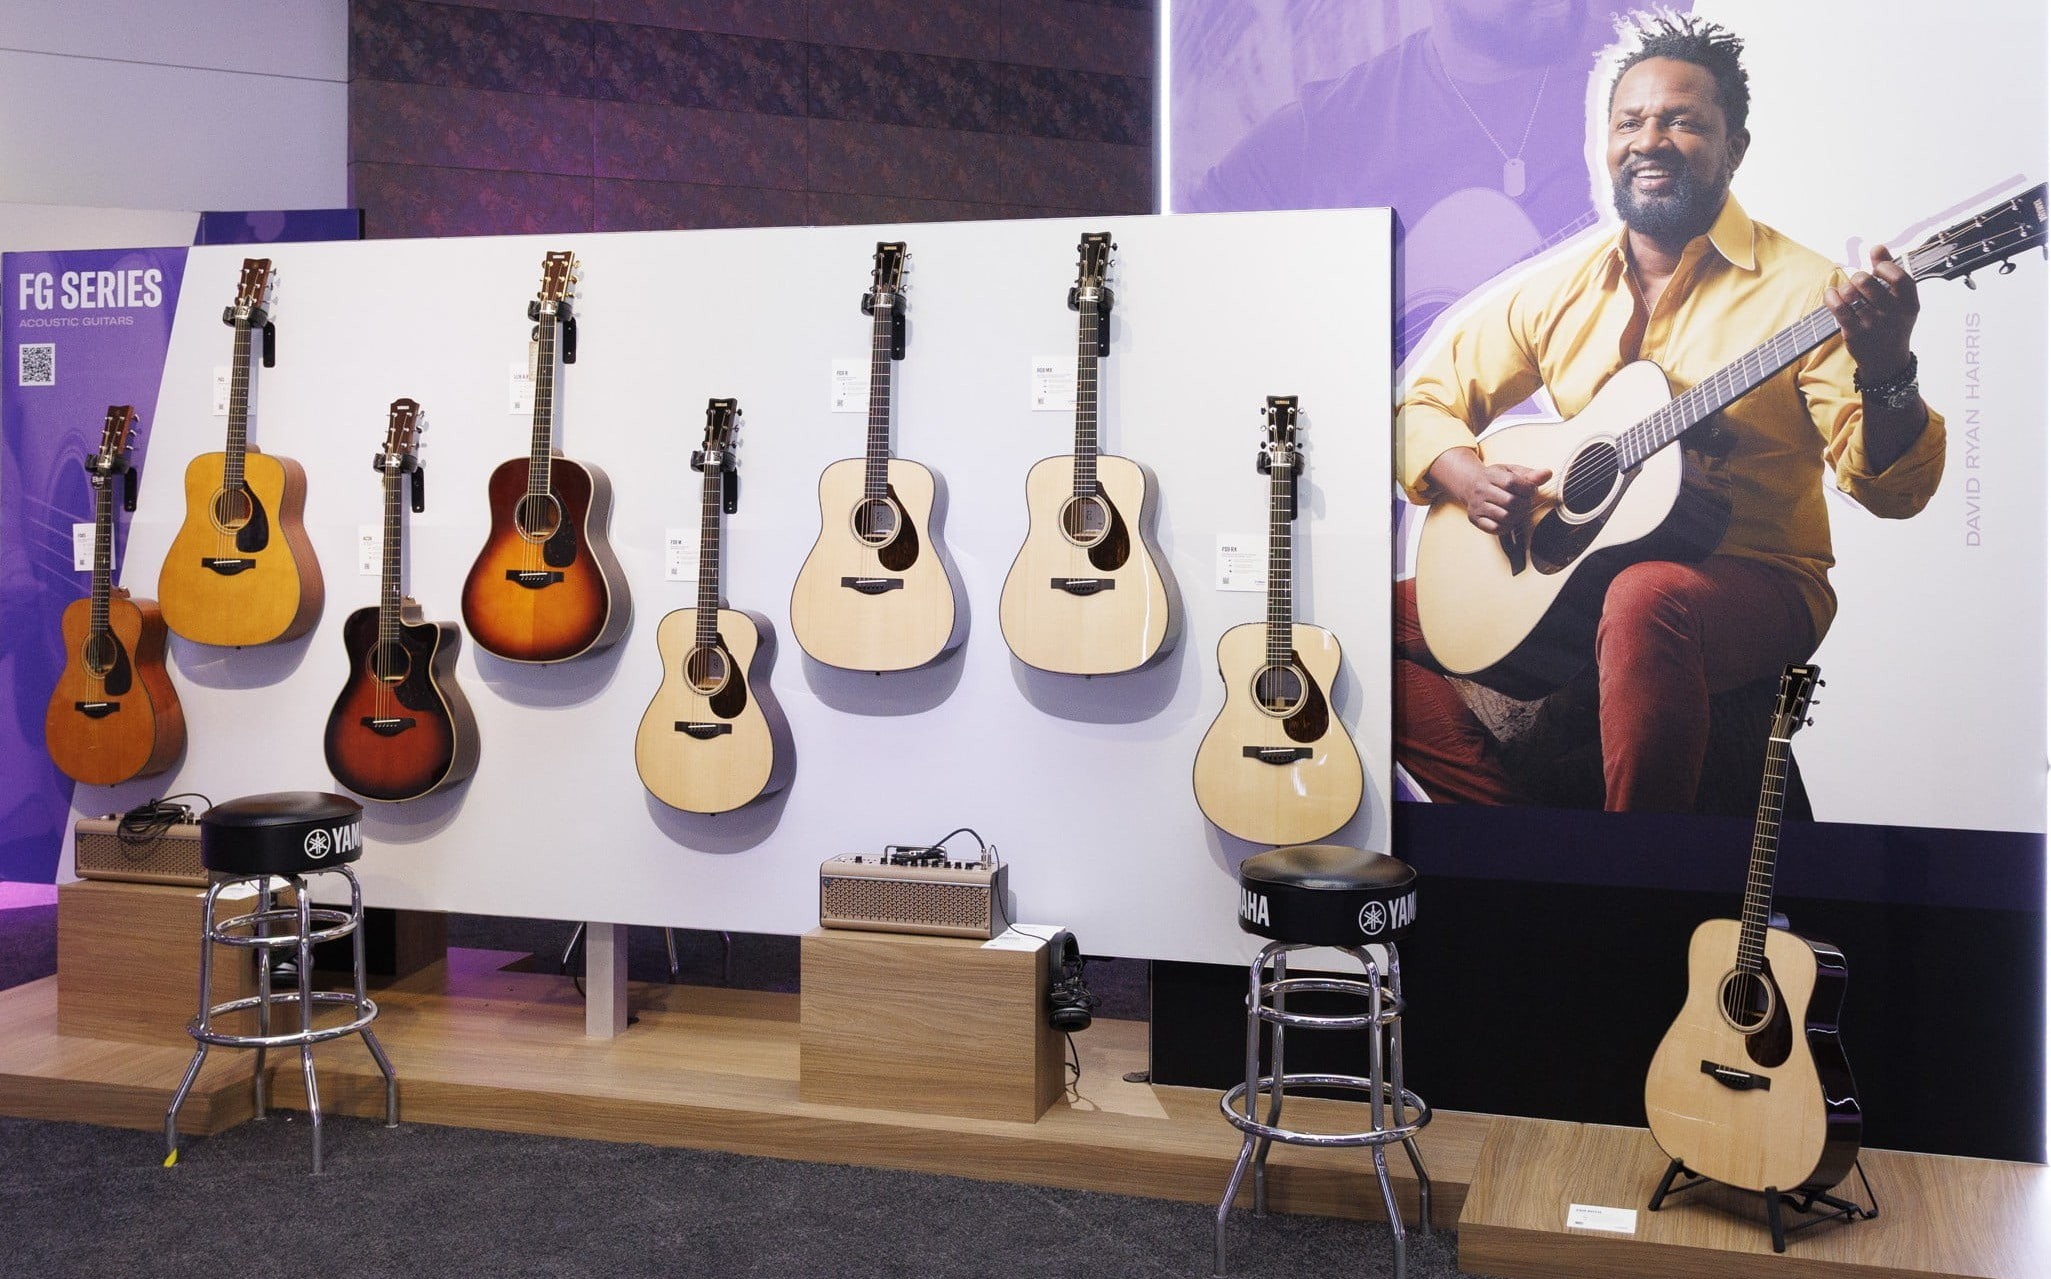
The gorgeous 60th Anniversary FG9 acoustic guitar — crafted in Japan with an Adirondack spruce top and Guatemalan rosewood back and sides — drew big crowds, and for good reason. This limited‑quantity commemorative model celebrates six decades of craftsmanship with premium tonewoods, refined voicing and exceptional projection. It stands as a rare collector‑grade instrument that blends tradition, power and unmistakable Yamaha character.
YAMAHA GUITAR GROUP
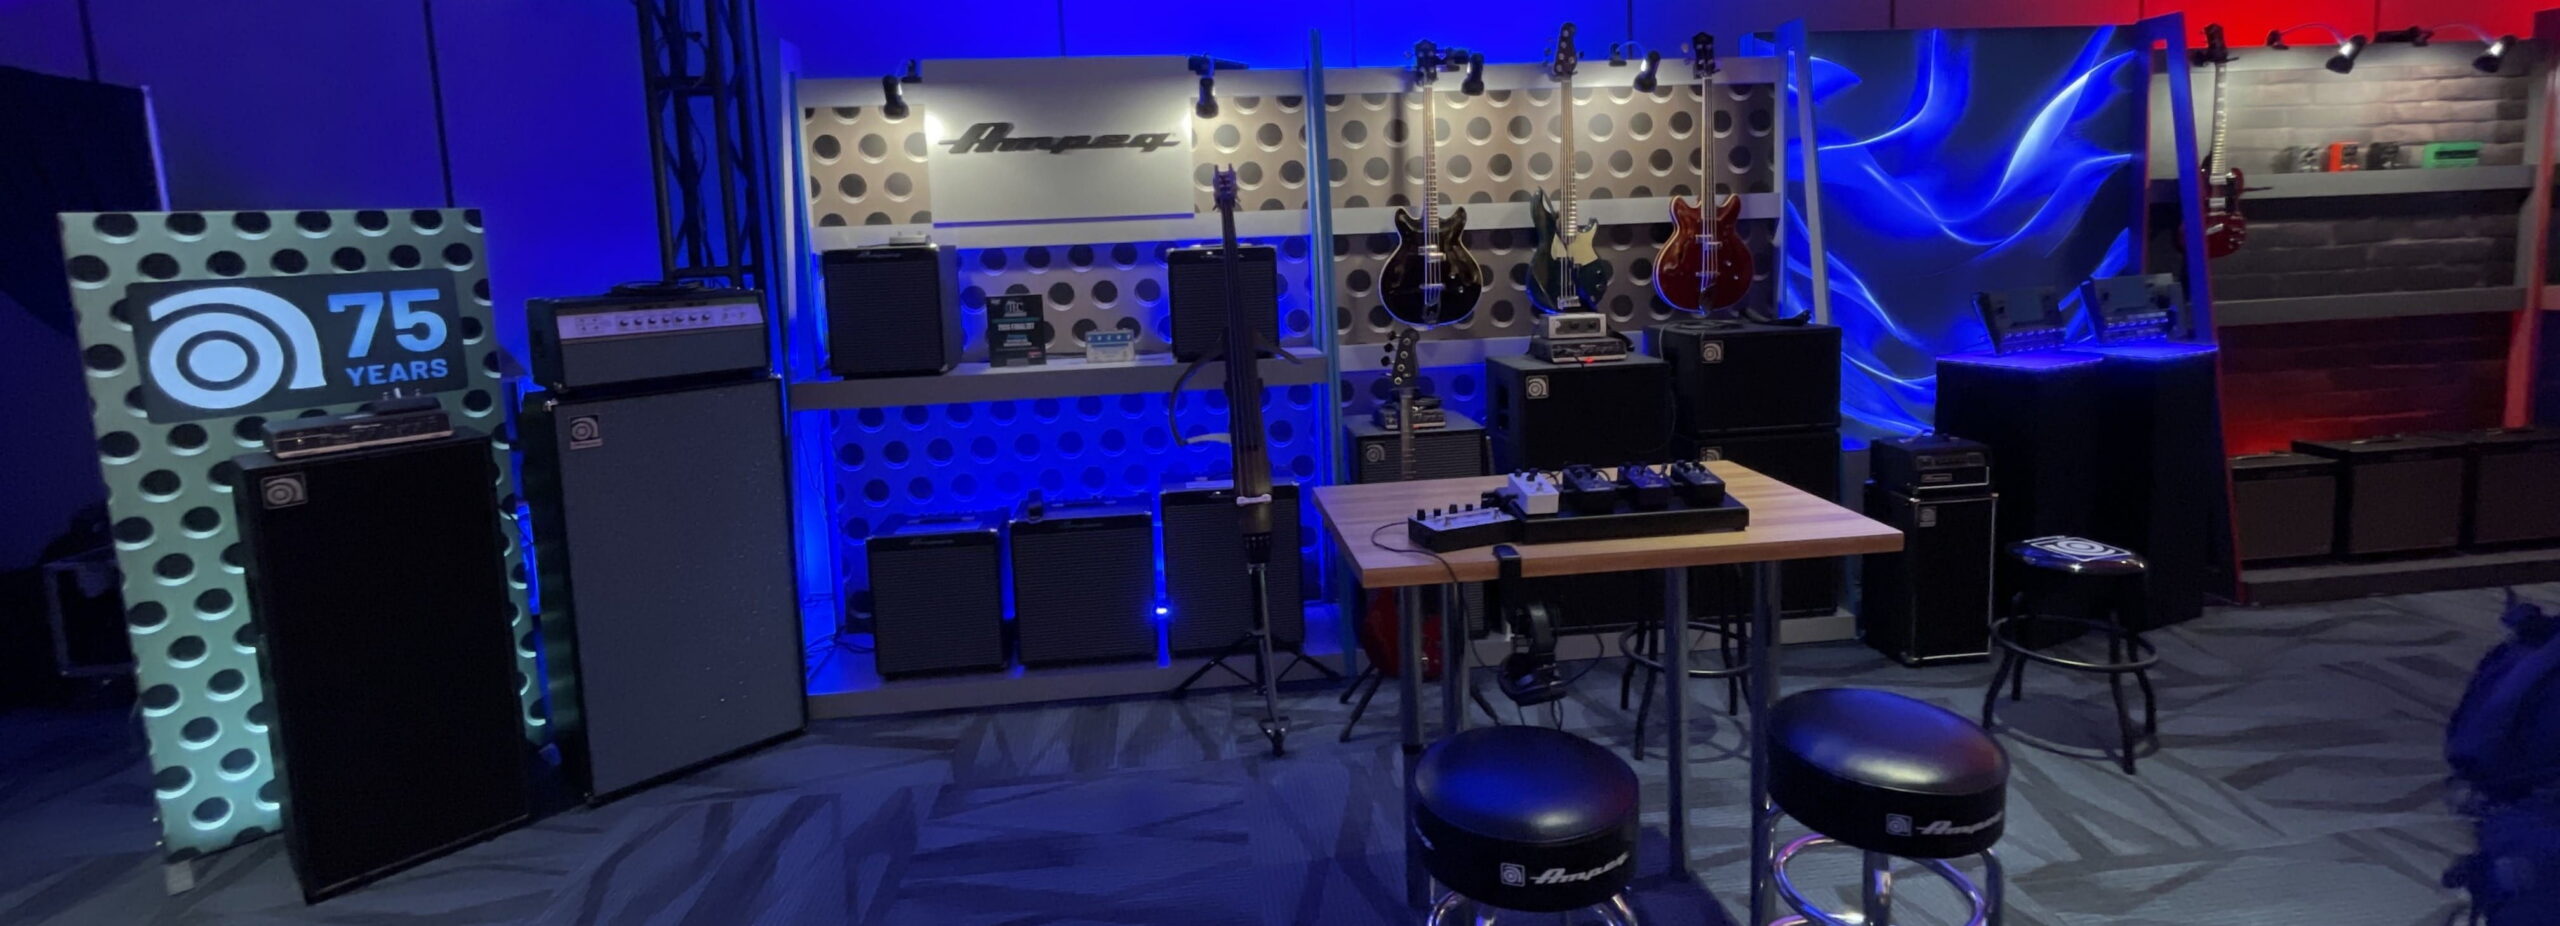
The classic BB, TRBX and Signature Billy Sheehan, Nathan East and John Patitucci basses in the main display area were all plugged into Ampeg amps, but the adjacent Yamaha Guitar Group (YGG) room was home to several additional Ampeg bass rigs, including last year’s breakout star, the Venture VB-88 cabinet.
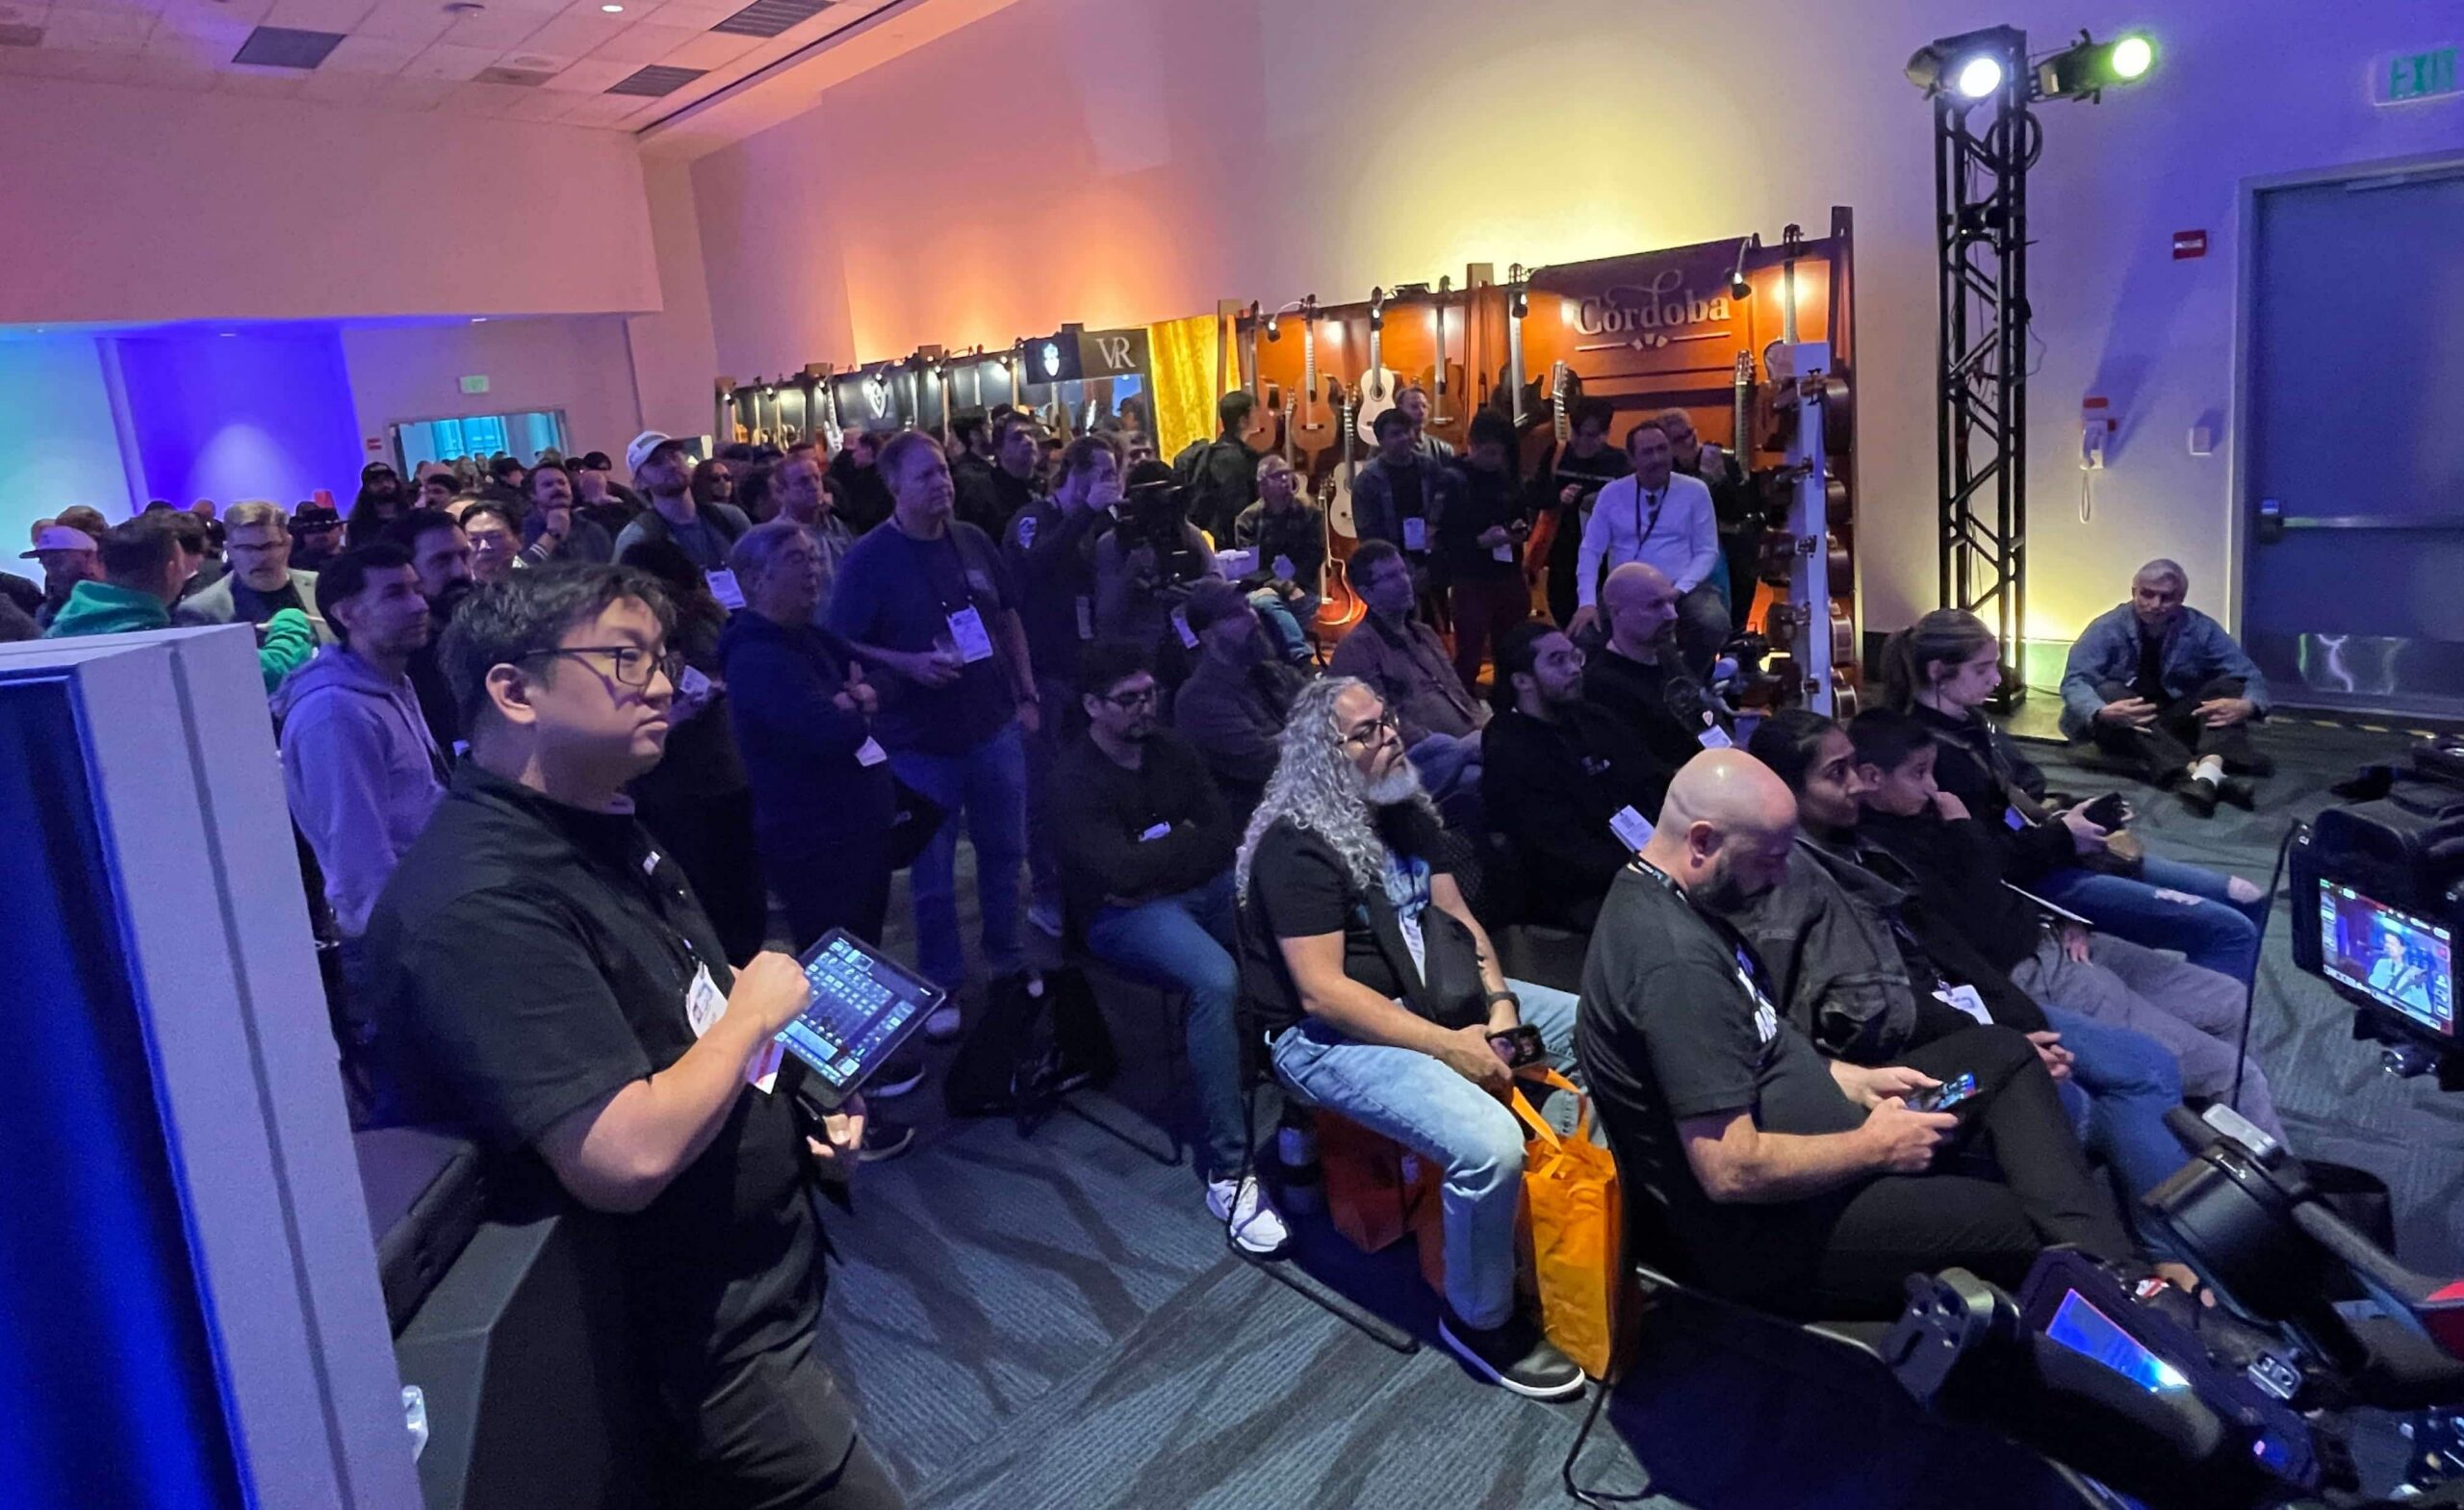
The room, also featuring Line 6, Guild, and Córdoba brands, was packed with players checking out gems like the Córdoba Stage Artist solid-body nylon-string electric, which has a neck that’s slightly thinner and narrower than a conventional nylon-string; the 24-fret, 7-string Córdoba Abasi Stage 7, a nylon-string electric guitar engineered for modern electric players; and the eye-catching Córdoba 15C ukuleles.

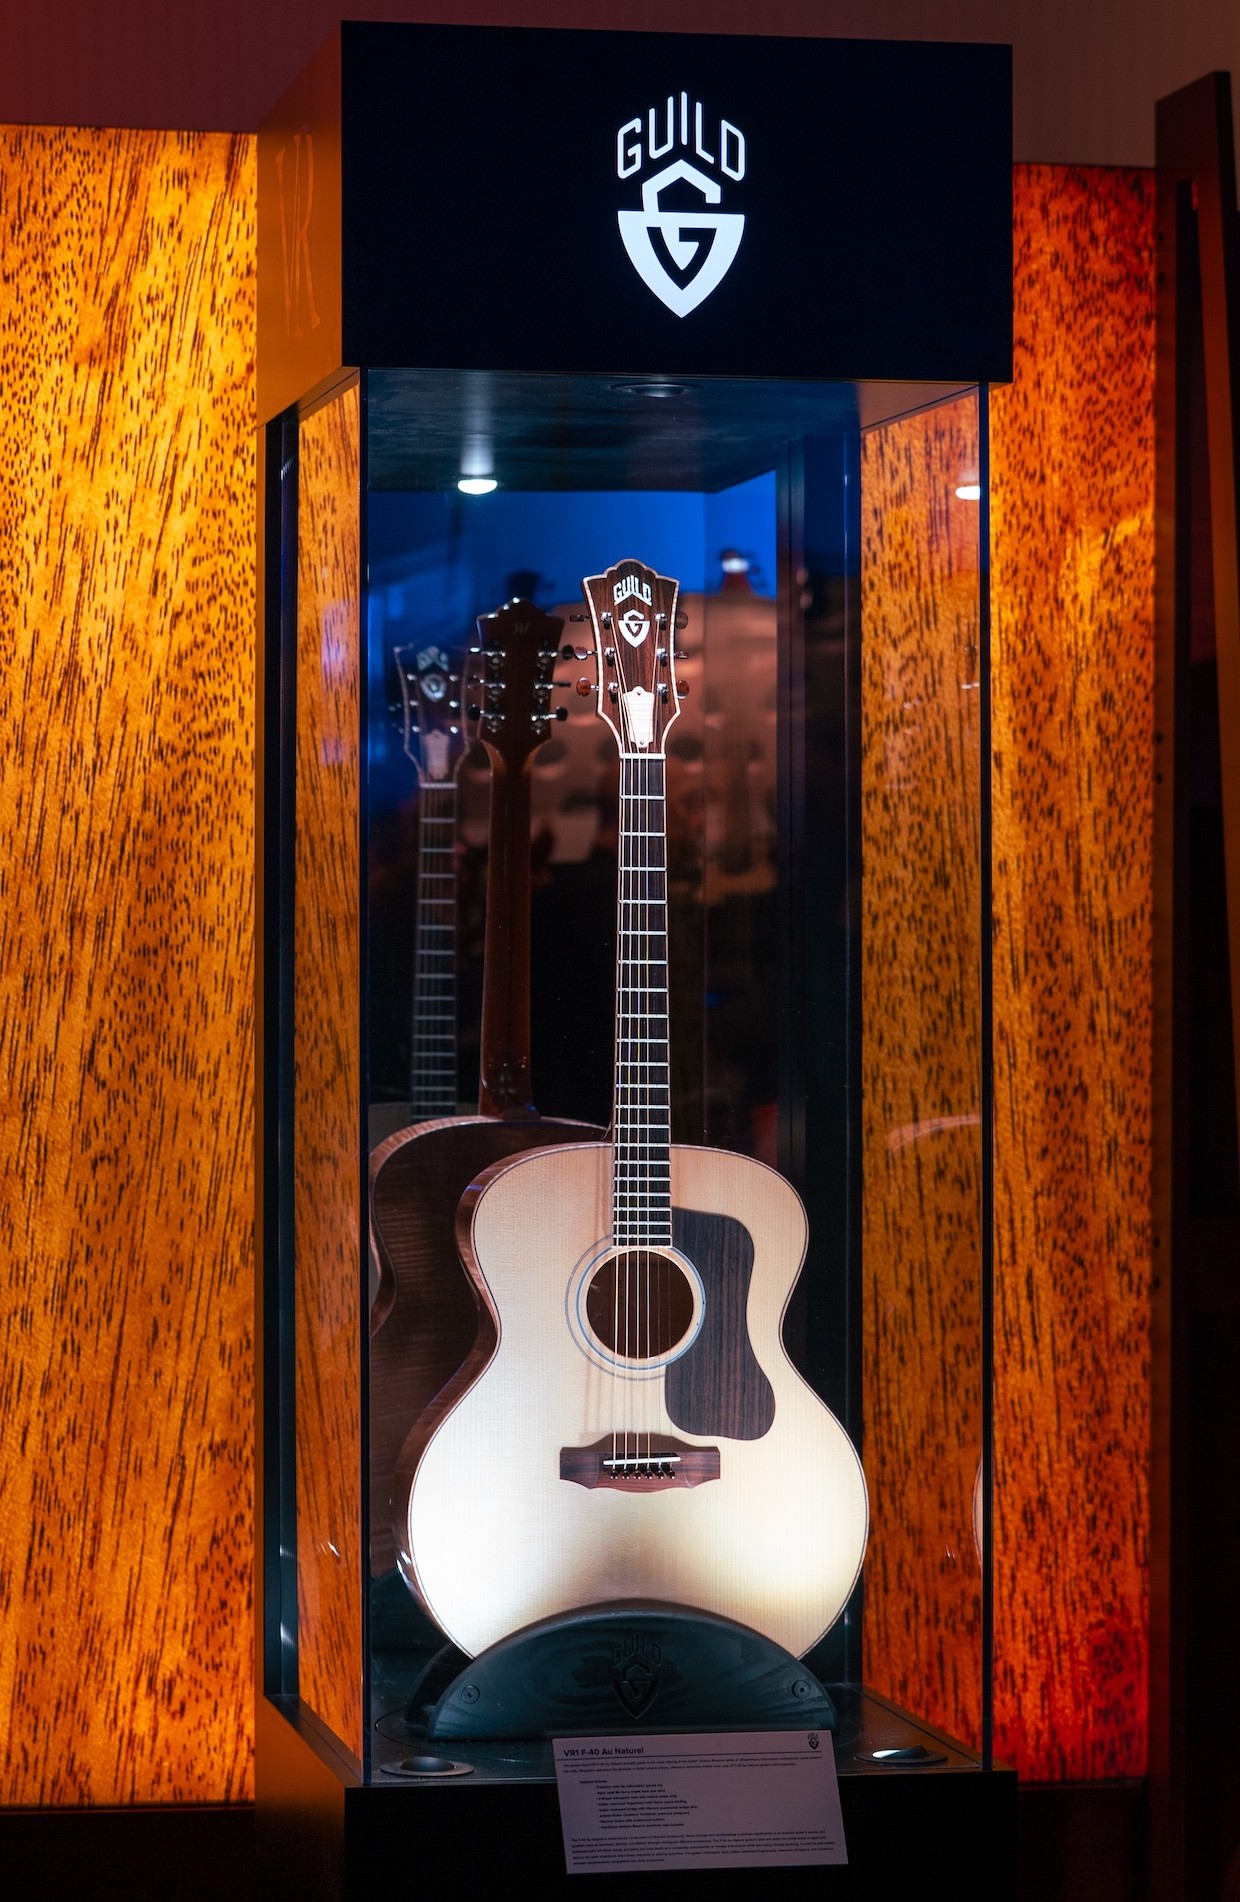
Guild were showing two jumbo new acoustics: the F-412 12-string and the very limited-series Ventura Reserve VR1 F-40 Au Naturel.
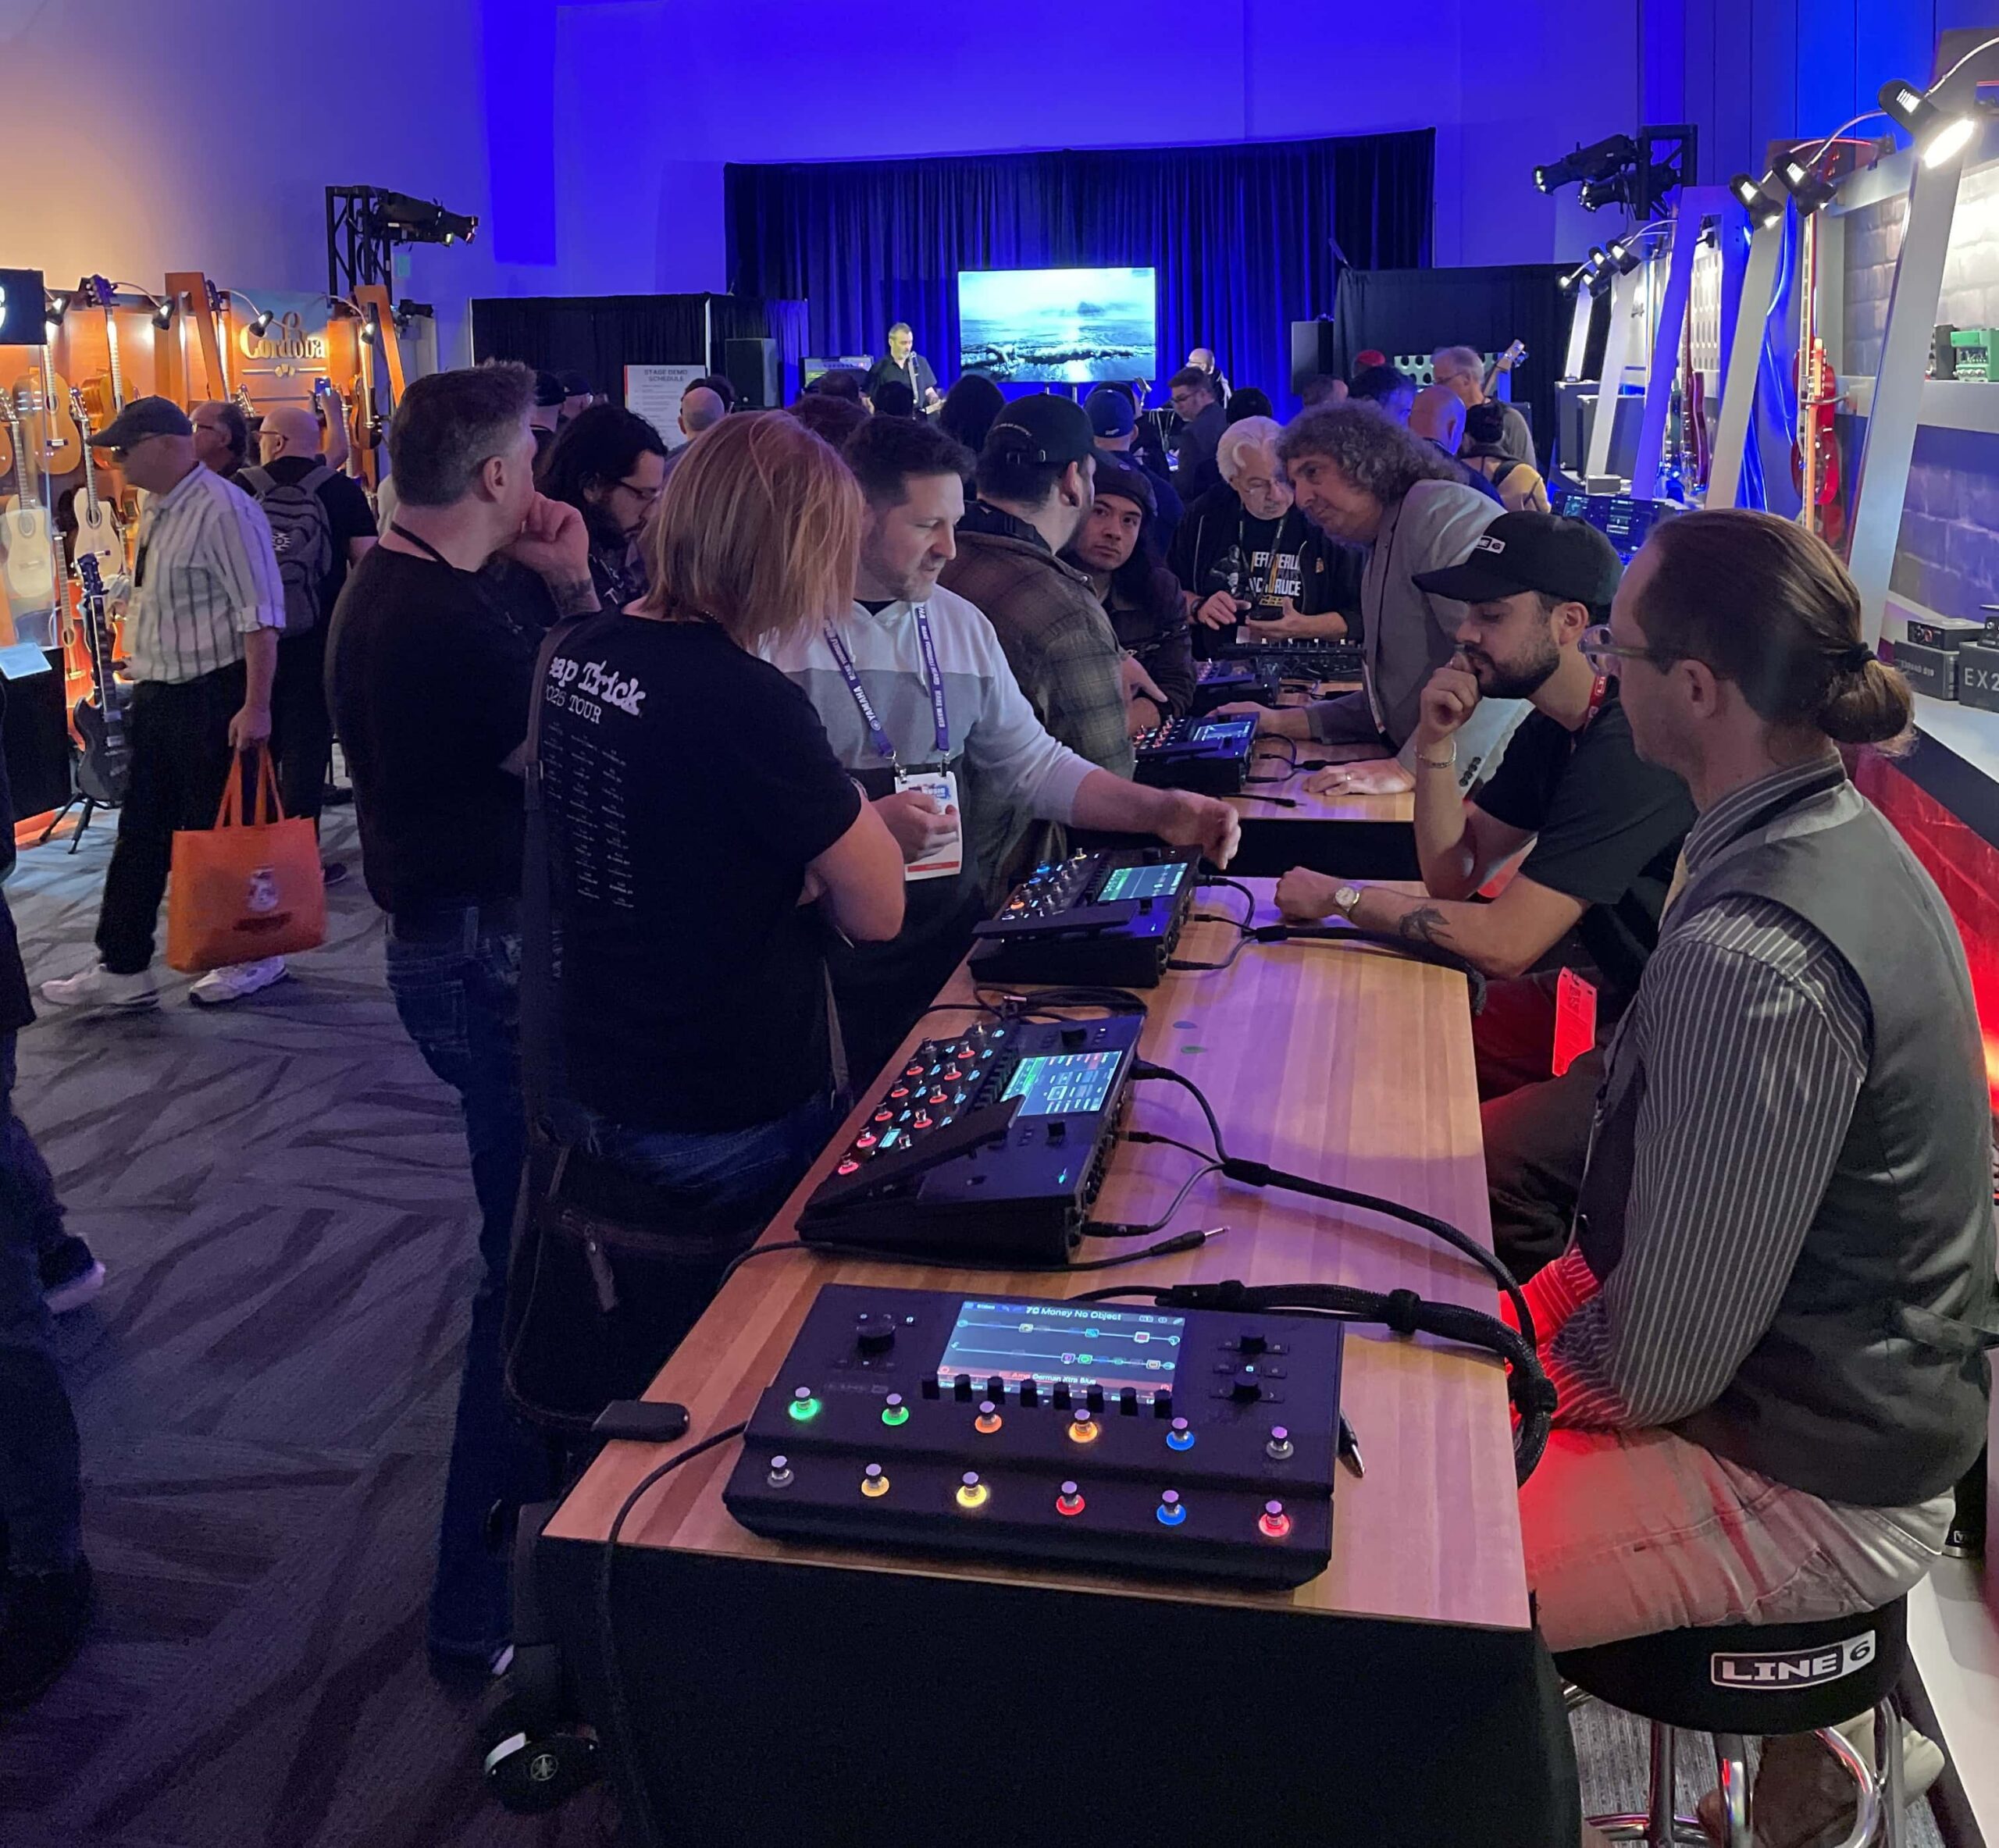
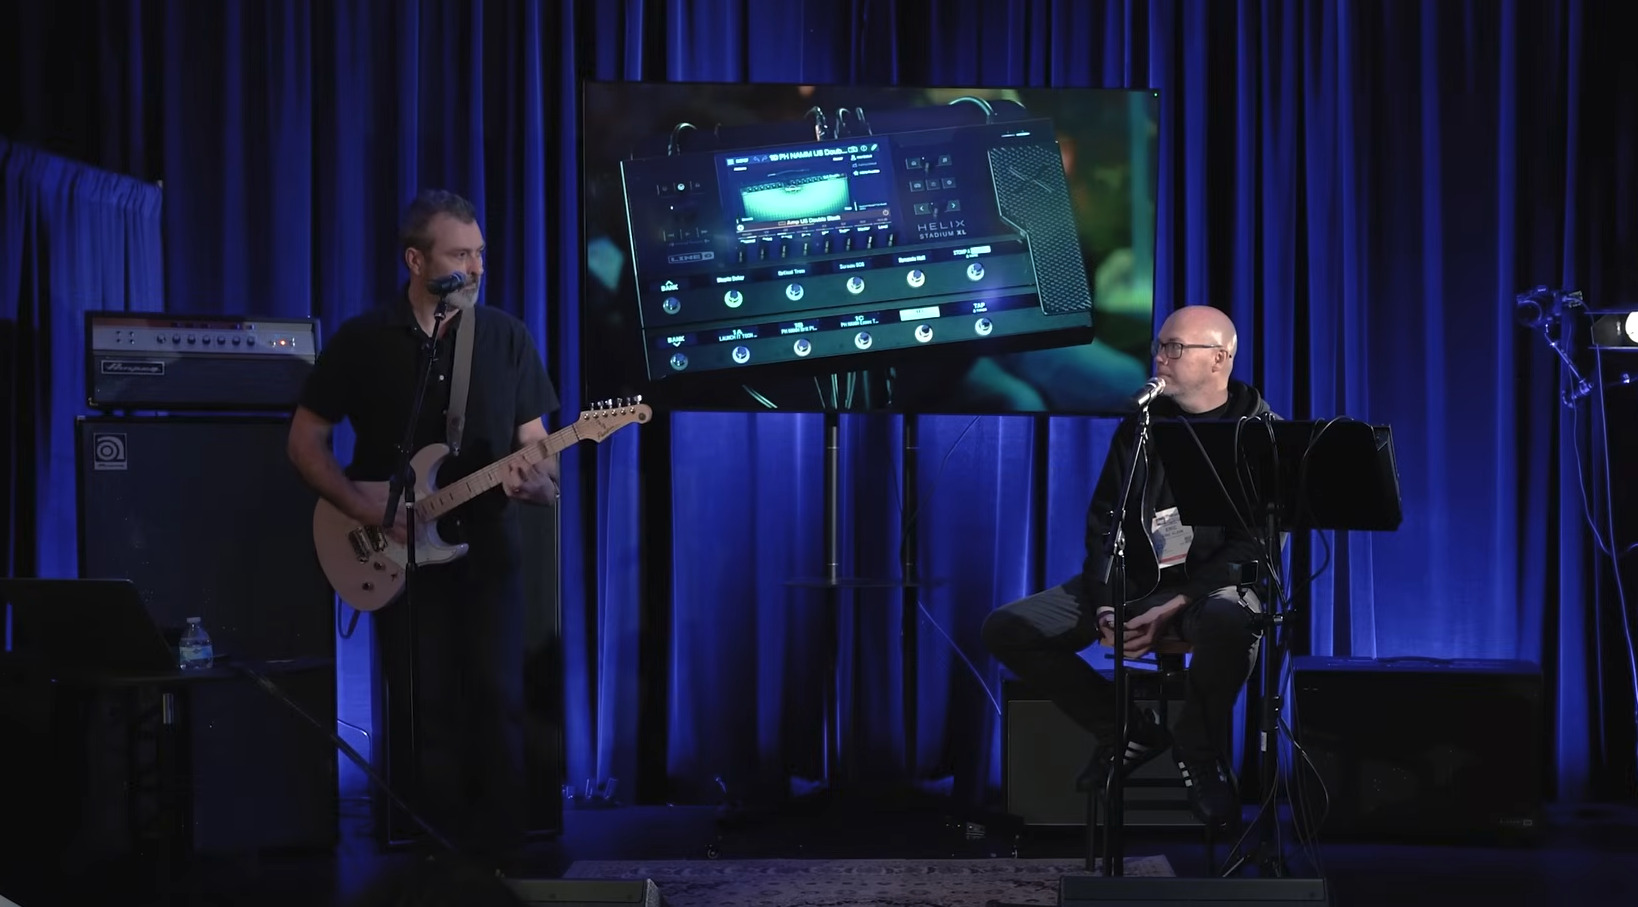
Line 6 drew enthusiastic crowds to their Helix bar, where they demonstated the new Helix Stadium Floor and Stadium Floor XL amp / effects processors (launched in June 2025, but making their first appearance at this year’s NAMM show).
Visitors to the YGG room also had the opportunity to check out the new Yamaha Extrack Music Practice App (available for iOS and Android), which lets you split the instruments and analyze the chords of your favorite songs so you can practice and play along in “minus one” style (with one selected part muted), as if you’re performing with a real artist.
Besides a bevy of new products, the YGG room was also host to several live performances. Bass aces Vincen Garcia and Pops Magellan, who brought down the house at the Bass Magazine Awards a few minutes away from the convention center, showed off the Ampeg SVT and Venture bass rigs, as did Tye Trujillo; Adam Simons brought out the best of Guild’s F-412 and D-55 USA Series guitars; Tosin Abasi did a Q&A about his signature Abasi Stage 7; and several demonstrations and performances— with Paul Hindmarsh, Eric Klein, Yamaha Signature Artist Chris Buck, Jemmuel Magtibay, and Scott Uhl — took visitors through the tones and intricacies of the Helix Stadium.
NAMM continues to flourish as a singularly powerful opportunity for in-person connection between players, manufacturers and retailers. It’s safe to say that the instruments made by Yamaha, a presence at NAMM since 1957 — yep, even before the official 1960 formation of the Yamaha Corporation of America — will always be an important part of the magic.
Keep reading