Summer School: How to Play Chords and Double-Stops on Bass
Most of the time, bassists play one note at a time, and when we think of chords, we outline them by playing arpeggios. But playing chords as chord shapes — and two-note double-stops, which imply chords — can add cool options to your toolkit while deepening your knowledge of the fretboard and helping you understand songs better.
BASS CHORDS 101
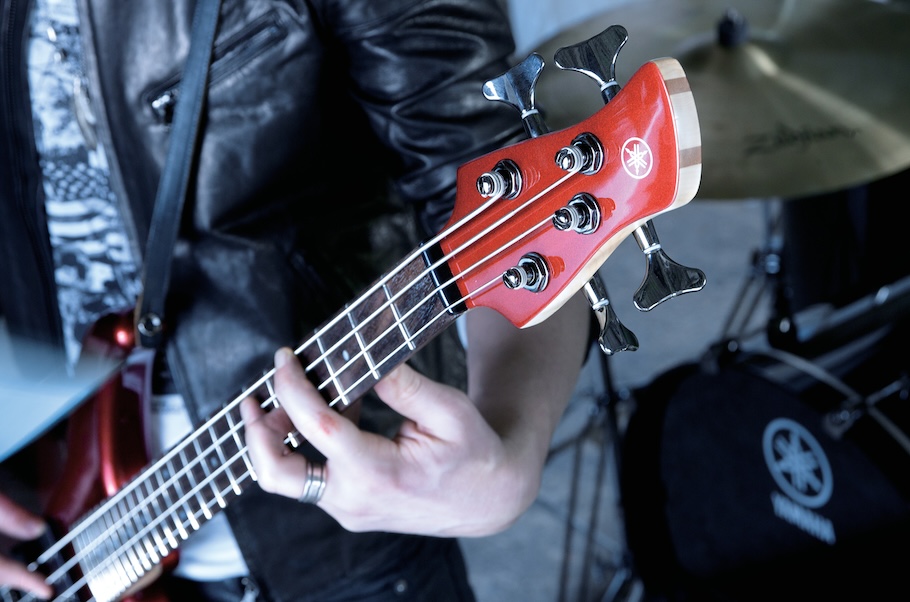
First things first: Chords and double-stops sound better up high on the bass. Down low — say, below the seventh fret on a standard 4-string bass — chords can get muddy. A chord voicing refers to the way you arrange and space the notes in a chord, and the lower you are, the simpler your voicing should be. Besides, as you get closer to the pickups, there’s less space between frets, which makes it easier to play chord shapes.
As we talk about notes on separate strings, we’ll use the words “up” and “higher” to refer to a string that’s higher in pitch and closer to your knees. A string is “lower” when it’s lower in pitch and closer to your chest. Similarly, a fret is “higher” when it’s closer to the bridge and “lower” if it’s closer to the headstock. In other words, your D string is higher than your A string, and your fifth fret is lower than your twelfth fret.
DOUBLE-STOPS
Intervals like thirds, fourths and fifths are the building blocks of double-stops and chords. The fingering diagrams below illustrate the various exercises I’ll be describing in this section.
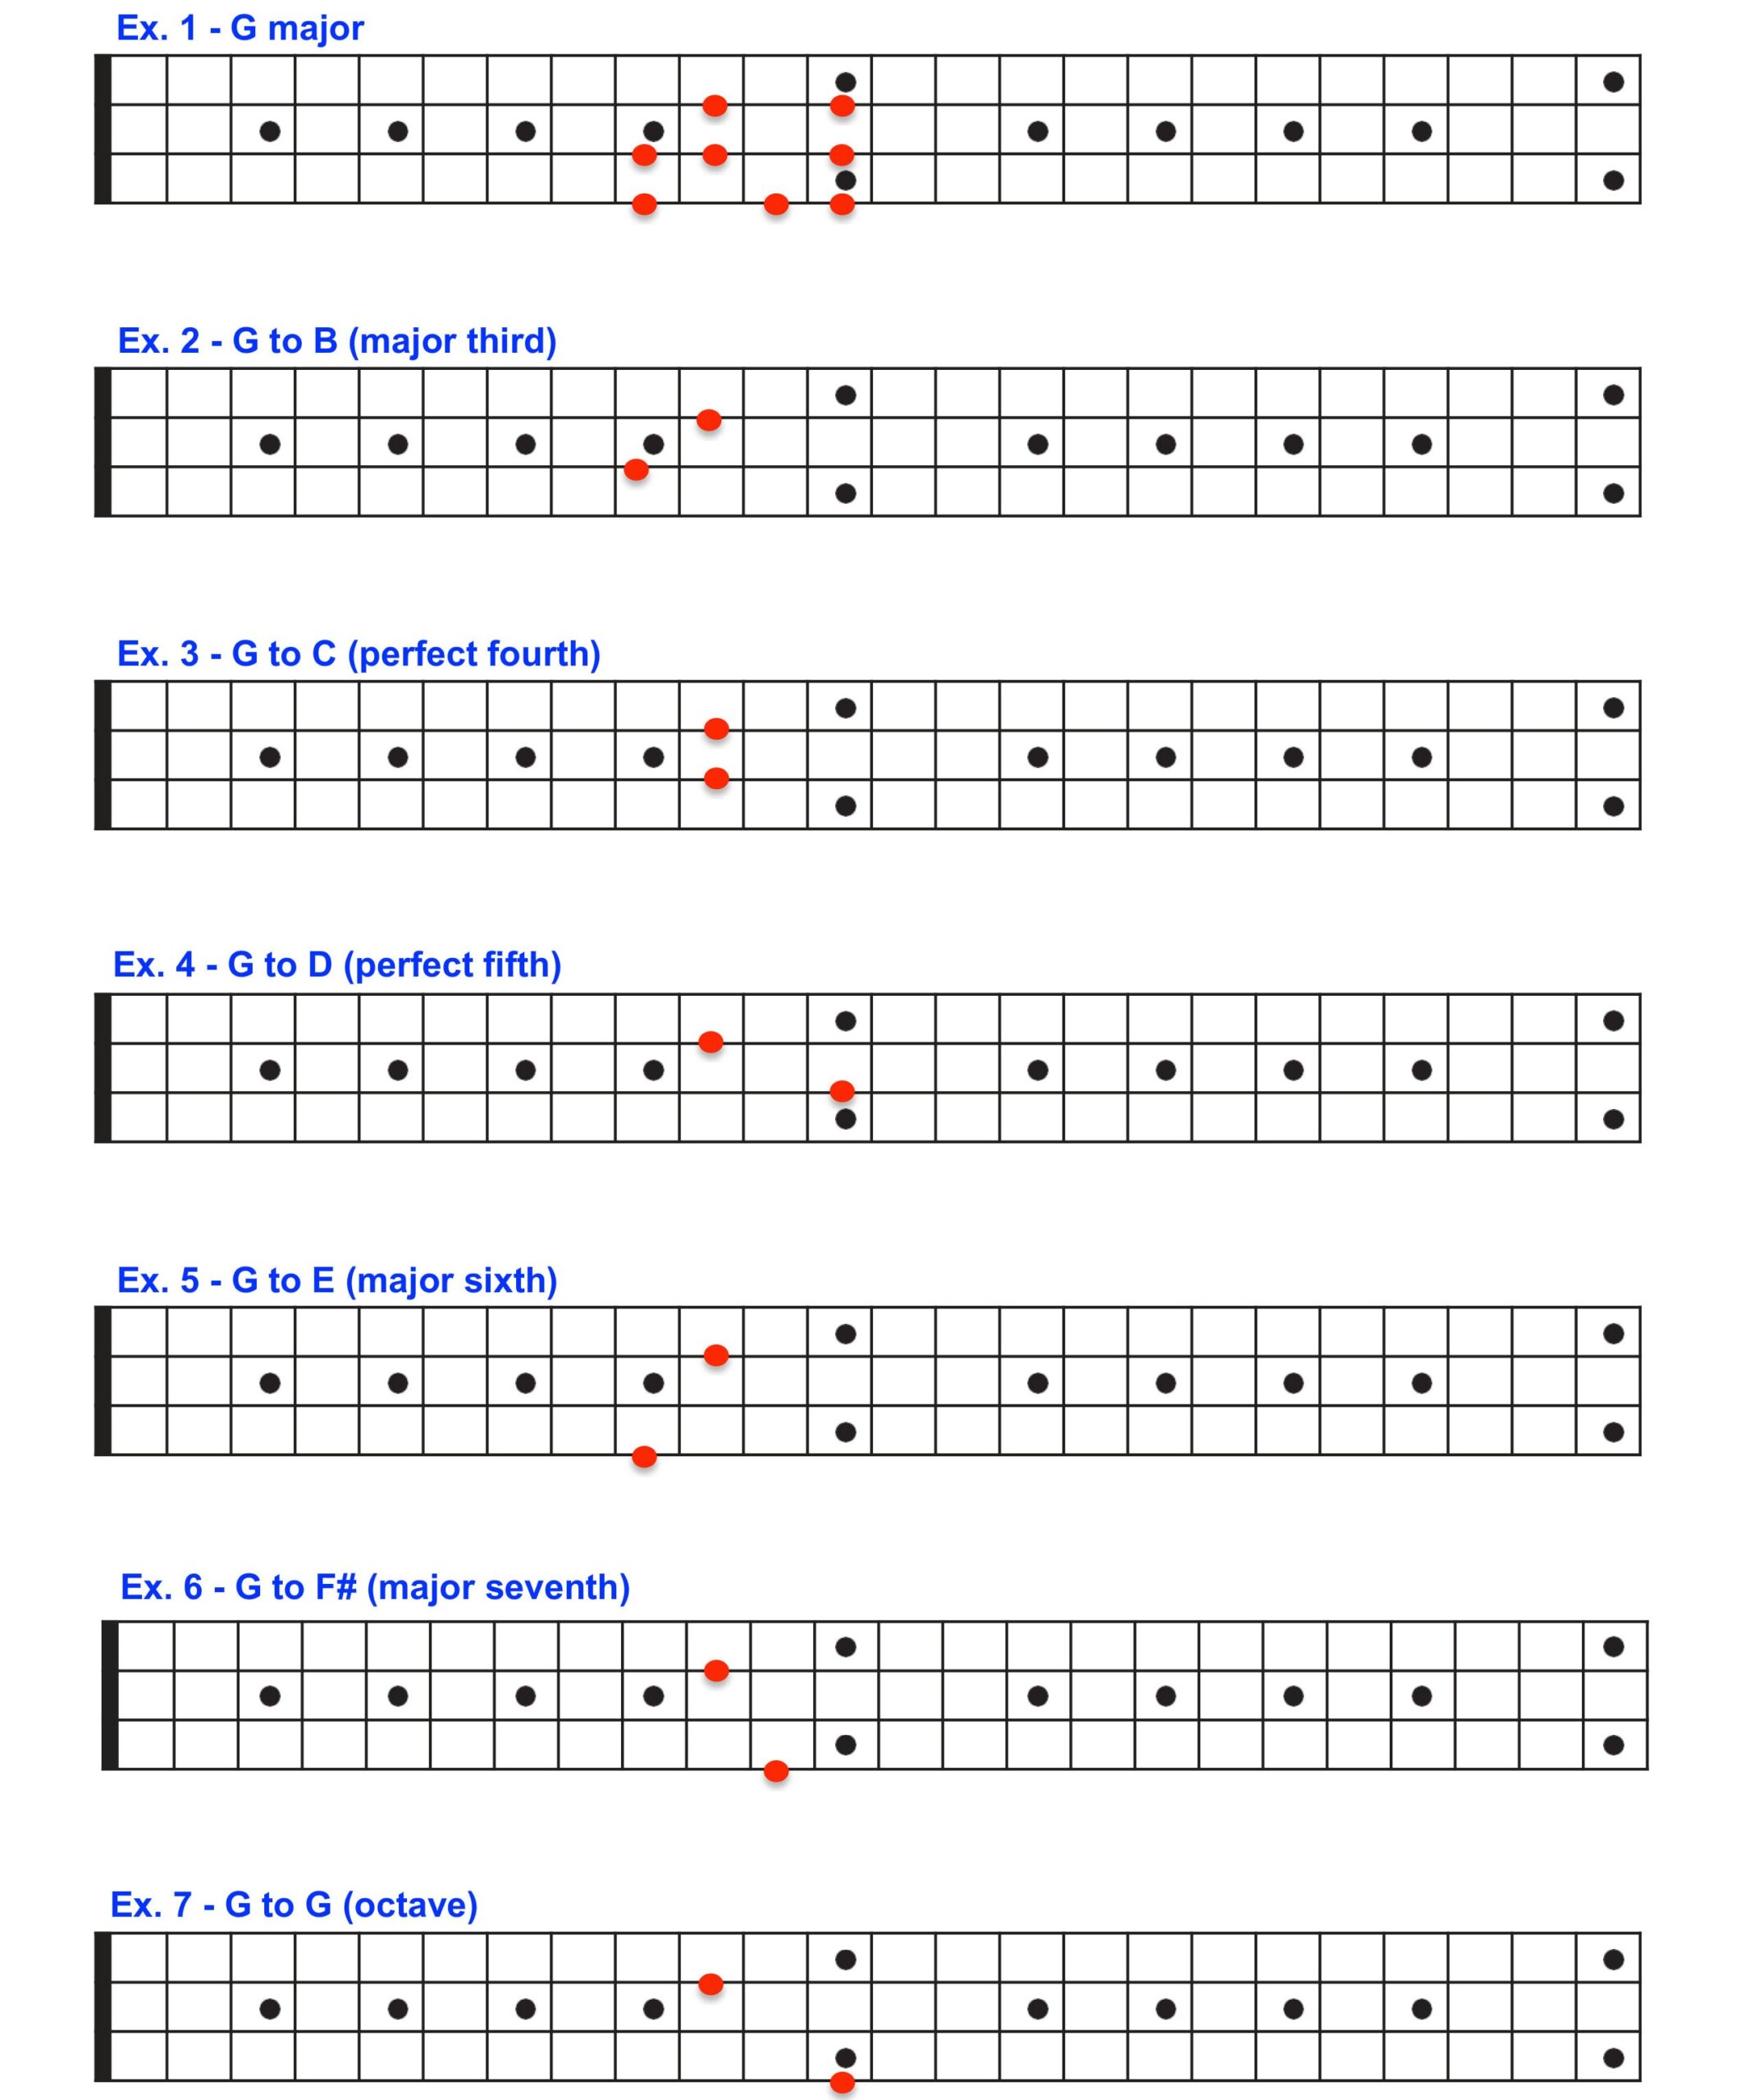
Start by playing a G major scale at the tenth fret:
We’re looking for notes on separate strings, so we won’t be playing the G and the A strings. Instead, play the G and the B strings, which are a major third apart (one string up and one fret lower), as demonstrated in this audio clip:
Similarly, there’s a perfect fourth interval (one string up, same fret) between G and C:
The distance between G and D is a perfect fifth (one string up, two frets over):
From G to E is a major sixth (two strings up, one fret lower):
If you play G and F# together, you’ll hear a major seventh (two strings up, two frets higher):
Finally, the G at the tenth fret and the G at the twelfth fret are an octave apart:
To summarize, here’s what it sounds like if you play an interval as a double-stop every two bars:
MORE INTERVALS
We’ve talked about the intervals between G and every other note in the major scale, but let’s look at the relationship between each note and its third, which tells us whether a chord is major or minor.
In the key of G, three chords are minor (A and B, the ii and iii chords, as well as E, the vi); two chords are major (G, the I chord, and C, the IV); one chord is dominant (D, the V); and one chord is half-diminished (F#, the vii). The fingering diagrams below illustrate the various exercises I’ll be describing in this section.
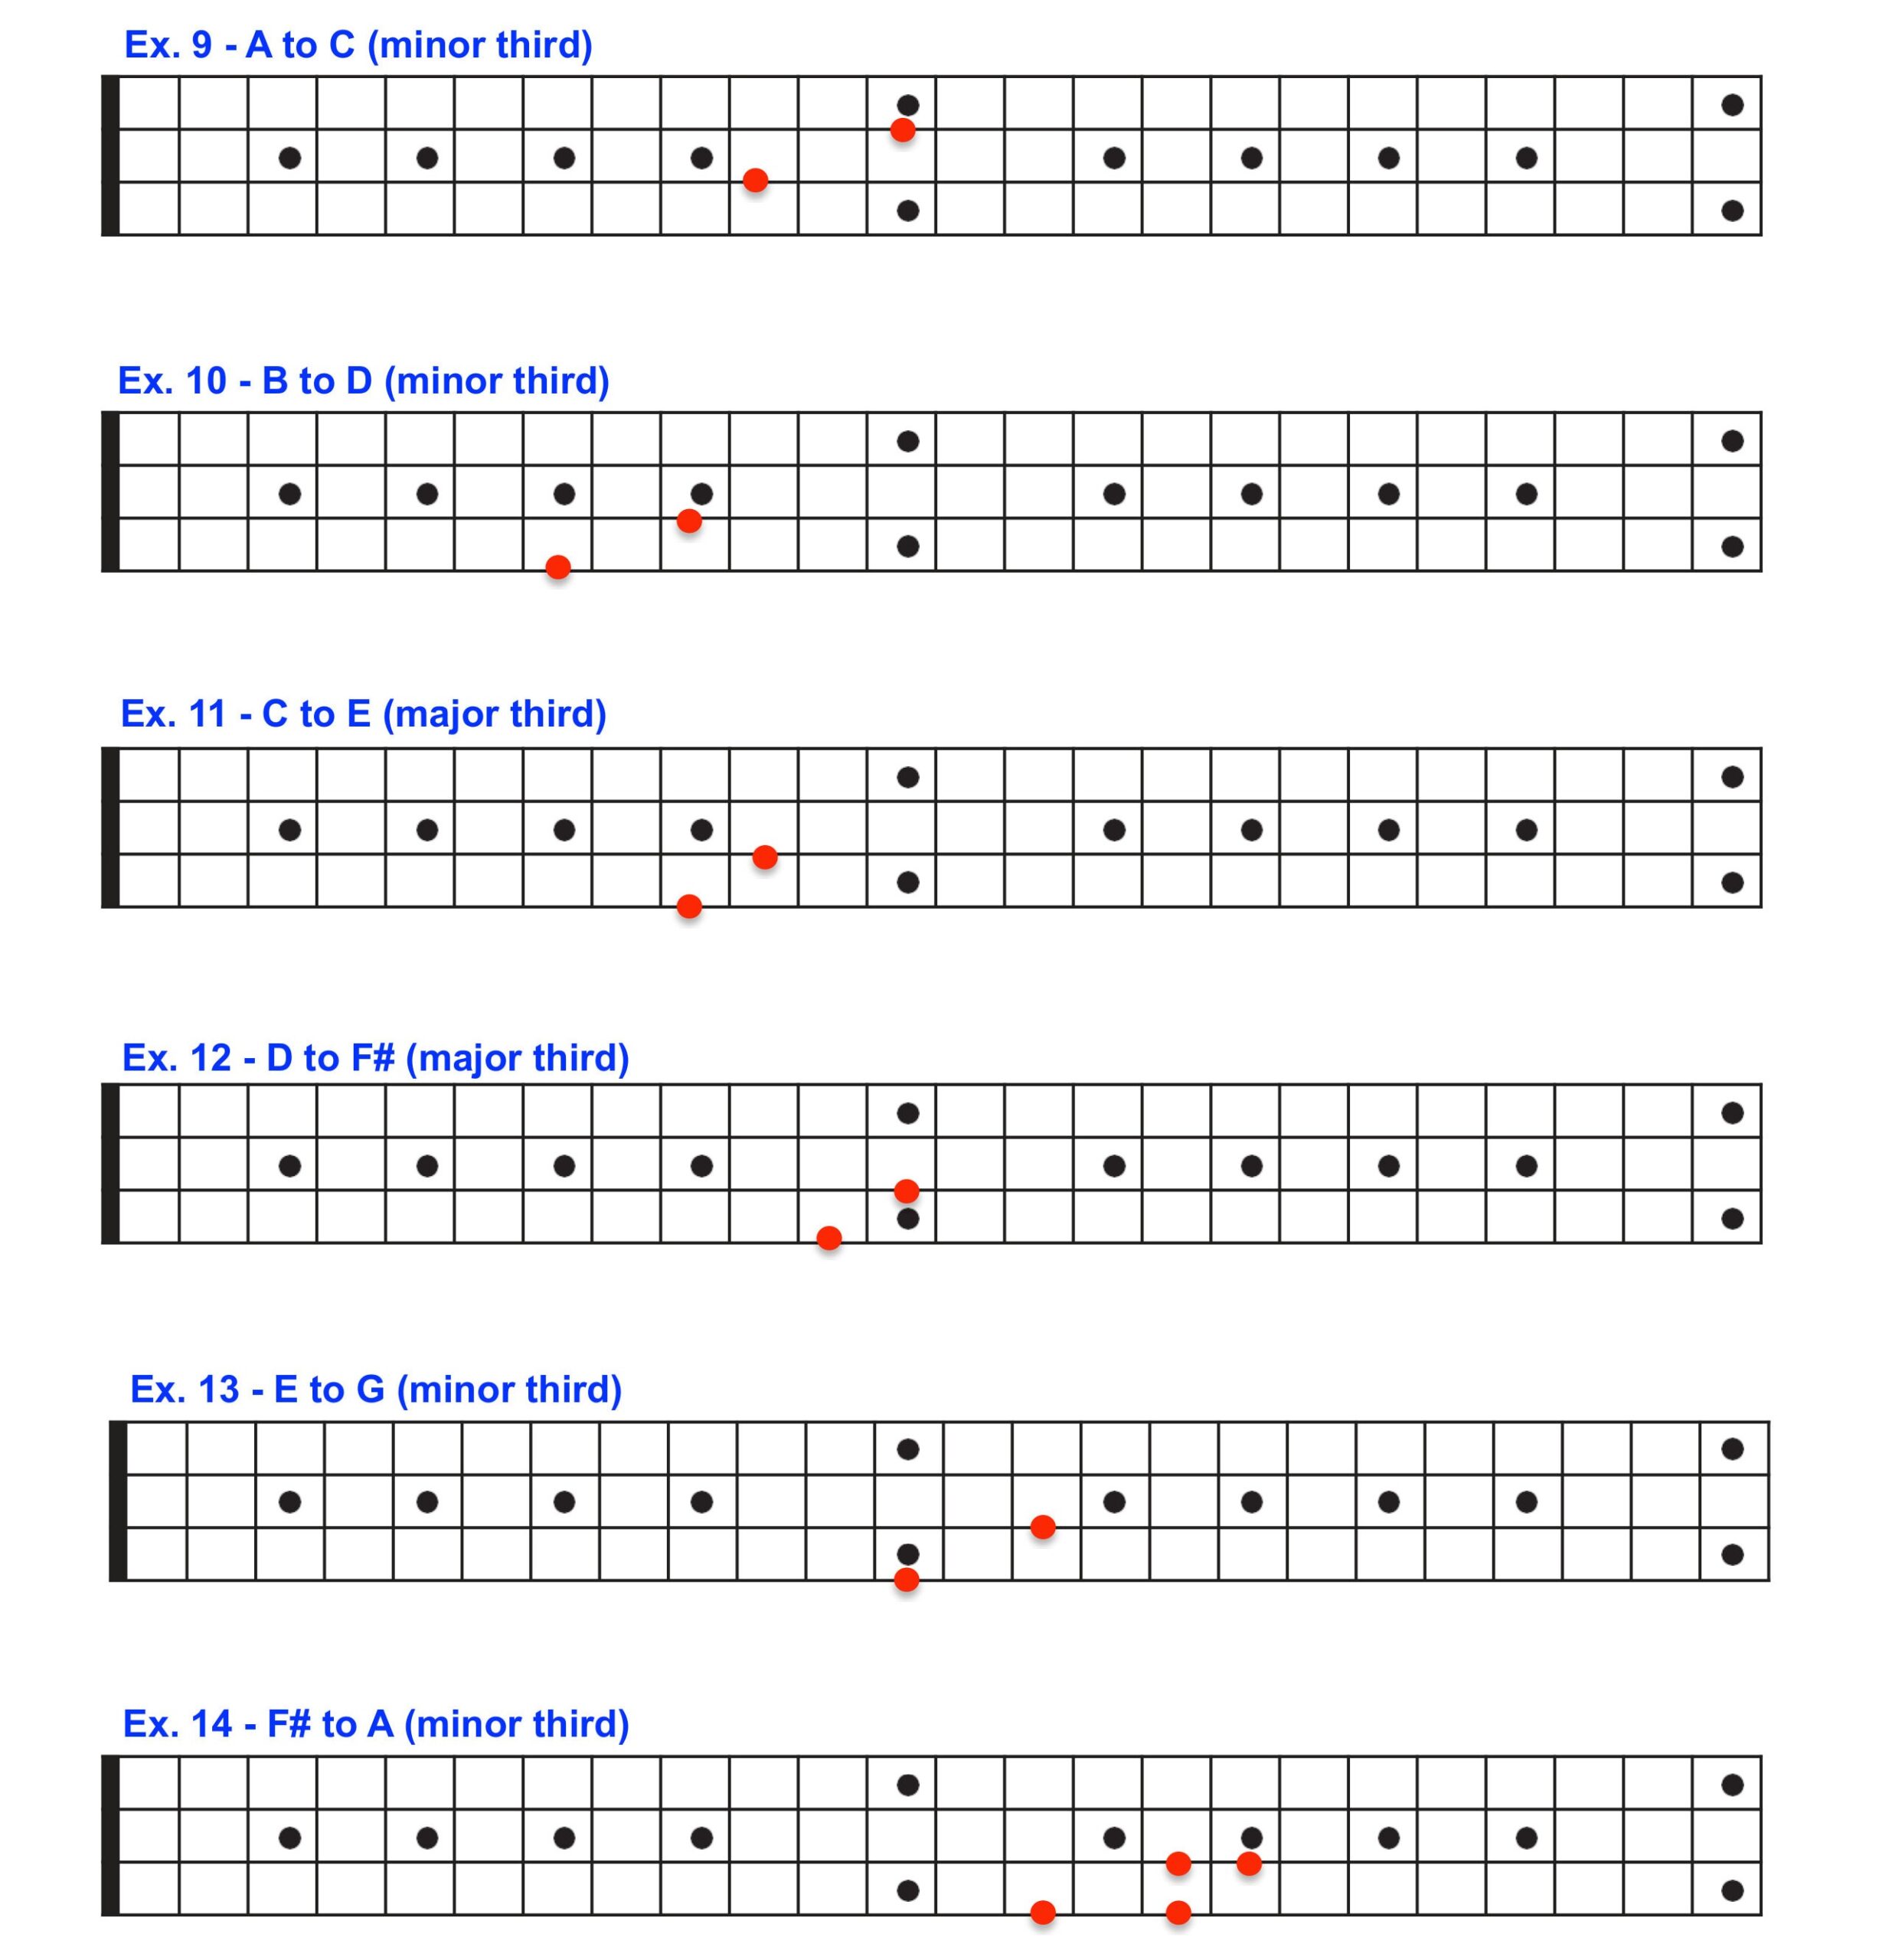
As we’ve mentioned, the distance between G and B is a major third. The distance between A and its third (C) is a minor third, as you can hear in this audio clip:
The distance between B and its third (D) is also minor:
However, the distance between C and its third (E) is major, as you can hear in this audio clip:
The distance between D and its third (F#) is also major:
The distance between E and its third (G) is minor:
The distance between F# and its third (A) is minor, followed by the major third interval between G at the seventeenth fret of the D string and the B on the sixteenth fret of the G string, as demonstrated in this audio clip:
Playing each note of the scale with its third ties it all together, as this audio clip (played using just the neck pickup of my Yamaha BBP35) demonstrates:
Moving the third an octave higher, with roots on the E string and 10ths on the G, is a great way to warm up your hands and ears. For further contrast, I used the BBP35’s bridge pickup for this audio clip:
THREE-NOTE CHORDS
Once you’re familiar with double-stops, it’s easy to build three-note chords, which commonly add the seventh to the root and third. (In most cases, fifths aren’t as crucial unless they’re flattened or sharped.) The fingering diagrams below illustrate the various chord shapes I’ll be describing in this section.
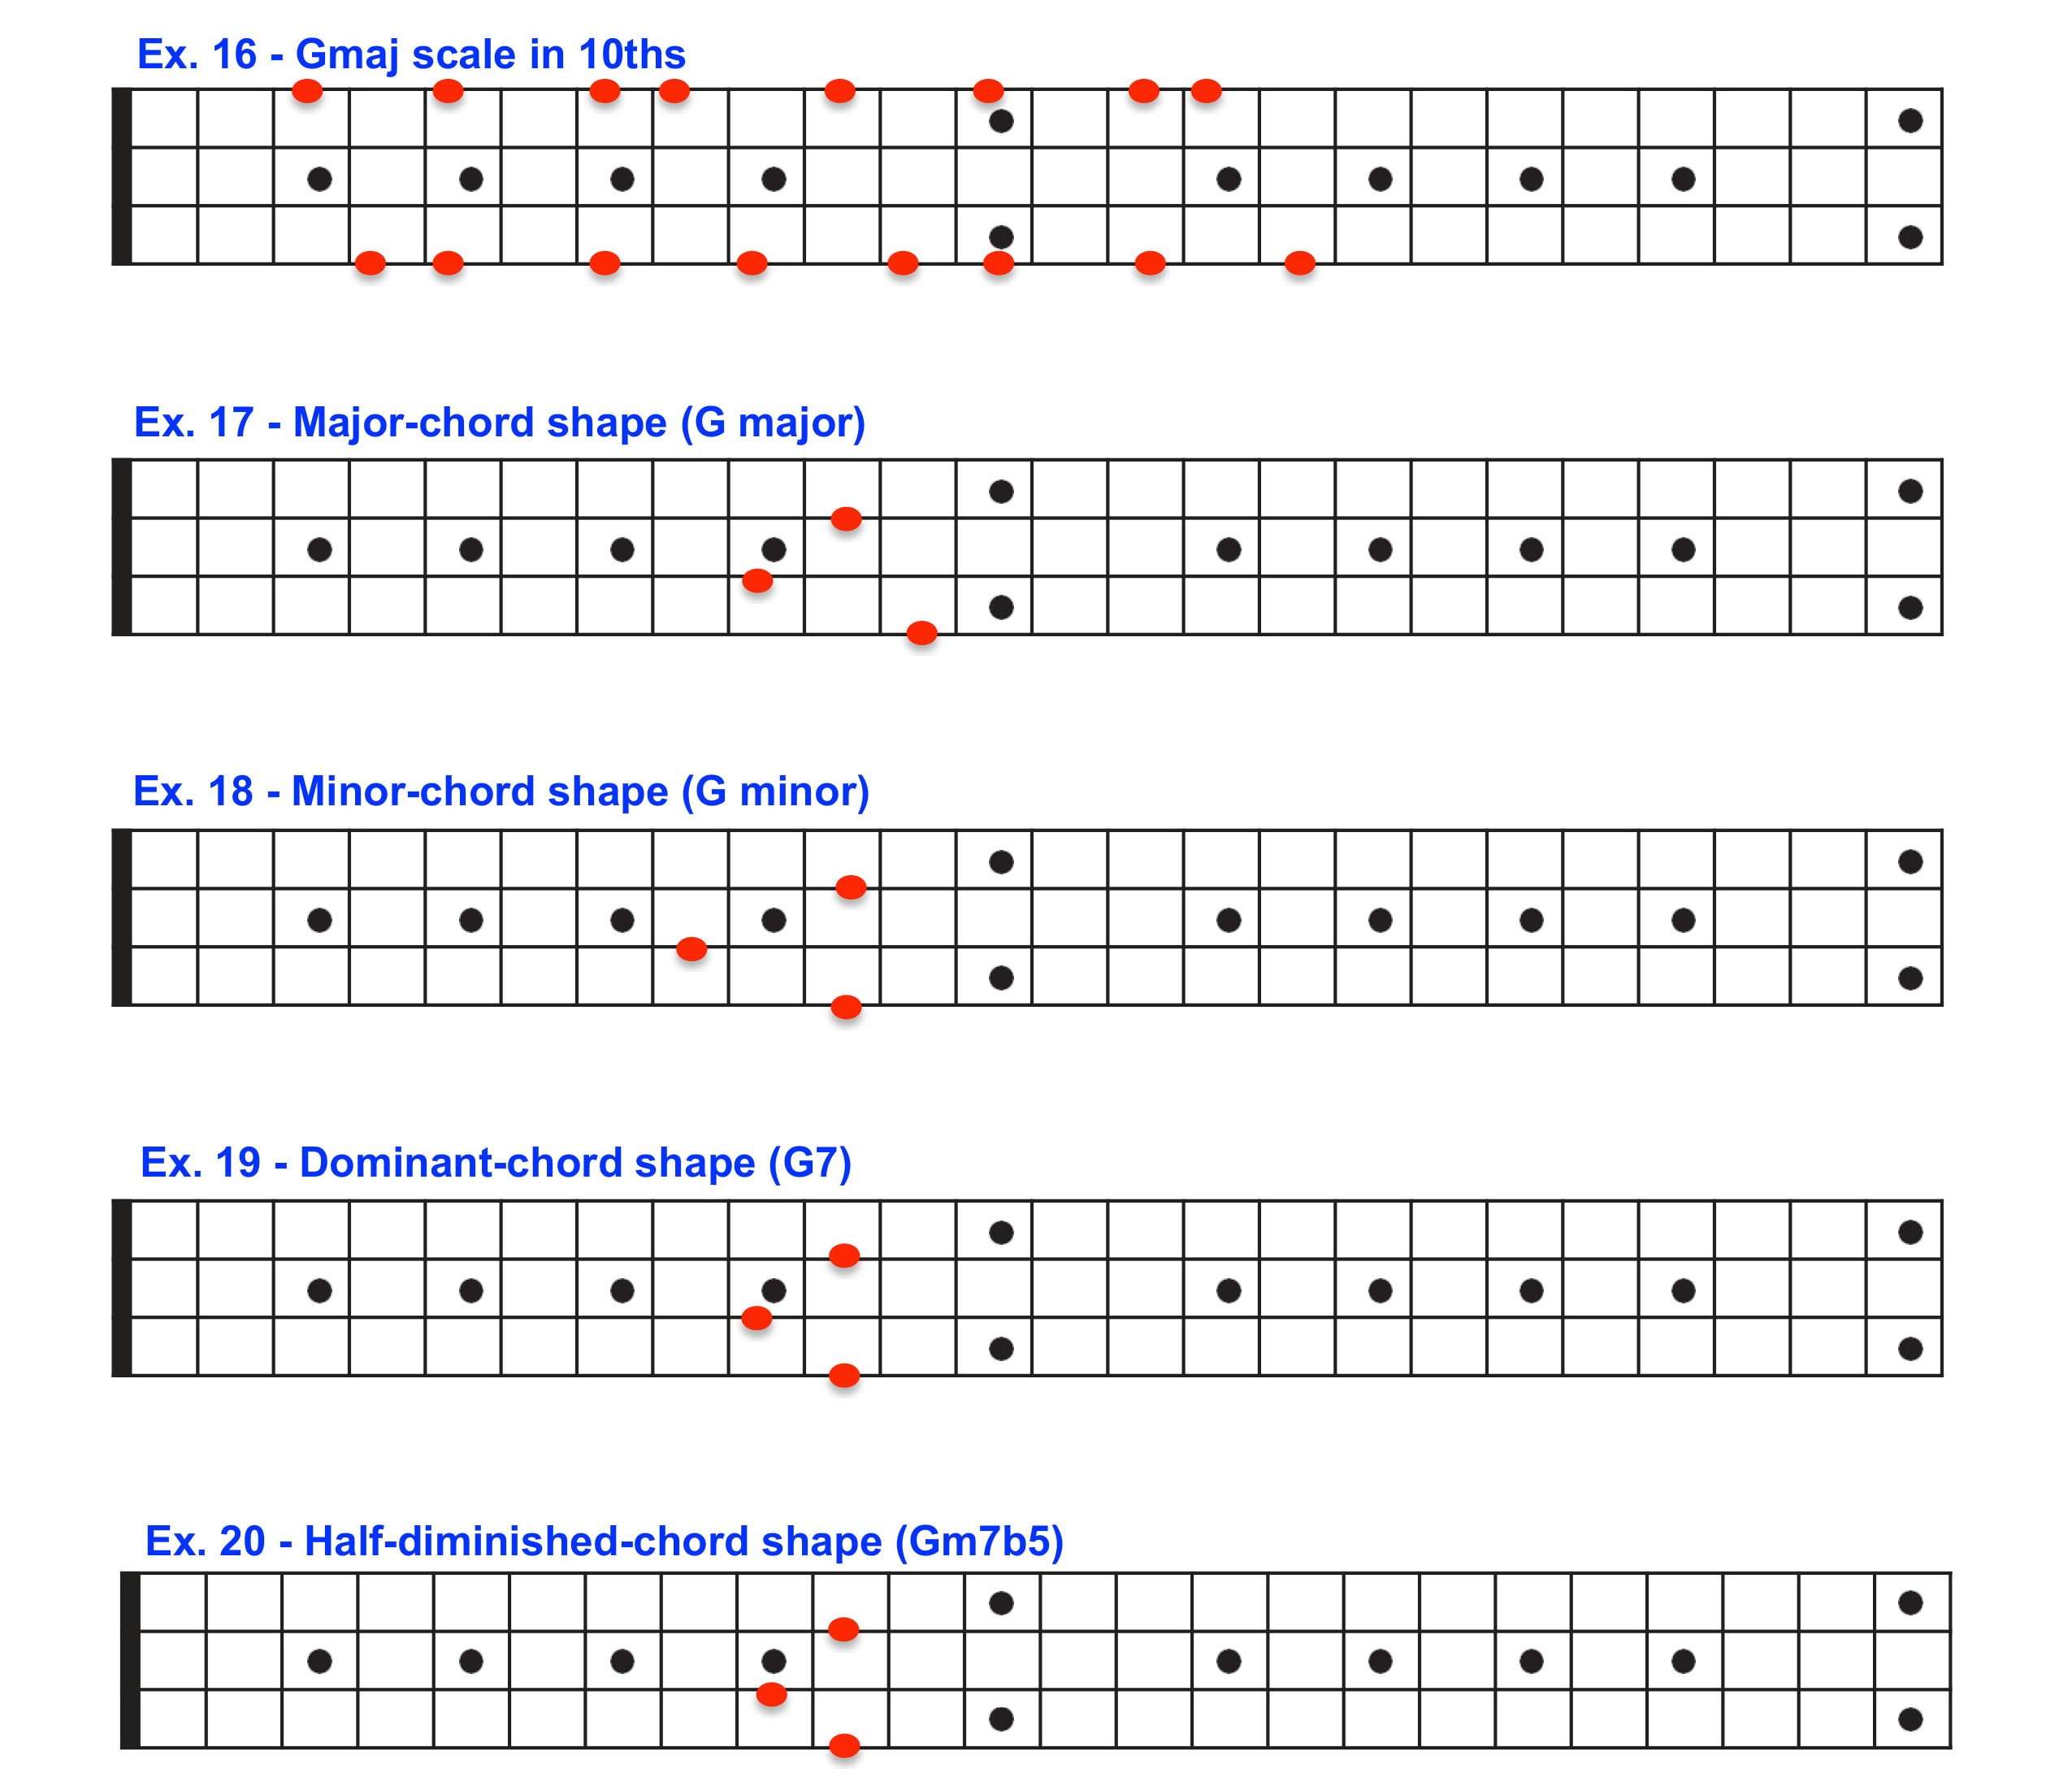
This first video shows an easy G major7 chord shape:
Here’s a good go-to shape for Gm7 chords:
Next, a common G dominant chord shape:
And finally, here’s a way to play a half-diminished (m7♭5) G chord. This consists of the root, ♭3, ♭5 and ♭7 intervals, although the voicing in the video below uses just the root, the ♭5 and the ♭7:
On keyboards, the arrangement of the black and white keys means that chord shapes can be quite different from one another. The shape of a B♭maj7 chord, for example, is quite different than the shapes for Cmaj7 or F#maj7. But on bass, once you know a chord shape, you can move it anywhere.
To wrap things up, here’s what it looks and sounds like when you play the G major scale using all the three-note shapes described above:
MAKE THEM YOUR OWN
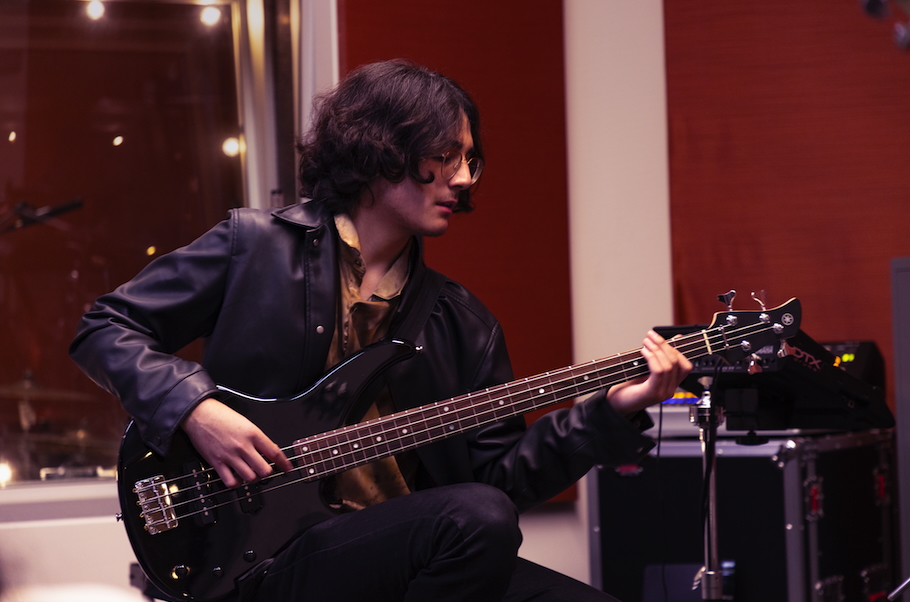
Many great electric bass players have used chords and double-stops in their bass lines, but one of the first to make them part of his signature sound was studio legend Chuck Rainey, who played on thousands of songs in a long and successful career. Listen to how he employed them in “Summer in the City” with Quincy Jones (starting at around 0:33), Steely Dan’s “Kid Charlemagne” (check this isolated bassline for a closer glimpse), and the theme from the 1970s TV show “Sanford & Son.”
We’ve only briefly touched on major and minor intervals in this posting, but exploring other intervals like tritones, digging into other chords and scales, playing with inversions (i.e., starting the chord on a note other than the root), trying other chord voicings, and experimenting with four-note chords are all pathways to new sonic terrain.
The best way to learn chords and double-stops is to play chord progressions on your bass. Stay open to new possibilities, and they will surely present themselves. Then you can make them your own by using them as the foundation for fills or solos.
Note: All audio clips played on a Yamaha BBP35 bass.
Keep reading