Creating a Pro-Level Guitar Rig on a Budget
Musical value is the important thing.
Does the price you pay for a guitar, amp or pedal determine its musical value, or the quality of tone that it produces?
The short answer is no. Great tone starts with the player, while the tools we use to express our artistry are simply conduits that either pair well with our creative vision, or not. While expensive guitars and hand-wired amplifiers can produce some amazing tones, these days you can also achieve excellent results playing through a modest rig … especially if you pay special attention to some essential elements in the signal chain, along with careful pairing of the instruments, effects and amplifiers for your chosen application. Price does not determine musical value, as long as the rig you put together allows you to achieve high-quality results.
In this posting, we’ll describe how to create a pro-level guitar rig on a budget and explore some of the many options available to you. First though, let’s address the most basic question:
What is a Guitar Rig?
A guitar rig consists of three main elements: the guitar itself, an amplifier (and speakers) and effects, which usually come in the form of pedals. You can also substitute a digital modeler for the amp/speaker part of the equation; doing so allows you to connect your rig directly to a DAW (digital audio workstation) for recording or to a P.A. system for live performance.
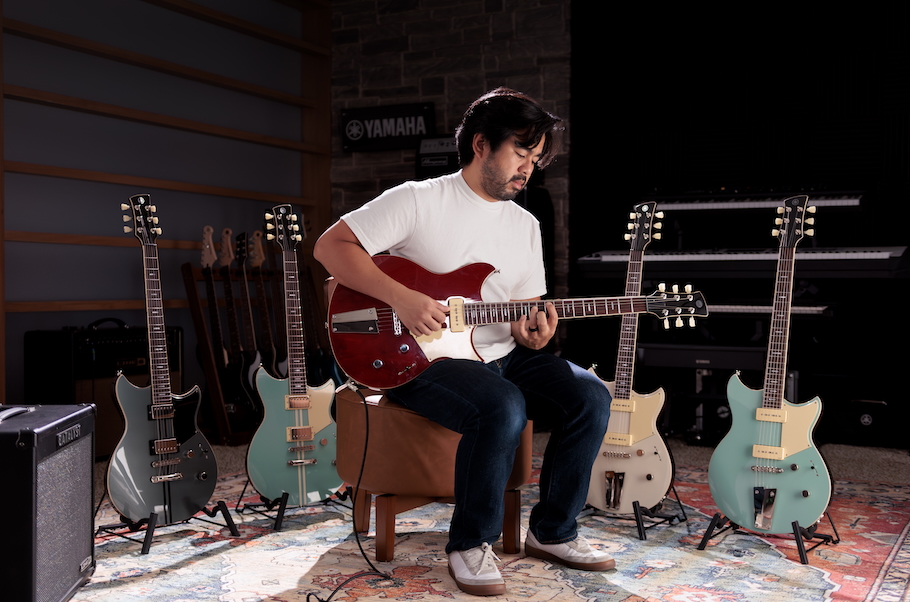
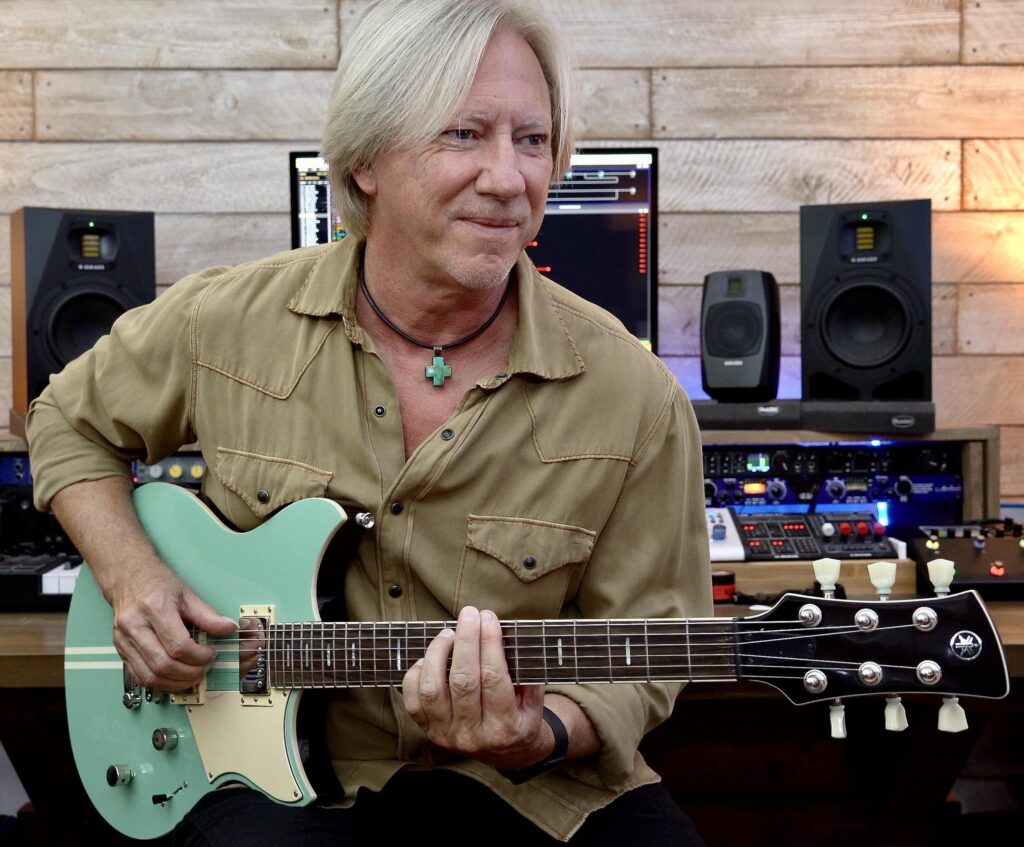
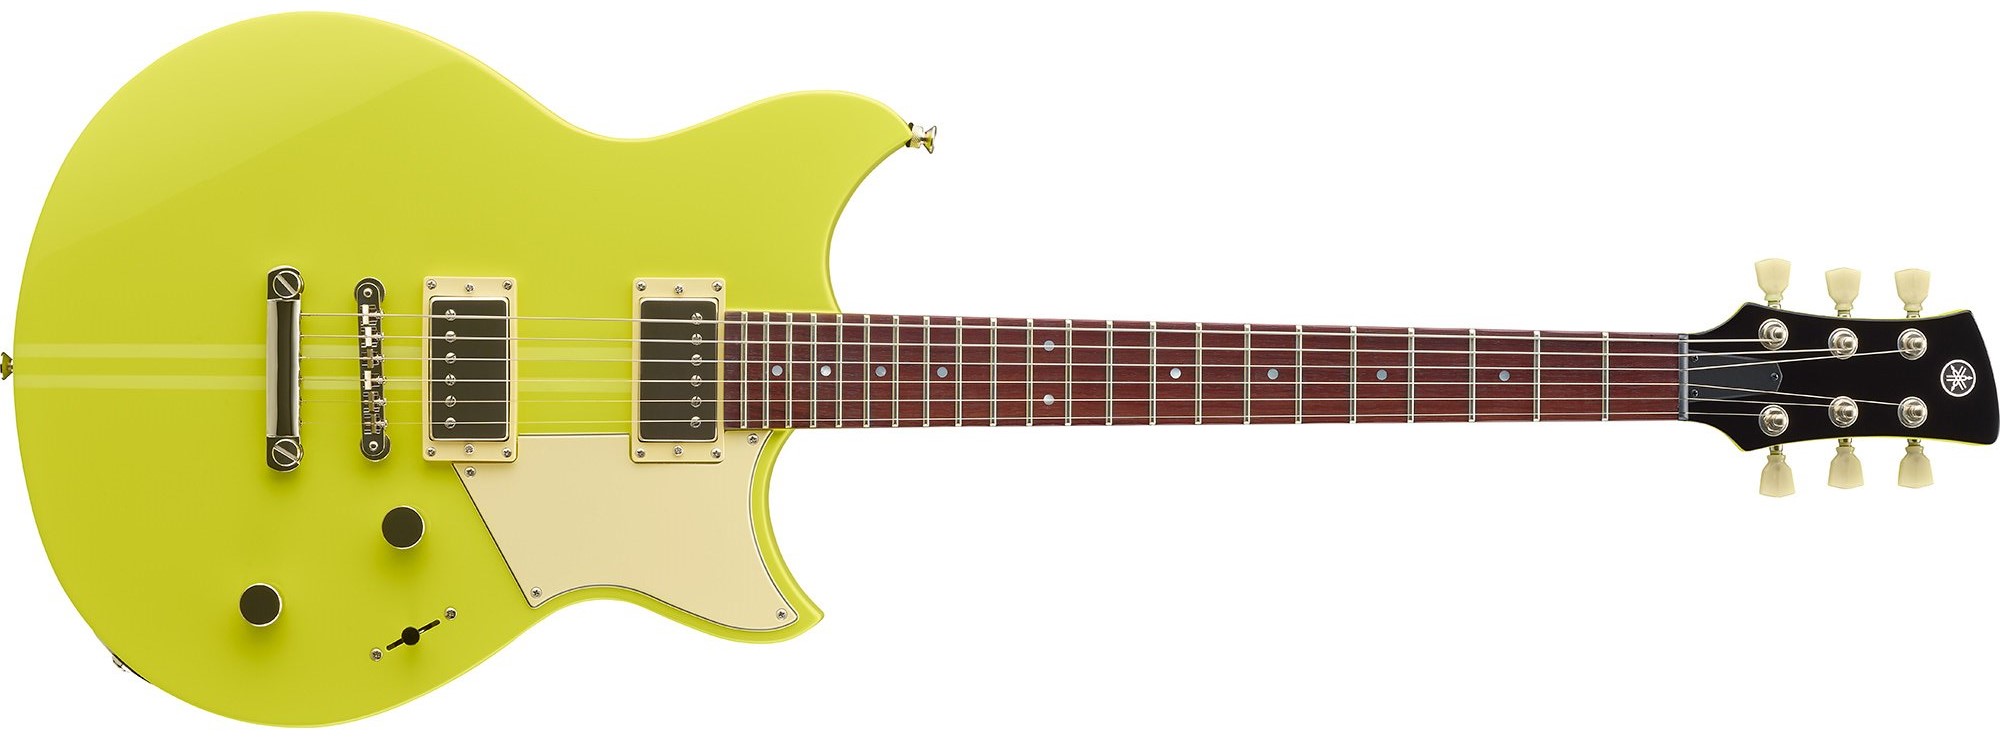
I’ve chosen the Yamaha Revstar RSE20 as the guitar in the pro-level budget rig we’ll be describing here. It’s an extremely well-built electric guitar that punches well above its weight compared to more expensive options.
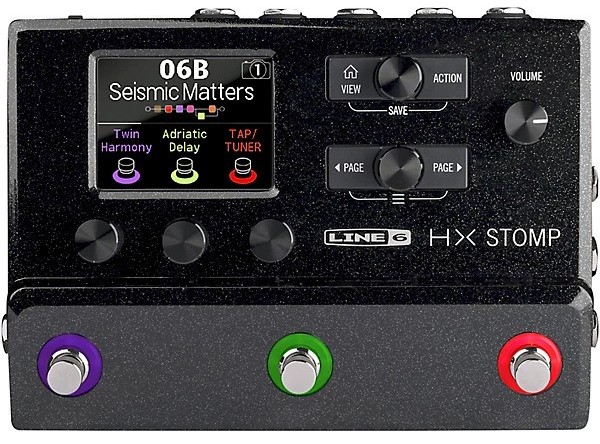
Given that we are going for affordability as well as great sound, I also decided to use the Line 6 HX Stomp digital modeler to provide effects as well as serving as the amplifier and speaker cabinet in the rig.
Effects
I like to think of effects as falling into two categories. There are those I like to have before the preamplifier section (I term these “Pre” effects), and “Post” effects that sound best after the preamp, but before the amplifier and speaker cabinet sections.
“Pre” effects include:
-
- Noise Gate
- Compression
- Overdrive
- Distortion
- Tremolo
- Wah Wah
“Post” effects include:
-
- Delay
- Reverb
- EQ
- Chorus
- Phaser
- Flangers
- Other modulation effects such as vibrato, ring modulation and rotary speaker
Amplifiers
I really like old British tube amplifiers and generally choose ones that aren’t super high-gain for my digital guitar rigs.
The HX Stomp’s Essex 30 preset is a model of a 1960’s Vox AC30 amplifier — perfect for both “chimey” rhythm tones and soaring leads. I generally leave this preset pretty flat in terms of EQ and use an overdrive pedal to drive the amp harder when I need more rock’n’roll edge.
Speaker Cabinets
The HX Stomp allows you to choose from a large number of speaker cabinets to pair with the amp you select — everything from a 1 x 10″ to a 4 x 10″, 1 x 12″ or 2 x 12″ to a 4 x 12″ configuration.
I like to use two different cabinet types in my digital rig: a 2 x 12″ and a 4 x 12″. A 2 x 12″ will generally have more high-end clarity than a 4 x 12″ (which provides great low-end punch), so I try to find a nice blend between the two.
The Stomp also allows you to specify the type of microphones are used on each of the cabinets. There are a wide variety of condenser, ribbon and tube microphone models to choose from. You can also dial in the proximity (distance of the microphone to the speaker) and the axis (the distance from the center to the cone rim) to the speaker cone for each cabinet.
If that’s not enough editing potential for you, you can even fine-tune the early reflections of the digital room the cabinets and microphones are placed in. This allows you to add a touch of room ambience to the tone for extra reality to the digital signal.
It really is well worth spending the time to audition the various cabinets, microphones and their placement, as it makes a huge difference to the overall tone … as you’d expect.
Creating Your Signal Chain
Given that all of your amplifier, cabinet and effects options are inside the HX Stomp, creating highly customizable signal chains couldn’t be easier. What’s more, you don’t need patch cables, a pedalboard or a microphone to do so — this simple, affordable 7-inch by 5-inch package (which weighs in at only 1.7 pounds) may well be the most flexible, portable guitar rig ever.
When you consider that the HX Stomp offers hundreds of effects, popular amplifier models and speaker cabinet configurations, it’s almost impossible to settle on just one rig. But then again, you don’t need to, because you can create your own user patches and recall them at the tap of a foot switch, or via MIDI, whenever you need them. What’s more, the Stomp’s free editor app makes it easy and fun to tweak presets or user patches via a simple USB connection to your computer.
Your signal path enters the HX Stomp in mono from your guitar and exits in stereo via two 1/4″ jacks connected to a physical onstage amplifier or directly to the P.A. or personal monitoring system (i.e., in-ear monitors). These outputs are balanced, so they deliver the highest audio quality. In addition, you can record everything to your DAW via the USB port, allowing you to monitor the signal through your studio speakers.
Preferred signal chains are of course subjective and can vary wildly depending on personal taste and the sound you are going for. Here’s a screenshot of the HX Stomp editor and the patch I created for the rhythm guitar parts in the video below:
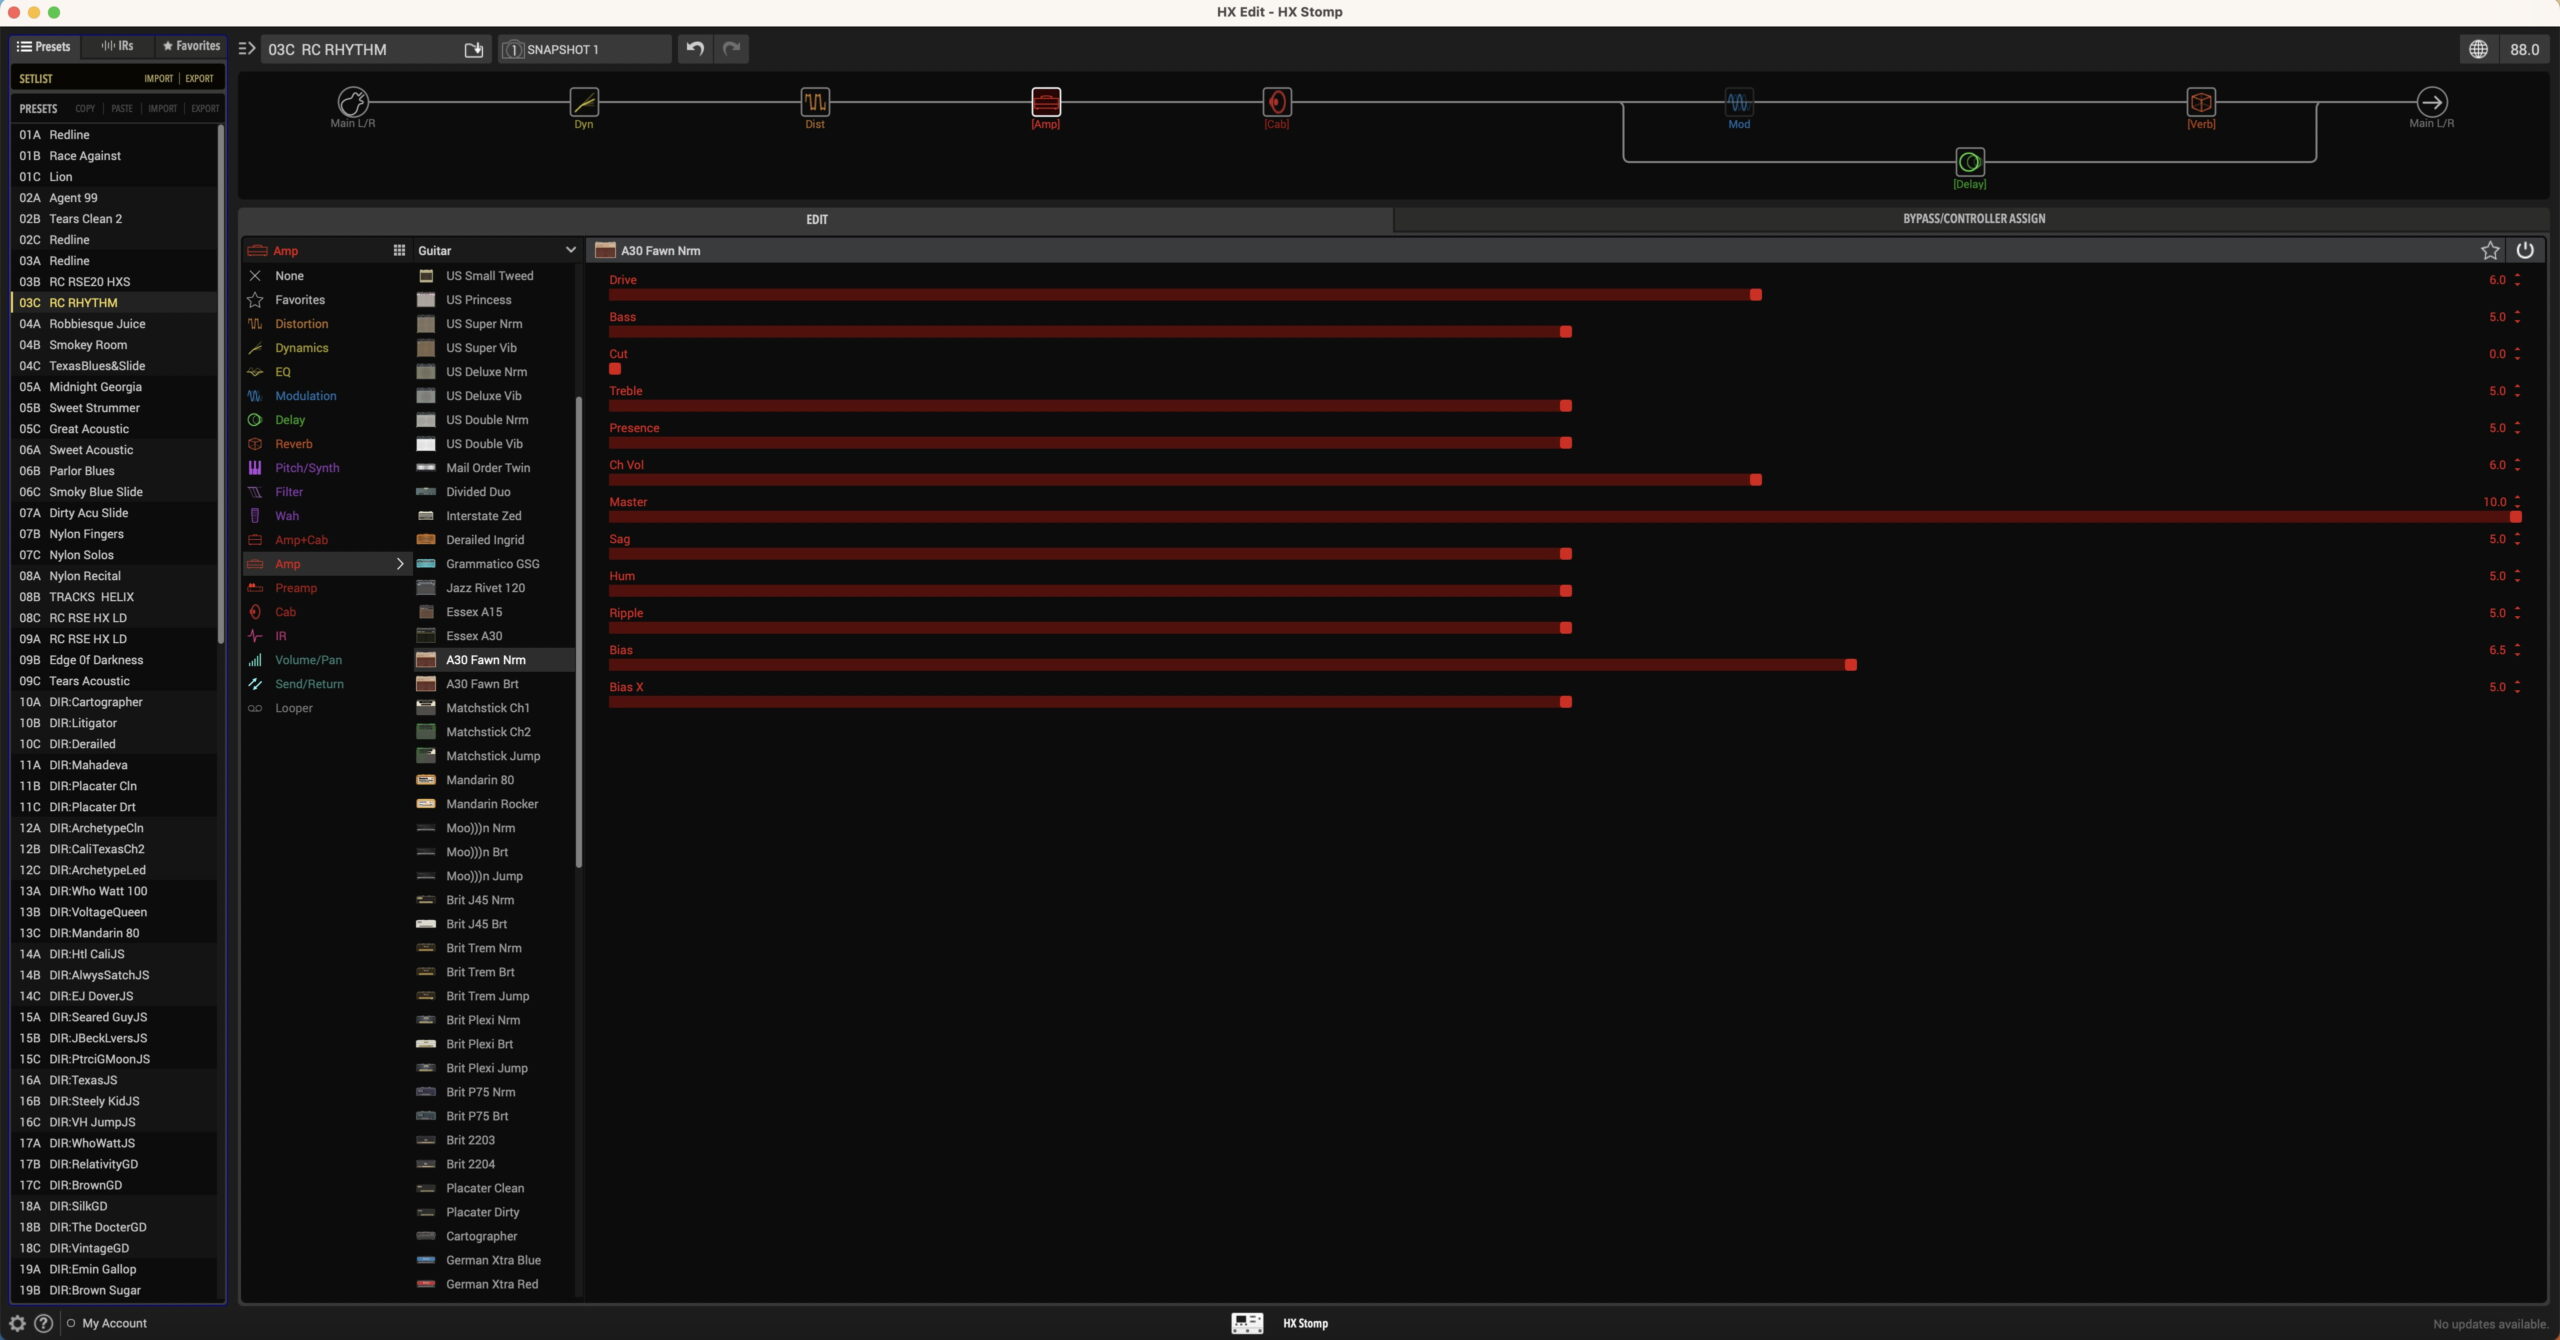
The compressor and overdrive pedal at the front of this signal chain serve as my “pre” effects. The compressor is helping to tame the dynamic range of the incoming guitar signal, while at the same time adding a touch of sustain. I like to run the compressor before the overdrive, as I find this helps to smooth out the overdrive tones as well.
The screenshot below shows the patch I created for the lead guitar parts in the video:
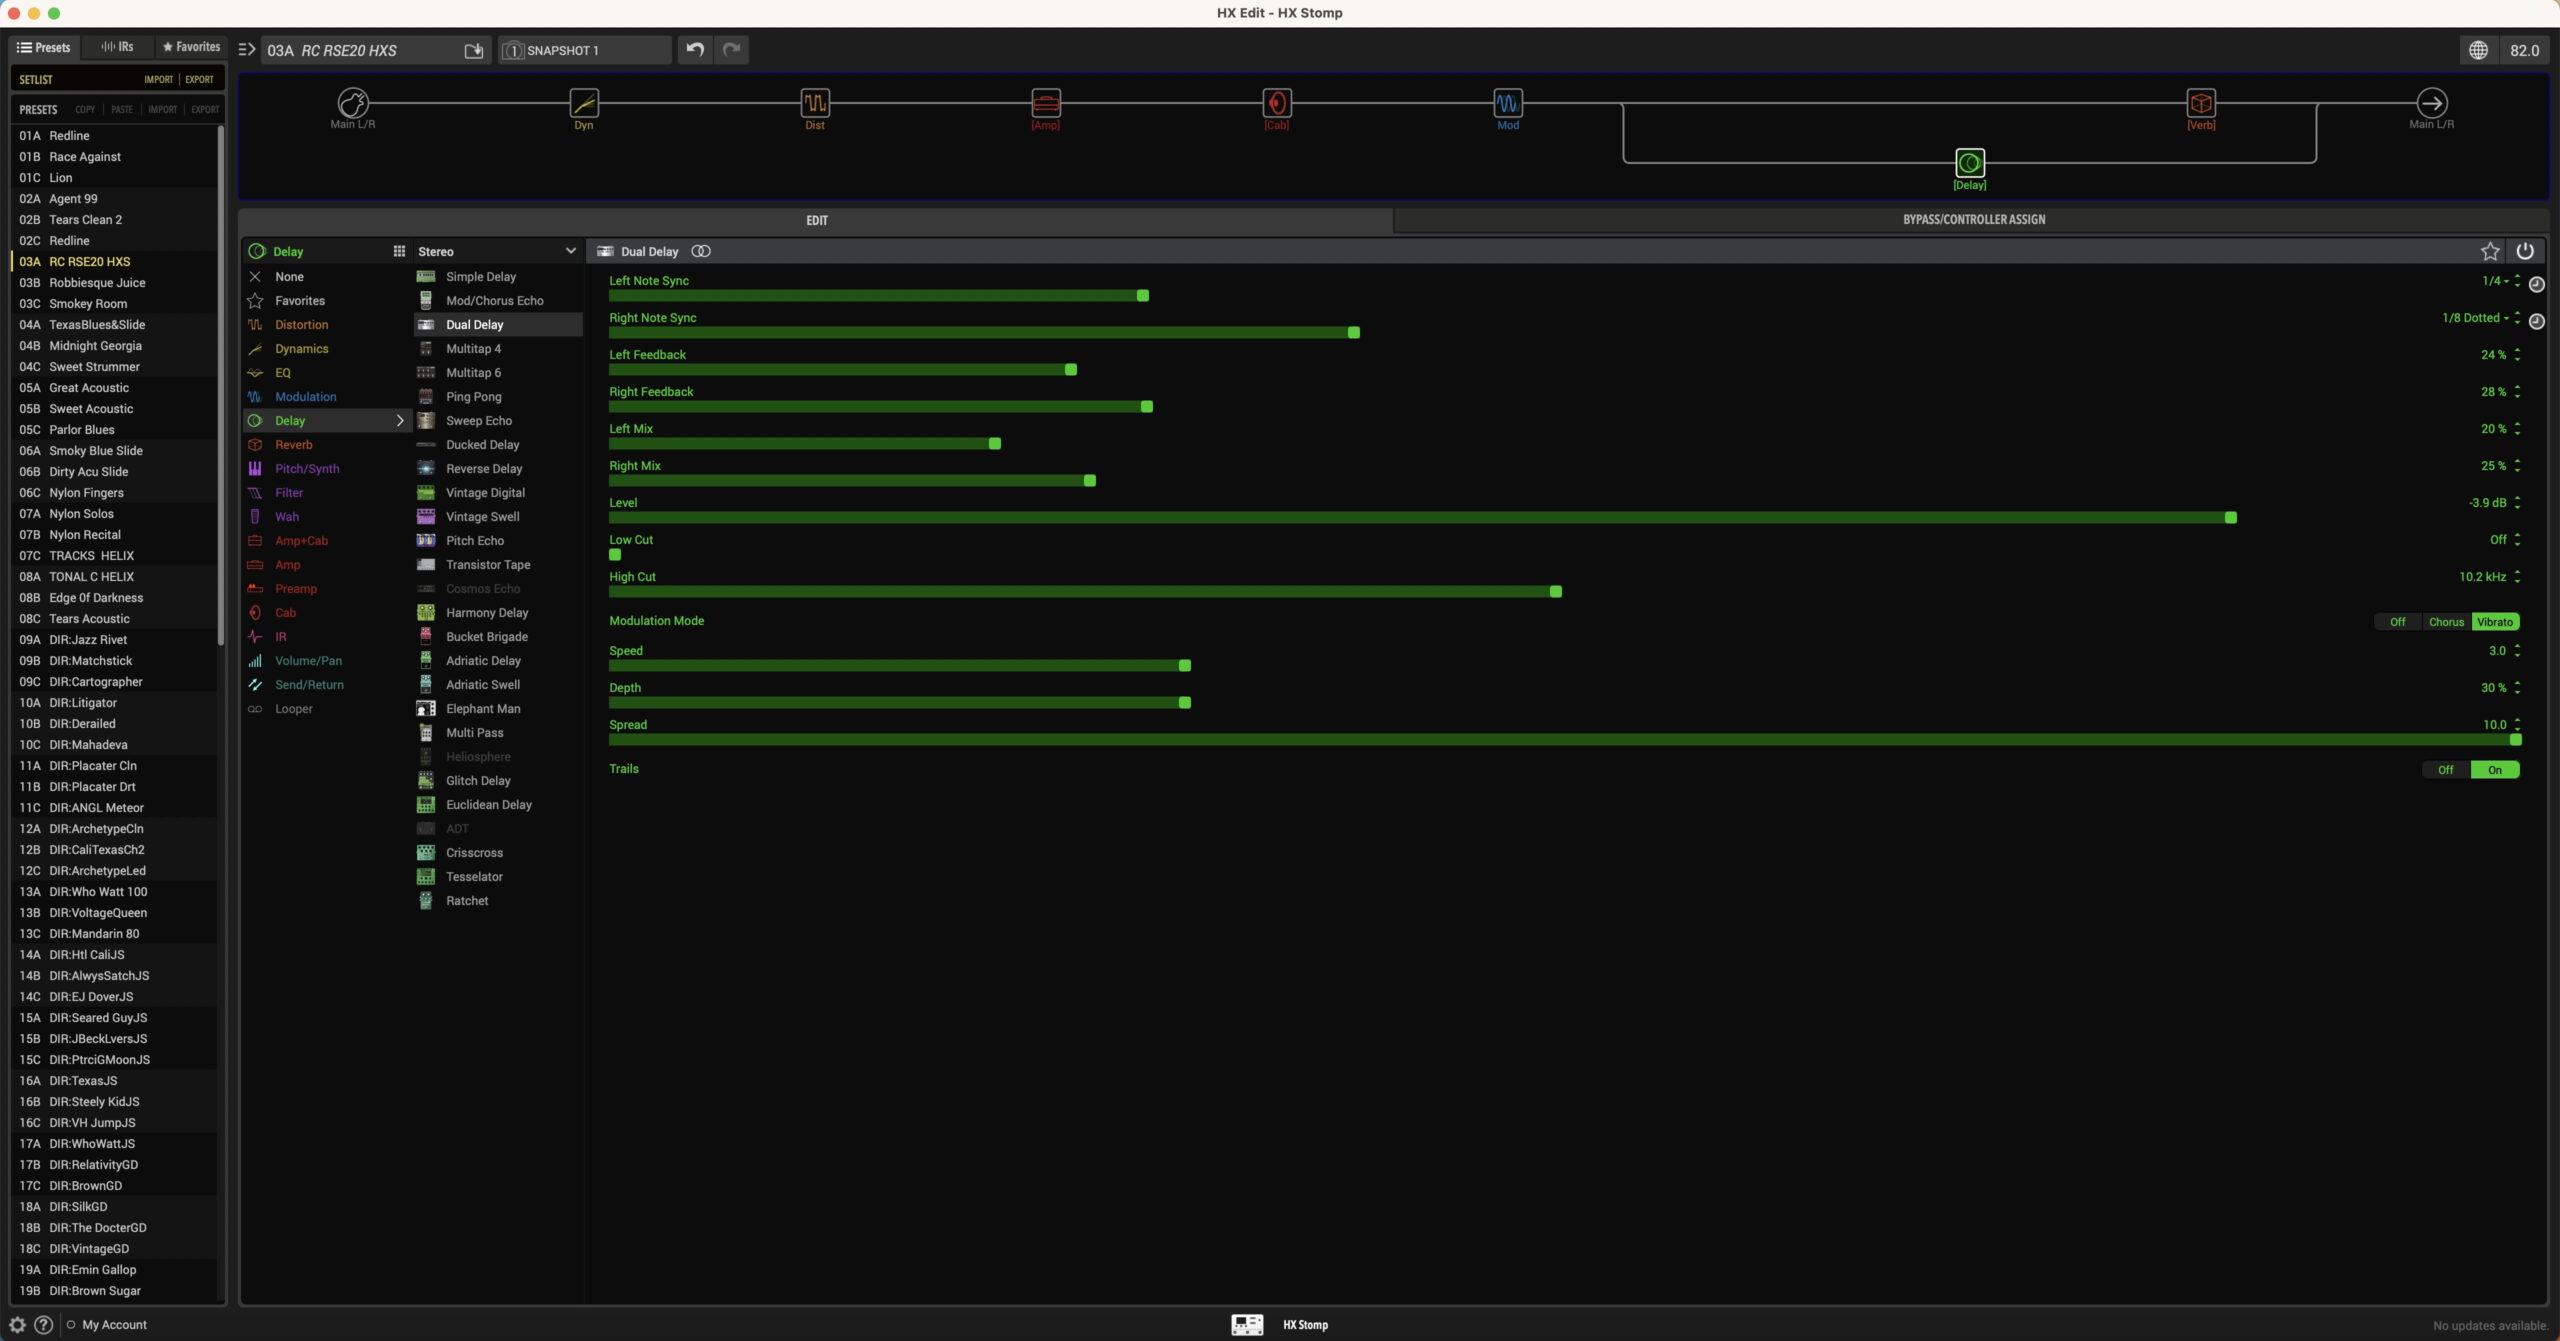
I like to use a dual delay and hall reverb for my post effects. I create a parallel pathway for the delays so they won’t be affected by the reverb (the split in the signal path for the delay). I then return the delay signal back into the chain after the reverb effect.
I’m also a big fan of using quarter note delay on the left channel, and an eighth note or dotted eighth note delay on the right channel. I find that the quarter notes define the tempo and pulse, while the eighth notes add the subdivisions and interesting movements.
You can also choose to add a touch of chorus or tremolo modulation to the delay repeats, which makes for a really sweet sound. I often use a subtle tremolo on my delay signals.
The Guitar
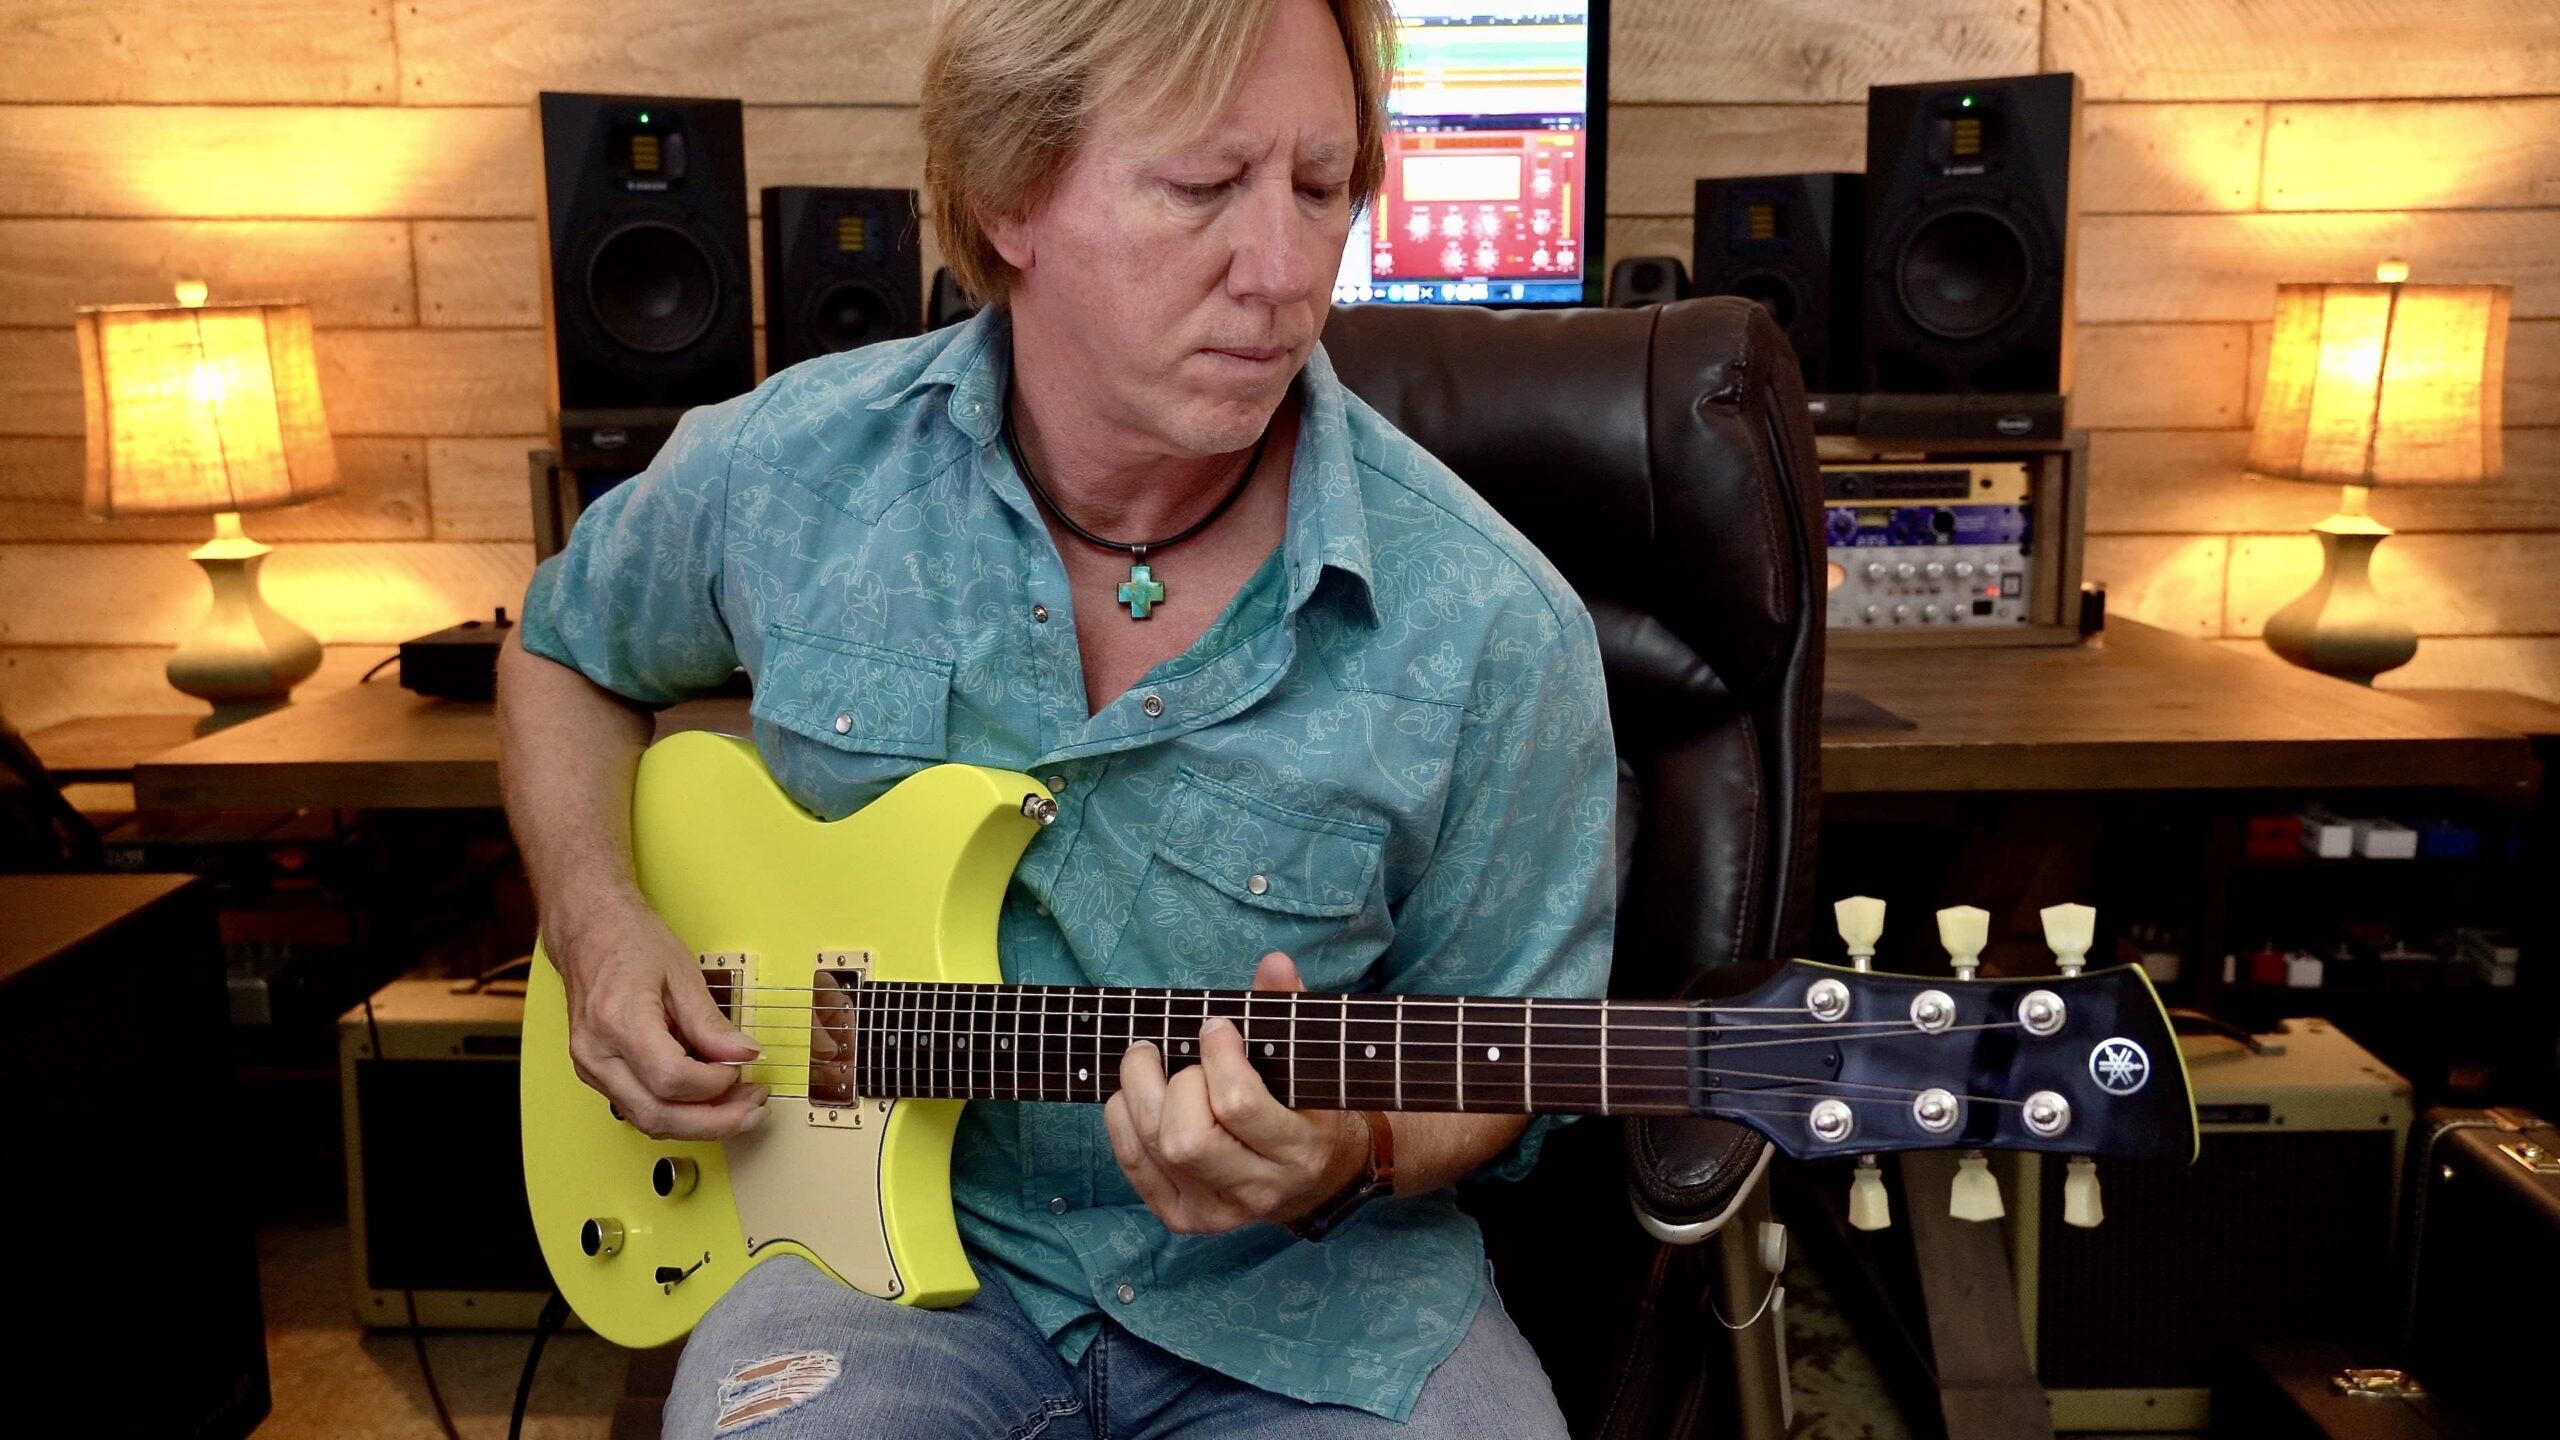
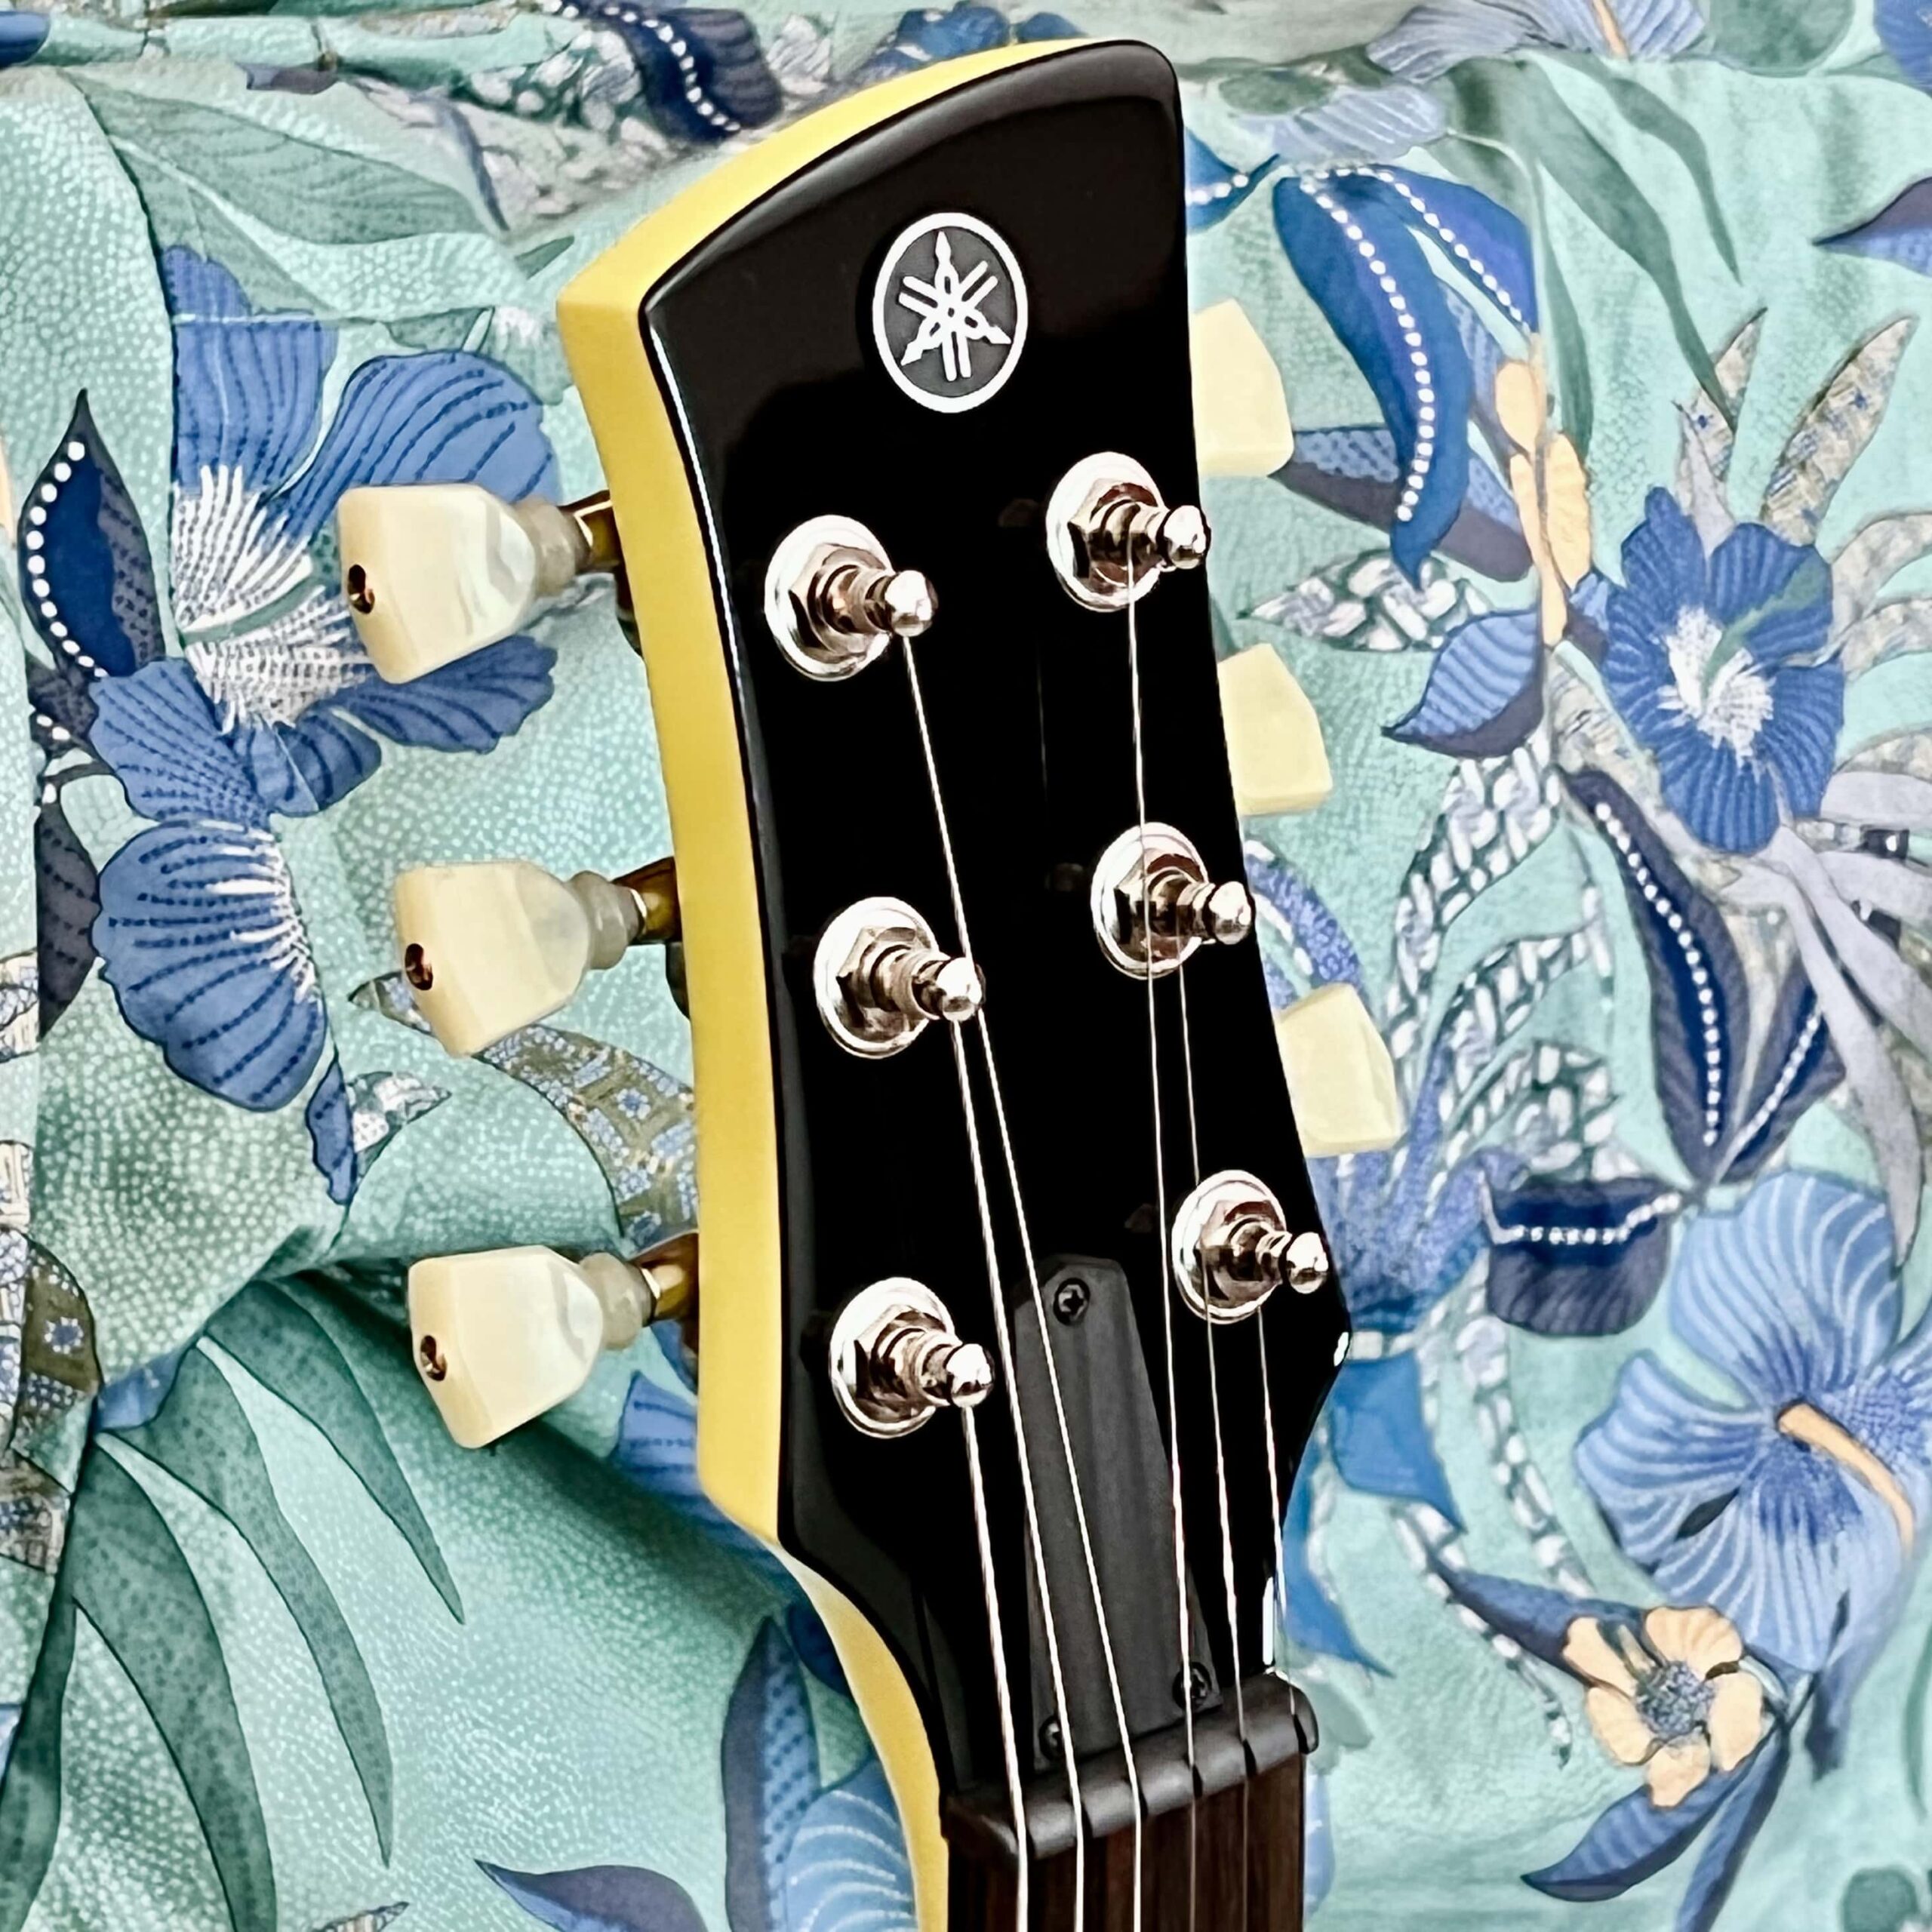
As mentioned previously, the Yamaha RSE20 is a great choice when you’re creating a pro-level guitar rig on a budget. In addition to its affordability and playability, the RSE20’s mahogany body has been acoustically tuned to allow for excellent resonance and sustain. Its mahogany neck profile is a rounded C-shape, which I think most players will find welcoming, and the satin finish is smooth, fast and easy to navigate. The pearl-colored tuners not only look cool against the black headstock facing, they keep everything nicely in tune, even after a solid playing workout.
There’s nothing complex on this guitar to distract the player from making music, which is a huge plus when all you want to do is dig in and play. The RSE20 sounds great too! Its Alnico V humbucking pickups are smooth, articulate and extremely versatile, making the instrument suitable for all kinds of musical genres, including jazz, blues, rock and pop. The bridge pickup has enough growl and bite for heavier styles of music, while the neck pickup is fat, warm and sweet — the perfect complement for jazz voicings, pop-tinged extensions and slash chord spreads.
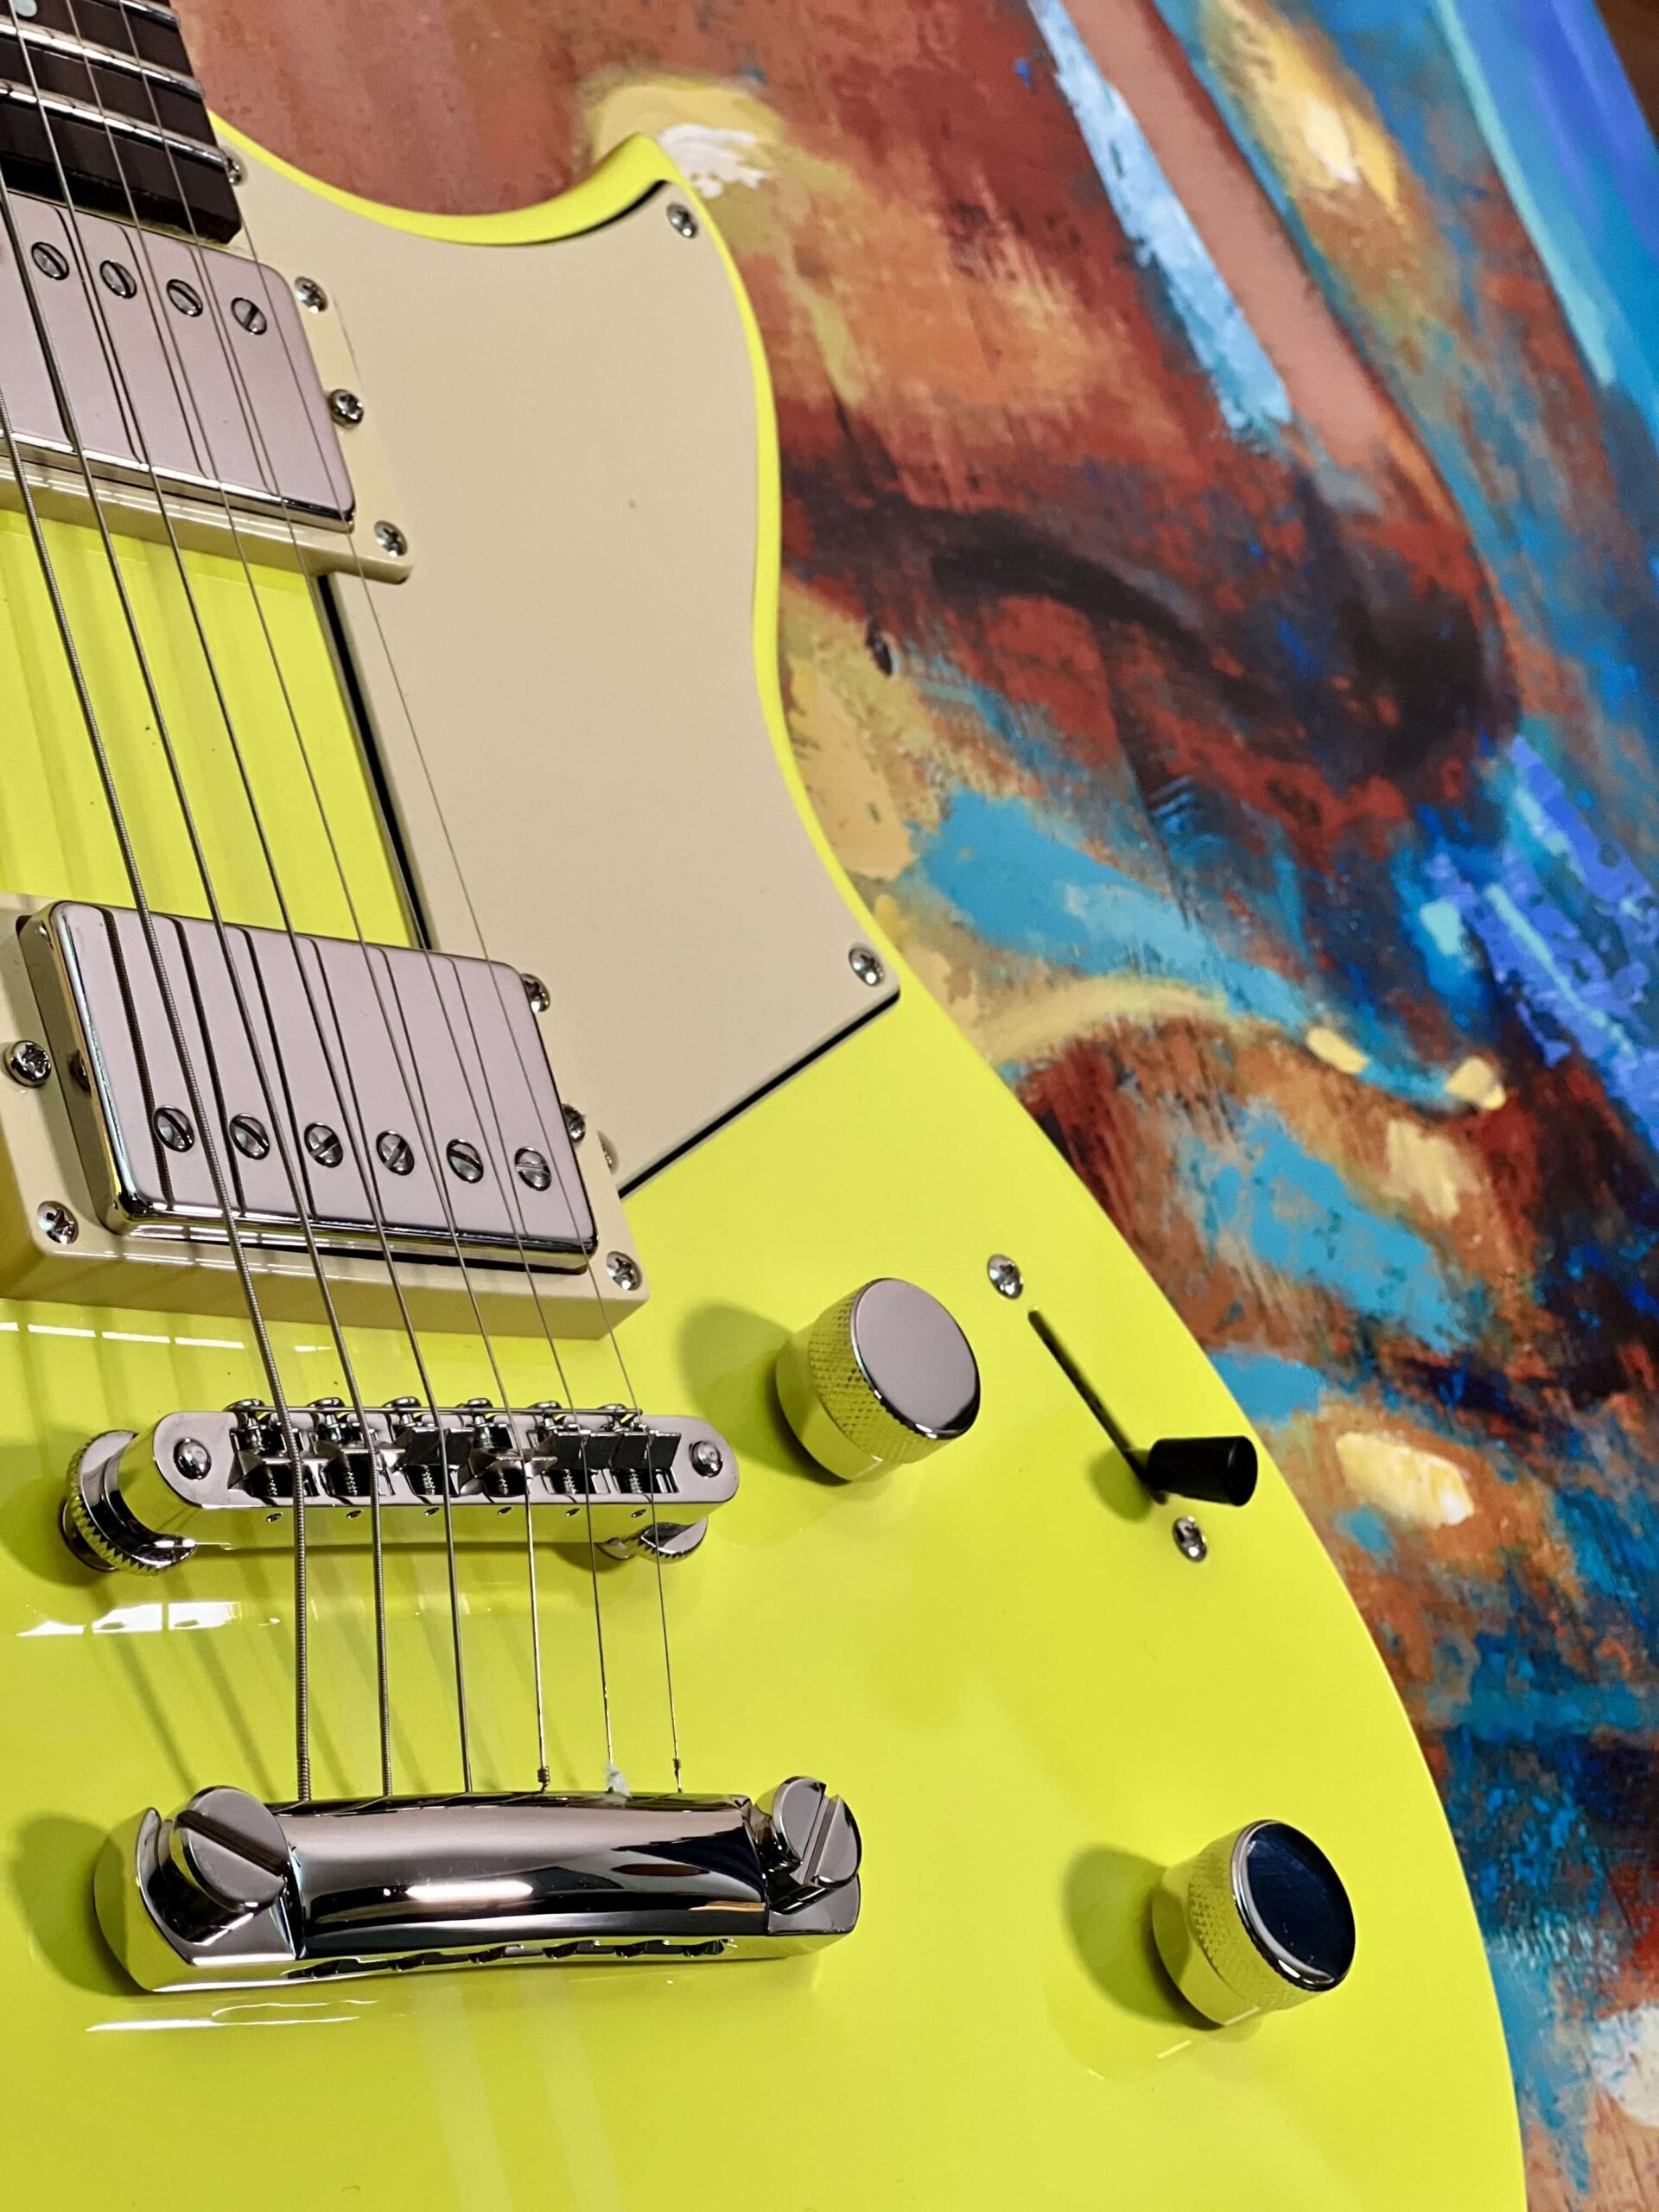
The RSE20’s three-way toggle switch allows you to blend the two pickups together for the best of both worlds. To expand the tones even further, the “dry switch” pull-pot on the tone control acts as a subtle bass filter, allowing you to reduce the low frequency response of the pickups … great for dialing in clarity when recording guitars in a dense mix or performing live with a full band.
The Video
This video demonstrates just how good our budget rig can sound when dialed in correctly and paired with the right guitar.
All the guitar parts were recorded using a Revstar RSE20 plugged into a Line 6 HX Stomp, then recorded directly to my DAW via the Stomp’s USB output.
If you’d like to jam along with the video, here’s the chord progression I used:
II: Ami9 Ami9/G I F5/2 I Ami9 Ami9/G I F5/2 Gsus :II
And here’s the backing track on its own:
As a bonus, you can find the patches I used for the recording here. You’ll be able to import them into your own HX Stomp if you have one.
The Wrap-Up
Great tone doesn’t need to be expensive; it’s more about the pairing of quality elements within your signal chain, and learning how those conduits work together for maximum musical effect.
Listening intently and connecting with your personal musical sensibilities will help you develop the tone you produce from your fingers, guitar, amp and effects.
PHOTOGRAPHS COURTESY OF THE AUTHOR.
Keep reading