Eight Great Tips for Learning Guitar
Here’s how to start your journey.
As human beings, we have an inherent aptitude for learning and a natural hunger for knowledge, wisdom and personal growth. We spend a lifetime honing our skills, and each of us will find our own ways of satisfying our curiosity as well as preferred sources of research and methods for retaining the information we learn.
As a young student, I would develop my own ways of expanding upon the lessons I was being taught, and in the process, “learning how to learn” from the inside out, not the outside in. Here are eight tips that everyone should know as they start their journey of learning how to play guitar.
1. Know That Comprehension May Come Before Practical Application
Many people may be surprised to hear this, but you may understand a skill or a technique before you can actually do it. For example, you may have learned that there are seven notes in every major scale — you may even know the interval formula that builds that framework — and yet playing that shape on the guitar fretboard is proving to be a struggle. This is completely fine. In fact, I believe that the “why” we do things can be more important than the actual “doing” of them.
In this particular case, my advice would be to find the smallest physical shape of the scale you want to play, then locate it further up the fretboard to make it even smaller, and learn the scale shape one string at a time. Name the notes, sing them out loud as you play them, and sing the intervals between the notes, as well. Then it’s a matter of adding the next string of the shape … but do so only when you are ready to expand on the physical action of playing it.
2. Learn the Shapes Within Shapes
It’s particularly important to learn fretboard shapes because smaller shapes may lie within them that can help you understand the framework of the music you’re playing, as shown in this illustration:
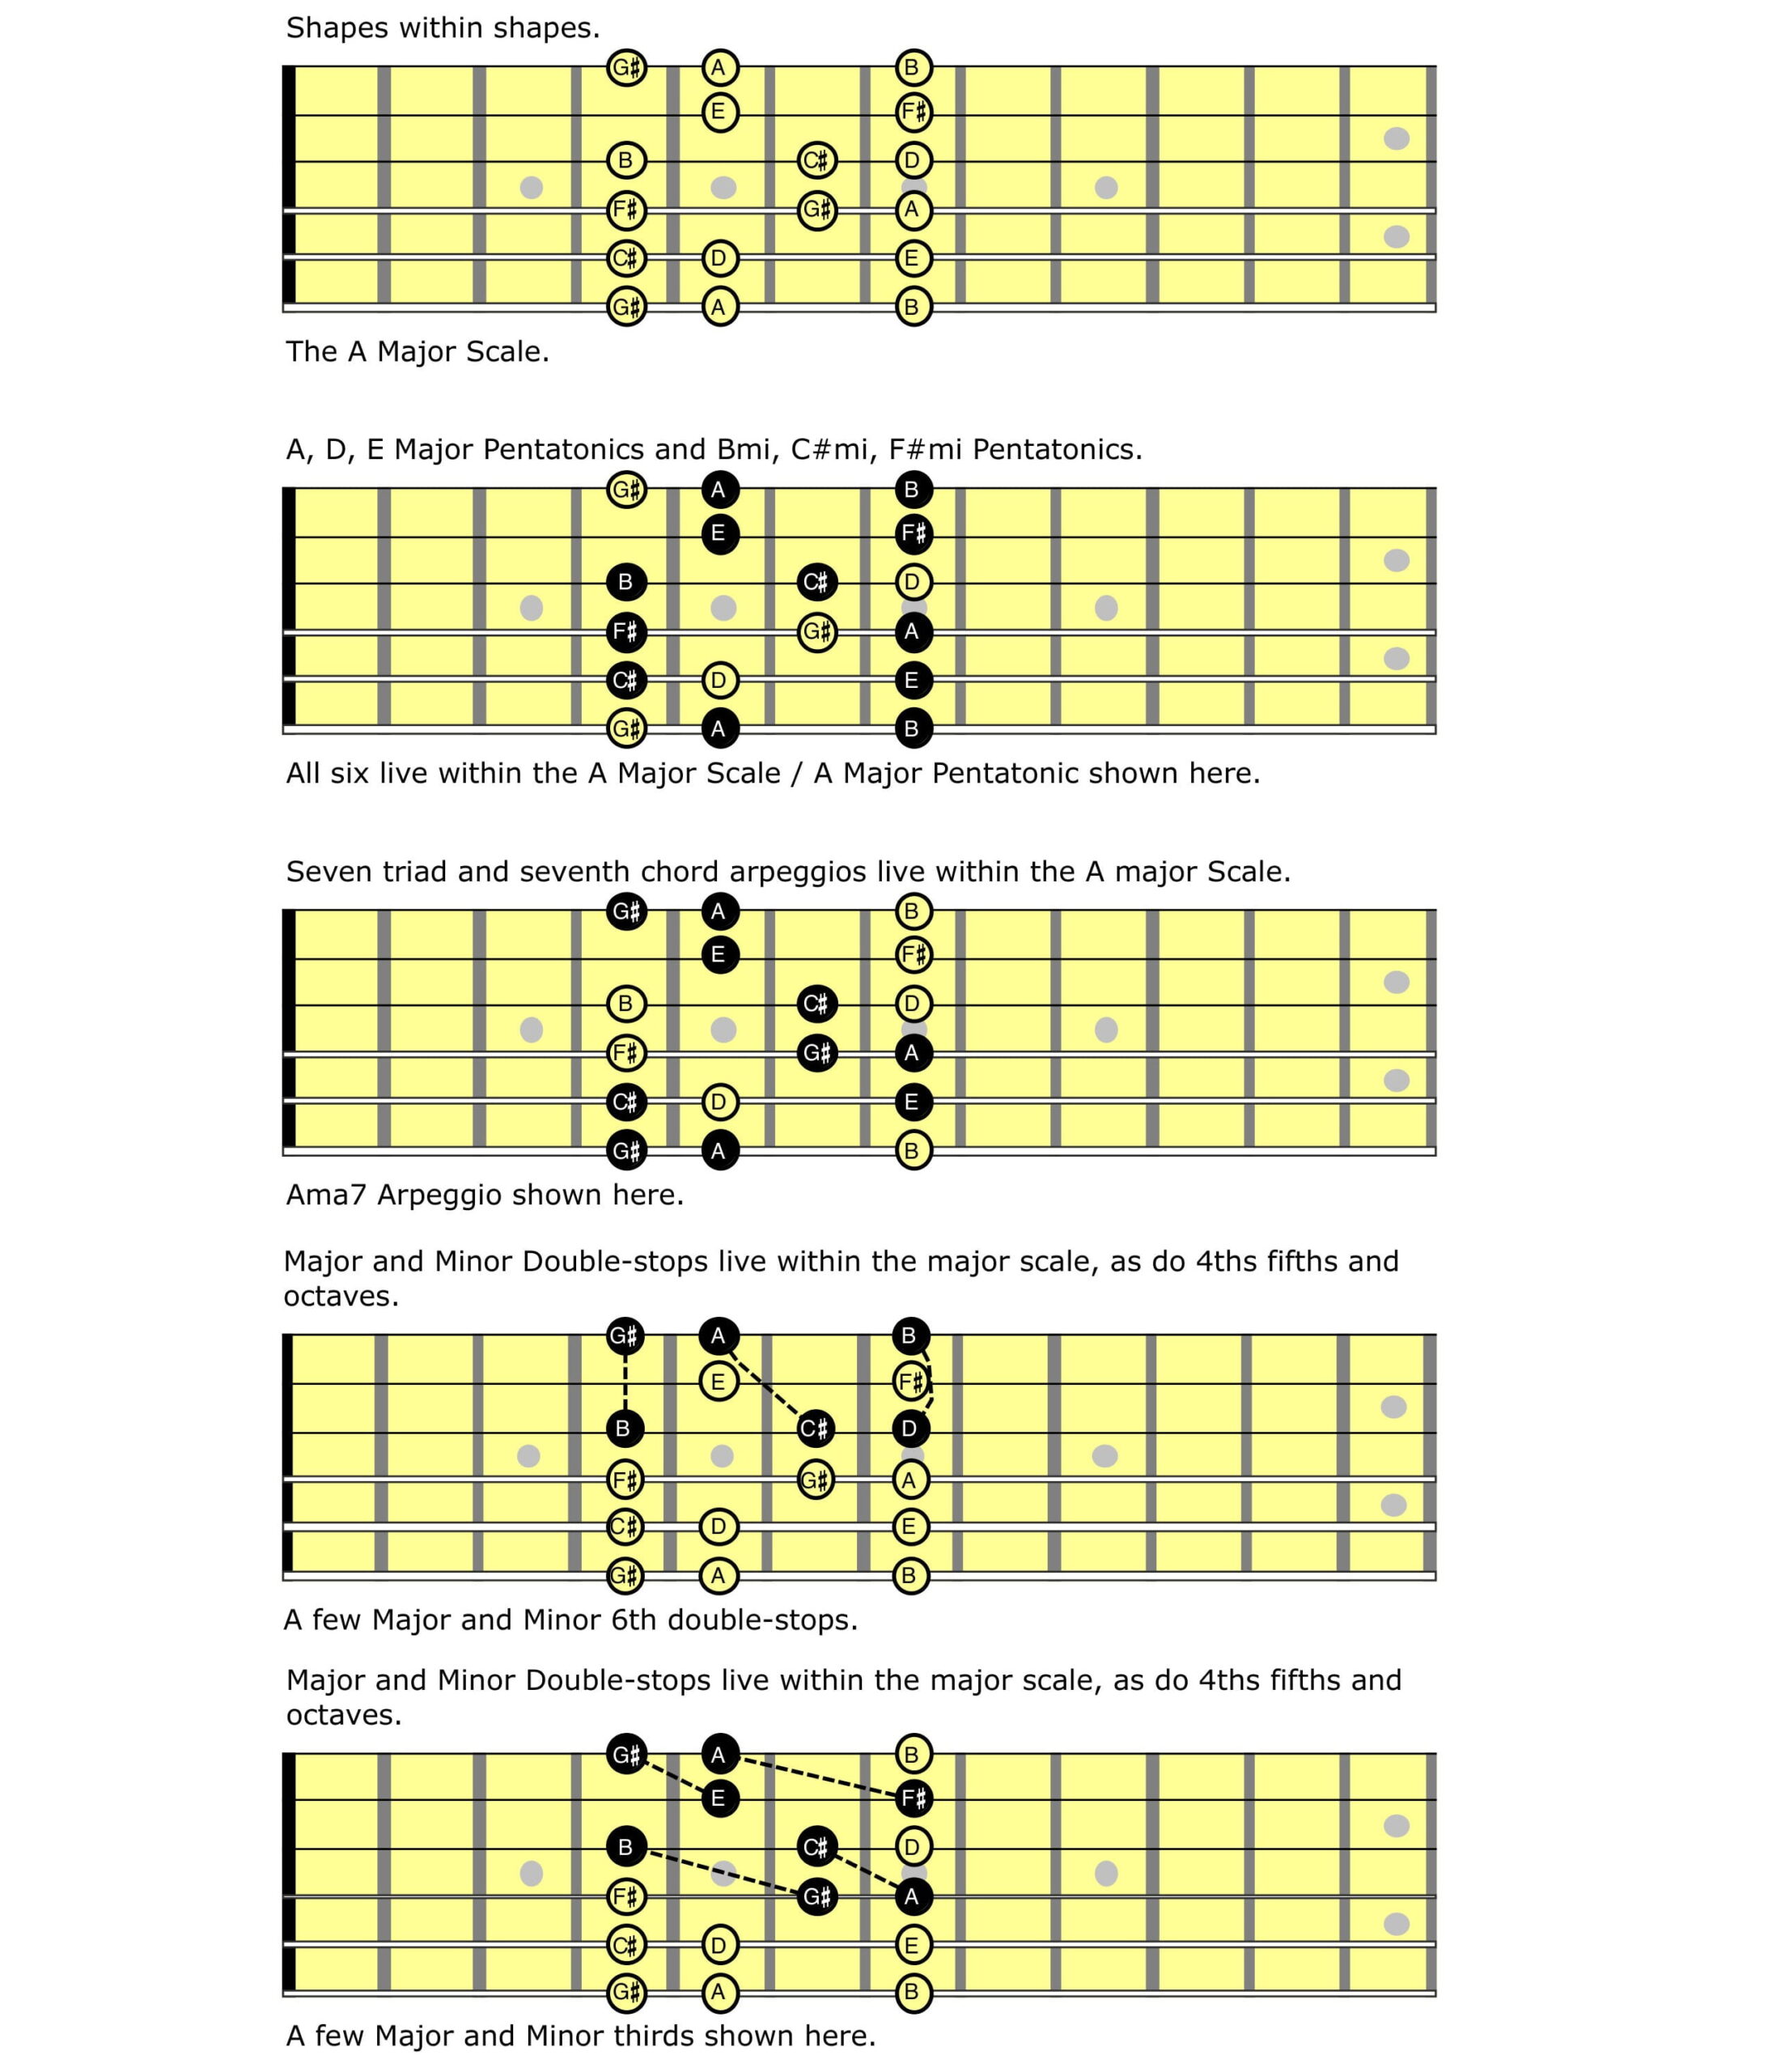
The major scale is the most important musical framework to understand on the fretboard. Here’s why:
- The seven notes of the major scale are used to build triads, seventh chords, and the multiple inversions and extensions that can be placed upon those chords.
- The major and minor Pentatonic scales are all derived and built from the major scale.
- Double-stops (two-note chord fragments) are all derived from the major scale.
- We can create different moods within music by simply inverting the major scale to create seven distinct modalities.
- Triad and seventh chord arpeggios are also derived from the major scale framework.
For these reasons, you should make a point of finding every shape you can within your favorite major scale pattern. I think you’ll be amazed at what you start to see within that larger matrix.
3. Learn the Notes on the Fretboard
I know a lot of guitar players that don’t know the notes on the fretboard! Even some of the best players in the world don’t know them, but I’d argue that it’s worth the investment in time.
For one thing, when you know the note names on each string, you can locate and build scales, arpeggios, chords and alternate voicings without relying on shapes that you may or may not be familiar with yet. You’ll also be able to communicate that information with other musicians. In addition, if you have even the slightest desire to read music notation or tablature, knowing your fretboard is paramount.
Here are a couple of methods for learning the notes on your fretboard:
Octave Shapes
Start by playing the F note on the first fret of the low E string. You’ll find another F note (one octave higher in pitch) two frets higher on the fourth string. Another F — this one two octaves higher — can also be found on the sixth fret of the second string. Higher octaves of F can be found on the eighth fret of the fifth string, the tenth fret of the third string, and on the 13th fret of the top E string.

Once you know these shapes, you can use them to locate octaves of other notes. For example, if you move the F shapes up a fret, you’ll know where all the F# octaves are; move them up two frets and you’ll know where all the G octaves are, etc.
One Fret at a Time
The open strings on your guitar are pitched as follows, from low to high:
E, A, D, G, B, E
From here, you can easily name the notes found on the first fret, which are a semitone higher:
F, A#, D#, G#, C, F
One fret higher, the note names are:
F#, B, E, A, C#, F#
Continue this exercise up to the fifth fret, playing and singing the notes each time. Within a week, you’ll know all the note names up to the fifth fret, and how to find the same tone across all six strings.

4. Connect the Dots
If you have the desire to make the connection between your fretboard and music notation, here’s a simple exercise I developed that you can do while drinking your morning coffee. This exercise will help you see the notes in your mind at specific fretboard locations, and demonstrate where they would be written on the musical stave.
- Get a sheet of manuscript paper. Along the top of the first stave, write the corresponding fretboard location number. (See the illustration below.)
- Below that number, write the note name of each string on the stave that’s found at that fretboard location. For example, if you wrote 3 above the stave, you’d have the notes G, C, F, B♭, D, G.
- Write the notes as dots on the stave. (I’ll let you complete the next four fret locations.) The end result should look like this:

Making these kinds of musical connections will shorten the curve of understanding as you expand your guitar-playing skills.
5. Adopt Visualization Techniques
I’m a great advocate of visualization when it comes to learning to play guitar, or any instrument, for that matter. If you can see it, it’s possible to make it real.
When you visualize playing notes on the fretboard — even while you are away from your instrument — neural impulses are still being sent to your fingers. You are still practicing consciously, but without the physical component.
To further strengthen the connection, name the notes you are “playing” during the visualization process. I’ve used visualization to rehearse a song in my mind while I was traveling to an audition. You can rehearse the perfect performance, the confident performance and the perfect outcome. It’s all a conscious choice … and trust me, it works.
6. Work at Developing Your Coordination
When playing guitar, the fretting hand articulates the notes, chords and arpeggios, while the picking/strumming hand articulates the rhythms that express those sounds. In order to bring both together seamlessly, you need to learn to coordinate what your left and right hands are doing.
If you find that your coordinations are out of time, it’s probably due to one of the following issues:
- Your rhythm hand is out of time with the music.
- You aren’t physically able to form certain chords in time for the changes to occur at the right moment.
- Your picking is out of sync with the single notes you are fretting.
Whatever the cause, the best way to correct your coordination is to slow down and focus on each aspect separately. If you are struggling with a chord shape, for example, either simplify the shape or visualize your fingers making the physical form away from the fretboard, as noted in Tip #5 above. In your mind, try slowly morphing into the shape multiple times before executing it physically on the fretboard.
If you are working on your scales, remember that speed is a byproduct of accuracy. It is only after you are able to achieve what you want to do slowly that tempos should be increased … but gradually. Listen carefully to the left- and right-hand connection and make sure the notes are in time, and not out of sync. If they aren’t connecting perfectly, slow down until synchronicity occurs naturally.
7. Prioritize Your Rhythm Chops
If you can play rhythm guitar, you’ll always find a gig, be able to play or write a song, support a vocalist and jam with anyone.
When I started my musical journey, I became a rhythm guitarist first. I only became curious about solos and lead guitar after I was already playing in bands and had formed a good vocabulary of both rhythm chops and chord voicings. I can’t tell you how many times I’ve laid down the rhythms at a jam session so everyone could solo, and when it’s my turn to let rip, the whole thing falls apart because the other players didn’t figure out the chords … regardless of how simple they were.
In a professional setting, 99% of the time you’ll be playing rhythm guitar, and if you’re lucky you’ll have a moment or two in the spotlight to show off the soloing chops you’ve been working on. Make rhythm guitar your priority and work towards melodic phrasing afterwards.
8. Unleash the Power of Resonant Frequencies
There are multiple components to how we perceive music. We hear music, but we also feel it. Not only do the notes, chords and rhythms resonate at certain pitches, our instruments, bodies and voices do the very same thing.
When you play a note or strum a chord on guitar, the strings vibrate, creating resonance within the instrument. The pitch of those notes or chords determines the resonant frequencies you feel.
For that same reason, guitar players should sing (off-mic if necessary) whenever they play the instrument because the chords we play have been built from the same scales that are used to sing or play melodies. When we sing notes over a chord, we make a personal connection with it, not only in terms of the pitch, but how the note is resonating within the chord. For example, the root note will feel different than that of a third or fifth. Even if you block out the sound altogether, you’ll still feel whether or not the music is in tune, if the pitches are correct, and if the right notes are being played.
Remember to feel the music, not just hear it.
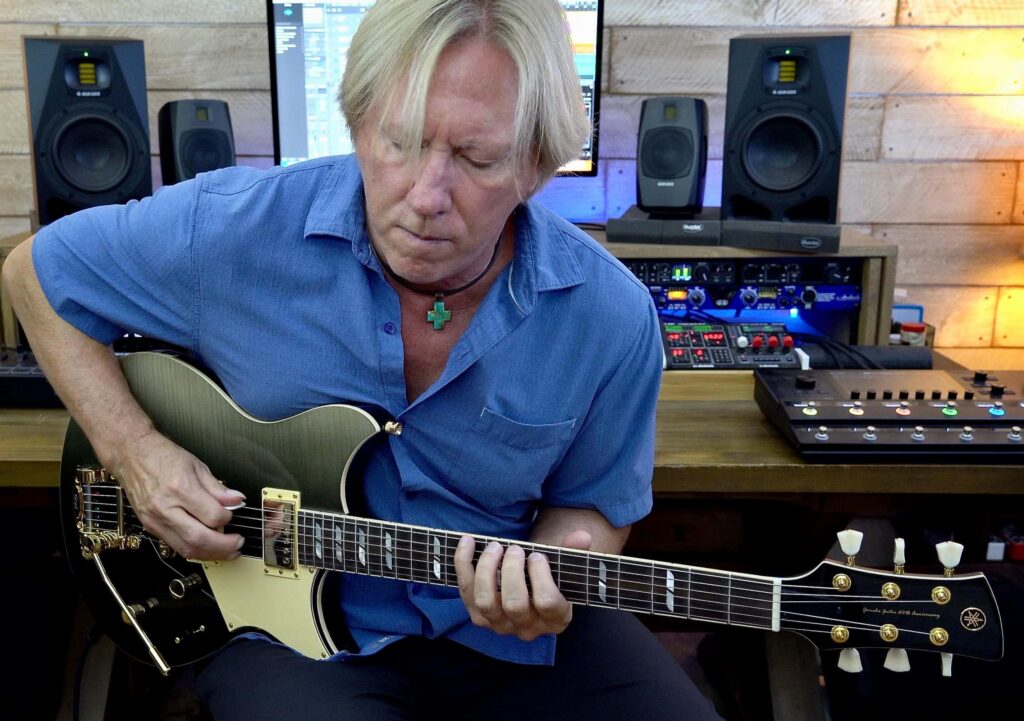
The Video
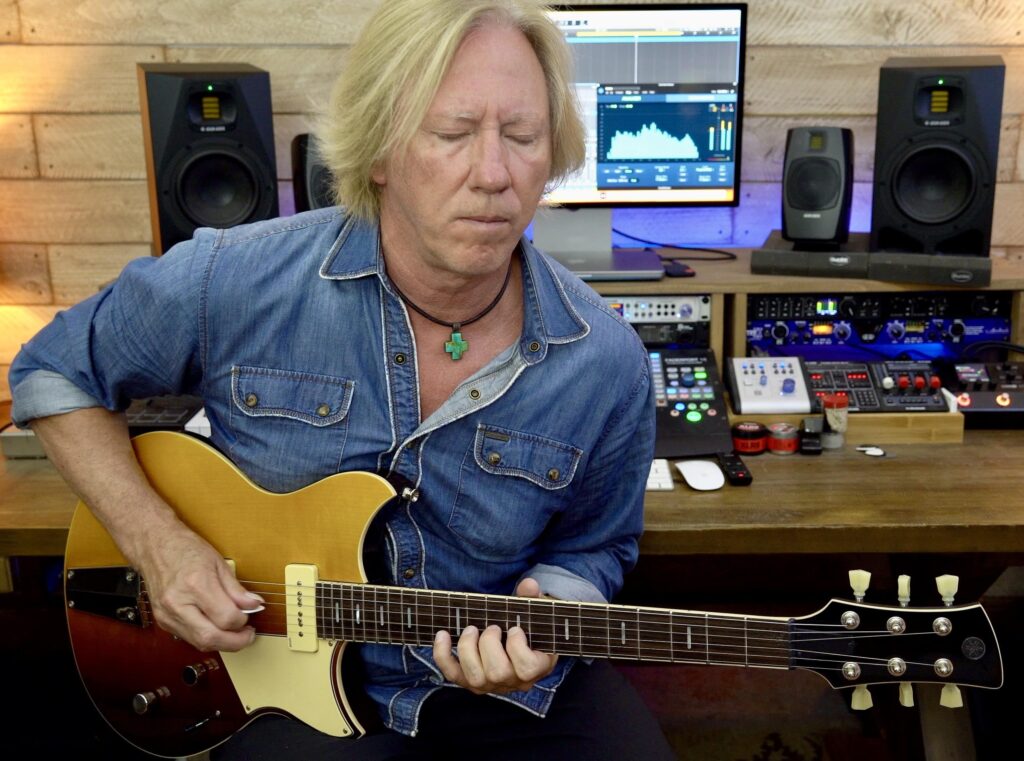
In this video, I’ve capo’d my Yamaha RSE20 at the first fret, but I’m playing shapes you’d normally associate with the key of E. This makes the same information feel and resonate differently, as discussed in Tip #8 above. (The music is now in the key of F.)
I’m utilizing octaves of the same pitch for some of the phrases and unison notes in the melody to solidify the tonal center of the progression (again, in the key of F). In addition, I purposely kept my eyes shut during this performance so I could feel the music, phrases and composition as much as I could hear it.
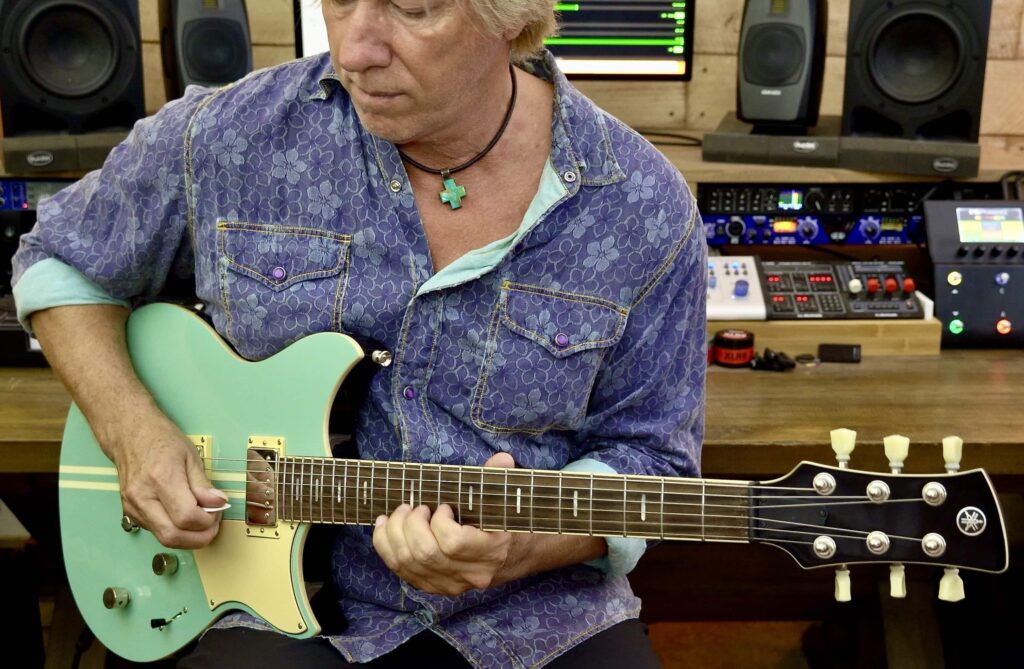
The Guitar
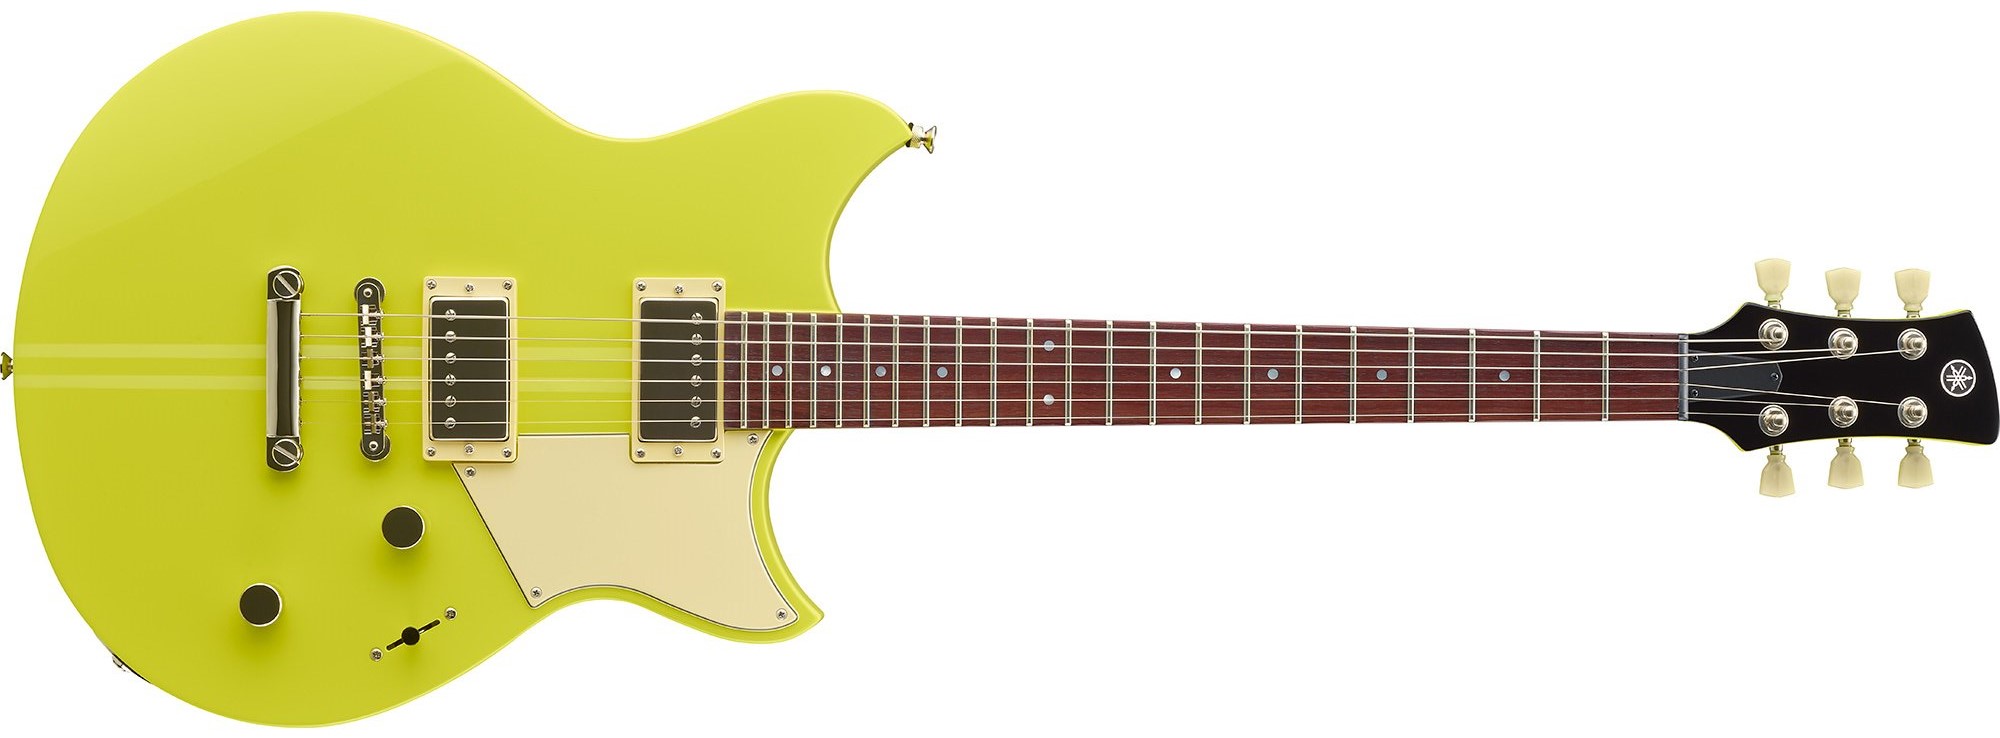
The Yamaha Revstar RSE20 is a terrific guitar for beginners. Not only is it easy to play, it exudes musical power in multiple ways. Its jumbo frets allow for detailed expression whether you’re playing chords or single-note runs, and the satin-finished neck feels super-smooth for fast articulations. Tuning and intonation are always spot-on, even when using a capo, and incredible rock tones are easy to achieve from the Alnico V humbucking pickups and simple three-way selector switch.
And, I have to add, the Neon yellow finish of the RSE20 I used in the video above literally dominates the screen when filming. (Yes, color has resonant frequencies too, measured in Terrahertz.) This guitar looks every bit as impressive as it sounds!
The Wrap-Up
There’s a lot that goes into learning to play guitar, but it’s a journey that can be incredibly rewarding. The best piece of advice I can offer is this: question everything and discover your own solutions before seeking guidance from others. That way, you’ll learn how to grow through independence, and you’ll be able to form personal musical opinions based on both research and experience.
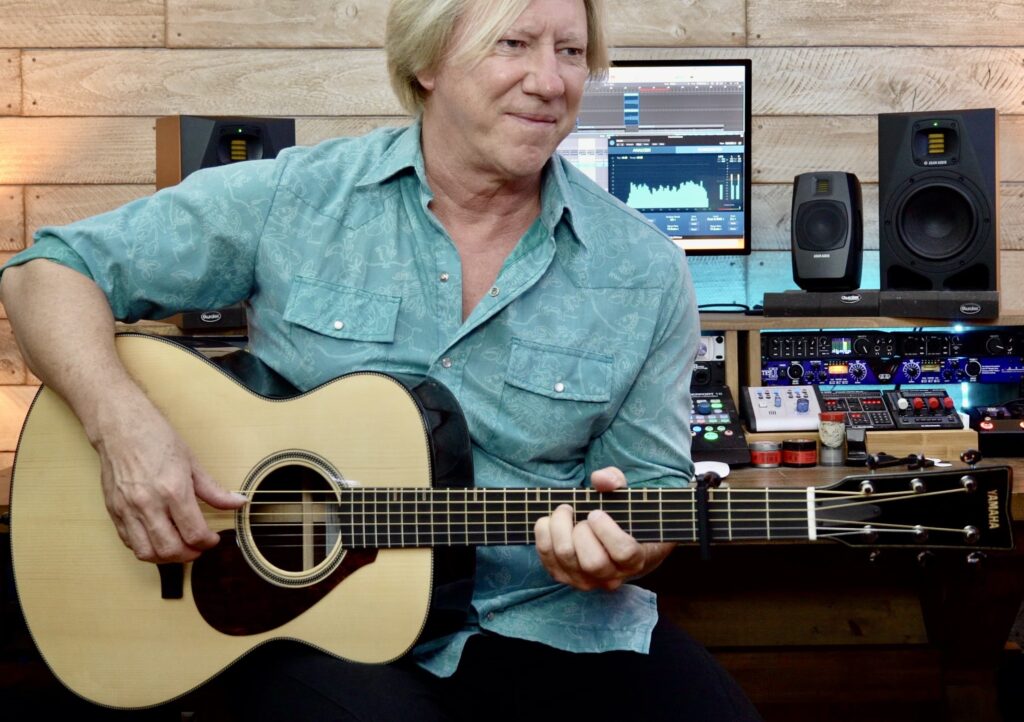
PHOTOGRAPHS COURTESY OF THE AUTHOR.
Keep reading