Tagged Under:
Exercises to Strengthen the Fourth and Fifth Fingers
Learn how to better control these problematic digits.
Do you find that you tend to favor your first three fingers (the thumb, index and middle fingers) over the your ring finger (fourth finger) and pinky (fifth finger) when playing piano or keyboards?
You’re not alone — most of us do. And there is a good reason why, as you’ll learn shortly. But if you want to be able to play smooth runs and passages, you need to make use of all your fingers. More than that, you need to be able to use them smoothly and with good control. Here’s a guide to achieving that goal.
The Physiology of the Hand
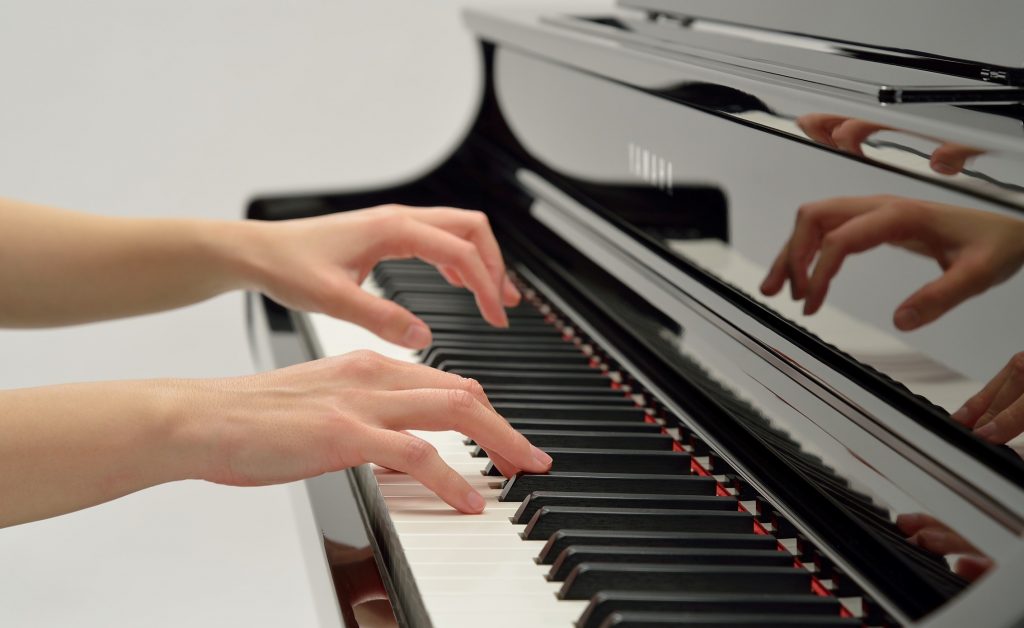
When people discuss fingers in relation to playing keyboard, they often use the descriptive terms “strong” and “weak.” However, the issue isn’t really the difference in strength between fingers; it’s about control and independence. The construction of the hand and the muscles and tendons beneath the skin causes us to have more independent control of the first three fingers, as you can see in this video:
Realizing this will help you to better understand the challenge of improving your use of the “problem” fourth and fifth digits. Fortunately, there are exercises that can help.
Start With These Tried-And-True Held Note Exercises
To get started, you don’t even need to be at a keyboard. Begin by placing your hand on a flat surface, with your fingers curled slightly underneath, like this:
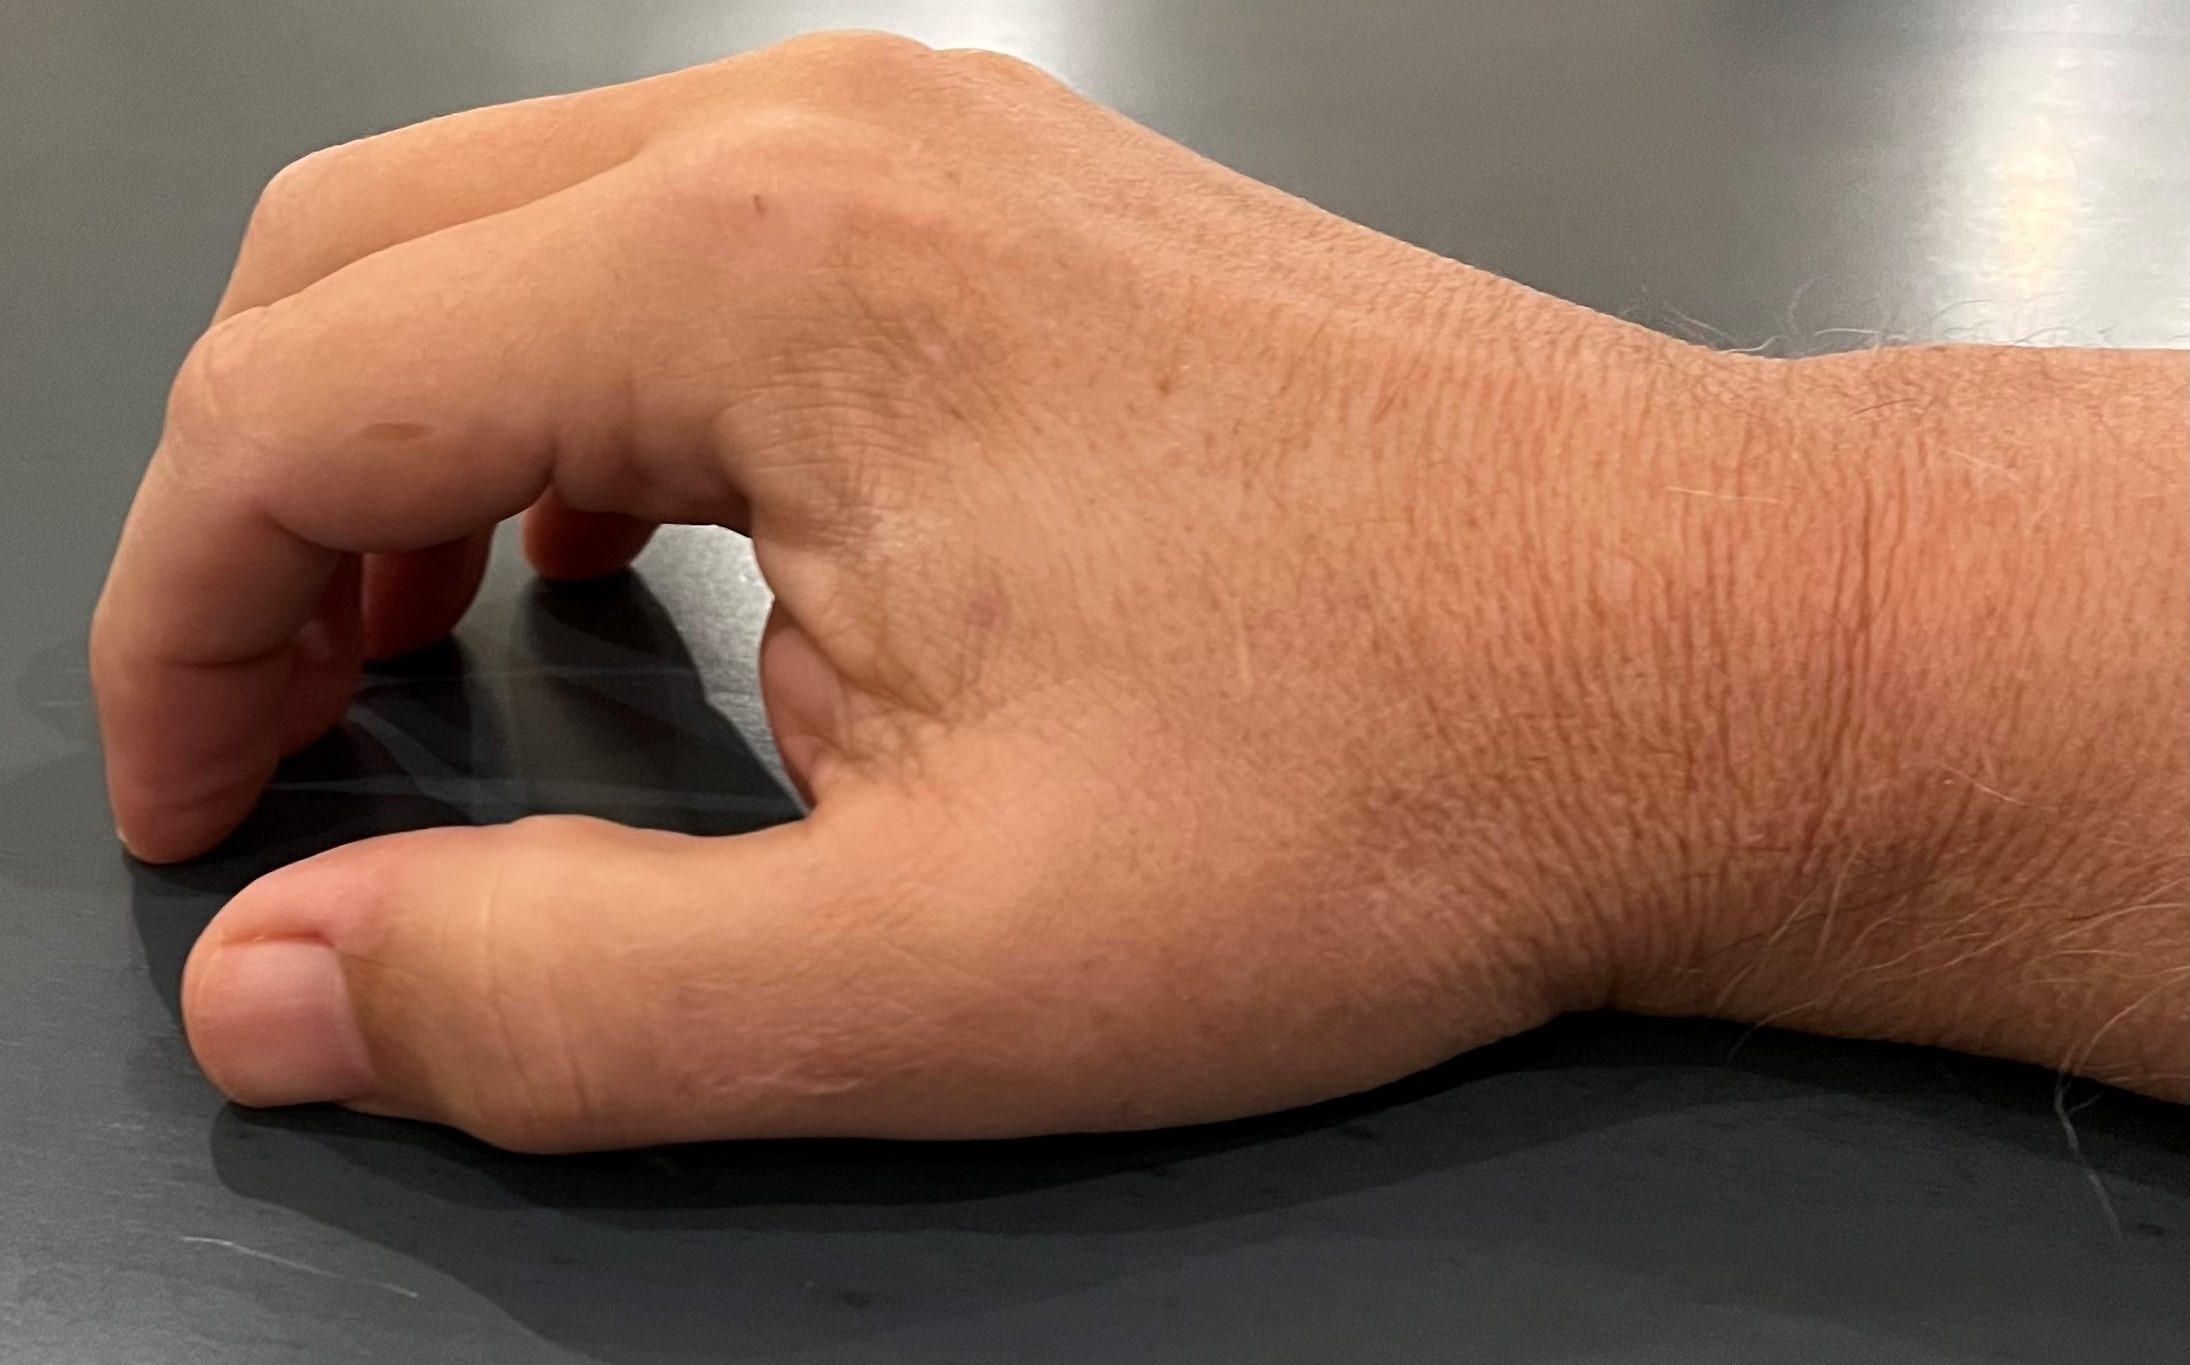
Now just lift each finger repeatedly, while leaving the others in place. You don’t need to lift the finger too high. It’s also very important that you not force your hand to stay in touch with the surface — there should never be any tension in the hand.
These types of table-top exercises are great because you can do them anywhere, anytime.
Now let’s transfer this concept to the keyboard. Place your right thumb on middle C, with your other four fingers over the next higher white notes. Quietly press down and hold all the keys, and then practice playing each note repeatedly, like this:

The smaller notes in the parentheses remain held down: only one finger will be moving in each measure. Work slowly at first, and be sure to keep your hands relaxed, as well as your arm and shoulder muscles. Only speed up when you feel comfortable.
You’ll find lots of variations on this theme (i.e., exercises where you hold down notes while working on isolated fingers) in piano instruction websites and books, most famously in Essential Finger Exercises for Obtaining a Sure Piano Technique by Ernő Dohnányi. However, many contemporary instructors feel that this concept should be modified, because it doesn’t take into account the shared tendons for the ring and pinky fingers. You can’t fight the design of the hand, and in normal playing you’ll never need to hold down so many notes while playing an isolated figure, so I recommend you hold down less notes, allowing the fingers to move more naturally. For example:

The first measure is hard to play, but the second measure is much easier, since the pinky is free to move slightly along with the ring finger as it naturally wants to do. You’ll still get good benefit from this exercise, and you won’t be fighting the design of your hand.
Here’s another version of the held note concept, this time focusing on the pinky. The same concept is applied: by not holding the ring finger down, you can execute the second bar much easier, with less tension in your hand.

Don’t forget to do this with your left hand as well. Place your pinky on the C below middle C and span the adjacent white notes with your other fingers. Here’s the old-school version:

And here’s the recommended version (shown for the ring finger only):

Move On to More Advanced Held Note Exercises
Building on this concept are exercises that have you playing moving figures with the “weaker” fingers. Here’s a good one to get you started:

You should find the first measure easy to play, and the second measure (where you leave the middle finger free as well) is even easier.
Here’s another exercise that moves around the top three fingers:

Once you’ve mastered that, work on your left hand the same way:

Some Classic Exercises
These next exercises don’t involved holding any notes; they just work the harder-to-control fingers, and are inspired by such classic technique books such as Hanon’s The Virtuoso Pianist, Czerny and others.

This next one just alternates what note you start the two-note groups with:

Try this one to concentrate on the most difficult finger groups:

As always, be sure to work on your left hand as well:


Ready to Get More Advanced?
Players who have progressed a bit further might want to try tackling this next concept. It involves playing two notes at the same time, then moving these two-note groups around, like this:

You should raise your fingers just slightly up off the keys before striking each two-note group, and focus on striking both notes at the same time. As always, go slow and don’t tense up the hand.
Here’s the left-hand version of that same exercise:

Since these double-note exercises can also be done away from the keyboard, on any flat surface, there’s no excuse for not getting your practice time in. Soon enough, you’ll feel comfortable using all five fingers … which is as it should be!
All piano examples played on a Yamaha P-515
Check out our other Well-Rounded Keyboardist postings.
Click here for more information about Yamaha keyboard instruments.


