How to Create Flowing Keyboard Accompaniments
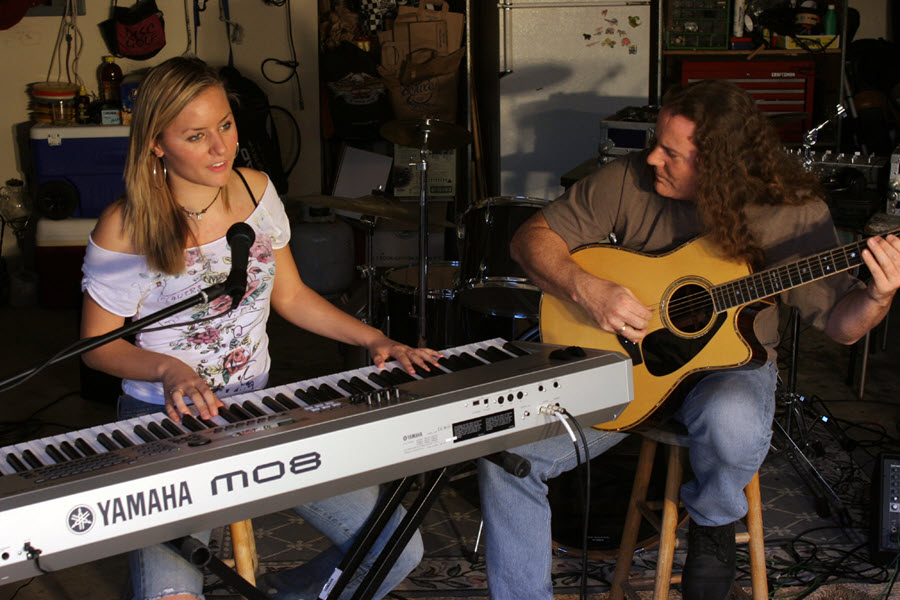
If you’re a keyboardist looking to create a flowing backdrop for supporting a vocalist or instrumental player, you’ve come to the right place. Let’s explore how to develop this technique, which can be a valuable addition to your musical vocabulary.
The fundamental building block of this playing style is the use of arpeggios, which are chords played one note at a time. For example, here’s a C major chord arpeggiated across both hands:

(Note: You should use your sustain pedal when playing in this style in order to create a “wash” of sound. But you should always re-pedal [that is, release and then re-press the pedal] when changing chords, or when the sound gets too muddy. The first time through in this audio clip is played without pedal; the second time through uses pedaling.)
Learning to play arpeggios this way is the first step in developing this style of accompaniment, so be sure to practice it across all different chord qualities and in all twelve keys. When you are comfortable with that simple version, try expanding the range covered by each hand like this:

Note that the fingerings shown require you to be able to pass your thumb under your hand, and to cross over fingers as well; these skills are developed in traditional piano teaching. Watch this video for a good primer on these techniques.
Just playing root position chord arpeggios is pretty basic. But if you use a wider interval in the left hand, you’ll get a fuller sound:

The first two bars use an octave in the left hand, the next uses a fifth in-between the octave; and the last one uses a wider jump after the fifth.
Now we’ll apply this style to an example where the chords change:

This works okay, but the right hand is a bit choppy since it is always changing position. Using chord inversions instead (something we covered in this blog posting), allows you to use closer note choices to keep the right hand sounding smoother:

To get a fuller sound, try extending the right-hand range to cover beyond where the three-note triad sits:

More Sophisticated Two-Handed Styles
To create an even bigger sound, try working on playing left-hand arpeggios such as these:

Once you are comfortable doing this, you can start to add some right-hand parts to your playing. Here’s one of those left-hand patterns, and some right-hand parts that work nicely against it:

In the second bar, I chose some notes that complete the chord, so when the hands play together you are clearly outlining the harmony. In the third bar, I was not that strict, and moved instead into a melodic figure to finish the phrase. In the last bar, I played broken arpeggiated figures in both hands, with a small melodic pick-up at the end. Note how the right-hand rhythms help to give each a different feel. The second bar has a little syncopated push into beat 3; the bar that follows is almost all offbeats in the right hand. Compare that to the last bar, where everything occurs on the beats, making it more relaxed. (Note that each bar repeats twice.)
Now let’s apply this concept to our chord progression:

If you use more complex chords than just triads, this can sound pretty sophisticated. Staying in a pop vein, we can add a few other notes to a chord to add some nice color, as described in this posting. For a major chord, adding the 2nd is a great choice, and sometimes the 6th or major 7th will work nicely as well. On minor chords, both the 2nd and the 4th work beautifully, as does the 7th. On a suspended fourth chord, adding the 2nd works well, along with the 7th.
Using these additional colors we can develop this flowing accompaniment style even further. Here’s an example that uses some of those color tones as melodic fills between the right hand voicings:

This next example makes those added notes part of the chord voicings themselves … but let’s also start to explore a different concept for the left hand. By simplifying the left-hand part to syncopated octaves, we can get a stronger sense of rhythm for our accompaniment:

Now we’ll add some right hand figures using some of the color tones, this time keeping the rhythm similar in both hands to make it easier to play:

Here’s a variation with an arpeggiated figure in the left hand alternated with the octaves:

One More Approach
Having an element in your accompaniment pattern that repeats can give your playing a nice anchor. In this example, a repetitive melodic figure has been added to the right-hand voicing:

Notice how a little more melodic movement has been added to the left-hand pattern to connect into each coming chord. The effect of the constantly repeating right hand helps to draw your ear to the left-hand part, which becomes a sort of melody.
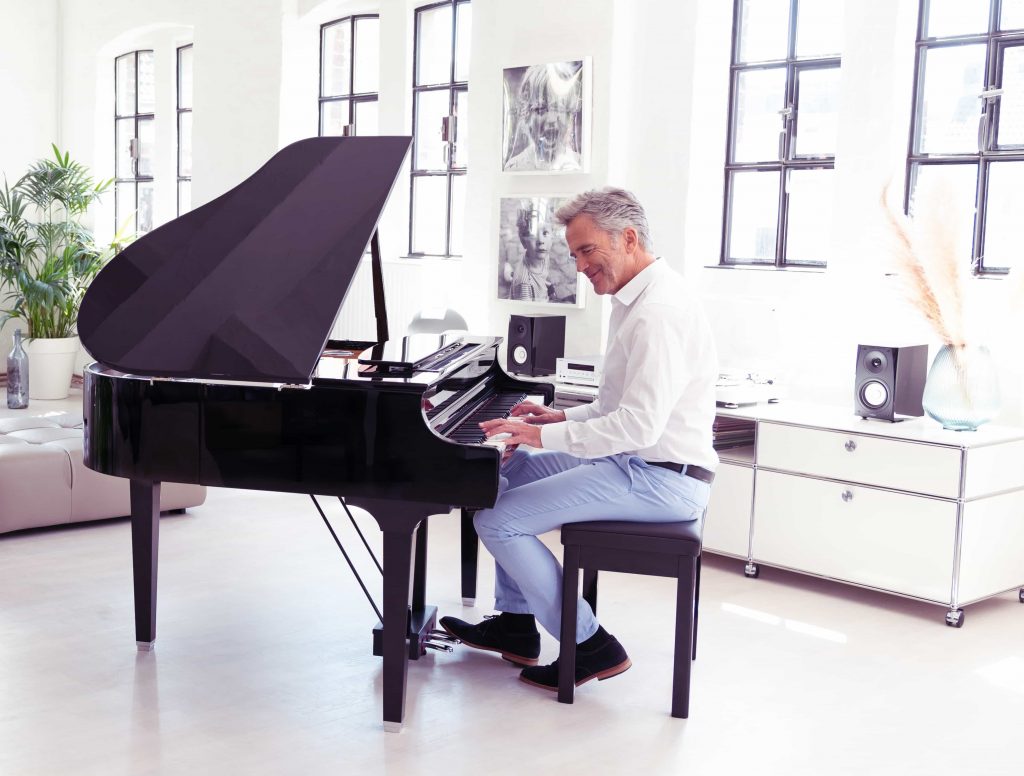
All audio played on a Yamaha P-515.
Check out our other Well-Rounded Keyboardist postings.
Click here for more information about Yamaha keyboard instruments.
Keep reading