Fix It: Tips for Teaching Snare Drum Basics
The snare drum is the foundational instrument for all percussion instruments. We learn technique and develop our hands while learning snare drum.
In a beginning band ensemble, the music director must teach all the instruments at the same time. They face the impossible task of teaching students how to get the first sound out of their instrument. This is a daunting task, especially for the non-percussionist educator.
I created this guide to help music educators — percussionists and non-percussionists — teach young students the proper snare drum technique. It is broken down into multiple sections, including setting up the snare drum, creating the grip and teaching the basic stroke. This video explains each technique — the timestamp for each technique is listed below.

Download this Yamaha Drums and Percussion Care Checklist for Students now!
Click on the links below to find out how to fix:
Fix It: Snare Drum Height (video timestamp — 2:10)
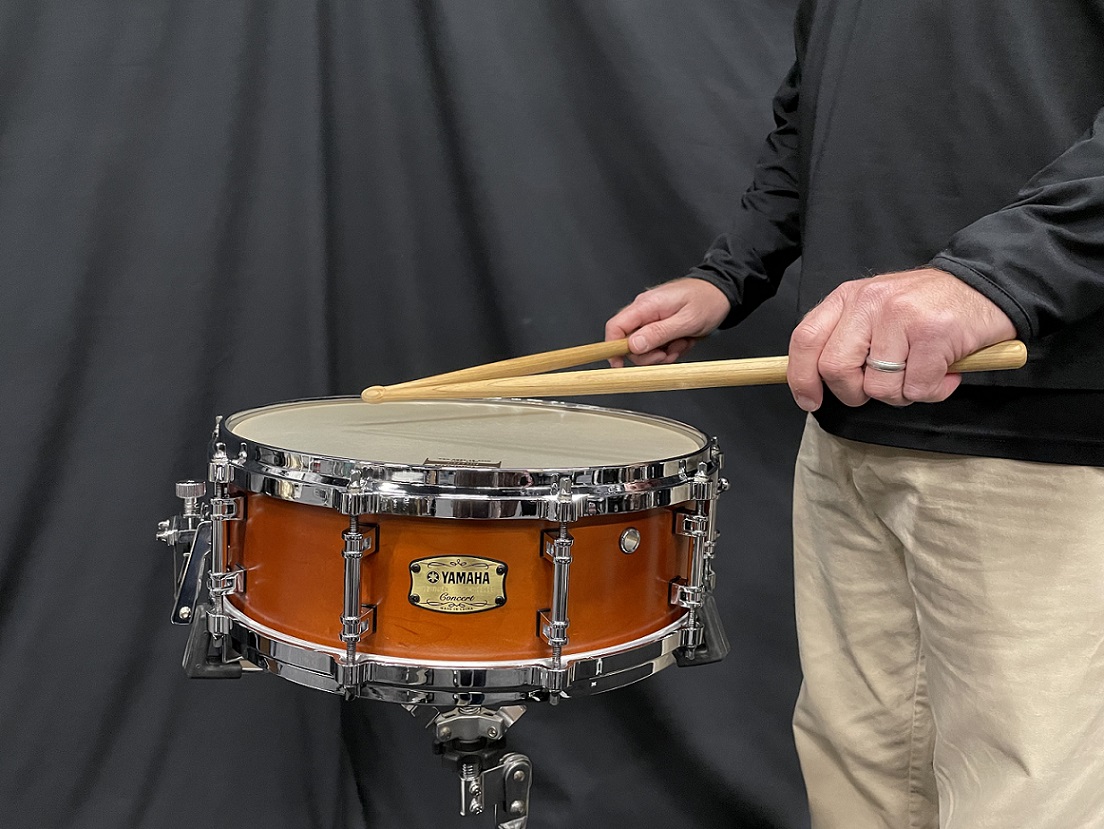 I have witnessed students just walk up to a snare drum and start playing. However, it is important to adjust the drum to the proper height so that the bead of the stick hits the drumhead at the optimal point. If the drum is not at the proper height, students will have tension in the shoulder.
Have students step back from the drum. Let their arms hang down the side of their body (they should not be holding drumsticks). Tell them to slowly lift their forearms at the elbow to a point that is comfortable. The angle of their arms will be approximately 110 degrees. The elbow should stay even with the body with space between their body and the elbow. Their body and arms should be relaxed and without tension.
Once this position is established, adjust the drum height to meet the end of the drumsticks. Remember to do this exercise away from the drum because you do not want the height that the drum is already set at to influence where students put their hands.
 Fix it: Drum Set Up (video timestamp — 5:42)
The snare drum should be set up so that the student is perpendicular to the snares (on the bottom of the drum), and the throw-off is closest to the player. If the student does not play over the snares, the sound will be thin, and snares will not vibrate clearly. Students should play over the snares to get the most snare response and characteristic sound of the snare drum.
Fix It: Find the Fulcrum on the Drumstick (video timestamp — 14:23)
Creating a good fulcrum on the drumstick is one of the most important things we can teach a percussion student. Without a good fulcrum, it will be difficult to produce a good roll.
 Tell students to use their dominant hand and put the drumstick inside the first knuckle of their pointer finger. They should position the drumstick so that approximately two-thirds of the stick is coming out the front of their hand. Let the drumstick drop and count how many bounces are created. Tell students to reposition the drumstick and try a different fulcrum. Again, have them count the number of bounces. If there are less bounces, students should move the drumstick the opposite way and see how many bounces are achieved.
The optimal fulcrum is when you find the position on the drumstick where you achieve the most bounces. Ask students to use a black felt-tip marker and draw a circle around the drumstick where the first knuckle of their pointer finger rests, so that they will know where to hold the drumstick. Once the optimal fulcrum is achieved, repeat this process with the students’ non-dominant hand.

Fix It: Teaching Matched Grip (video timestamp — 18:33)
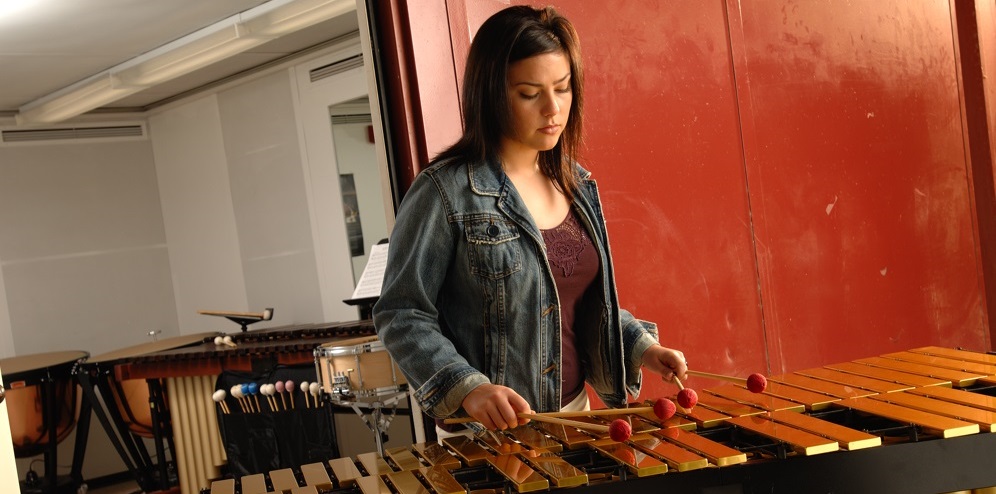
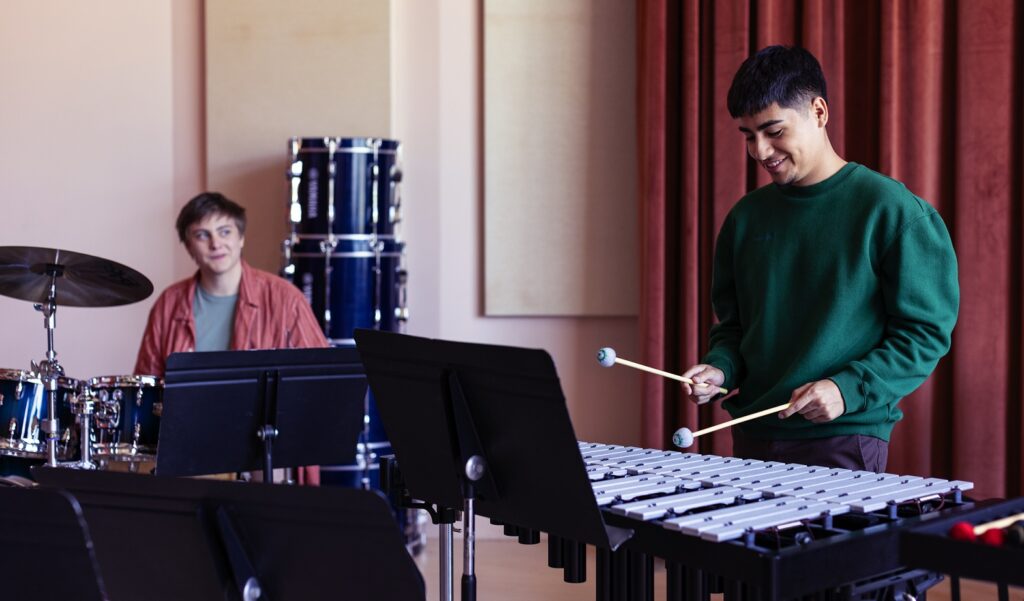
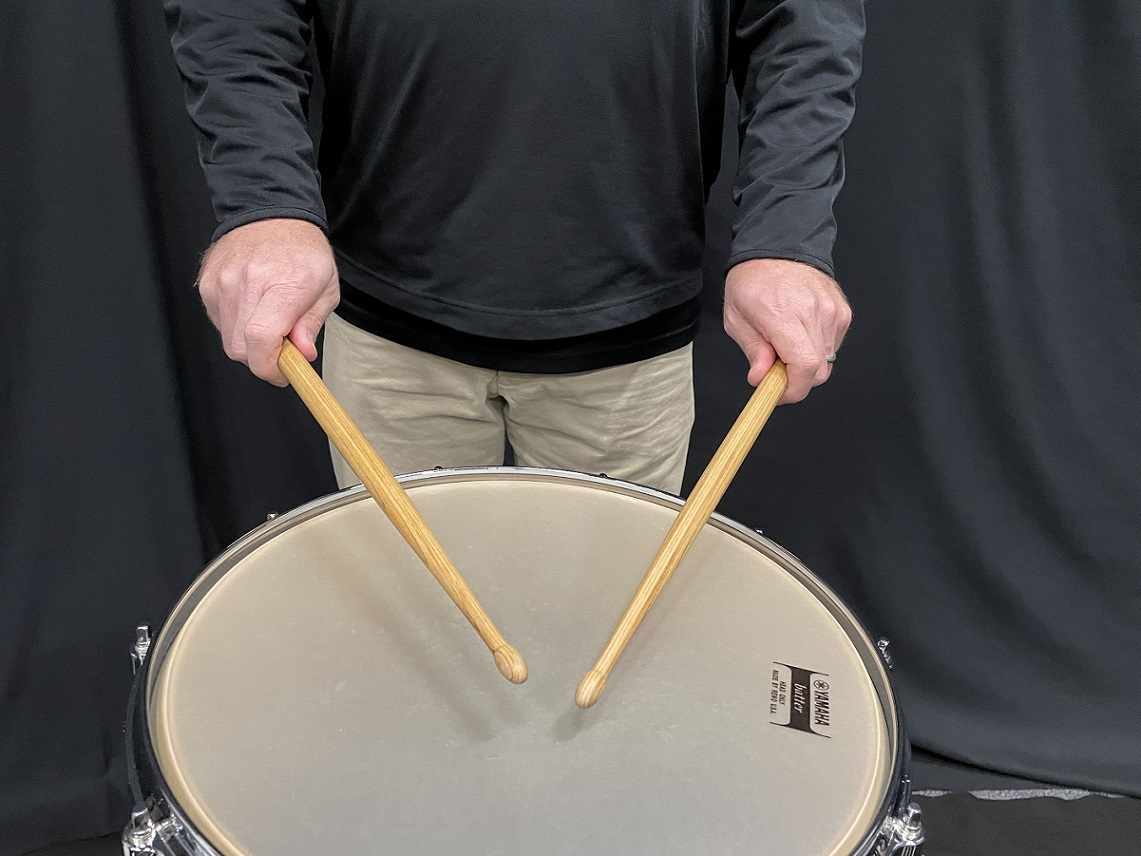 There are two grips that can be used on snare drum: matched grip or traditional grip. Because matched grip is used on snare drum, marimba, xylophone, timpani, bells and most percussion instruments in a concert ensemble, I have found that it’s best to start a student on matched grip.
Once students have marked the fulcrum on the drumstick, tell them to take their thumb and put it opposite the first knuckle of their pointer finger. The thumb must be parallel to the drumstick. Once students have the fulcrum, the back of the drumstick touches the love line on their palm as it goes out of their hand. Students should then wrap the other fingers loosely around the drumstick. They should not squeeze or clench the drumstick. Their hand should be relaxed, and there should be no tension in the hand or in the fingertips.
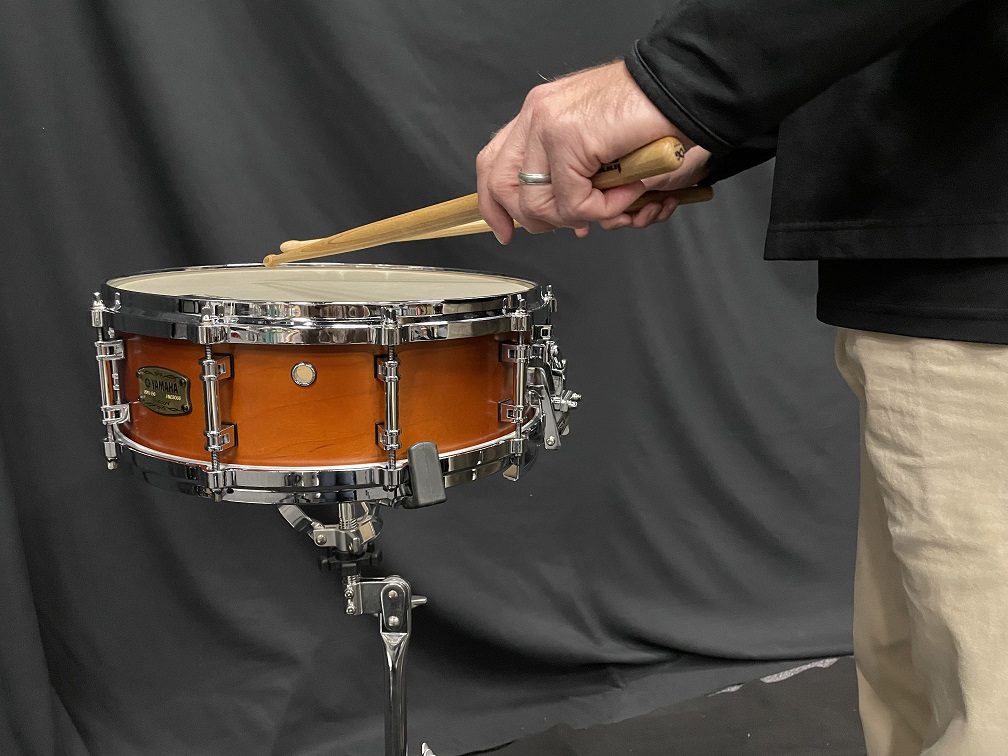
Building a Strong Foundation (video timestamp — 23:10)
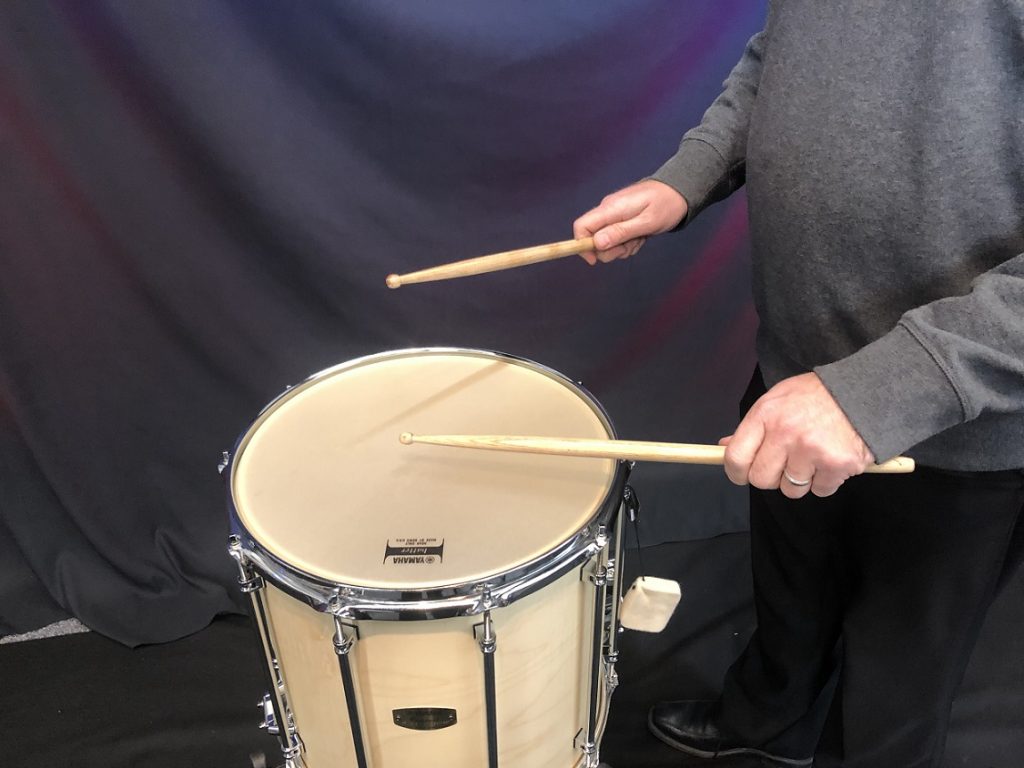
Once students have adjusted the height of the drum, are standing perpendicular to the snares, have marked their fulcrum and have proper matched grip, it’s time to play. Have students bring the tips of the drumstick to the center of the drumhead. (Note: On a snare drum, I suggest that students play approximately one inch above the center of the drumhead).
The drumsticks should create a “V” with the tips of the drumsticks, and the angle should be approximately 60 degrees. Using the wrist, students should bring the drumsticks up eight inches above the drum. Drop the drumstick and return it to the original starting point. This is a full stroke.
At the beginning of every class, go over this quick checklist:
- Step back from the drum. Bring up the arms to determine the height of the drum.
- Step up to the drum and set the height.
- Set the snare drum so the player is perpendicular to the snares and the throw-off is closest to the player.
- Create a good fulcrum by finding the spot on the drumstick where you get the most bounces.
- Place the thumb on the drumstick opposite the first knuckle of the pointer finger. The thumb should be parallel to the drumstick. Do not squeeze.
- Bring your drumsticks to the drum and create a V the with tips of the drumsticks.
- Using your wrist, bring the tip of your drumstick eight inches above the drum. Drop the drumstick and return it to the original starting point.
As Gordon B. Hinckley said, “You can’t build a great building on a weak foundation.” A strong foundation is key in learning any new technique or method. Tell students to take their time and go slow. Make sure they are deliberate about the small details. Reinforcing these small details will contribute to building a strong foundation.
Please feel free to reach out to me via e-mail at dgerhart@yamaha.com if you have any questions.
Keep reading