Fix It: Timpani Teaching Tips
As you prepare for the next musical journey with your students, here are some ideas to help your young timpanists.
Timpani students need guidance as they are soloists who have a tremendous impact on both the pulse and intonation of your ensemble. Timpanists are both the “drum set player” and the “bass player” of the ensemble. That’s something I love about playing timpani.
A challenge for every timpanist — beginning and advanced — is always producing a quality sound on the instrument. Often, young timpanists may have a dark, muffled, dead tone when they play. A quality sound is impacted by two primary aspects — the correct beating spot and proper stroke production. Let’s examine both of these.

Download this Yamaha Drums and Percussion Care Checklist for Students now!
Fix It: Beating Spot
On timpani, you want a beating spot that both resonates and has the sound color (timbre) that you are after. As a player, I find that this spot is about 3 inches from the edge of the bowl. When I play here, I have a tone that rings and has a bright timbre that projects well. For a slightly darker timbre, you could be about 4 inches from the edge. If the beating spot is 6 inches or more from the edge, the tone becomes dead and “thuddy” and should be avoided. Remember, always listen to the sound you are producing whenever you play. The quality of the sound is paramount!
Related to beating spots, it is important for students to arrange the timpani so that the mallet heads stay in the proper beating spot as they move between the drums. Often, young players will pull the drums too close together, which results in their mallet heads missing the beating spots and going too close to the center of the head. A basic exercise of eighth-notes moving around the four drums will help students find both the correct drum setup and the correct beating spots.
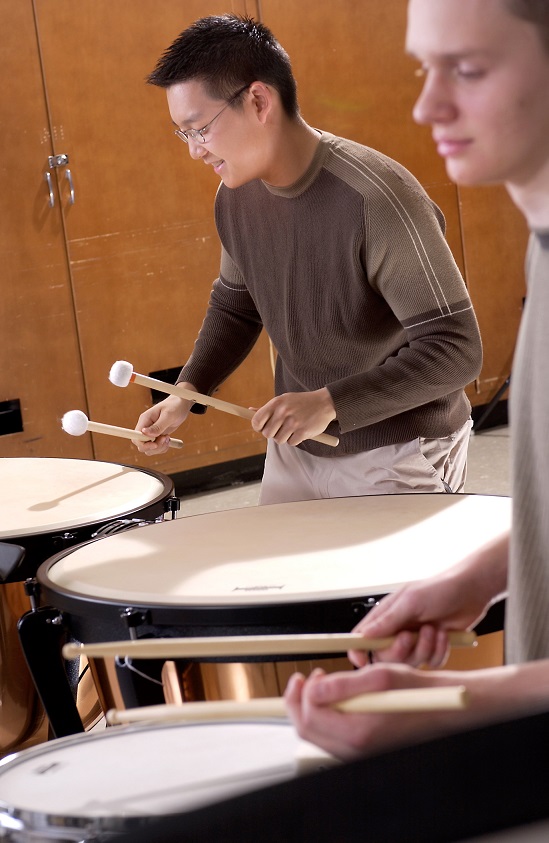
Fix It: Stroke Production
Next, let’s examine proper stroke production. Whether your student is using German (matched) grip or French grip, the key concept for a quality sound is to have a tossing motion combined with a natural rebound. To teach this tossing motion, I have my students bounce a tennis ball on the floor. This bouncing action creates the exact relaxed flow in the forearm and wrist that we want with matched grip. Also, the bouncing ball is a great visual reinforcement for the rebound of the head.
Let’s pause for just a moment to mention French grip. As a player, I find this grip enables me to have more rebound off the head, and it produces the sound quality I want. Here is my approach to teaching it.
- Extend your hands in front of your abdomen with elbows bent. Imagine you are holding a ball between your two hands.
- Now imagine you are turning a doorknob with each hand.
- Notice that your wrists are rotating instead of hinging (as they do in matched grip).
- While rotating your wrists, pinch the thumb and first finger of each hand together.
- Notice that your thumbs stay on top.
- Pick up your mallets and rotate. They should move straight up and down.
- Notice that the mallets do not go below horizontal and have a lot of upper mobility.
Now let’s apply the tossing motion to the timpani. With the mallet heads in the correct beating spot and using either grip, raise one mallet up to 12 inches, toss it toward the drum and release the grip at the moment it strikes. Notice how much the mallet rebounds off the head and the tone resonates. This is the type of rebound you want. Now, repeat the tossing motion but maintain a firm, relaxed grip and allow the mallet to rebound and follow-through off the head. The result is a big, full, focused quality of sound. When we combine the correct beating spot with a fluid stroke, the result is a great quality of sound.
Fix It: Quality Rolls
Another challenge for every timpanist is a quality roll. Remember that other than in rare instances, all rolls on timpani are single-stroke rolls. Our goal with a roll is to produce a quality sound that continues over time. As a player, our natural instinct is to play fast notes, but when we are too fast, it does not produce a good sound. We only need to play fast enough to keep the timpano head vibrating and resonating. To have students develop even, consistent rolls, have them practice a basic exercise such as:
R R R R R R R R |Rl Rl Rl Rl Rl Rl Rl Rl|
where the R hand is on the 16th notes and the Rl are 32nd notes. Start at about quarter-note = 60 and gradually increase to 100. Once the tempo gets faster, the roll will transition into sextuplets instead of 32nd notes, but the actual roll speed will be the same — relaxed and fluid. There will be slight modifications to this concept based on the size of the timpano because we will roll a bit slower on larger drums with low pitches and slightly faster on small drums with high pitches.
This roll control will take time to develop, but it can be practiced on a pad at home. Once this basic exercise is natural, apply it to half-note rolls with a release. Then adapt it to quarter-note and whole-note rolls. Watch your beating spots; maintain proper stroke production and always remember —the quality of the sound is paramount!
Fix It: Tuning
A last aspect I recommend is to help to your students learn to tune the timpani. For me, this was a significant challenge and took time to develop. Here are my suggestions to improve students’ tuning ability
- Work with all your percussionists so they can match a pitch in their voice range.
- Have them play and sing intervals [e.g., play A; sing A; play D; sing D; sing A-D perfect 4th].
- Have them sing and play intervals [e.g., play A; sing A; sing D; play D to check].
- Continue with “practical” timpani intervals both up and down [perfect 4th, perfect 5th, major triads, 5-note scales, half-step from any pitch; whole step from any pitch].
Some of this can be practices at home using a smartphone tuner app.
Once student can sing intervals, it is time to take the same process and move it to two timpani. Have them practice tuning various pitches without looking at the gauges. (In fact, you could cover them up). Here is my four-step process for tuning a pitch on a given timpani.
 Step 1: Sound the pitch [e.g., piano, marimba, tuning fork, tuner app. I am not a fan of a pitch pipe].
- Step 2: Sing the pitch.
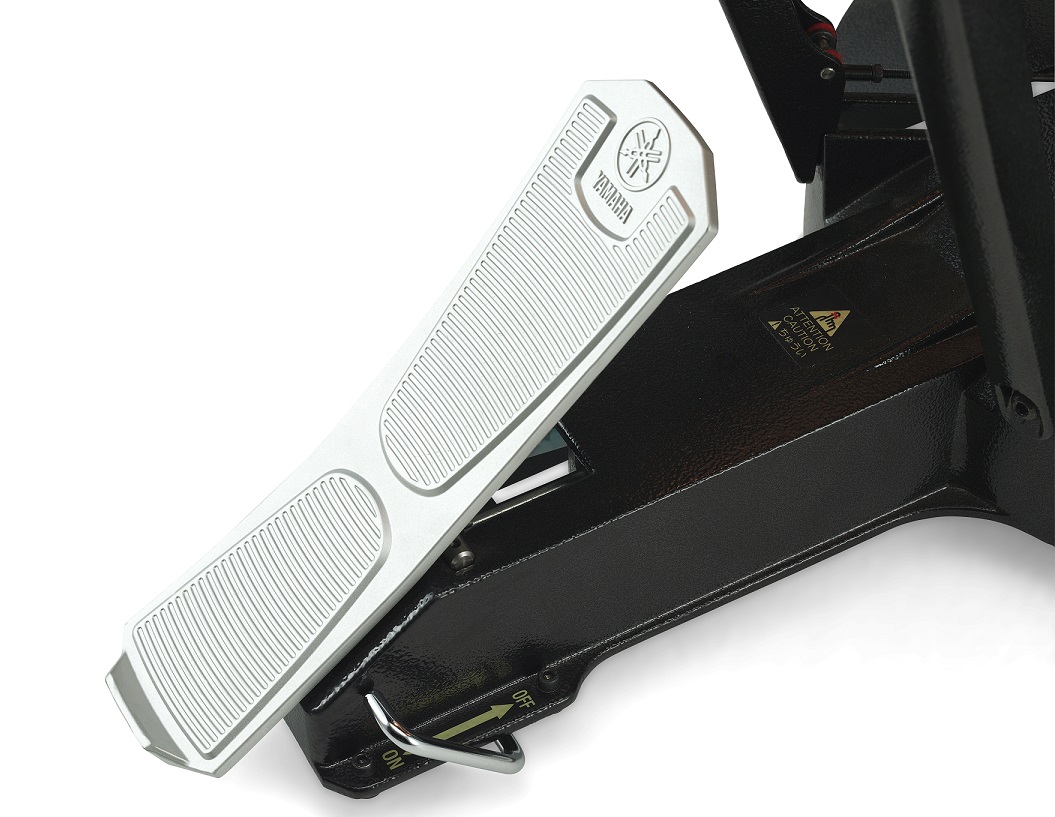
- Step 3: With the pedal in a low position, strike the head quietly one time and …
- Step 4: Immediately move the pedal up to the pitch you are singing — the desired pitch.
If you are unsure of your tuning accuracy, repeat the process. As young timpanists become more adept with this, then the external singing becomes internal and the strike is very light.
During this ear-development process, it is vital to guide your students and encourage them. Yes, they will be out of tune at times. Help them “learn” what is flat, what is sharp and what is in tune. Guide them to be in tune. Remember, other instrumentalists have been tuning since they began. Your timpanist may have years of band before they “need” to tune, so it might take time for them to develop this ability.
While I write this, I am in the fourth month of the COVID-19 “shelter-in-place” guidelines. This means I have not been able to play timpani, and I miss it greatly! Once I get back to the drums, I will be using all of these fundamental techniques to return to playing form. For me, it is thrilling to be a pivot point for an ensemble and provide energy, support, color and rhythmic drive from my position as timpanist. I encourage you to pass this excitement on to your students!
If you have any questions about timpani and percussion, please contact me through my faculty page at Illinois State University School of Music.
I wish you all the best with your upcoming musical journeys!
Keep reading