Off the Page, Part 1: Bring Creativity into the Band Room
There are three National Association for Music Education (NAfME) standards for ensembles: create, perform and respond. Ensemble directors spend a great deal of time on the last two elements but sometimes overlook the first. How can we teach our students to create when we are bound to the concert cycle, differentiating for varying abilities and dealing with recruitment/retention issues? By incorporating off-the-page playing techniques inspired by chordal instrumentalists, music production and pop music, we can infuse creativity into the band room while developing our students’ independent musical thinking skills.
One of my favorite things to do as a guitar player is to jam with a good rhythm section, playing my part in the harmonic and rhythmic groove patchwork with musicians who listen and adapt to each other in real time. Usually what I’m playing isn’t written on a page (hence, the term “off-the-page”), it’s improvised based off a set of chord changes in a particular style. Sometimes these changes are written down on a lead sheet and sometimes they are memorized.
THE YAMAHA EDUCATOR NEWSLETTER: Join to receive a round-up of our latest articles and programs!
Playing off the page and applying musical principles in real time are not only fun, they allow me to see into the thought process of the arranger and composer. They also give me insight into how notes function against other parts. This type of thinking/playing isn’t just for chordal players in a rhythm section, it can be done by monophonic instruments as well. Second line, jazz and horn players in top-level commercial music ensembles do this all the time, sometimes improvising chordal parts together at the gig.
One of the ways that I’ve changed the game for my ensemble is to focus on off-the-page playing using pop music. This type of teaching allows my students to learn pop music at a fast pace in a manner that’s authentic to the style. There are times when we pick tunes two weeks before a pop concert, arrange them together and have our peak performance on the stage. This pacing might be anxiety provoking and is probably not for everyone, but some of the methodology can help augment what you are already doing in the band room, assist with retention and boost recruitment.
This is a two-part series. This first article is focused on teaching drums, bass and chordal playing. In the next article, I’ll talk about melody and arranging.
Here we go!
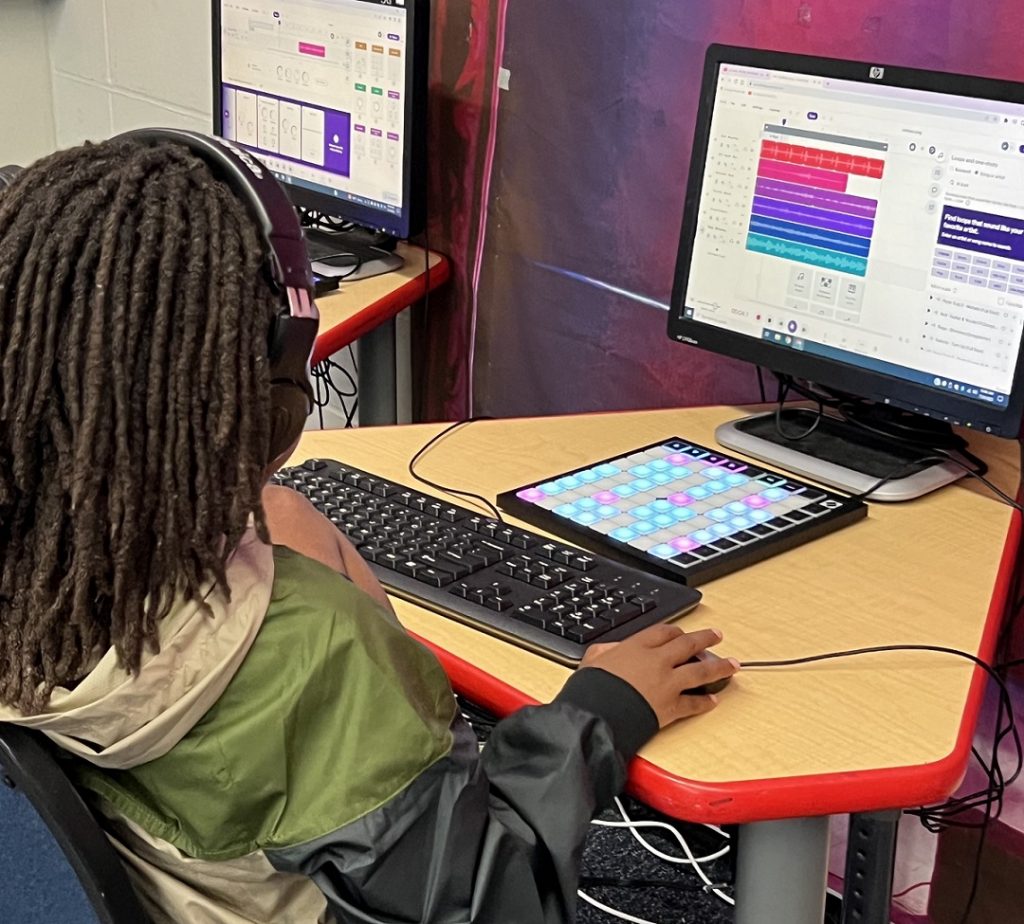
1. Drumming
Surprisingly, the first step involves incorporating a drum set into the classroom. All my students learn how to play it because it helps develop rhythmic intent and improves timing. To provide this experience without managing multiple drum kits, introduce key drumming. Students use their phones or district-issued 1:1 devices to trigger drum sounds using free apps or websites like Soundtrap. With a little practice, students can play a basic drum groove with their thumbs or fingers. Incorporating key drumming regularly allows students to develop dexterity and play different drum grooves along with student-selected music, enabling them to share their interests with the rest of the band. Since a drum groove typically consists of three basic instruments (bass, kick and hi-hat), it’s easy to start improvising drum grooves and reproduce the sounds that students imagine in their heads during performances.

Here’s a simple tutorial on playing the basic backbeat groove. Students can access Soundtrap’s studio from their devices.
- Have a section or two keep time for the rest of the band by key drumming during warmups.
- Use a volunteer key drummer to play time over traditional band repertoire for fun.
- Host an electronic drum circle where students play over a track that doesn’t have drums.
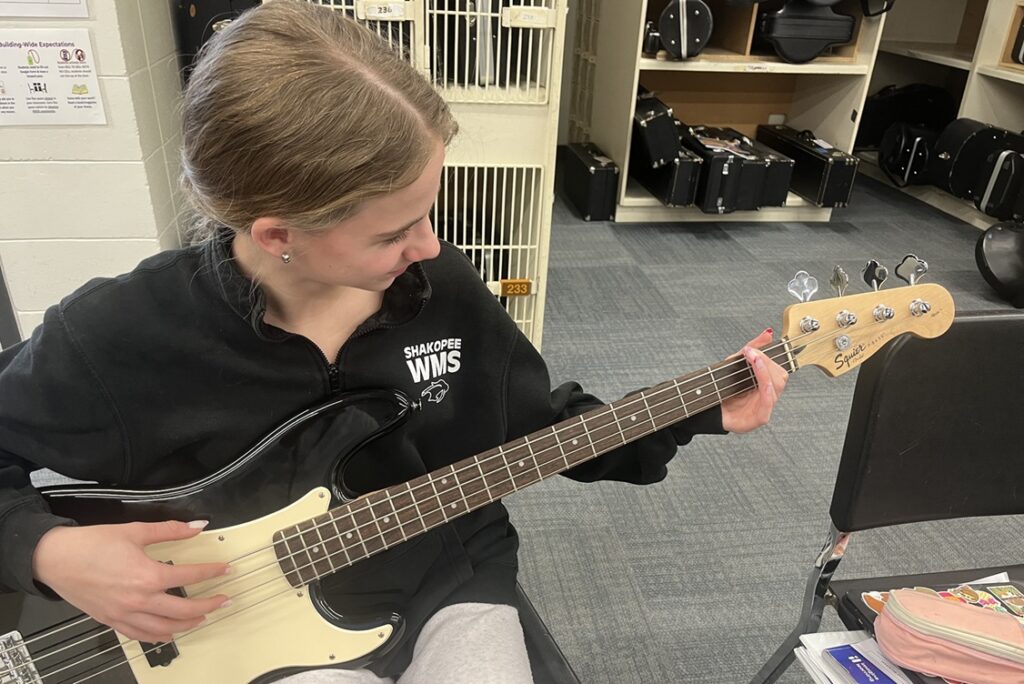
2. Bass Lines and Numbers Charts
To encourage students to think about chords while playing, it’s crucial to help them transition from solely reading music notation to a more chordal approach. One engaging way to start is to have students play bass lines to lead sheets. In a lead sheet, chord symbols indicate the letter name and quality of the chord written above a melody line or slashes to indicate changes in musical time. In a numbers chart, Roman numerals are used instead of letter names to represent chord locations within a scale. This approach is particularly helpful in a band setting with transposing instruments and allows students to process theoretical information while performing in musical time.
Begin by presenting a short chord progression on the board, identifying the concert key, and writing down the scales for each transposing instrument family. Alternatively, students can copy the scale down with Roman numerals on their own paper for quick reference. Play the root notes of the chords as sustained tones with a drum groove or metronome.
To make this exercise more fun and musical, use a Roman numeral lead sheet of a popular song in Noteflight, Dorico or another notation software, syncing the audio to the original recording. This synchronization allows students to hear the original song while the cursor moves through the score. You can also display the chord progression and structure on the board and play the original recording using a streaming service like YouTube or Spotify. This approach helps students think about musical form while playing root notes.
To expand this activity, instruct students to listen to the kick drum rhythm in the recorded track. They should match the rhythm of the kick with the start of their root notes, simulating the role of a real bass player. This exercise trains students to listen to music in a new and unique way while applying their knowledge of scales.
CHECK IT OUT: The YTR-2330 Bb Trumpet for Your Classroom
Challenge your students by introducing chord progressions in different keys. Initially, provide scales as references, gradually removing them to promote independent thinking. The ultimate goal is to make students comfortable with thinking about scales mentally. To ensure they’re not playing by ear, ask them to vocalize the letter names of the roots aloud.
Finally, encourage jam sessions where an individual or section plays a drum groove while others play the bass. If a guitar or keyboard is available, invite students to fill out the sound by playing chords. Encourage students to sing the melodies of pop tunes as well because this will normalize singing in class, and it will allow you to create a full pop ensemble.
Here are some pop tune progressions.
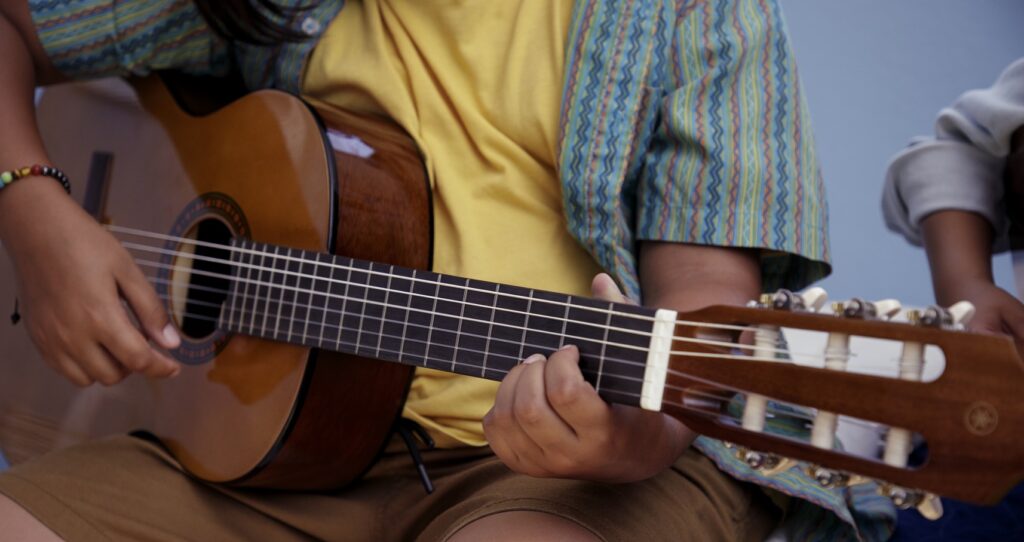
3. Arpeggiate Chords
The next step in getting students off the page is to get them to play chords in root position. Show students how to spell chords relative to the major scale by finding the chord root (same as the letter name of the chord) and counting up to find the required chord tones. Give students a chance to write down the letter names of the chord spellings when they start this. I find it best to have students write the letter names on lined paper first, instead of on the staff. If they write them on the staff, they will read the notes and shift their focus and thinking back to notation auto-pilot.
Arpeggiate the chord tones to a chord progression written in numbers by playing each chord tone as a quarter note followed by a beat of rest in a measure of 4/4. Slowly take off the training wheels by getting students to play their arpeggios without writing down notes. Tell them to think about the scale as a virtual number line and visualize the skipping of notes across the number line to help them remember. Again, check their understanding by having them say the letter names of the chord spellings out loud.
Make it musical by playing along with student-selected music using an audio synced score or by writing down the progressions for song sections on the board. Because students know how to play bass, give some sections the role of bass player while the rest of the group arpeggiates. Target specific chord tones for different sections to play through the progression: flutes can play all the thirds, trombones can play all the sevenths and so on. You are going to end up with some wacky, unbalanced sounds, but that’s not the point here. It’s all about gaining comfort in thinking chordally and getting students more adept at thinking off the page.
Check out this video on chord spelling relative to the scale.
4. Voice Leading
Once students are comfortable playing and spelling chords, they are ready to voice lead. My rules for voice leading are that each voice (bottom, middle or top) should either stay on the same pitch or move up or down by one note when going from chord to chord. Show examples of voice leading on the board written out using letters.
Have students complete exercises for voice leading chord tones in a progression at the beginning of class as a bell ringer. Once they can do the music math, they are ready to play.
Assign different sections to play either the bottom, middle or top voice of a chord. You can also have students count off by threes and assign voices within sections.
Play each chord in a progression and hold for pitch accuracy, tuning and balance. Once the chords are solidified, play them in musical time by using a metronome, a drum machine or by having someone play key drums. If the band is playing the progression of a song, have them play along with the original recording. Have a section play bass, get a student to play key drums, have a volunteer sing and put it all together. Now we are cookin’!
Here is a worksheet on voice leading.
5. Harmonic Texture
There are different roles that chordal instruments play such as pads (long chords), punches (short chords) and ostinatos (repeated rhythmic figures). These types of chordal accompaniments are layered to create different densities of harmonic texture. In pop music, the texture changes during repeated song sections. For example, the first verse of a song might only have a pad being played on a keyboard instrument, while the second verse might add an acoustic guitar playing an ostinato.
Teach students to hear these chordal rhythms by listening to tunes together and having them identify which instruments are playing the different rhythmic roles. It’s also important to mention the ranges that these instruments use when playing. If two instruments play the same rhythmic role in a similar range, the sound is muddy and lacks definition.
Get students to play different textures by starting with pads and punches. Write a rhythm on the board or play a rhythm on your instrument and have the band use that rhythm to play chords with voice leading. You’ll be surprised at how awesome this can sound! Because everyone is playing the same rhythm, prompt them to play it as one by paying attention to how the note is started, the air envelope used for the sustain, and how and when the note is released. Have students experiment with dynamics and timbre when playing pads and punches.
To get students playing ostinatos, write an arpeggio pattern on the board using B for bottom, M for middle and T for top voice. Stick to one rhythm and let the students work out the sequence. For some instruments, they might have to navigate through awkward fingerings or positions that they are not used to. You might end up running into range considerations as well. It’s totally fine for students to take a note or two down the octave. Not all parts of the chord need to be used when playing chordal parts.
Experiment with using just the outer voices — the bottom two voices or the top two voices, which all have different sounds. Alternate between two voices in an ostinato to create a bit more movement to a texture or throw out voice leading altogether and use just the bottom and top voice to make power chords.
Layer different chordal rhythm roles to create different densities of texture. It’s fun directing a group like this because you are actually using your students like a DAW! Give your students that power by forming small groups and having them come up with their own chordal parts to a chord progression. Allow students to plan their parts by writing down a narrative of their chordal texture and give them time to practice. Add a bass player, a drummer and a vocalist and they can play in small bands. If the bass player is playing a strong repeated pattern that starts on beat one of every measure and at least one chordal part is playing a rhythm around beats two and four (or beat three for half time) they won’t even need a drummer.
By allowing students to play this way, members of the band can interface with traditional repertoire in a new way. They will be able to point out chord tones in their part, identify the types of texture that the band is playing, and make connections between the music they listen to and the music that is played in band class. After all, the V chord is made up of the same notes for Beiber as it is for Brahms. Have fun with it and give you and your students grace during the implementation of some of these methods.
Use students’ new abilities to create chordal and bass parts to play arrangements in pep band or in small groups before a concert. Have them arrange a tune for a recruitment tour at a middle school or reach out to some guitar players and vocalists (chances are you have a few at your school) and put together a commercial music group. You will be amazed at what students can achieve when creativity is added to the classroom.
Stay tuned for part 2, where we’ll explore melody, harmonizing and arranging.
The materials and methodologies shown in this blog are available in shedthemusic’s Rewire Theory curriculum. Click here to learn more.
Keep reading