Getting the Most Out of Audio To Score
The primary “promise” of Yamaha Clavinova CSP Series digital pianos is their ability to help you learn and play along with your favorite songs — that is, those in your smart device’s music library. To accomplish this, the accompanying Smart Pianist app does something remarkable — it uses a form of artificial intelligence to evaluate the audio to create three distinct things for each song:
1. A chord chart
2. A piano score
3. Stream lights
Smart Pianist does this with considerable accuracy, but songs that feature a full band and a regular beat translate the best. That said, some of the chord choices it makes are open to interpretation, and you may have a desire to modify those interpretations. To get the most out of the Smart Pianist Audio To Score feature, you are going to want to edit the chords, the score and the stream lights to best suit your needs. In this article, we’ll talk about how to do so.
(Note: As discussed in a previous blog posting, in order for Smart Pianist to evaluate audio, songs must be purchased and must reside in your iTunes® library. Songs from streaming services such as Spotify and songs that were downloaded into iTunes as part of Apple Music® cannot be evaluated by Smart Pianist.)
Chord Edits
In music, chords can accurately be notated in numerous ways. For example, a C6 chord could also be notated accurately as an Am7/C chord. As the lawyer in “My Cousin Vinny” said while clapping his hands together: IDENTICAL!

If you don’t agree with a chord choice made by Smart Pianist, you can change it. With the song paused, simply double-click on the chord you want to change. You will be presented with two other choices the app was considering, plus an “Other” option that allows you to enter any chord you want:

To select a chord not listed, press “Other” and select the chord symbol in the left column, the “type” of chord in the center column and the “on chord” or bass note in the right column:

If you don’t want any chord listed, go to the center column and select “No Chord” at the bottom of the list:

If you don’t want an “on bass” chord, simply scroll to the top of the right column to unselect an “on bass” note for the chord:

Before selecting “DONE,” click on the speaker symbol to have the app play the chord out loud so you can check your work.
If you find yourself editing and changing the same chord over and over throughout the piece (or if you want to “undo” or delete an edit), press and HOLD a chord symbol. When you release it, you will see options for COPY / PASTE / DELETE / UNDO:

Finally, if the chords don’t quite line up as you would expect them to, select the “re-valuate” symbol in the top left corner of the CHORD CHART:

Here you can:
1. Change Tempo to 1/2 (more chord symbols per measure) or 2X (less chord symbols per measure)
2. Change Meter from 4/4 to 3/4
If the chords are still not lining up properly and are off by a few beats, or if the key signature is wrong, select the “Detail Setting” tab to:
1. Shift the entire song by individual beats (Beat Shift), or
2. Change the Key Signature:

Score Edits
After you have the proper chords for a song, select SCORE to see these chords come to life as music notation. The default choice is the “BASIC 1” score accompaniment pattern, which directly translates to music notation, assuming one notated chord per chord symbol in the chord chart:

If you want to generate a more advanced score part (i.e., one that would be more challenging to play), you can “level up” and select a different score accompaniment pattern, in this case from “BASIC 1” to “BASIC 3,” which is essentially one chord for every beat:

This generates an accompaniment score pattern that looks like this:

If you consider all meters, there are 60 different piano accompaniment scores to choose from!
Stream Light Edits
The Clavinova stream lights correspond directly to the notes in the Score, with one stream light for each and every note in the Score. As we discovered above, the notes in the score are dependent upon the score accompaniment pattern that you choose. If you want fewer lights, choose an accompaniment score pattern that is less complicated.
Also, you can change the speed of the lights in the Play Option menu:

Choosing a slower speed indeed slows the lights, but often shows more lights at one time, allowing you to more easily see repeated notes.
Note that all of the changes described in this article are automatically saved in Smart Pianist, allowing you to create highly accurate audio to score conversions over time.
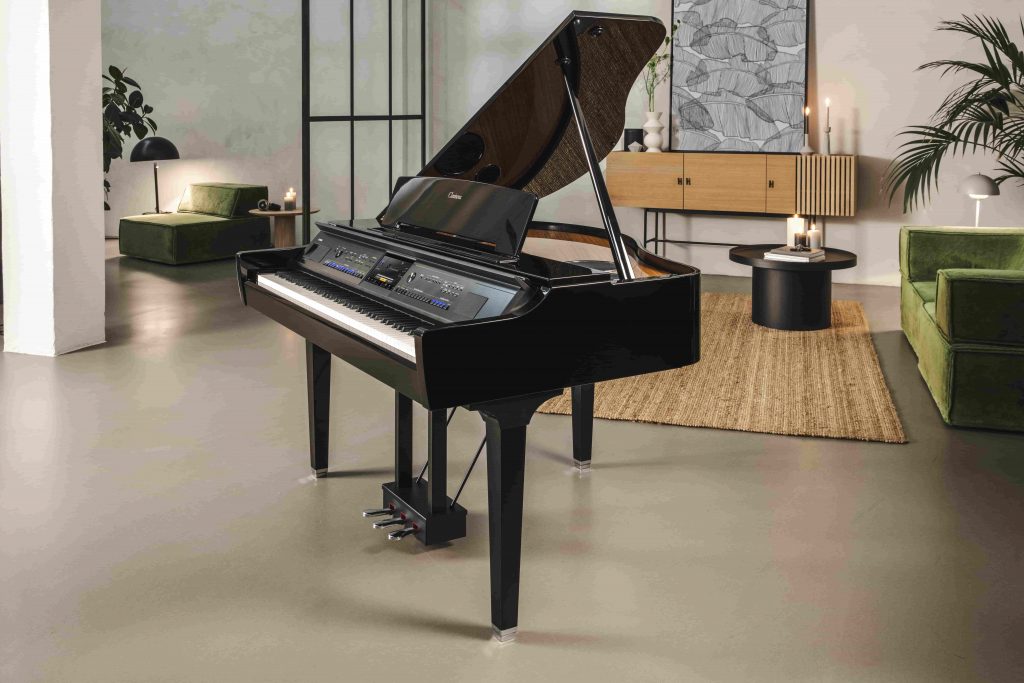
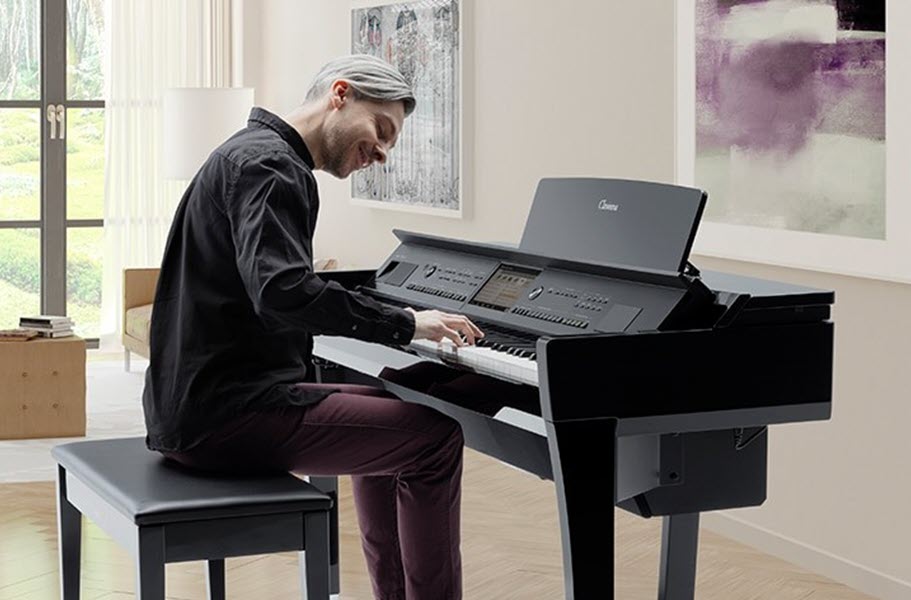
Smart Pianist works with all Clavinova CSP Series digital pianos.
Keep reading