The Loudness Wars
I’m often asked my opinion about the so-called “loudness wars.” To me, it’s not a “war” and I don’t have a stance either way. I prefer to make the best-sounding record I can, without sacrificing any quality for the sake of loudness.
Sure, there have been times that I’ve felt pressured to make records louder than I normally would … some of which have gone on to win multiple Grammys®. I’ve also worked on plenty of records that weren’t mastered super-loud yet were really well-received. But it’s hard to say whether or not some of the projects I’ve worked on would have been as successful without having that loudness push. In the end, it really just depends on the project and what the artist is going for.
Keep It Clean
If the artist’s goal is to make a loud record, it’s important to try to figure out a way to get that loudness as clean as possible. This all starts in the mix phase and can either make or break your ability to push a track to its limits in the mastering stage. For example, most mixing engineers that understand that a track needs to be “competitive” will compress the individual elements in the song so that, by the time it comes to be mastered, that sound is already baked in. On the other side of the coin, if I have a mix come in that I’m trying to push to -6 or -7 LUFS (Loudness Units Full Scale) with transients spiking, I would have to compress the entire mix, which would change the balance of the entire track. There is always a compromise.
To Remix or Not to Remix
I rarely ask for remixes. I’m always happy to give clients feedback on their mixes if they ask for it, but otherwise I usually assume the mix has been approved by the team and is ready to be mastered.
In fact, one of my biggest pet peeves is mastering engineers sending back mixes and asking for new ones without bus processing or limiting. If a mixing engineer uses either of those tools as part of their process, then the mastering engineer needs to deal with that. However, it’s important to be aware of the fact that if a track comes in too hot, it limits (pardon the pun) the amount of processing a mastering engineer is able to apply to the track (which isn’t always a bad thing). I think there’s a common misconception that mastering engineers are supposed to put their fingerprint on every mix and do a ton of manipulation and bus processing, when in fact sometimes our job is to do very little. In fact, one of the biggest parts of our job is to know what a track does or doesn’t need. If I receive a mix that is virtually perfect, then I need to send it back as is. Like doctors, the first credo of mastering engineers should be: “First, do no harm.”
Less Is Always More
My philosophy on making tracks louder can be summed up in four words: “Less is always more.” Use the least amount of tools possible to get the job done. You’ll start getting into trouble when you start stacking twenty different plug-ins on a track. If it already sounds good, all you should need, ideally, is an equalizer and a limiter.
For instance, if you’re using the Steinberg WaveLab MasterRig to master a well-balanced mix, you should be starting with the EQ and limiter modules. Ninety percent of the time that’s going to get the track exactly where it needs to go.
If you get a mix that isn’t quite working dynamically, you can start adding a little compression to get some movement in the song. I think the idea of using compression in the mastering stage is oftentimes approached incorrectly. You should be using it to add life and vibe, not to compress the life out of the mix.
In general, loudness can be achieved using many different tools, including saturation and even sometimes clipping, but the most important one is equalization — something people often forget! You can use EQ to emphasize the areas of a track that your ears will hear first. For example, I might go in and sweeten up the mid-range, or tighten up the low end. EQ can also be a major problem solver if, say, you have a track that has an excessive amount of low or even sub-audible frequencies that need to be rolled off because they are eating up all the headroom.
Be Flexible When It Comes to the Order of Operations
The order of operations is completely dependent on the project. Let’s say you’re using EQ, compressor and limiter plug-ins on a mix. I would typically start with the EQ, then compression, and finally limiting. But that’s not always the case. Sometimes if I really need to compress a track, but want to add some life into it, I might use an EQ to add a high “air” band after compression. This adds back some of the highs that might have gotten sucked out during the compression stage. It’s important to experiment with equalizers both before and after the compression stage, instead of assuming it should always happen in the same flow.
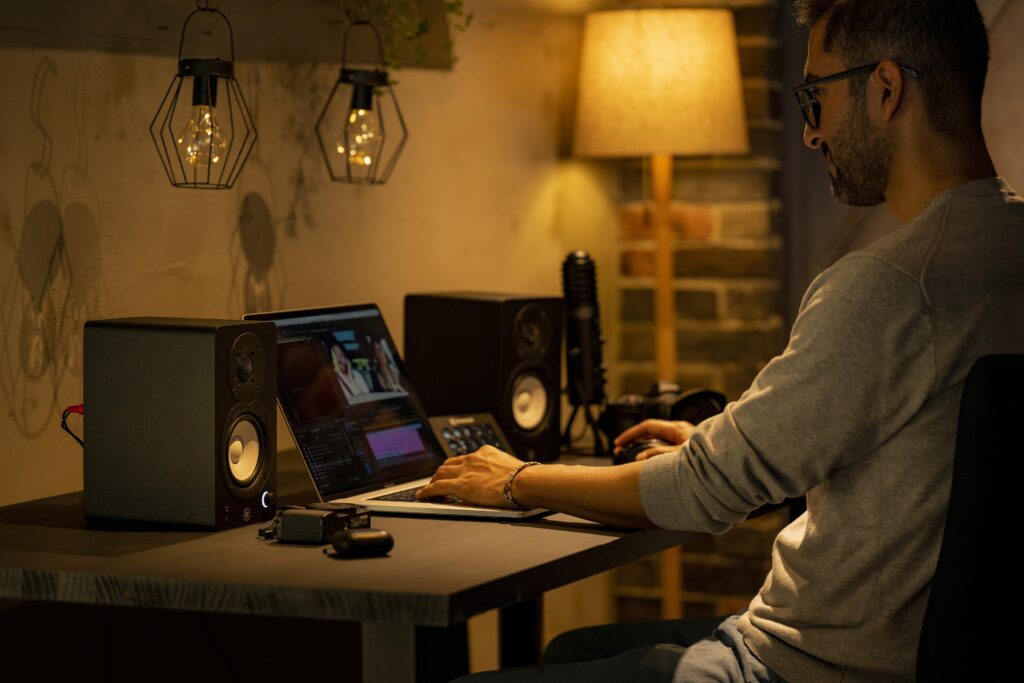
Trust Your Monitors
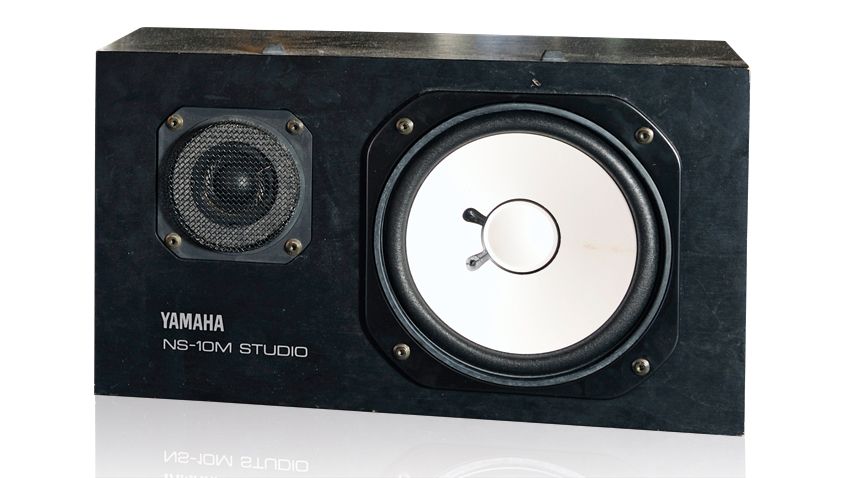
In general, mastering engineers don’t have multiple versions of speakers, because we’ve spent a ton of resources tuning our rooms so mixes translate as flat as possible. (I also have a small speaker that I occasionally listen back on when I’m printing a “real-world” listening experience, but never for the actual mastering process.) It’s so important to learn your monitors. You should spend hours and hours listening to music you love, as well as music you’ve worked on. That’s the only way you’ll be able to trust them.
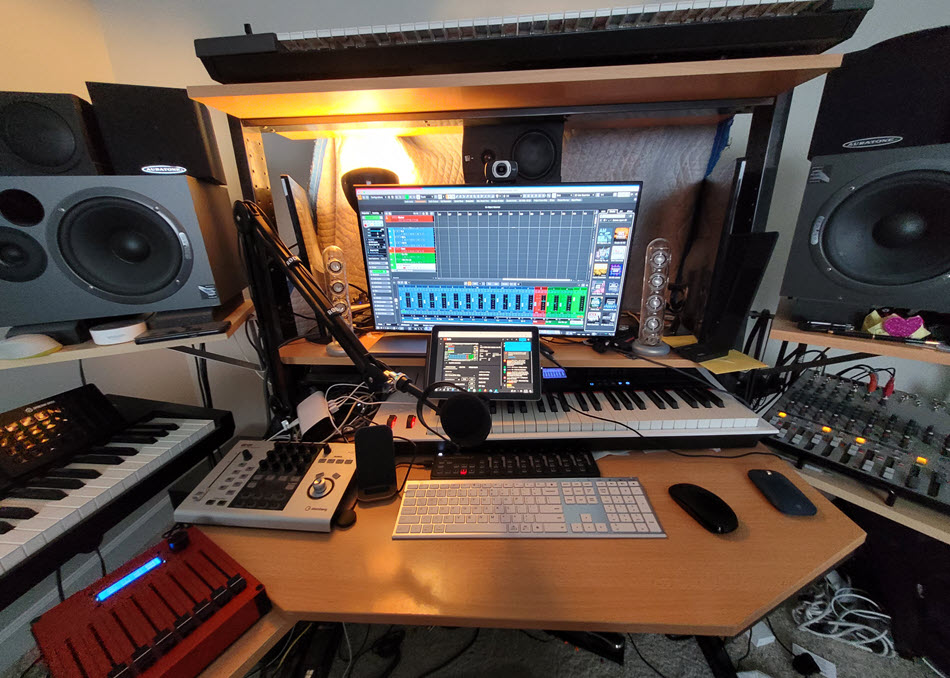
Whether you’re controlling your volume from a DAW, or from a monitoring system, having a calibrated level is just as important. You need to understand where your speakers are the flattest and how they are loading your room. The sound pressure level (SPL) at my listening position is usually between 83 and 86dB, C-weighted, but sometimes I’ll crank things up to 90dB to feel the energy and get the room moving. This also helps you understand what’s going on with the low end. However, when I print a final pass, I always listen really low in volume.
Make Sure Your Metering Is Accurate
One of the best things about WaveLab is the metering. The level meter is particularly versatile, because it can be modified to your liking and your scale. And since I’m a vinyl guy, I use the phase scope all the time too. Phase coherence is incredibly important, especially when it comes to low frequency content.
I also really like using the WaveLab loudness and spectrum meters. The latter (both the spectroscope and spectrometer, shown below) can be especially helpful if you don’t have a full-range monitoring system. They provide a perfect way to see what’s going on in the sub frequencies even if you can’t necessarily hear them in your environment.


The key thing to understand is that the loudness potential of a track is largely built in at the mix stage. Once you listen to the mix, you pretty much know how far you can push the track without destroying it — something to be avoided at all costs!
Photograph courtesy of the author.
Click here for more information about Steinberg WaveLab.
Keep reading