Spring Cleaning Special: How to Dust and Clean Your Audio Gear
A good cleaning is the key to optimal performance and a healthier home environment.
Unfortunately, there’s no way around it. Like everything else in your home, audio gear gets dirty over time.
And as the days grow longer and the sun shines brighter, the layer of dust that’s accumulated on your home electronics equipment becomes more noticeable — and smudges and fingerprints on dials, knobs, and faceplates make things even more unsightly. Just like lamps, artwork, upholstery, windowpanes and other interior elements, your audio devices have gone through a long, hard winter and deserve a thorough cleaning. It’s good for their well-being, and yours.
Beyond the aesthetic improvement, clean AV receivers, amplifiers, turntables, speakers and other equipment work optimally and enjoy a longer life. At the same time, the removal of dust and dirt from those devices contributes to a healthier home environment — something that’s especially important these days. After all, you can’t avoid touching the gear or their remotes, so it’s wise to regularly disinfect them to help prevent the spread of germs.
Last but not least, when you take the time to restore the original luster and gleaming front panels of your AV products, the entire room just looks and feels better. It’s like having that fresh, new-car smell after your vehicle has been detailed — you can’t wait to get behind the wheel and take it for a spin. When your audio gear is clean, using it is a more pleasurable experience.
How Dirty is Your Audio Equipment?
Given that the average U.S. home collects 40 pounds of dust each year, odds are that your AV equipment is getting a good coating of it. Worse yet, dust can stay suspended in the air for days, so even doors can’t stop the microscopic particles from floating inside equipment cabinets and depositing in every nook and cranny.
It’s easy to spot this build-up on the exposed portions of gear, but don’t forget about rear panels and cabling — those areas accumulate plenty of dirt and dust that can be easily overlooked. Unfortunately, dust and dirt will attract moisture and form a corrosive layer of material that can eventually degrade the sound and be damaging to exposed connectors, relays and switches — even internal electronic circuitry.
When and What to Clean
A yearly spring cleaning of your audio gear should usually suffice, as long as it’s thorough. Of course, weekly wipe-downs with a microfiber cloth or feather duster are never a bad idea. But for that annual deep clean, you’ll want to disconnect and dismantle everything to get at all the places you can’t ordinarily reach. Disassembling also gives you a chance to reorganize components if necessary, untangle cabling, and refamiliarize yourself with the various parts of your overall system. And who knows: Once you are able to see what’s at the back of the rack, the lack of a particular input or a dent in a side panel might be all the inspiration you need to treat yourself to a new piece of equipment. Your car gets a yearly tune-up, so why not your audio system too?
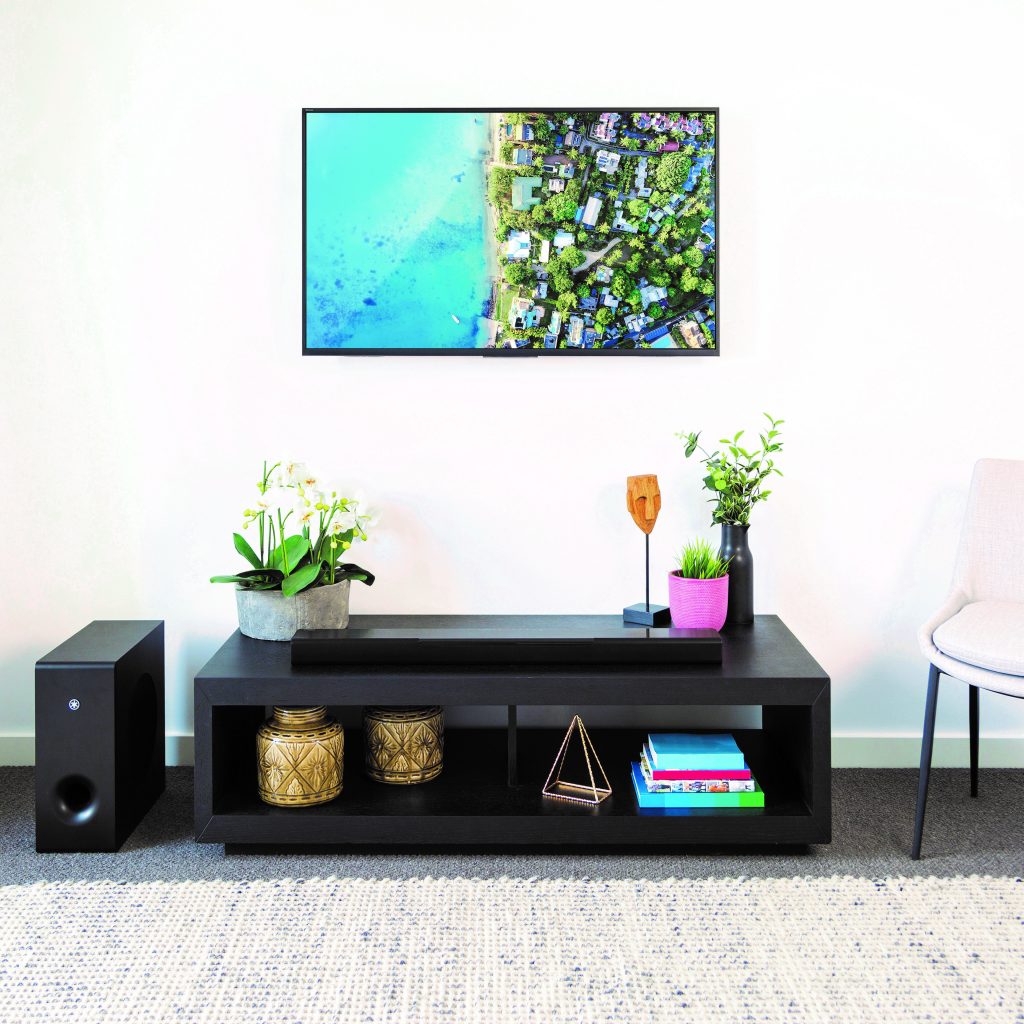
Don’t forget to include the speakers while you’re cleaning your audio system. Even small, unobtrusive ones like the Yamaha MusicCast 20, MusicCast 50, NS-SW050 subwoofer or SR-C20A sound bar can gather significant dust over time. Be aware that grille material is delicate and can be easily damaged if you press too hard on it while cleaning, so it’s best to remove the grille covers from the speaker housing and clean them separately, laid out on a flat surface.
And while the shelves, cabinets and other storage spots are empty, take advantage by running a vacuum hose and/or a damp cloth over them — you might even want to apply some touch-up paint or stain if necessary. Dust bunnies thrive on solid surfaces and corners, so this may be the messiest part of your cleaning project. But don’t neglect to include those areas, as the last thing you want to do is return nice, clean audio equipment to a dirty environment.
How to Clean
Start by gathering the following supplies:
– Mild liquid cleanser diluted with water in a spray bottle
– Microfiber cloth
– Cotton swabs
– Lint roller or brush
– Vacuum with a soft brush cleaning attachment
– A compressed air canister
– Alcohol-based disinfectant wipes
– Two small sponges
– A soft cotton towel
Avoid using materials that are coarse and abrasive like paper towels and harsh ammonia-based solutions.
Once you’ve got your cleaning supplies in hand, here are some pro tips for how to use them:
– First and foremost, always unplug your gear from AC power when doing any kind of deep cleaning!
– To rid surfaces of dust and fingerprints, apply a light spritz of cleaning solution onto a slightly damp microfiber towel and then use it to wipe the surfaces gently.

– To remove dust from around dials, knobs, terminals and connectors, use a cotton swab.
– To eliminate dust and debris from vents and fans, try a blast of compressed air or a swipe of a soft vacuum brush.
– As a final touch, apply a disinfectant wipe across all remote controls, as these are what get handled the most. Removing the accumulation of oils and dirt will make them feel like new again.
Speakers require some special treatment. After removing their grilles, gently pass a lint roller or a soft vacuum brush over the fabric to remove the dust. Be careful! The goal here is to clean the fabric without stretching it. If the speaker has a removable metal or plastic grille, it can be cleaned with a soapy sponge, rinsed with a second sponge that’s holding clean water and then dried with a soft cotton towel.

An Afternoon Well Spent
Dust and dirt are not just an aesthetic issue. They can actually be real detriments to the performance of your audio and AV system, and while an occasional pass of a duster is helpful, doing a periodic deep clean can do a world of good. If you want to get the most out of your gear, I suggest you add the chore to your annual spring-cleaning routine. Trust me: It will be an afternoon well spent!
Click here for more information about Yamaha AV products.
Keep reading