The Art of Looping
How to create effective loops in live performance.
If you’ve been following my postings here on the Yamaha blog, you may have gathered by now that art and artistry are an integral part of who I am, what my music is about, and how I live my life.

Color has the power to stimulate us, relax our minds and change our overall mood. Without tonality and color, we have chromaticism: white to black, with shades of gray in-between.
Texture adds depth to shape. Curves, lines and bumps, with random density, give our senses interesting terrain on which to gaze and feel in our hands.
I often marvel at the natural architecture, texture and color variations of the native plants, trees and flora as I drive down the country lanes where I live in Holualoa, Hawaii. The wonderful aroma of coffee beans roasting in the air; the sound of Coqui frogs singing on the leaves; the taste of freshly cut pineapple on the tongue; sun-drenched salt water as it dries on the skin. This is my cocktail of sensory awakenings that inspires new music and a true understanding of what being alive means to me.
Musicians tend to be very sensitive souls, absorbing the energy around us through every one of the five senses. Where we live, work and play all affect our general happiness, creativity and productivity. I make conscious choices every day to honor how I feel about everything I do, where I lay my head at night and the people I spend quality time with. I’m also a firm believer in extra-sensory perception and multi-sensory experiences that often expand beyond the basic five senses into other realms of possibility, like “channeled energy” or gifted input — things that I cannot always explain.
You might call this pure inspiration, your muse or spark of creativity. Whatever it is, I try to tap into it and not question where it comes from. It’s a gift that I’m always thankful for when creating music.

For example, I carefully select my set list of songs during live performances, choosing to play only the songs that I love and that resonate with me as an artist. When I’m asked to play a song that I don’t like, I politely decline and offer a suitable option. This way, I stay true to who I am and remain authentic in my artistry. I believe the audience can feel that from you; they know when you love the songs that you play!
As a solo performer, I’m always looking to create the most compelling musical soundscapes that I can with one guitar, vocals and percussion loops. I work hard on my song selection and arrangements, honing them to the point where I know I can improvise arrangements “on the fly” at any point within each song.
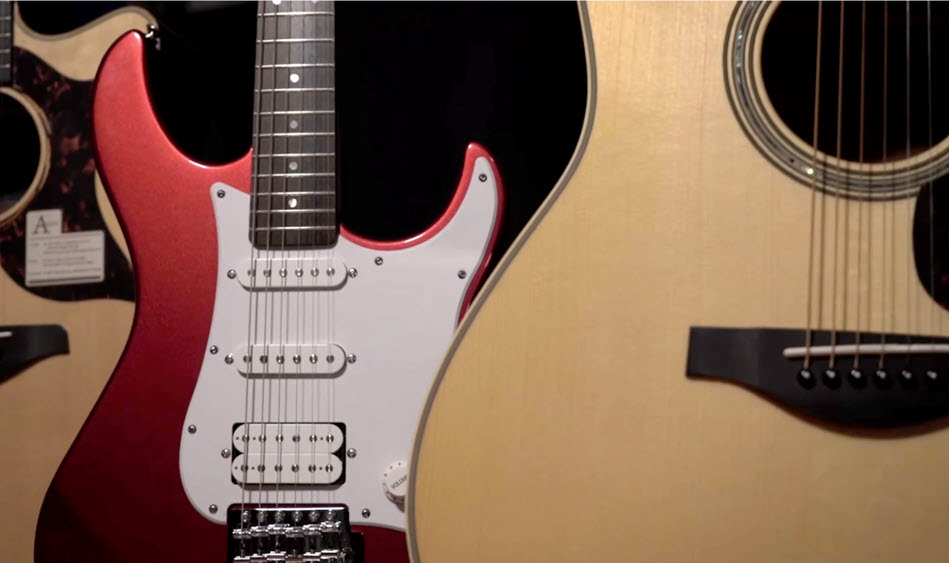
I’ve also chosen the best equipment and guitars possible for the varied iterations of my live performances. Some gigs require nylon-string guitar, while others are best done with acoustic/electric or electric guitar. Each setup has its own signal chain, mixer and P.A. system requirements. It’s a lot of work to refine each set format and to dial in the sound for every venue and its particular acoustic properties, but it’s a necessary part of the job.
One of the most invaluable tools for me in live performance is the looper pedal. This simple device allows me to record any part of my performance and then layer ideas and improvisations over that section of music, enabling me to play melodic lines over rhythm guitar parts, extend my song performances and introduce varying textures to my audience. In effect, I’m maximizing my sonic “real estate” without having to hire other musicians.
Would it be better to use live musicians? In some cases, yes, but often budgets and space at a venue preclude me from hiring other players. On the positive side, scheduling performances, setting up gear and getting a great live sound is much easier!

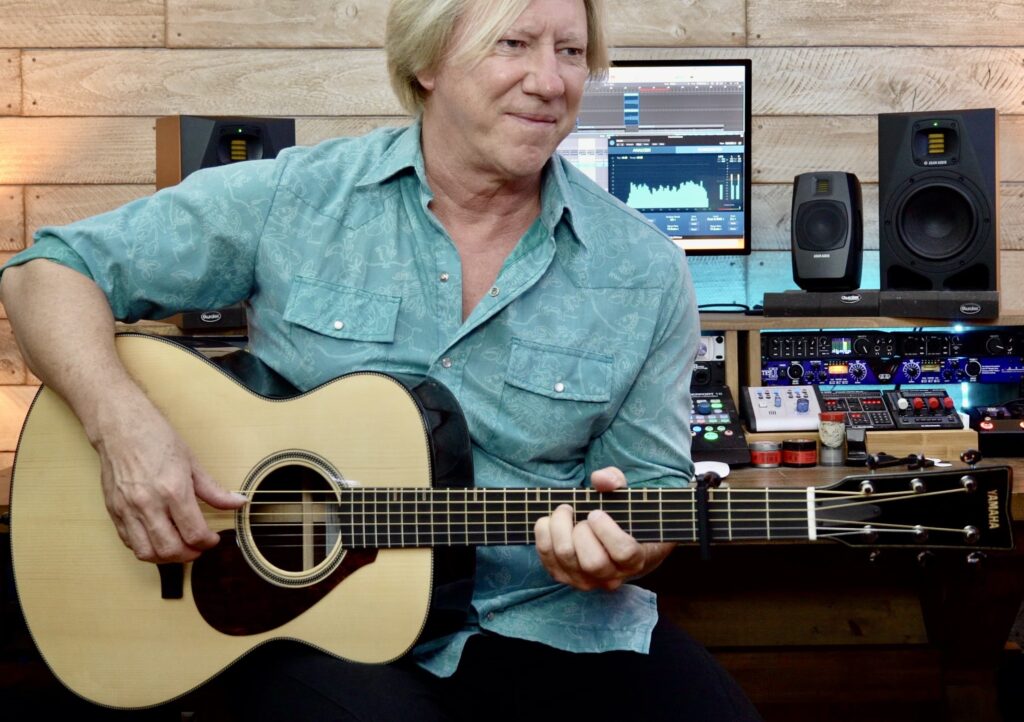
I often use my Yamaha NCX1200R nylon-string guitar at live gigs where I need a soft sound for background music. The guitar’s A.R.T. (Acoustic Resonance Transducer) Pickup/Preamp System delivers the natural sound and dynamics of the nylon strings and I love that I can blend the bass and treble response of the under-saddle contact pickup. There’s also a built-in three-band graphic EQ that I can use if I need further tonal adjustments.
I often pair my guitar with a Line 6 Helix® processor to utilize its stereo amp/effects modeling and built-in looper; together, this provides an all-in-one live solution. I’ll run my percussion loops and vocals all into Helix and fade in and out of performances using the unit’s expression pedal.

How difficult is it to work with a looper in a live situation? If, like me, you are looping percussion and guitar at the same time, it can be very hard. The timing and execution of the loop process has to be spot on. If the loop “in” and “out” points aren’t precise, you’ll hear an overlap in the percussion each time the loop cycles and the groove will suffer. Also, you’ll have to stop the percussion tracks immediately after recording the loop as they may start to run out of sync with the loop that you’ve just recorded. Add to that the fact that this is all happening live, while singing and playing the guitar. It’s an art form that takes time to master.
On the other hand, working without percussion loops will be a lot easier, since the timing can be less precise/mechanical and more in line with your own rhythm skills.
The Videos
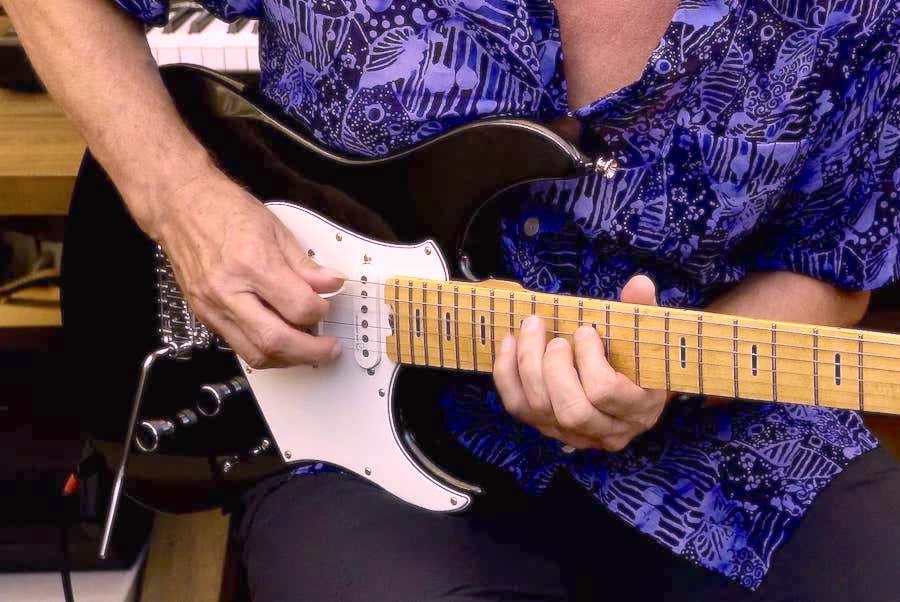
Here’s a video of me at one of my live performances. If you look closely, you can see the loop process happening in real time:
And here’s a studio performance:
The chord progression is two bars in length and all of the chords are derived from the key of G. (The capo is at the second fret, so the actual pitch is A.) The tonal center is that of the G chord, so we have an Ionian progression (i.e., resolution to the first chord in the key of G).
Here, improvisations using the G major scale will be a great option. For example, place a capo at the second fret and play these shapes:
I: G Am7 I C Dadd4 :I (Note: the actual pitch is I: A Bm7 I D Eadd4 :I)
As you can see, once I’d recorded the initial guitar part, I kept the looper in record mode and played a snare drum part with my finger on the top of the guitar. The snare attacks are on beats 2 and 4 of both measures. Note that if you keep the looper in record mode you’ll need to stay silent until you record the next part, so get in the habit of muting the strings in-between recording the overdubs, as I do here.
Next, I added another chordal rhythm part for texture and harmonic variation. Here are the chord voicings I used for that second guitar part:
I: Gadd2 Am11 I C5/2(#11) D/F# :I
When all of the overdubs are recorded, I exit the record mode by clicking the loop switch one more time. This ends the recording process but continues the playback of the loop. Remember to do that before improvising!
For the solo played in this video, I used the G Major scale and some nice double-stop 6ths. Note that I’m paying close attention to my phrasing to find the “pocket” and placement for the double-stop ideas. You’ll also notice that I’m using simple motifs so as to “let the chords do the work.”
The Wrap-Up
Here are some key elements that will help you execute clean loop performances:
- Determine exactly what you are going to play before you even think about looping an idea.
- Define the initial guitar part and how many bars (measures) the progression will be. Work out your overdub parts in advance if you can and have a clear understanding of the key, tonal center, scales and chord tones before improvising.
- Practice the section of music you want to record and settle into the tempo. If you are using delay (as I often do), tap tempo while you’re playing to synchronize the delay time as well.
- While playing your loop progression, tap your foot in time with the tempo near to where the loop record button is located. (I know this sounds obvious, but make that a convenient place near your foot.)
- When you are ready, click the record button on the downbeat of the first bar of the progression. Stay in time and click the record button again at the end of the phrase you want to record.
- Don’t rush or be anxious: relax as you execute the punch in and out points. If you aren’t used to playing and coordinating with your feet, this is going to take time to perfect … but it will get easier.
The more you practice looping, the better the results will be. Think like a composer/arranger and only layer in parts that enhance the audio palette and make musical sense.
For more guidance on looping, check out my Truefire course called “Creative Looping Handbook.”
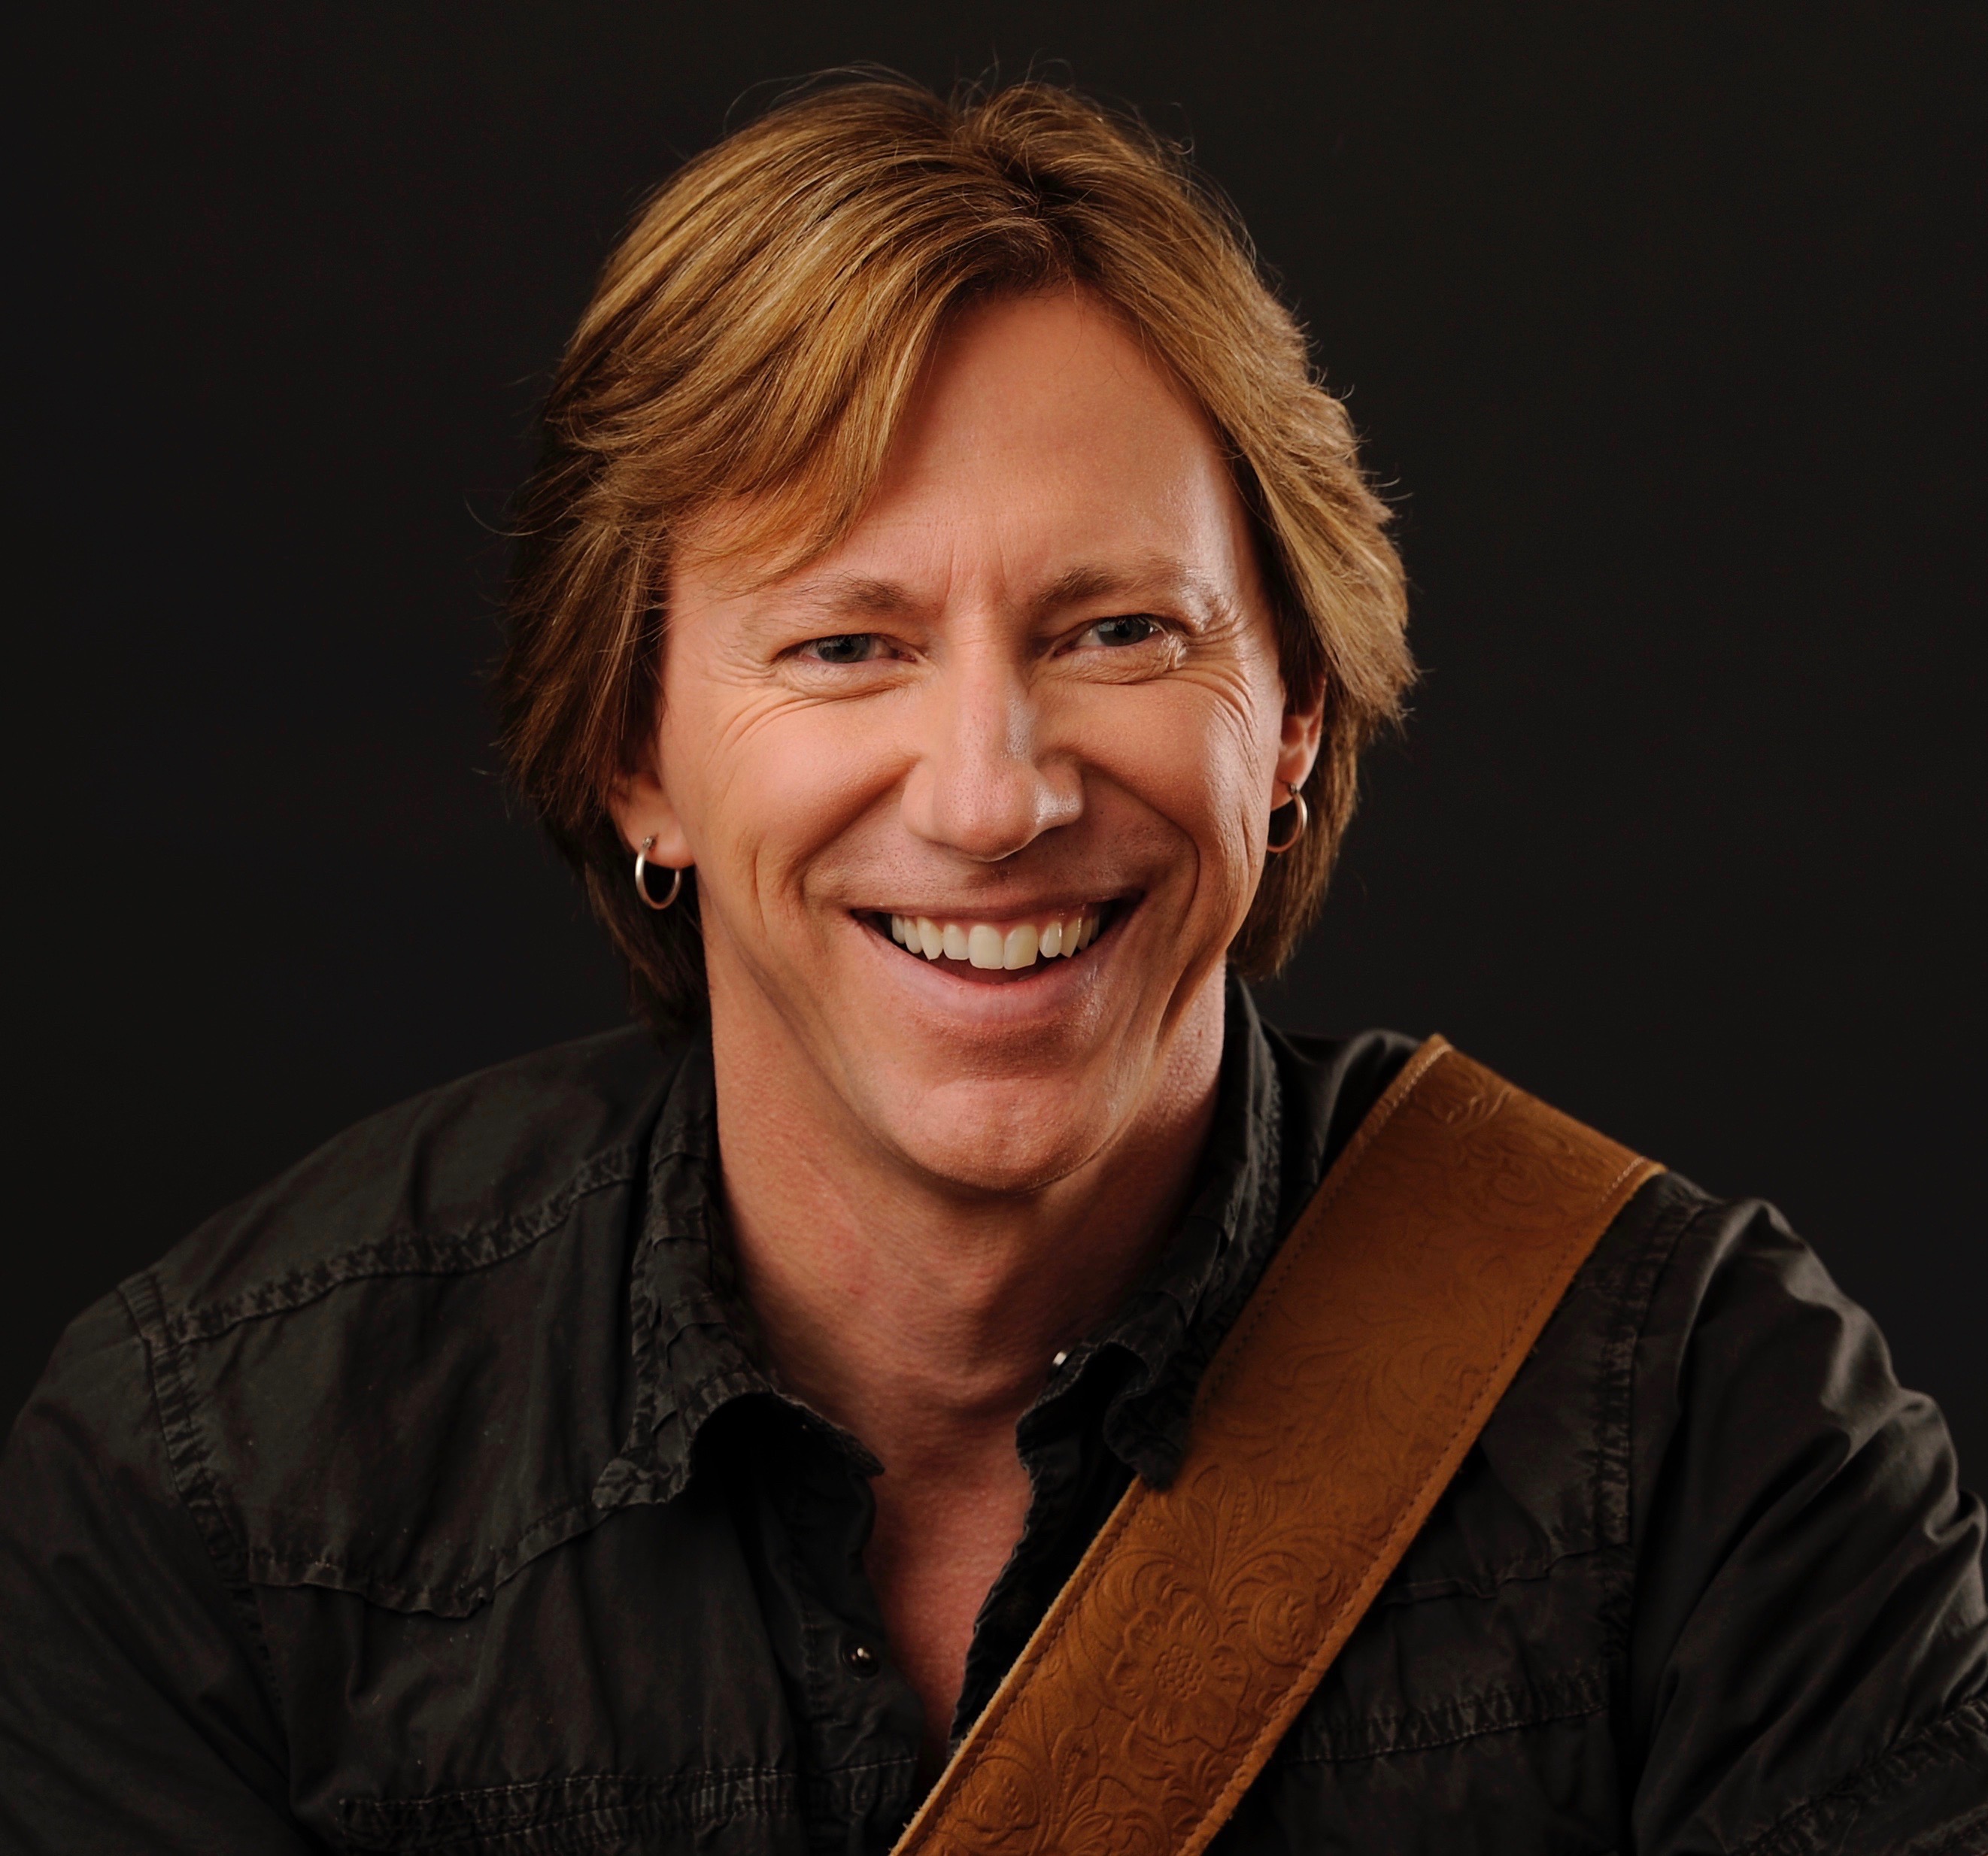
Photographs courtesy of the author.
Check out Robbie’s other postings.
Click here for more information about Yamaha classical and nylon-string guitars.
Click here for more information about the Line 6 Helix.
Keep reading