How to Improve Your Piano and Digital Keyboard Technique, Part 1
Players of every level should always work on their technique as a part of their practice regime. The most common approaches include working on scales, arpeggios and technique études like Hanon, Czerny, Cramer, Dohnanyi and Tausig, as well as difficult passages from music you are working on. For the beginner, these are essential activities. But as you progress further as a player I suggest you consider a more focused direction for improving your technique.
It’s actually very simple: work on those things that you will actually incorporate into your playing!
Think about it. Why spend precious time playing lots of notes and phrases that you would never repeat during a performance? While it’s certainly not time wasted, it’s also time not being used to execute the vocabulary that you will be relying on. In this article, I’ll share some of my concepts for making practicing more musical, and more applicable to your performing needs.
Practicing Scales
Learning and practicing scales are the fundamentals of piano study. Scales not only teach you about key signatures and fingering basics, they also help you develop a good legato touch. Here are some of the approaches I take:
– Most pianists practice scales with both hands together, running each over several octaves. But I like to start by playing scales one hand at a time. This allows me to focus on how well I am connecting the notes, and on not dropping my wrist when I cross my thumb under, which will produce an unwanted accented note. If you practice scales with both hands together, the more dominant hand often covers up the weaker hand, so you may not notice when these accents occur. In addition, your stronger hand can likely play faster than the other one, so practicing scales one hand at a time allows you to work at different tempos to push your technique.
– Try playing each scale at different dynamic levels. It’s a completely different experience to play fast and quiet at the same time. Here’s an audio example that demonstrates this technique:
– After working on playing well-connected notes, try playing the scale with a different, slightly detached articulation — one that’s not completely staccato, but with some space between each note. Then try a more separated, staccato touch, as demonstrated in this audio clip:
– Try playing with a crescendo while going up, and a decrescendo while going down. Then reverse that approach:
In addition to the above tips, I recommend practicing with a metronome or a drum groove of some sort. This allows you to also work on your timing. To make things even more productive, I like to do the following:
– Play two octaves as eighth notes against the click or pulse (two notes to each click/beat).
– Next, switch to three octaves as triplets against the pulse (i.e., three notes against the pulse). Focus on making the switch from two to three notes as accurately as possible.
– Finally, go to four octaves of sixteenth notes (i.e., four notes to the beat). Again, focus on switching your rhythm precisely:


Keep mixing it up between these ranges/timings. In this way you are working on rhythm as well as finger dexterity. Here’s an audio clip that demonstrates this technique:
– More advanced players should work on playing two-handed scales in sixths, or in thirds. These are a type of run that you might well use while playing, especially as part of the ending of a tune:


Here’s an audio clip that demonstrates this technique:
Click here for Part 2.
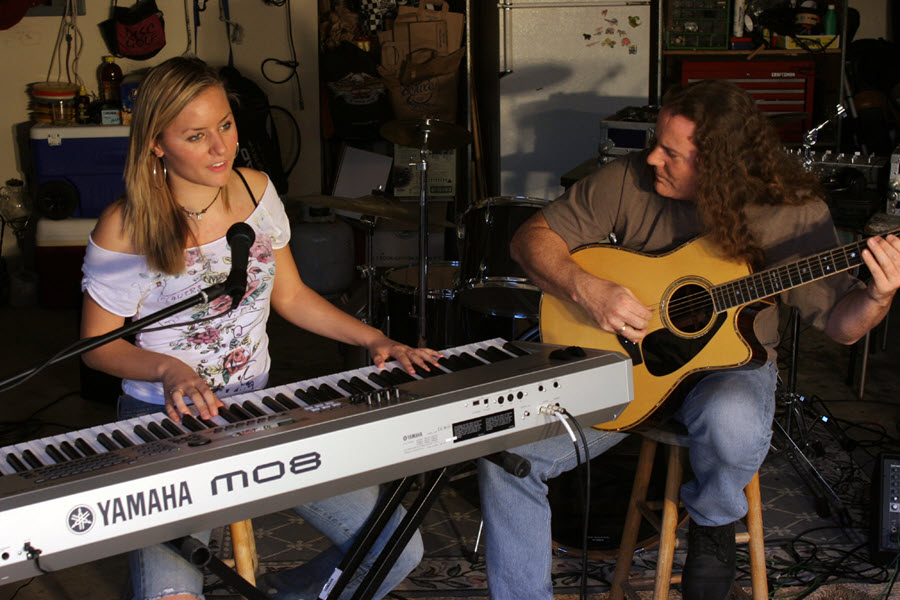
All audio played on a Yamaha P-515.
Check out our other Well-Rounded Keyboardist postings.
Click here for more information about Yamaha keyboard instruments.
Keep reading