How to Burn-In Speakers
The first time you put on a new pair of shoes, you might find the soles to be rigid, the cushions inflexible and maybe there’s a little less wiggle-room for your toes than you’d like. But after you “break them in” by wearing the shoes for awhile, all these discomforts start to disappear … and before you know it, they fit you perfectly.
It’s the same for speakers. They too need a period of breaking in before they can perform optimally. This process is called “burning-in,” and in this article we’ll tell you how it works so you can enjoy music or the audio portion of your favorite film or TV show at its best.
Why Do a Burn-In?
The main reason for doing a burn-in is that it pushes the flexible materials in your speakers to an extent that standard playback cannot.
Speakers consist of three basic components: a driver (tweeter, mid-range and woofer), crossover and cabinet. The crossover is an electronic device that separates the overall signal into discrete frequency ranges before sending those signals on to the appropriate drivers, which are mounted in an acoustically tuned cabinet so that the sound emanates as a coherent and balanced waveform.
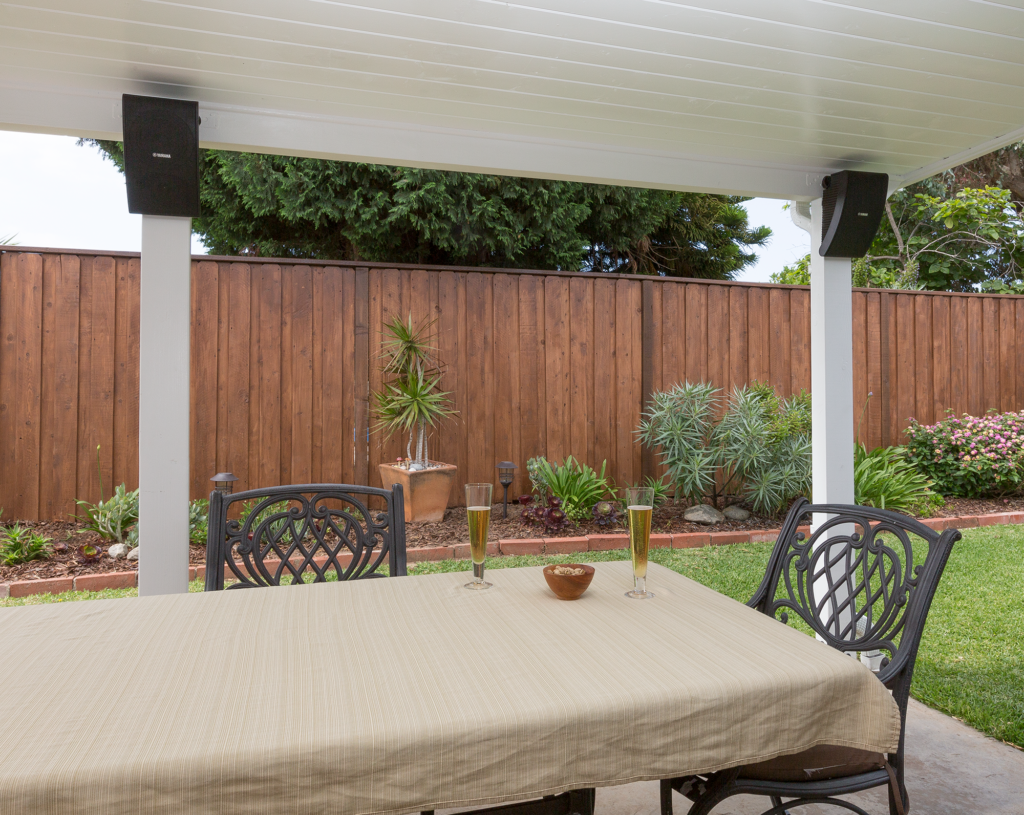
Each individual speaker driver consists of an outer frame, a cone or diaphragm, a voice coil and a magnet. The driver operates the same way regardless of the speaker type (i.e., sound bar, bookshelf, center channel, floor-standing, in-wall/in-ceiling, outdoor or subwoofer) and also regardless of whether the speaker is wireless or wired.
These drivers (sometimes known as transducers) are the same as what you find in earbuds or headphones, only larger. Their job is to transform electrical energy into kinetic energy via the cone (or dome) of the speaker they are attached to. The two connection points consist of the “Surround,” which attaches the frame of the driver to the cone, and the “Spider,” which is the flexible part underneath the cone that keeps the coil centered in the magnet structure. Once burned-in, the connection points loosen, letting the driver move in and out more freely.
Whether you’re playing soft rock or an epic film score, the audio quality will likely be noticeably better after the burn-in process, though the improvement is generally gradual.
How to Do a Burn-In
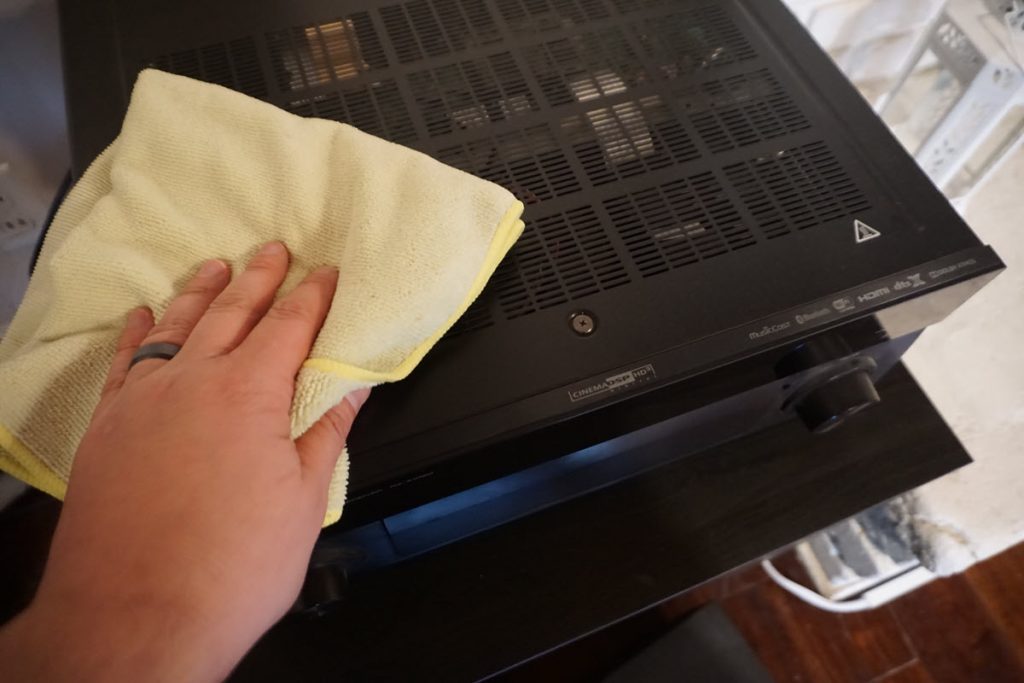
Burning-in your speakers is accomplished by playing audio through them for an extended period of time, with 40 hours of continuous play recommended for most speakers. Before doing so, however, we suggest setting your speakers up in a room that isn’t frequently used — and one that has doors that can be closed — so they can work their magic without disturbing anyone.
There are two widely accepted methods of burning-in speakers:
1. Use a burn-in playlist of music and noise tracks in various frequency ranges from highest to lowest. These are available from a number of websites, including Spotify®.
2. Use a downloadable digital track that loops different noises and frequencies. This is also known as a “burn-in disc” or online white noise playlist. One such product that we recommend is the free CASCADE Noise Burn-in Disc from TARA Labs, which allows you to download a file that can then be burned to CD and played back from your computer or CD player, or from the embedded video at the end of this article. (Be sure to read the instructions at the start of the video for proper safety measures and execution of the burn-in.)
Once you’ve selected which burn-in audio to use, you’ll need to make sure your source device (a mobile device or a computer) is plugged in if you’re planning to run it for a full 40 hours in one sitting, since batteries will probably run down a lot faster than that. Then you’ll need to determine how to play the burn-in track(s) through your speakers.
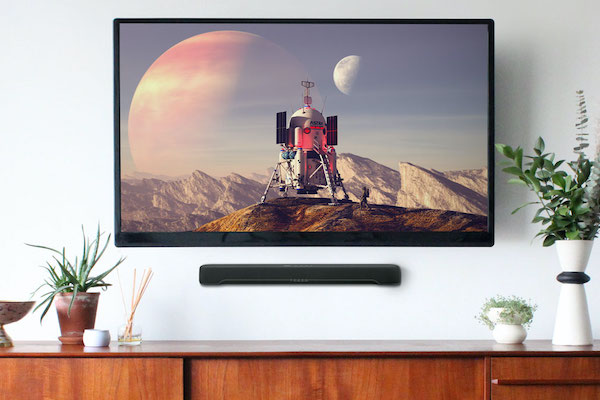
– If your speakers are powered and wireless (such as the Yamaha SR-C20A sound bar or MusicCast 20), download or stream the burn-in track to your speaker(s) via Bluetooth® or Wi-Fi®.
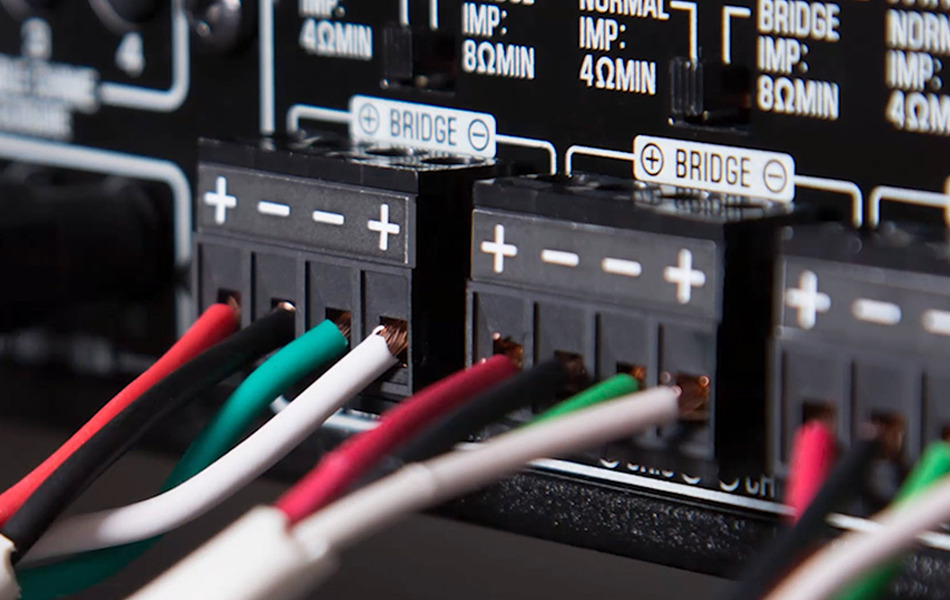
– If you’re using passive (unpowered) speakers, you’ll need a power amplifier or receiver. For a two-channel audio system, you’ll need an integrated amplifier or stereo receiver. For a 5.1-channel (or more) home theater configuration, you’ll need an AV receiver. An amp with built-in wireless streaming capability is particularly helpful since it will allow you to play the burn-in audio without needing to connect a source device.
Do your ears a favor and don’t listen to your speakers while the burn-in file is playing. It won’t sound good, and it’s not recommended for your hearing health. Caution: Burning-in your speakers should always be done at a moderate volume or you run the risk of damaging or destroying the drivers.
As we mentioned, 40 hours of burn-in time is a good starting point for most speakers, but you can break it into multiple four- to five-hour sessions or a little longer (while you sleep, for example) so you can use the burn-in room for a different purpose in-between.
Once you complete your burn-in, we recommend trying out some test tracks, like the Yamaha “New to high-res audio?” playlist on Qobuz. You’ll find that after burning-in your speakers properly, you’ll be able to enjoy music and podcasts at their peak potential!
Check out these related blog articles:
How to Burn-In Headphones and Earbuds
Anatomy of a Home Theater Speaker
How to Install In-Ceiling Speakers
How to Connect a Sound Bar to a Computer
What is an Integrated Amplifier?
How to Add Streaming to Your Legacy Audio System
Building the Ideal Home Theater
Click here for more information about Yamaha speakers.
Keep reading