Tips for Sharing Your Drum Performances Online
Virtual collaboration made easy.
Being stuck at home doesn’t mean you have to stop drumming. There are a number of ways to collaborate through file sharing when you can’t perform with others in person. After all, plenty of great recordings have been made where the musicians never played together in the same room!
Here are seven tips for making high-quality recordings of your drum performances at home and sharing them online with your friends, family and fellow musicians.
1. Make Sure Your Drums are Ready to Record
Recording your drums is like putting them under a microscope because microphones will pick up all sorts of sounds that you may not otherwise notice. The rule of thumb here is simple: If your drums don’t sound good in the room, they won’t sound good when recorded.
Here are some things you can do to get your drum set ready for recording:
– Check the heads to see if they need replacement.
– Always tune your drums before you record. If you’re a hard-hitting player, you may even need to retune between takes — particularly the snare drum.
– Have materials on hand for dampening your drums and removing ringing. Popular choices include O-rings, Moongel® pads, felt strips, moleskin, tea towels (a tradition started by The Beatles) and good old reliable gaffer tape. (Be sure to use the low-residue variety.)
– Beware of squeaky foot pedals! Have some WD-40® or lubricating oil at the ready.
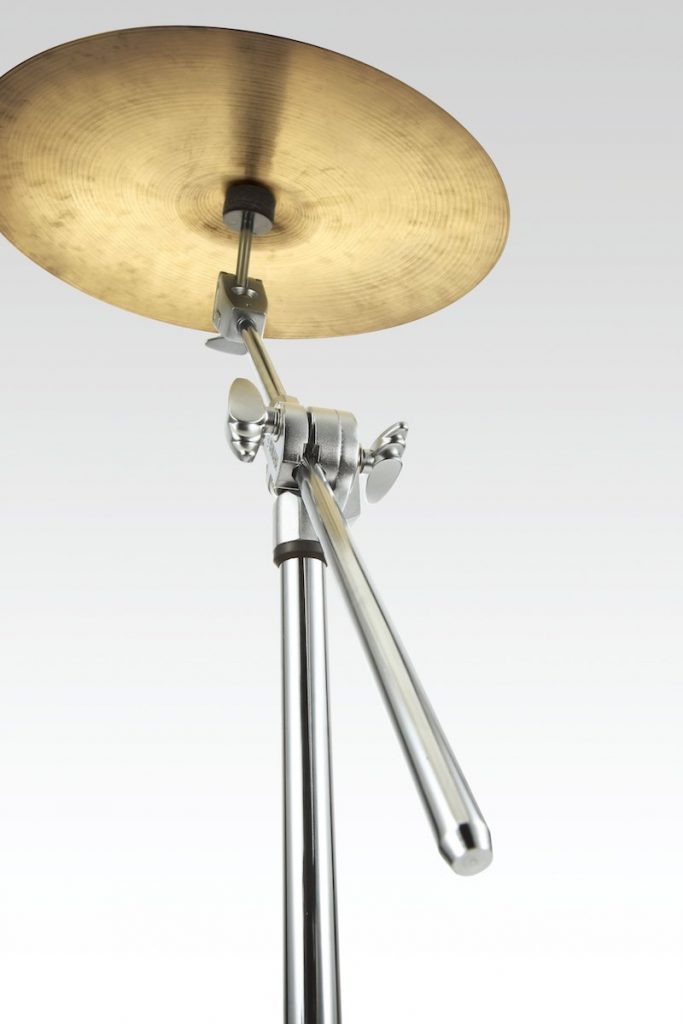
– Use cymbal stands with plastic tube caps (like those found on Yamaha CS-750, CS-755, CS-850, CS-865 and CS-965 models) to prevent metal-on-metal contact from creating rattling noises which can ruin a recording.
2. Find an Isolated Space for Your Performance
Try to record in a space that’s relatively quiet and isolated from outside noise, such as a basement or garage. Since drums are loud, you won’t have to worry much about low-level sounds like water dripping from a faucet, but you don’t want a perfect take ruined because the dog next door starts barking while your last cymbal crash fades.
Ideally, you’ll also want to choose a space that’s had some acoustic treatment, so it isn’t overly reverberant. (For more information, check out our blog post “How to Practice Drums Without Disturbing the Neighbors.”)
3. Use External Microphones Instead of Your Phone
Many smartphones can record video with good results, but the built-in microphones may not be able to handle the high sound levels generated by drums, resulting in distorted recordings. An inexpensive external microphone attached to your phone can go a long way toward improving audio quality.
In an ideal recording situation, each drum would have its own microphone and the mics would be recorded onto separate tracks in a DAW (Digital Audio Workstation), but there are other ways to make great recordings of your drums. For example, the Yamaha EAD10 acoustic electronic drum module has high-quality stereo microphones built in (see #6 below). You can also get great recordings of your drums using just four mics: a pair of overheads positioned a couple of feet above your cymbals, plus one on the kick drum and one on the snare. Audio interfaces like the Steinberg UR44C (which comes bundled with Cubase AI recording software) provide separate inputs for up to four microphones and allow direct connection to your computer without the need for expensive extras such as mic preamps.
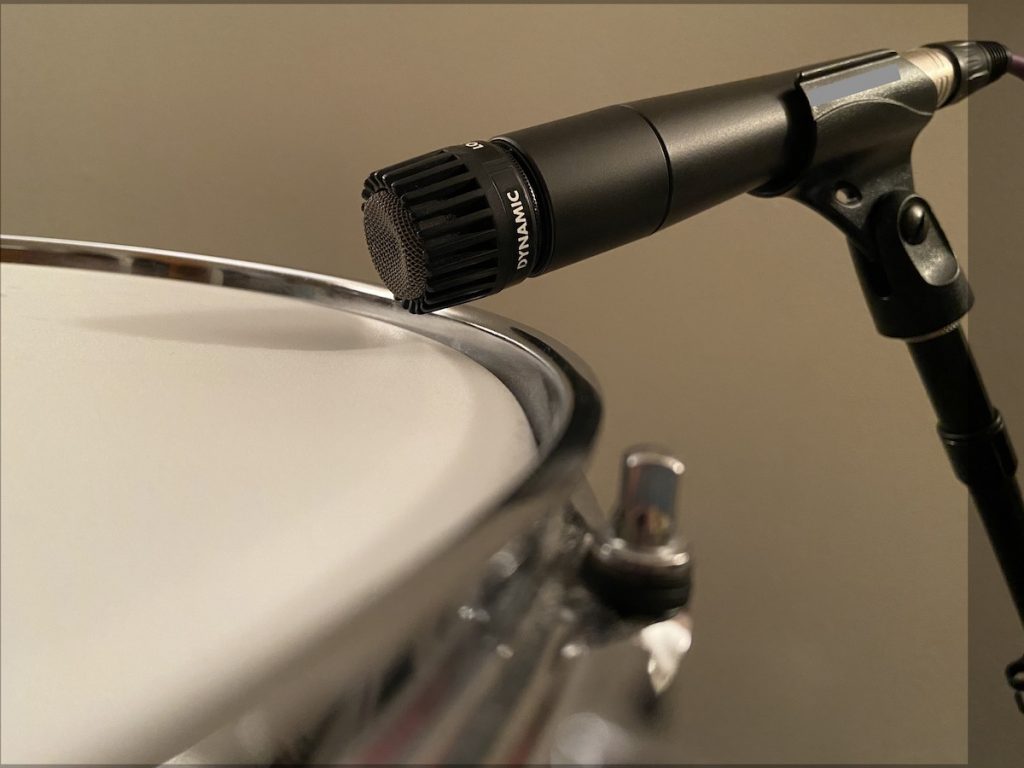
When placing a microphone on a snare drum, tom or bass drum, don’t be afraid to move the mic close to the drum. Microphones designed for this kind of use are equipped to handle high sound levels, so you won’t have to worry about damaging them or distorting the signal. Close placement also ensures that you’ll get less “leakage” (unwanted sound from other parts of the drum set) in each microphone — just make sure the mic is out of the “line of fire” of your drum sticks.
4. Choose the Best File Format
Smartphones typically store video and stereo audio in MOV, M4V or MP4 file formats, all of which compress data to make the file size manageable. While that makes the files easy to share and upload to social media, it also means that the sound quality is not as good as it would be if you recorded full-bandwidth uncompressed files (at a 44.1 kHz sample rate or higher, with 16- or 24-bit resolution) into DAW software such as Steinberg Cubase.
5. Take Advantage of Electronic Drums
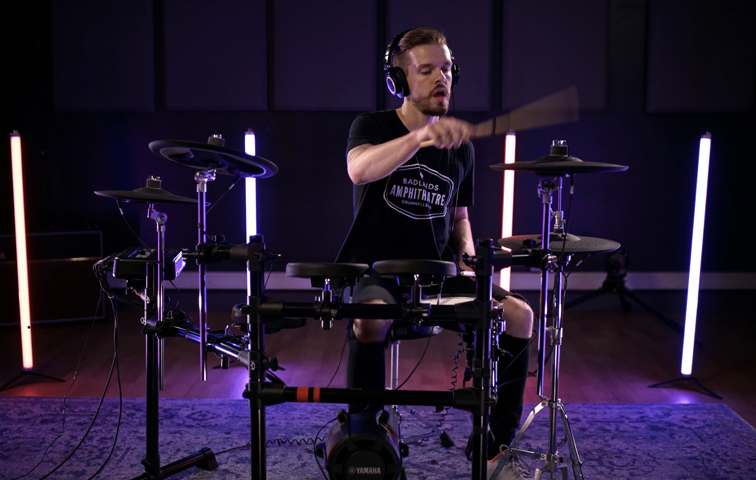
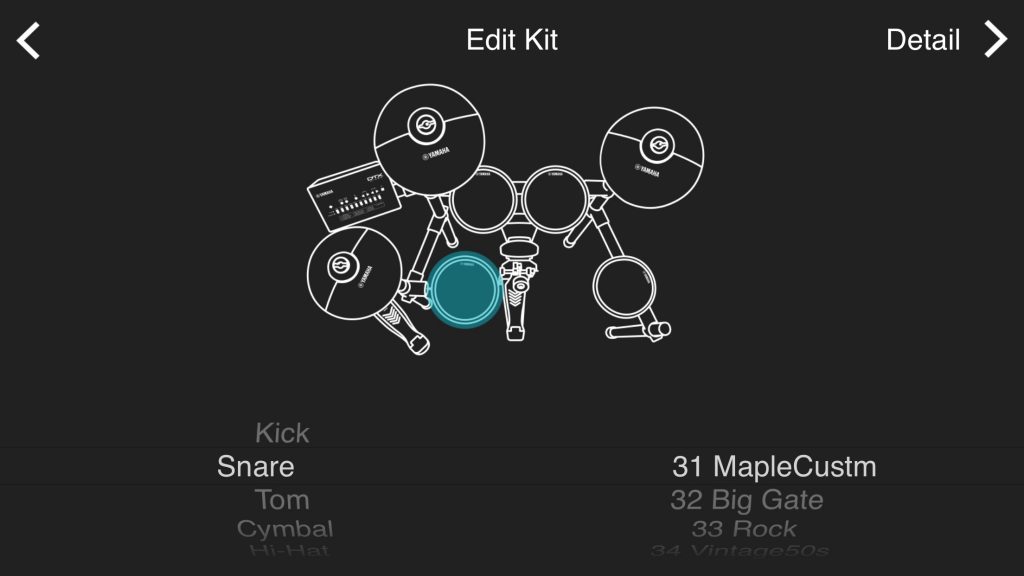
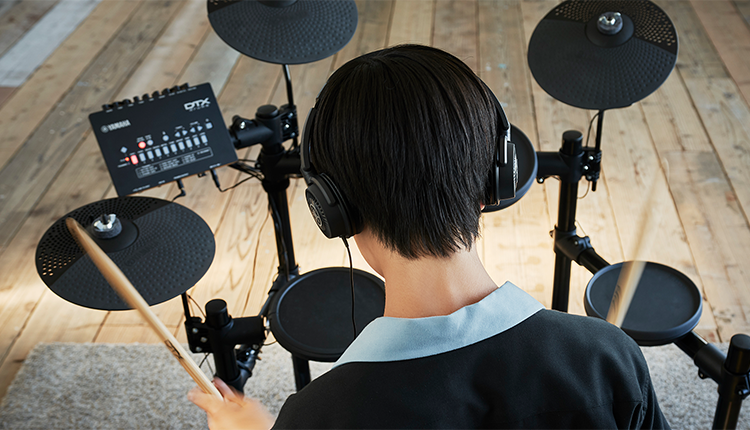
Electronic drums are a great tool for making high-quality recordings without the hassle or expense of a lot of external gear … plus they provide lots of sounds for you to choose from. Yamaha DTX6 Series electronic drums offer hundreds of sounds that can be organized into 10 kits, and the included DTX-PRO module can connect to your computer via USB, allowing you to route audio directly into DAW software and create professional-sounding drum tracks.

6. Supplement Your Acoustic Drum Set with an Electronic Drum Module
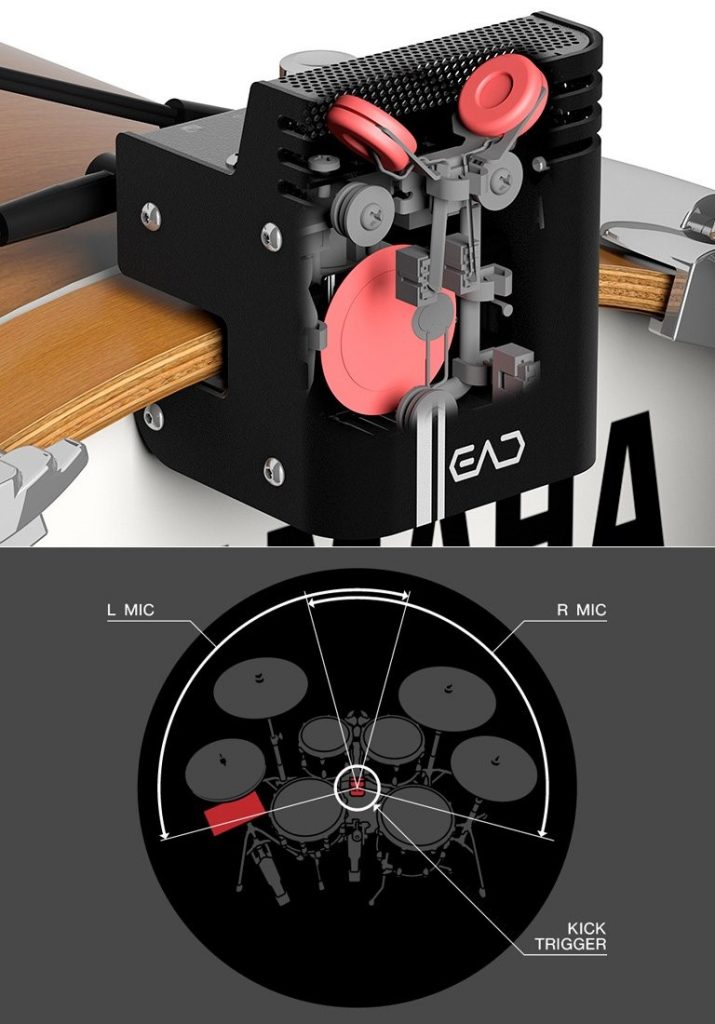
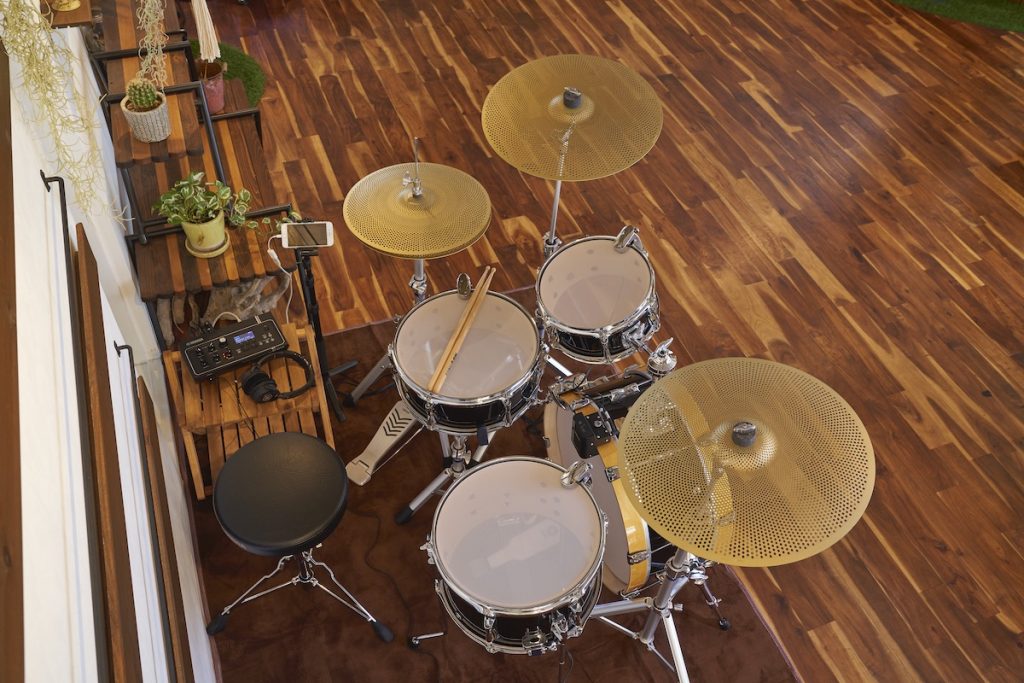
Even if you’re a diehard acoustic drum set player, you can still incorporate electronic sounds with the use of the Yamaha EAD10 acoustic electronic drum module mentioned in Tip #3. This revolutionary device includes a sensor unit that’s designed to be mounted onto your bass drum hoop. In addition to stereo microphones, the sensor also contains a trigger that can be used to play kick drum sounds stored in the EAD10 module, and the triggered sound can also be mixed with the microphones, so you don’t have to worry about using a separate kick drum microphone.
The EAD10 allows you to get clear, distortion-free stereo recordings of your drums without the hassle and expense of placing a lot of microphones and cables around your drum set. And, since setup is a breeze, you can be ready to record a scratch track or practice session in minutes. The EAD10 also provides the ability to add a variety of effects such as reverb, delay, and compression, plus you have the option of hearing the effects while you’re playing, which can help you come up with new, creative parts that you might not have otherwise played.
Recordings made with the EAD10 can be stored onto a USB thumb drive as high-quality (44.1 kHz/16-bit) uncompressed WAV files. When you’re finished recording, you can move the thumb drive to your computer and upload or email files to your friends. (Here’s a video that explores the EAD10 in detail and shows you all it can do. You can also find video examples of drummers using the EAD10 here and here.)
Another really cool feature of the EAD10 is that it functions as a 2-in/2-out USB audio interface for your computer, enabling you to record directly into most DAW software without any additional gear. This means you can easily overdub to tracks downloaded from your friends, create new tracks, and work on songs together. The files generated by most DAWs are usually too big to email, but you can exchange files using a cloud-based file server, some of which are free as long as the files remain below a certain size.
7. Record and Share
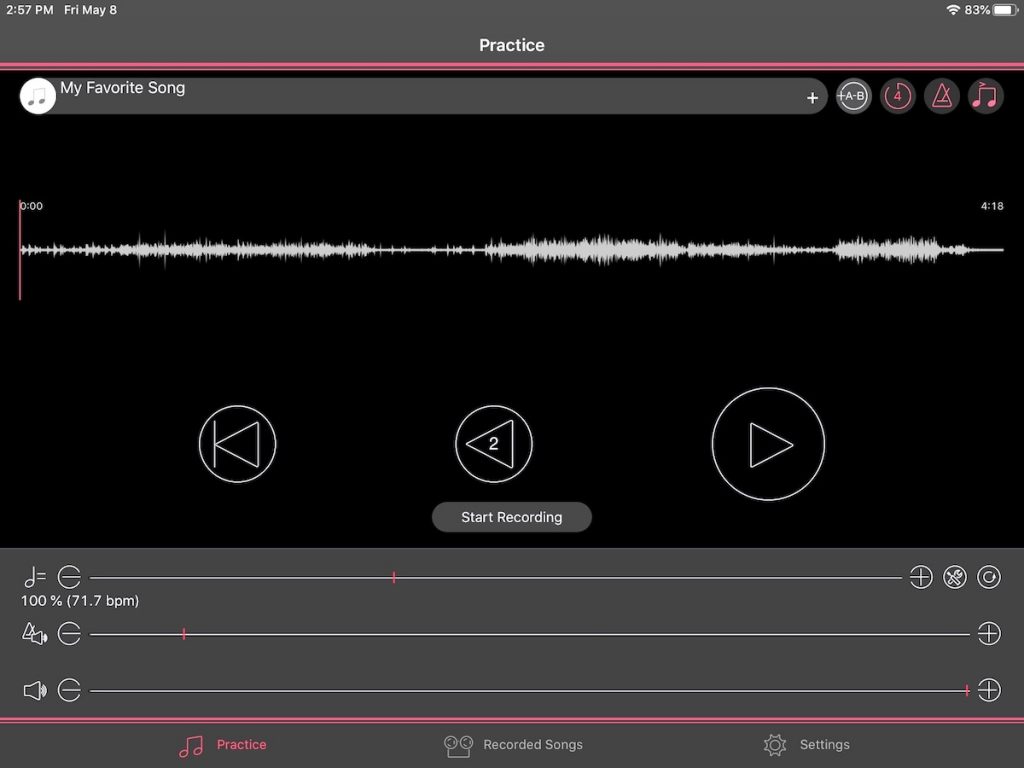
Looking for the easiest way to collaborate online? Check out the free Yamaha Rec’n’Share app, which runs on iOS and Android™ devices. Used in conjunction with the Yamaha EAD10 or DTX6 Series electronic drums, Rec’n’Share enables you to record both audio and video of your drum performance. When you’re finished recording the track, you can edit the beginning and end of the file to remove any extraneous audio, then email it, upload it to a file sharing app, or post your performance directly to social media.
Remember, keep practicing to keep up your chops … and happy sharing!
Photograph courtesy of the author.
Check out these related blog postings:
How to Practice Drums Without Disturbing the Neighbors
The Benefits of Recording Drum Practice and Performance
Click here for more information about Yamaha DTX6 Series electronic drums.
Click here for more information about the Yamaha EAD10 acoustic electronic drum module.
Click here for more information about the Yamaha Rec’n’Share app.


