A Guitarist’s Guide to Compression
Compressors are powerful tools that can significantly shape the dynamics of your guitar playing — and therefore your overall sound — both onstage and in the studio. In this posting, we’ll discuss the use of compression in both environments.
Compressors Onstage
Your onstage compressor will most likely be a pedal or stompbox, mainly because of their convenience (among other things, they allow compression to be turned on and off easily with a tap of the toe). Like any compressor, these devices are designed to alter the dynamic range of an audio signal; in other words, they reduce the difference in level between the loudest and softest notes. As a result, quieter notes seem louder, particularly if you’re using the pedal’s gain control (sometimes called “makeup gain,” “level” or “volume”) to compensate by raising the overall signal.
Compression also tends to soften the attack of the notes because it’s squashing down the transients, which are the peaks that initially occur when your pick or finger plucks (or strums) the strings. This can help take the edge off a loud guitar, making it more pleasing to the ear and less biting.
Some compressor pedals have controls that let you set the attack time. However, you have to be careful because if the attack of the compressor is too fast, the transients can be reduced to excess, resulting in a dull tone. The slower you set the attack time, the longer it takes for the compressor to react to a note, so more of the transient gets through. If it’s too slow, however, there will be little compression at all, so some experimentation is usually necessary to determine the right amount. Bear in mind that the optimum attack time may change from song to song, and possibly from guitar to guitar as well.
If your compressor pedal doesn’t offer an attack control but you find that your sound is getting too dull, lowering the overall compression (via a knob called “sustain,” “compression” or “sensitivity”) will usually alleviate the problem.
Even with moderate settings that keep your transients mainly intact (which is often the best way to go during live performance), a compressor pedal is going to thin out your tone to some degree. It’s a tradeoff for the benefits of reduced dynamic range and added sustain.
In the following image, you can clearly see the transients at the beginning of the notes and the effect of a compressor with a fast attack:

Sustainability
Sustain is, of course, a hugely important part of electric guitar tone. High-gain guitar notes sustain naturally, but if you’re using a clean tone, the notes will decay quickly and therefore sound relatively staccato. However, if you compress the signal, it will add sustain to your clean tone, because it makes the quieter parts of the notes — including their decay — louder in comparison. And even though a compressor’s effect is often more noticeable on clean tones, it also helps with distorted and overdriven sounds, giving them extra sustain and making it easier to play harmonics.
Because its gain circuit can amplify the signal, you can also use your compressor pedal as a pure boost effect, with or without compression. This is particularly useful when you’re playing through a tube amp because the higher-than-normal levels coming out of your pedalboard will drive the amp harder, which will create more tube saturation.
Pedalboard Placement
There’s general agreement among guitarists and guitar experts that you should place your compressor pedal at the beginning of the signal chain on your pedalboard. Such placement ensures that the compressor will be reacting directly to your dynamics before the signal gets affected by the other pedals:

There’s another, even more important reason for this kind of placement: Since a compressor brings out the quieter parts of the audio, it will also accentuate any noise in the signal. Therefore, you want it before any distortion or overdrive pedals, both of which tend to add hiss and hum; if the compressor were to be placed after those kinds of pedals, it would make the noise louder.
In the Studio
If you’re recording your guitar through an amp and are using a compressor pedal to help create your sound, then everything we’ve already discussed is still relevant. But if you’re mixing a guitar track that’s already been recorded, there are some differences in the application of compression.
A studio compressor’s overall purpose is the same as that of a compressor pedal: to reduce dynamic range. However, compressors designed for recording and mixing — whether plug-in or hardware-based — usually offer more precise parameter control:

For one thing, they almost always offer attack and release controls. The vast majority of studio compressors also have both ratio and threshold controls, rather than a single knob to govern the amount of compression, as is found on most pedals. This combination lets you more precisely set the amount of compression and how loud a note must be in order to initiate gain reduction.
Flavors and Colors
For practical reasons, most guitarists have just one compressor in their pedalboard when playing live. But in the studio, between your DAW and any third-party standalone plug-ins you may own, you likely have access to several types of compressors. There are a number of standard compressor designs, based on analog compressors (which plug-ins often emulate), each with its own distinct sonic characteristics. These include VCA, FET, optical and Variable-Mu. (Click here to read about different types of compressors.)
You can also find many compressor plug-ins that are circuit-for-circuit digital emulations of classic analog compressors. The good ones provide tonal coloring that closely replicates that of the original analog hardware.
Often, in a mix situation, I use a vintage compressor plug-in for both dynamic control and coloration. I’ve found that replications of the classic Teletronix LA-2A (such as the Tube Compressor in Steinberg Cubase) sound great on guitar parts, giving them a warm sheen. (The LA-2A was an optical compressor with a tube amplification stage.) Many people also like software emulations of FET compressors such as the UREI 1176 on guitar because they can be set to sound aggressive and even add some saturation at high settings. (Examples include Cubase’s Vintage Compressor MKIII or the Yamaha 276.) In the hands of a skilled recording engineer, even outrageous compressor settings can be made to sound good!

Whether you play live or in the studio, compression can be a critical tool for shaping your tone. If you haven’t experimented with a compressor, you should definitely give it a try and see how you like it. Odds are, you’ll find that it improves your sound more often than not.
Check out this related posting: “A Bassist’s Guide to Compression.”
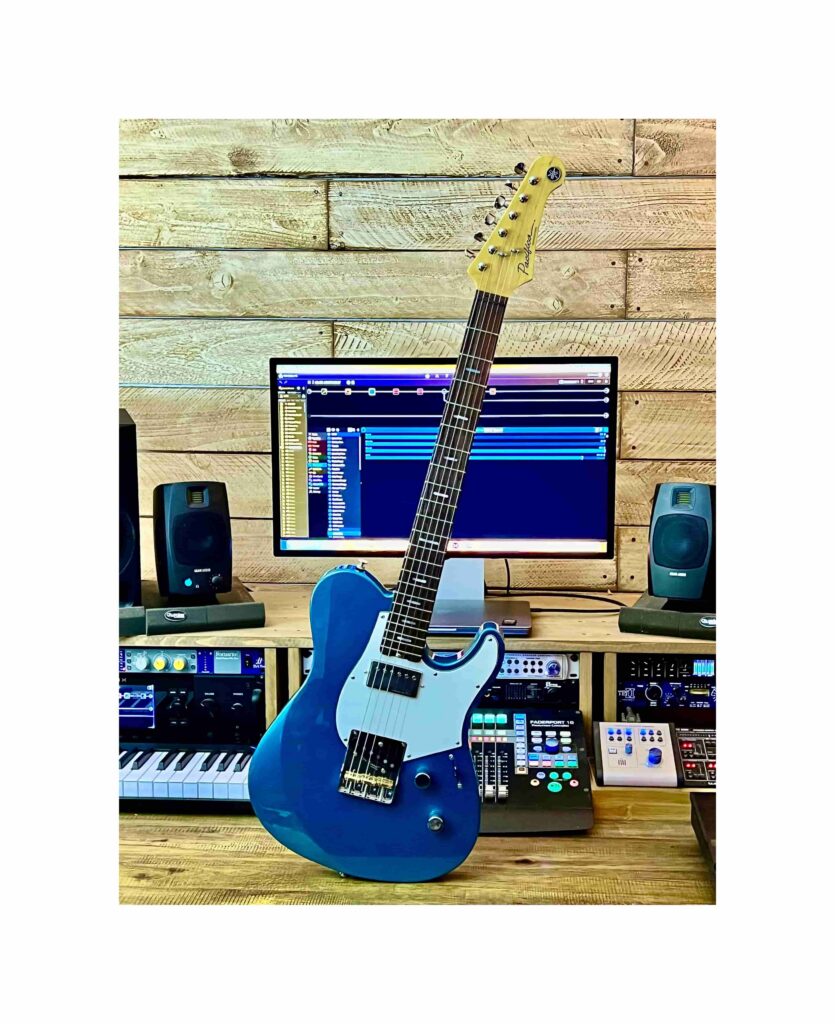
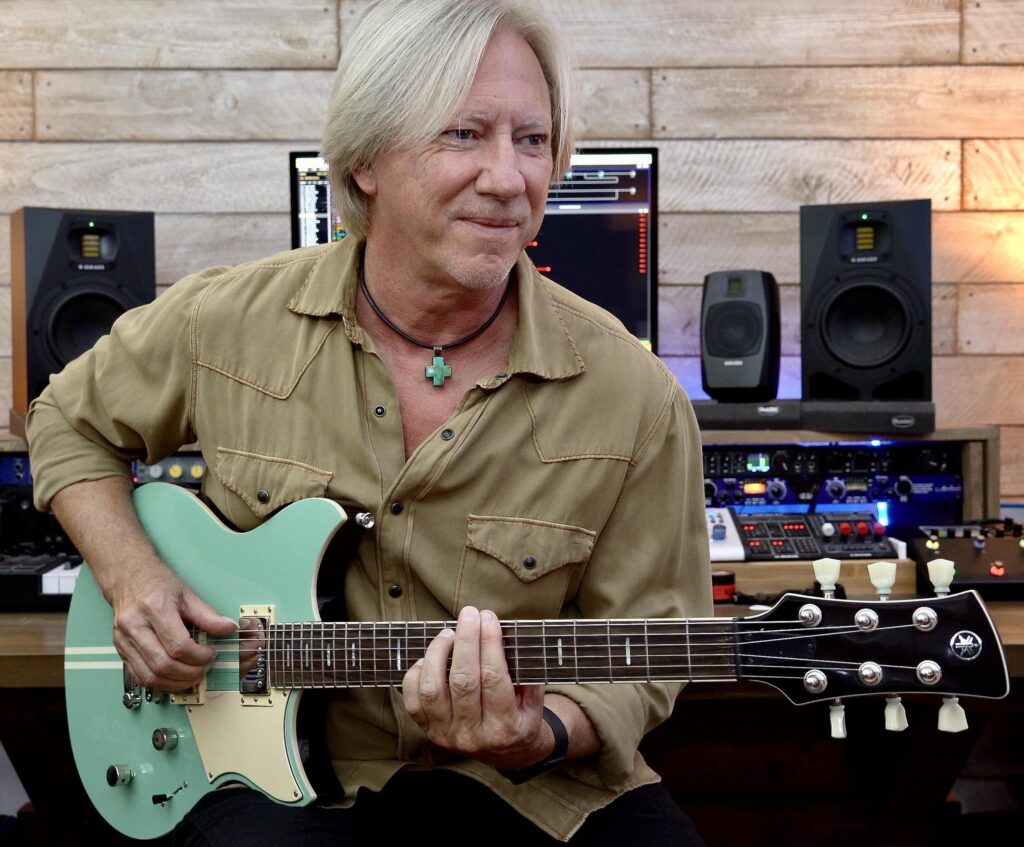
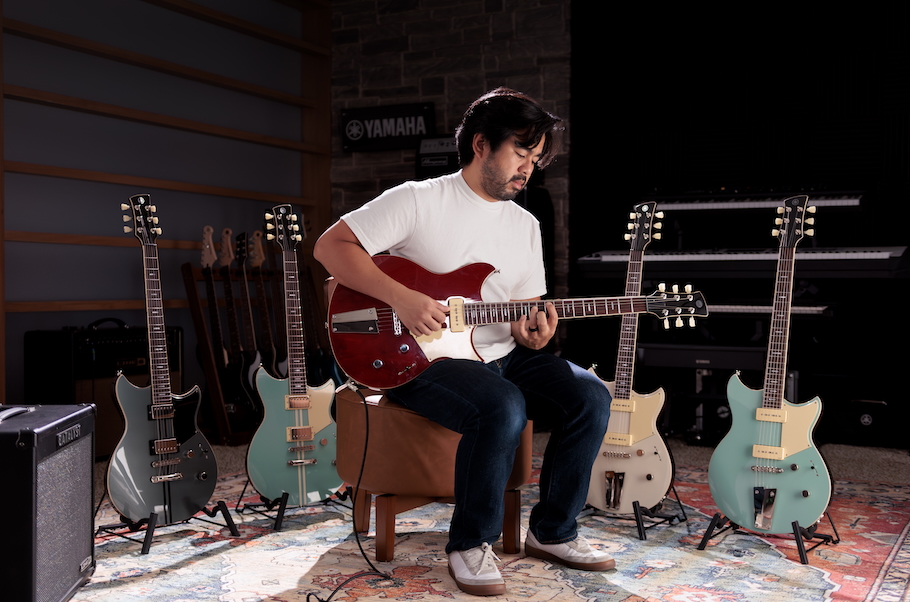
Click here for more information about Yamaha guitars.
Keep reading