The Art of Using a Capo
A guitar player’s best friend.
Anyone who’s ever seen me perform live knows that I often use a capo. If you’ve watched any of the acoustic video performances on my YouTube channel, it’s likely you have seen me employ a capo there too.
Why do I favor this simple device so much, and why do I think you should know how to use one? The answer is multi-faceted, and there are some surprising uses that you may not have even thought of!
In this posting, I’ll share some basic applications and best practices for using a capo, and also explore the different types of capos available.
Origin of the Name “Capo”
The Italian phrase “Da Capo” means “from the beginning”; it also can mean “the head.” When used in sheet music, it’s a verbal signpost instructing the player to go back to the beginning of the piece and start all over again.
In physical terms, a capo temporarily replaces the nut of your guitar, allowing you to raise the pitch of your open strings without retuning them.
From low to high, the open strings on your guitar are normally tuned E-A-D-G-B-E. Place a capo at the first fret, and you take all those tones up in pitch one semitone, to E#-A#-D#-G#-B#-E#. It’s like moving the nut of your guitar up one fret.
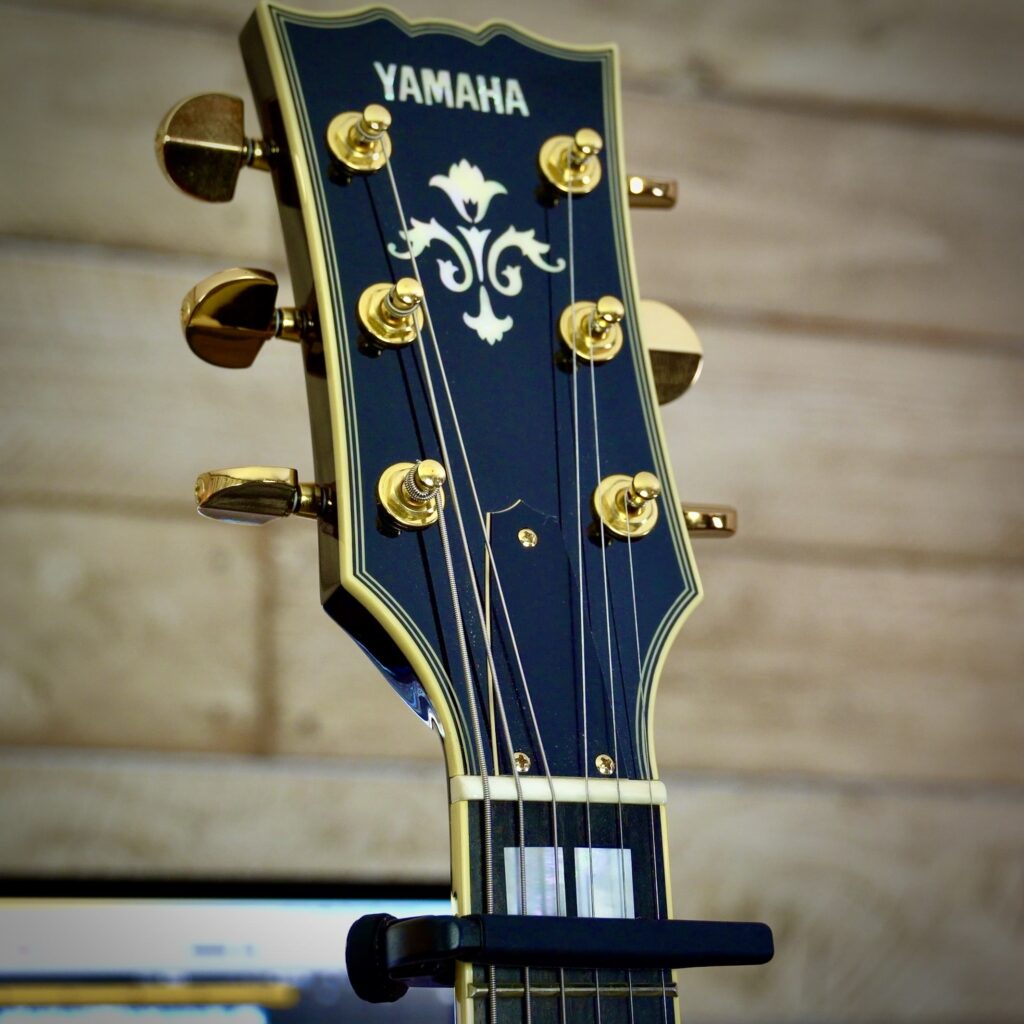
Now let’s explore the many amazing uses for this powerhouse guitar accessory.
Open Chords
We’ll employ the following simple chord progression to illustrate what a capo does to chords played in open position (that is, those containing open strings):
II: C G/B I Ami7 Fma7 :II

Let’s say you’re learning a song that uses these chords, but the original pitch is too low for your voice. Place a capo at the first fret, and the same chord shapes are now one semitone higher in pitch, changing the key from C to C#, which may be a much better fit for your voice:
II: C# G#/B# I A#mi7 F#ma7 :II
Now take the capo away and try to learn and play the new chords without it. As you can see from the illustration below, it’s not impossible, but also not practical, or even attainable for a novice that only knows a handful of basic chords. What’s more, two of those new chords require a barre technique (i.e., laying your index finger across a fret), making them much harder to play … and why would you do that if you can simply use a capo to achieve better results within seconds?

In essence, then, a capo allows you to play any series of chords in multiple keys without needing to know how to transpose or learn new chord shapes. Using a capo will often affect the sound of your guitar too, since open strings tend to ring out differently (usually becoming more “jangly”) when raised in pitch.
The Importance of a Capo in Live Performance
Most guitar players who sing will agree that playing and singing is much easier when the chords are all in open position.
When we sing in live performance, we face the audience, and our mouths are faced towards the microphone. This means you can’t always look at your guitar’s fretboard. Try playing an Ami7 as a barre chord at the fifth fret without looking at the fretboard. Not easy, is it?
Here’s another scenario to ponder: You’re at your gig, and a female singer asks if she can sit in and sing a song with you. You have no objection, but the female voice is generally pitched a fourth above where male vocalists sing. No problem: Simply take your capo and place it at the fifth fret, and you’ll now have the same chord shapes pitched a fourth above the original key … without having to transpose in your head to new and possibly unfamiliar shapes.
Open Tunings
As noted earlier in this posting, the open strings on guitar are normally tuned E-A-D-G-B-E (from low to high). Open tunings are those where open strings are tuned to a specific chord, which creates a lovely drone of complementary tones. Popular open tunings for guitar are drop D, open G and open E. These all require detuning several strings to another pitch.
Drop D
Here, you detune the first (lowest) and sixth (highest) strings down a whole tone, from E to D, yielding the following notes:
D-A-D-G-B-D
Open G
This is similar to drop D tuning, but with the fifth (A) string also lowered a whole tone (to G):
D-G-D-G-B-D
Open E
In this tuning, the fifth (A) string is raised a tone (to B), and the third (G) string is raised a semitone (to G#):
E-B-D-G#-B-E
Any of these open tunings can easily be changed to another open tuning by using a capo. For example, if you place a capo at the third fret on a guitar in open G tuning, you’re now in open B♭ tuning, as shown below, but still with all the wonderful open-string drones. Try tuning to open B♭ without a capo!
Open B♭
F-B♭-F-B♭-E♭-F
Playing New Chord Shapes With a Capo
Using a capo is a great way to create alternative, second, or even third guitar parts with a series of new chord shapes. For example, start with this chord progression, played in open position. (I’ve denoted the scale position those chords occupy within the C major scale below the progression using roman numerals, where I = the tonic [root] chord, V = the fifth [in this case played over the seventh degree of the scale], VI = the sixth, and IV = the fourth.)
II: C G/B I Ami7 Fma7 :II
( I V/VII VI IV)
You’ll need to play different chord shapes to maintain the I – V/VII – VI – IV relationship. For example, if you place a capo at the third fret, you’ll need to play these chord shapes to attain the same pitch as the original chords:
II: A E/G# I F#mi7 Dma7 :II
If you move the capo up to the fifth fret, you’ll need to play these chord shapes to attain the same pitch as the original chords:
II: G D/F# I Emi7 Cma7 :II
The diagrams that follow show how the capo raises the pitch of those new chord shapes; below each are the chord name and the new pitch it represents when using the capo at the indicated fret location. For example, when the capo is at the third fret, I’m employing an A major shape for the I chord. That’s because the capo raises the pitch of both the open and fretted strings to create a C major chord when the A major shape is used. (Essentially. the capo is playing the barre of this chord shape.) Similarly, when the capo is at the fifth fret, I’m using a G major shape for the I chord; the capo raises the pitch of both the open and fretted strings to once again create a C major chord, this time when the G major shape is used.
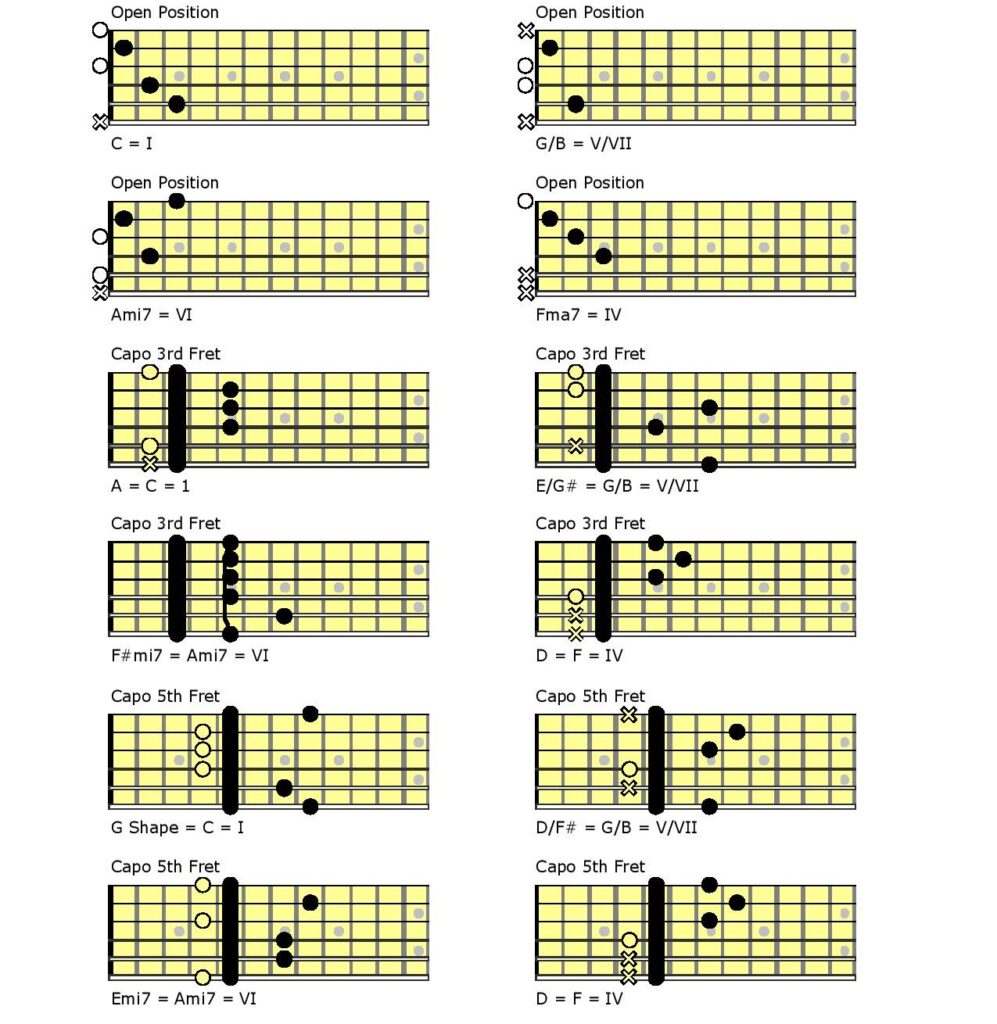
Why is this worth doing? Well, the new shapes provide a higher pitch, as well as different chord voicings to the original sequence, which creates very musical results. (“Voicing” refers to the order of notes from low to high within a chord.) This is a great way to separate frequencies in a dense mix, add interest to two-guitar parts and capitalize on alternate techniques — for example, strumming the original chords and fingerpicking the higher voicing, or vice-versa.
By the way, guitar parts can be layered multiple times using this capo technique giving you many different sonic options to choose from. The three options shown above are used in the video later in this posting, so you can hear how these alternate shapes, used in combination with a capo, affect the overall sound.
Nut Height
The more you press down on guitar strings, the higher the pitch goes up, so you should always check your guitar’s nut height and intonation to make sure all notes are in tune when fretted.
I prefer to have the string height at the nut cut as low as possible so that it takes less pressure to fret the notes while still allowing for a clean buzz-free tone in open position. Often, the reason your acoustic guitar is out of tune when using a capo is because the nut height has been set too high.
Adjustable Tension Capos
The capos a lot of singer-songwriters use on their guitars during live performance are spring-loaded and have a set tension, which means you have no control over the amount of pressure applied to the strings. I always cringe when a performer places one of these types of capos on the desired fret location and starts to play their song … even though the guitar is now way out of tune.
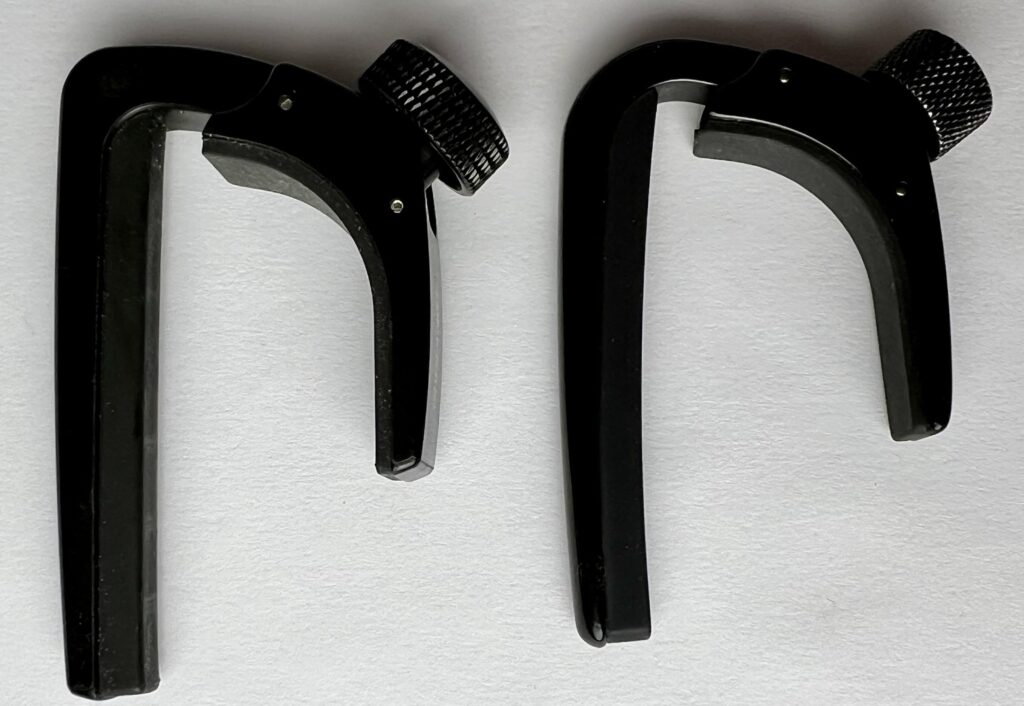
Instead, I suggest purchasing a capo that allows you to adjust its tension. Typically, it will feature a rotary dial that you turn to increase or decrease the tension of the capo without compromising tuning stability. These adjustable capos are great for multiple guitars too, including electric, and you’ll soon acclimate to the amount of tension needed to keep your personal guitars in tune.
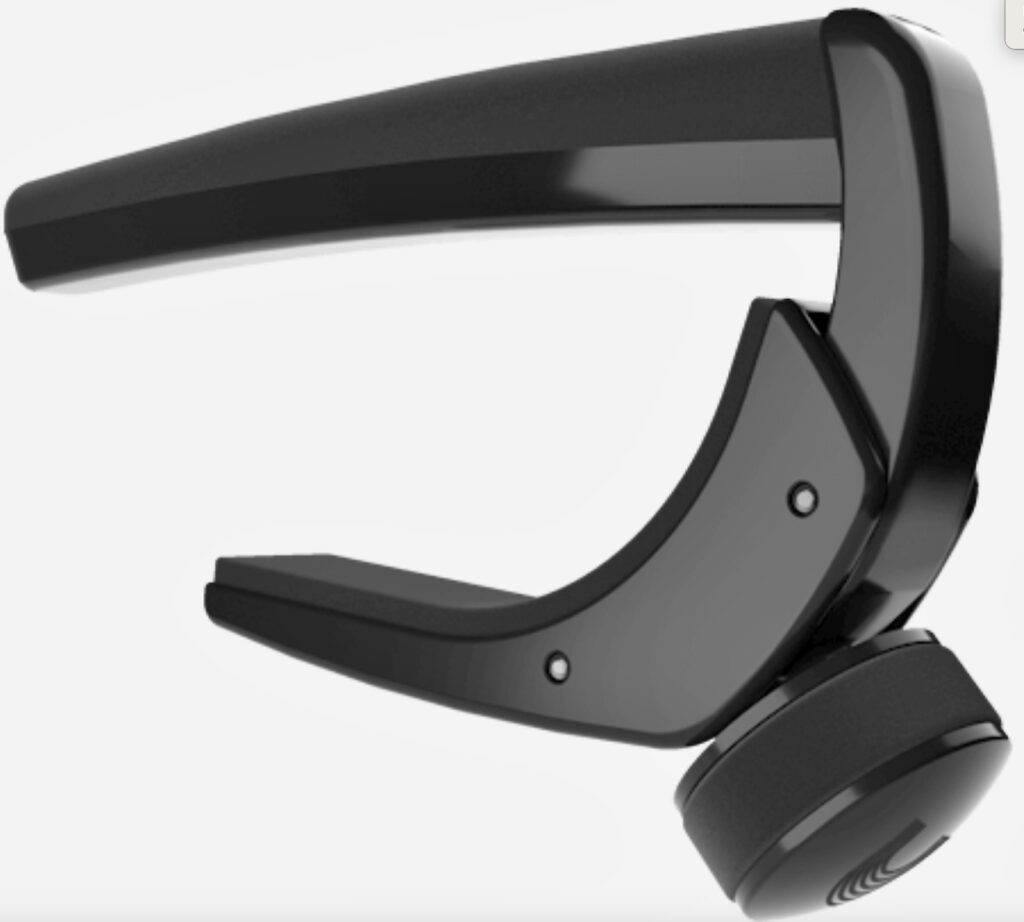
There are also partial capos that only depress specific strings (chosen by you). These allow the player to create interesting tunings. They’re great for experimenting, but I’d recommend first getting used to a capo that transverses all six strings.
Different Capos for Different Guitars
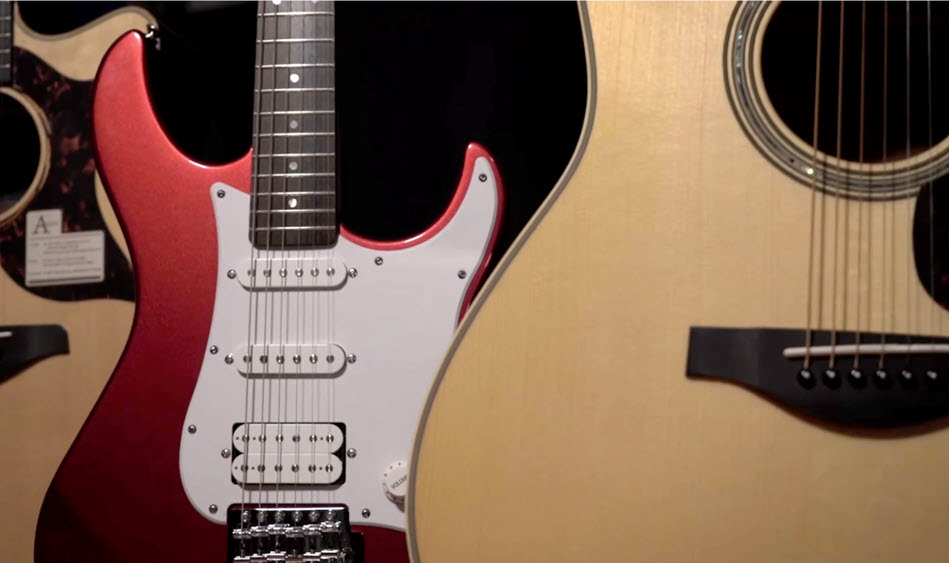
The capo is usually associated with steel-string acoustic guitar applications, but it can also be used on electric guitars, nylon-string guitars, banjo, mandolin and even ukuleles. However, it’s important to take into account the fretboard radius of the instrument on which it will be employed.
Vintage electric guitars often have 7″ or 9″ radius fretboards, which means there is a pronounced curve to the fretboard. So, if you are using a capo designed for an acoustic guitar with a flatter radius, you’ll have to tighten it to depress the low and high strings. This can cause tuning problems on the middle strings. Once the outer strings are in tune without rattling, the middle strings are often too tight, causing their pitch to go sharp.
That’s why you should try and find a capo that matches the radius of your guitar(s). This means you may need to use one capo for acoustic guitars and a different one for electric guitars.
In addition, electric guitar strings are usually thinner (i.e., they have lower string gauges) than acoustic guitar strings. You’ll find that the B string, in particular, has the lowest tension compared to the other five strings. Over-tightening the capo may sharpen the B string to the point where it’s noticeably out of tune with the other strings. If this happens, try detuning the B string back to pitch without loosening the capo.
It’s also worth noting that, in contrast to electric and steel-string acoustic guitars, nylon-string guitars have an almost flat radius. If you plan on using a capo on your classical or nylon-string guitar, purchase one designed specifically for a flat radius. These kinds of capos are readily available.
The Video
In this video, I play the chord progression using the two capo positions described in the “Playing New Shapes With a Capo” section above.
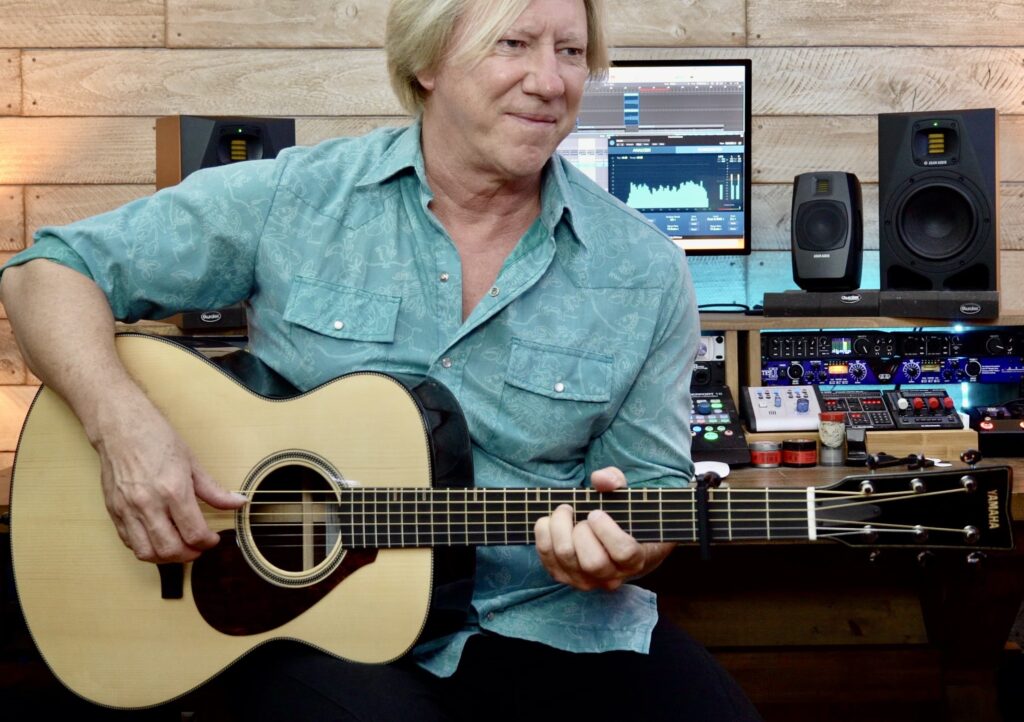
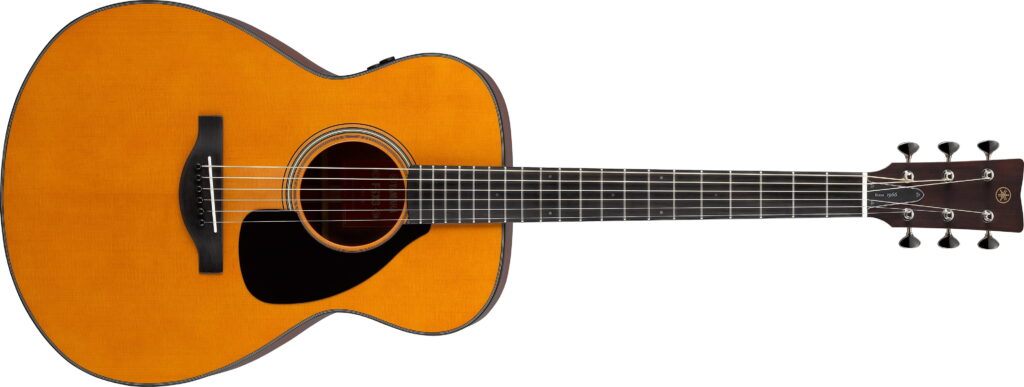
I start by strumming the progression on a Yamaha FSX3 acoustic guitar using open position chord voicings:
II: C G/B I Ami7 Fma7 :II
I then move the capo to the fifth fret and fingerpick the chords on the FSX3 using the new shapes described above.
II: G D/F# I Emi7 Cma7 :II
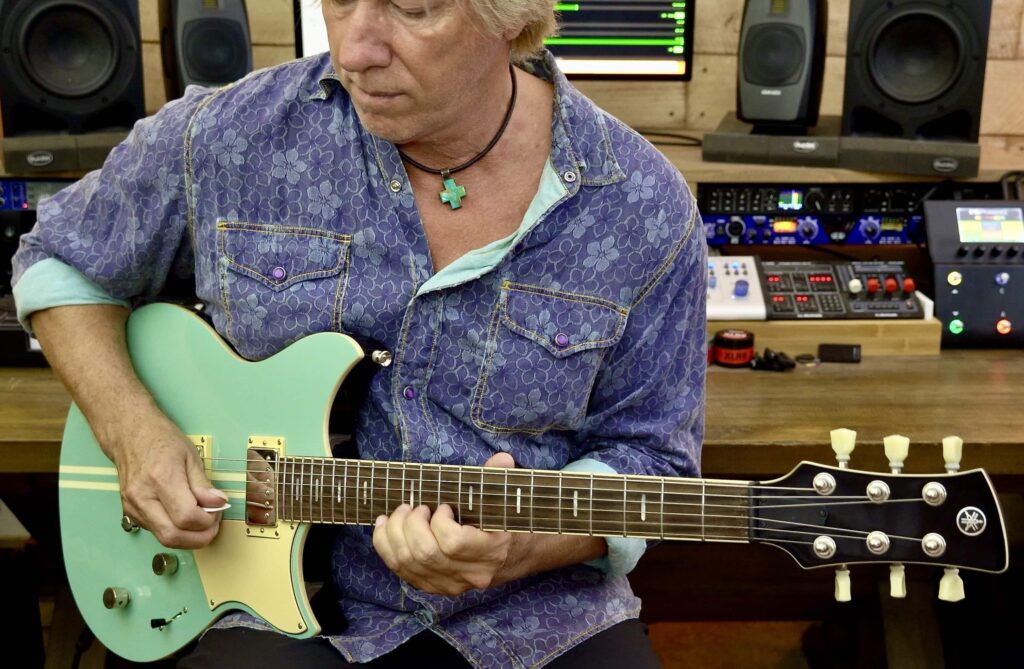
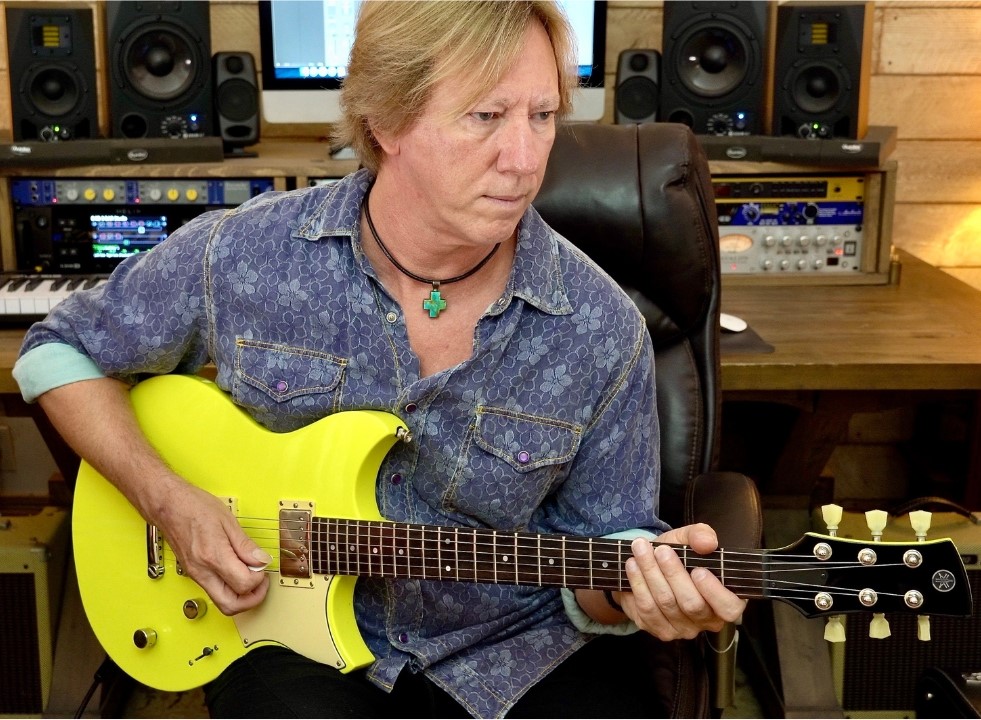
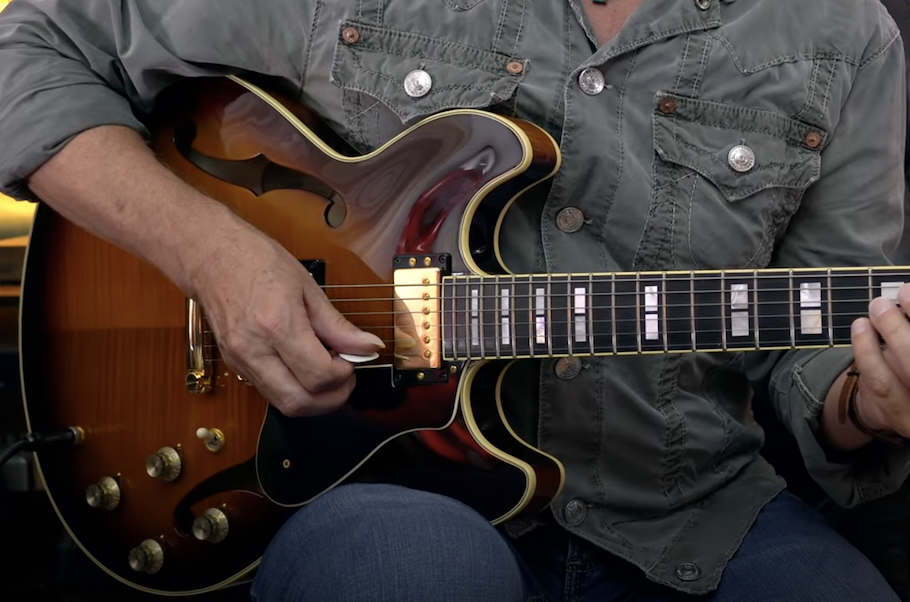
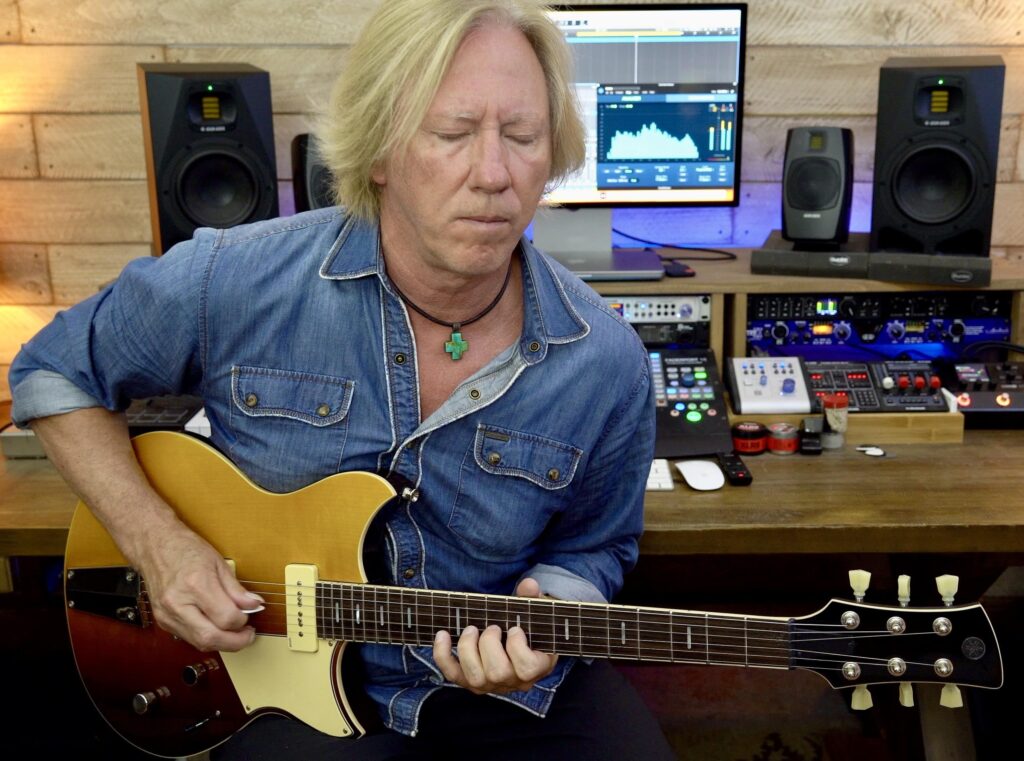
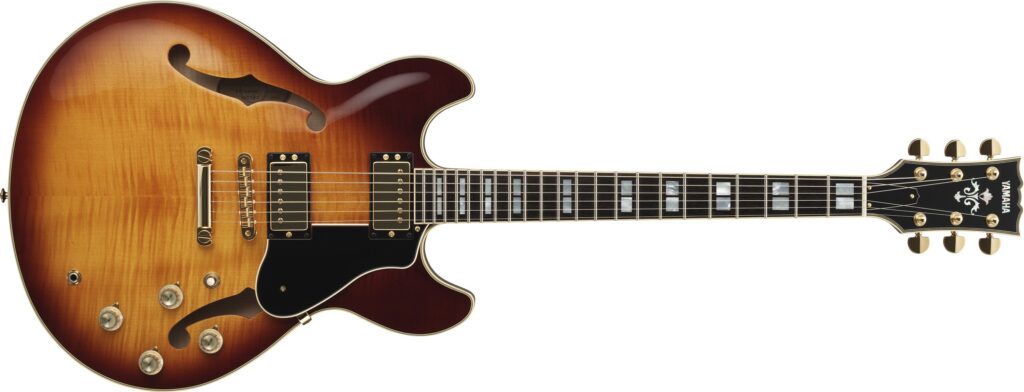
Next, I place the capo at the third fret and pluck the new chord shapes, this time using a Yamaha SA2200 semi-acoustic electric guitar.
II: A E I F#mi11 Dma9 :II
Finally, I add a simple but melodic solo motif (played on the SA2200) for a complete arrangement. I coil-tapped the humbucking bridge pickup for the chords and solo lines to provide extra clarity and punch.
The Guitars
The FSX3 has a really well-balanced low-end response, so overdubs stay clean and tight. Its three-way Atmosfeel pickup system also translates well when recording direct to a DAW (Digital Audio Workstation), as I did in the video above.
The excellent SA2200 semi-acoustic electric is one of my favorite guitars. Not only is it a pleasure to play, it imparts a warm, “woody” tone thanks to its design, large body dimensions and acoustic chambers, along with its soft maple center-block construction and Alnico V (coil-splittable) humbucking pickups.
The Wrap-Up
A capo allows for instant key changes while using the same chord shapes, or retaining the same key using new and exciting chord shape substitutes further up the fretboard. There are also chord voicings and open-string tunings that aren’t available without the use of a capo, plus it can subtly alter the sound of your guitar by making it more “jangly.”
A capo can be used to inspire great musical effects when you understand how to transpose harmonic structures using the major scale formula. Personally, I’m never without a capo at a recording session, gig, or when I travel. It truly is an essential part of my guitar-playing toolkit … and it should be part of yours too!
PHOTOGRAPHS COURTESY OF THE AUTHOR.


