How to Add New Songs to Your CSP
Go beyond the songs in your iTunes® library.

In last month’s blog posting, I discussed how the Smart Pianist app, in conjunction with CSP Series Clavinovas, allows you to learn to play your favorite songs by creating a piano accompaniment score, a chord chart and StreamLights above the keys … and all this just from the audio file!
Typically, you don’t need to “load” songs into Smart Pianist, because content is normally derived from your iTunes® library. In other words, when you buy new songs from iTunes for your computer, tablet or smartphone, you are actually also buying new songs for your CSP. (I didn’t realize this the first time I opened a prototype of Smart Pianist during development and looked at the Music Library. I remember being amazed that the engineers had included content that exactly matched my musical tastes, until it dawned on me that I was just looking at my iTunes library! Duh….)
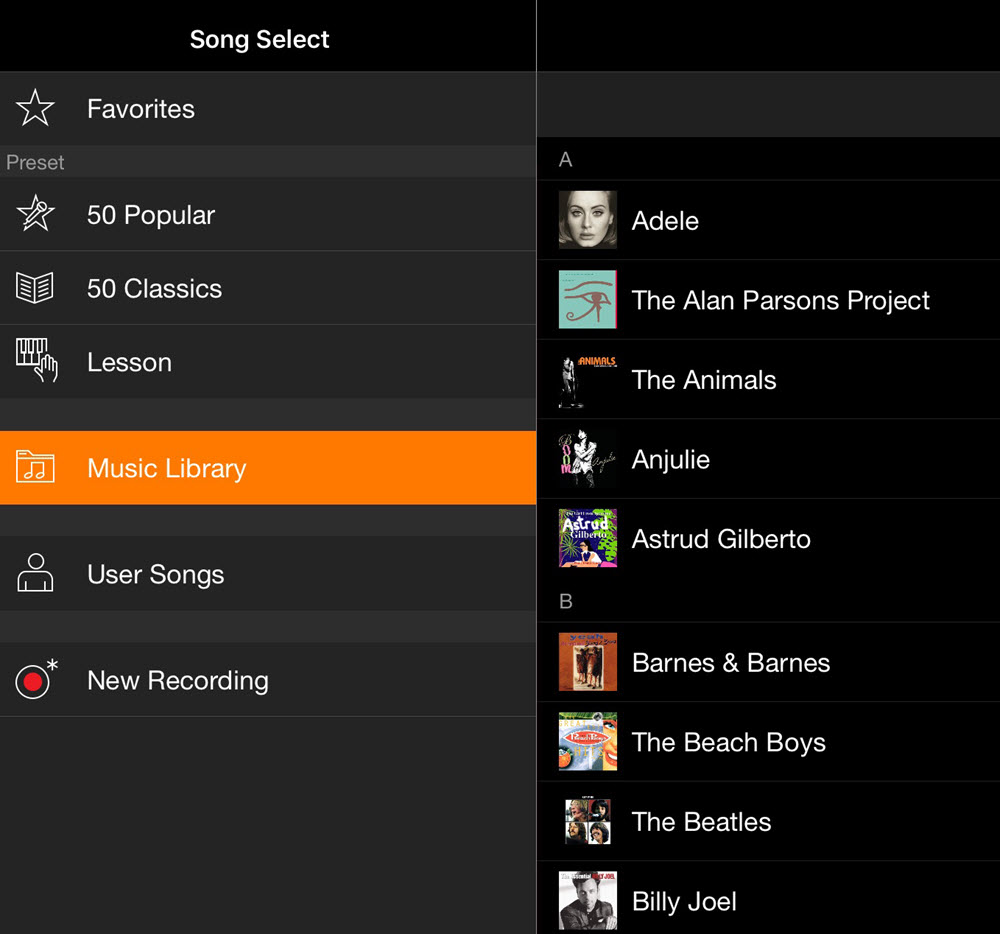
You may be wondering if you can load additional songs into Smart Pianist without buying new songs in iTunes. You sure can! In fact, there is memory inside the app for just that purpose. It’s in an area called User Songs, located directly beneath the Music Library, as shown in the illustration below:
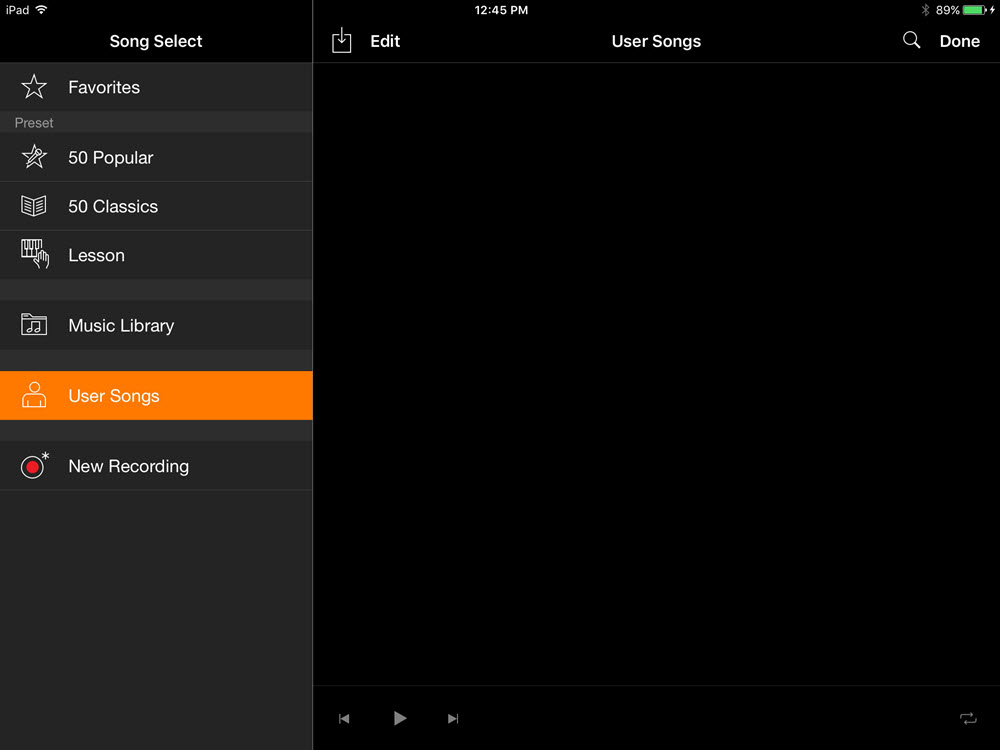
There are several ways in which you can load audio songs — or even special MIDI files like Kooky Karaoke, CueTIME and Follow Lights — into the User Songs area without using the iTunes gateway. In this posting, we’ll describe how it’s done.
Here’s What Won’t Work
While you may be tempted to copy audio or MIDI songs onto a flash memory device and use one of the USB “To Device” ports on the CSP to load songs, that’s not a procedure that will work. That’s because these USB ports are not for loading data, but for connecting to the iOS device running Smart Pianist as well as accessories like the Wireless Lan Adapter (UD-WL01) that come with the instrument. The only way to load songs into the CSP is through Smart Pianist. In other words, you don’t load new songs into the Clavinova; you load songs into the app, and the app does the loading of the songs directly to and from the CSP.
Here’s What Will Work
Fortunately, there are several ways to get additional songs into the CSP User Songs area, all made possible by existing Apple® iOS file exchange protocols. Here’s a list:
1. Dropbox (access is built-in to the app)
2. Airdrop from one Apple device to another
3. Emailing attachments
4. Texting attachments
5. Syncing using iTunes File Transfer
6. Downloading directly from websites into Smart Pianist
Let’s talk briefly about each:
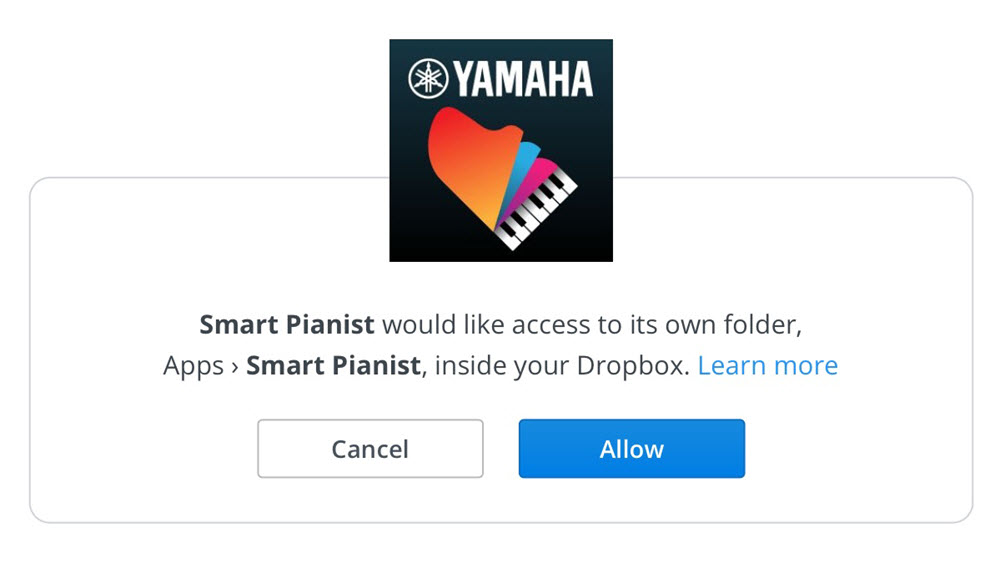
1. DROPBOX – This was the main portal that engineers had originally intended for loading additional songs into Smart Pianist. The process is simple: From within Smart Pianist, go to System > Utility > Dropbox and sign into your Dropbox account. (If you don’t have an account, get one! It’s free and the Dropbox “basic” account includes 2 GB of storage space.)
You only need to do this once, by the way. Signing into Dropbox from within the app will automatically create a folder and subfolder in your Dropbox account called “Apps” and “SmartPianist,” respectively.
If you then put .mid, .wav or .m4a files (i.e., MIDI, WAV audio, or MPEG4 audio) into your “Smart Pianist” Dropbox folder, they can be accessed directly by Smart Pianist and, from there, downloaded to your CSP. (Note that the CSP will not display songs that are not compatible). Here’s how it works:

To retrieve a song from Dropbox, go to the User Songs folder in Smart Pianist, then download from Dropbox by touching your iOS device’s IMPORT symbol, shown on the right:
You will then see the following dialog:
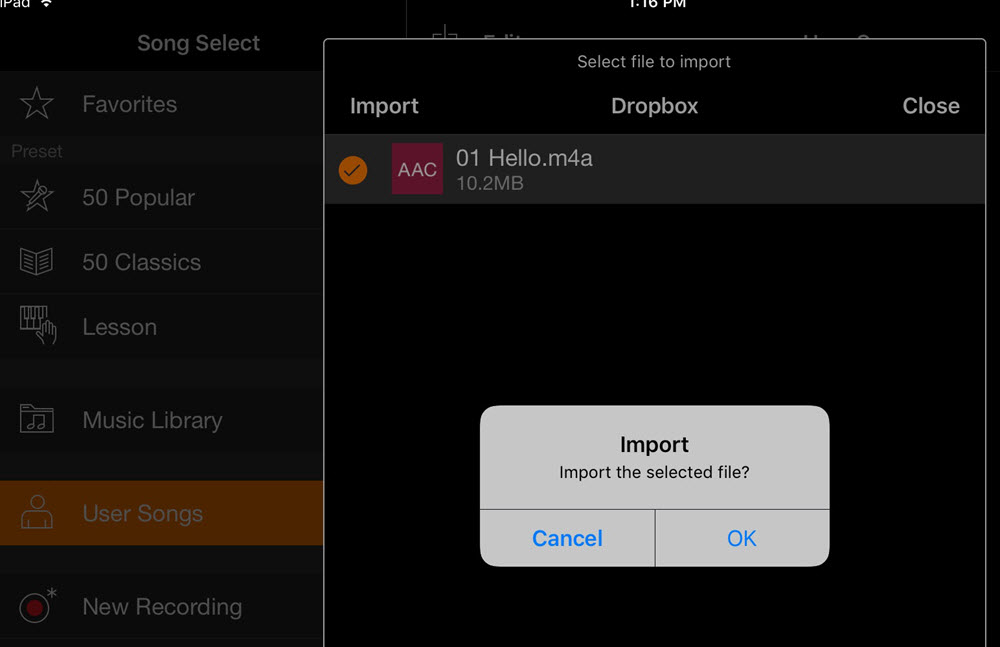
Touch OK and you’re done.
You can also send files from Smart Pianist to Dropbox by using EXPORT: the files will automatically go into the designated folders when you select “EDIT.” (Note that the EXPORT symbol is not active until you select a song.) In short, think of Dropbox as your “cloud storage” for CSP. This EXPORT to Dropbox procedure is actually the only way to get songs out of the app for sharing. No more saving to a thumb drive!
2. AIRDROP – This is actually the option that I prefer. Using this Apple-exclusive technology, you don’t need to use any external service like Dropbox to get songs into your CSP. However, this can only be done between two Apple devices, like a laptop to an iPhone®, or iPad® to iPad. First, you must make your receiving iOS device available to “Everyone,” which means that all nearby iOS devices using AirDrop can see your device. To do this, go to Settings > General > AirDrop and make the selection “Everyone”:
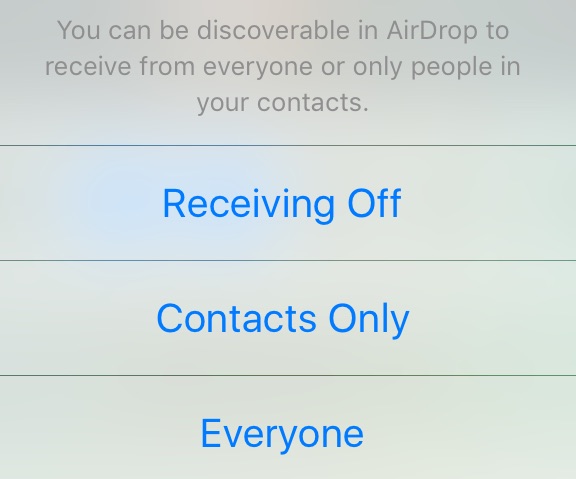
Also, you must make sure that Bluetooth® and WiFi are set to “ON” in both the sending and receiving devices. Note that you do not need to pair with any other Bluetooth devices, and you don’t need to join any wireless networks, either — both Bluetooth and WiFi simply need to be “ON.” This allows both devices to “see” each other in the same room (at a distance of up to 30 feet). Then, when you “Accept” the file from the other device, Apple temporarily creates an Ad-Hoc WiFi connection between the two devices — no pairing or passwords required.
Once that’s done, simply find a file you want to send, then select the symbol for Download or Import. The other device will then appear above the other sharing options. When you select that device, a notification will appear on the receiving iOS device asking you to “Accept” or Decline”:

When you “Accept” the file transfer on the receiving device, the receiving device will give you several choices to “Open with” and list all the programs that can use the file format you have selected. As long as you are sending a .mid, .wav or .m4a file, Smart Pianist will be listed as one of the choices. (If it isn’t listed, you’ve sent a different file type.)
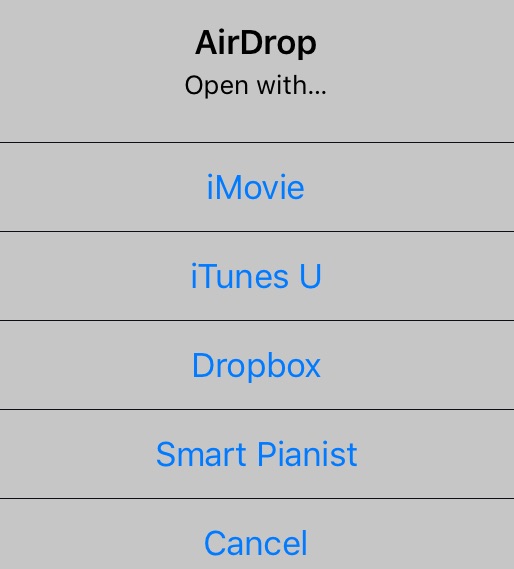
Once completed, go to the Smart Pianist User Song area and you will see your file listed.
3. EMAIL – Sending a song as an attachment in an email is an easy way to use a technology we all use every day. To do so, either “add attachments” from your iCloud drive, or highlight a file in the new FILES folder of iOS 11 (or any other database of songs), then select the EXPORT or UPLOAD icon and select MAIL as the option. When your recipient receives the email, they will see the attachment. After downloading the attachment by tapping on it, they then press and hold the attachment in the email to see a dialogue that lists several apps to use. As long as you have emailed a .mid, .wav or .m4a file,“Import with Smart Pianist” will be one of the options.
4. iMessage – You can even send a file as an attachment in a text iMessage. Similarly to receiving an email, all the recipient has to do is tap once to download the file and it will open. Again, all they have to do is select the EXPORT or UPLOAD option. As long as you have sent a .mid, .wav or .m4a file,“Import with Smart Pianist” will be one of the options:
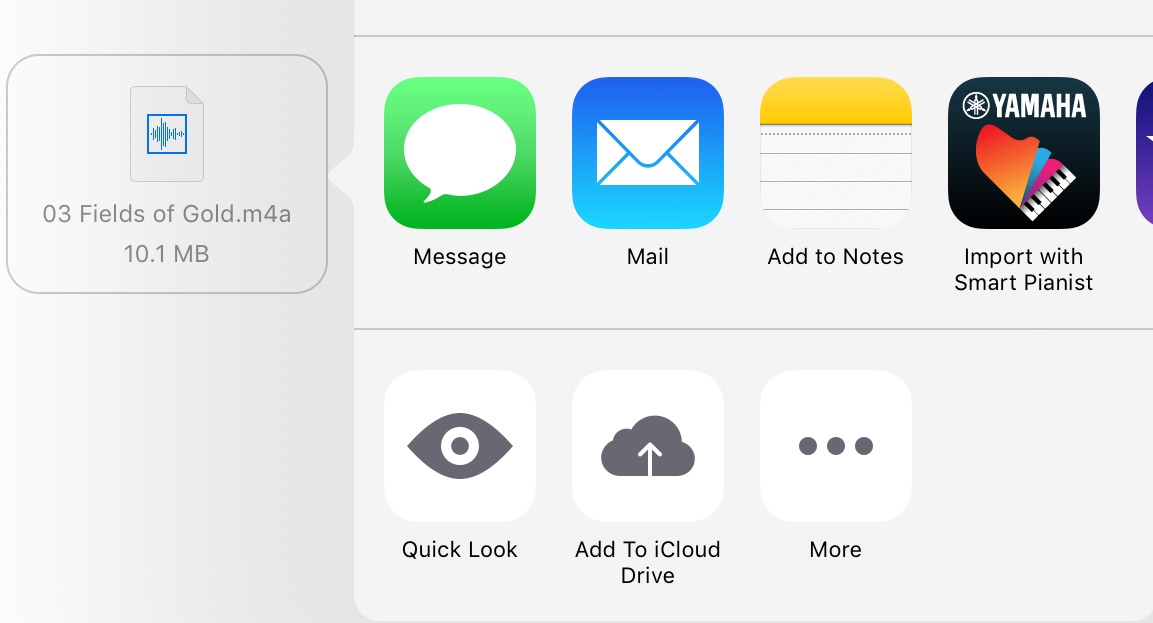
5. iTunes File Sharing – This is my least favorite option, because there are so many steps, but I’ll tell you about it anyway. If you connect your iOS device to iTunes via a laptop or desktop, you can use the iTunes File Transfer function selectively to send files to the File Sharing area in apps like Smart Pianist. (In fact, if you use any of the methods listed above to get your files into Smart Pianist, the files are placed in the File Sharing folder.) This technique allows you to send multiple files all at once, but requires a little more sophistication with Apple iTunes, which can be a little kludgy at times. (If you have a Mac laptop or desktop, consider buying an app called iMazing to make file sharing a lot easier.)
6. Downloading directly from websites/servers – If a website provides the ability to directly download .mid, .wav or .m4a files (even if they are zipped), Smart Pianist is able to accept these files — it can even do the unzipping automatically. When you click on the dialogue to “Start Download,” you’ll see Smart Pianist listed as an option, as long as the files being sent are compatible .mid, .wav or .m4a format.
Enjoy your new songs!


