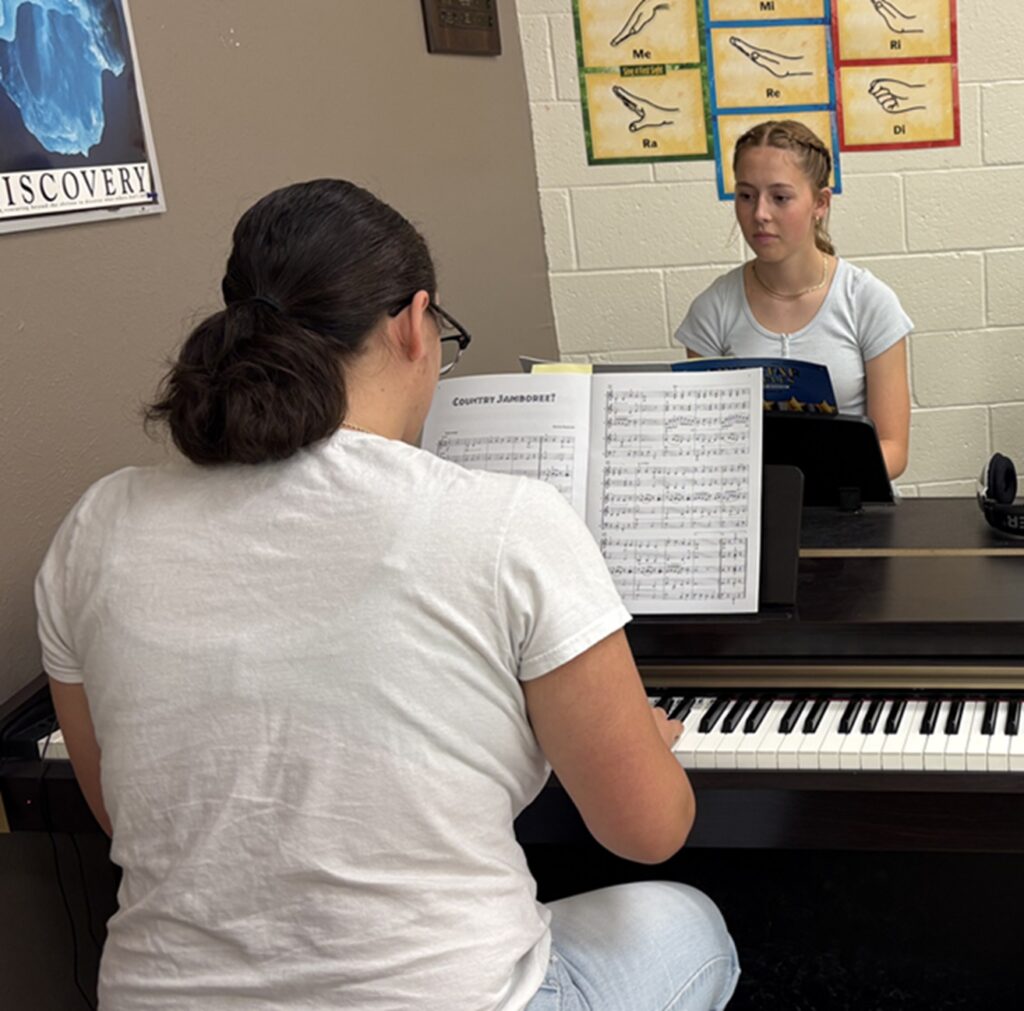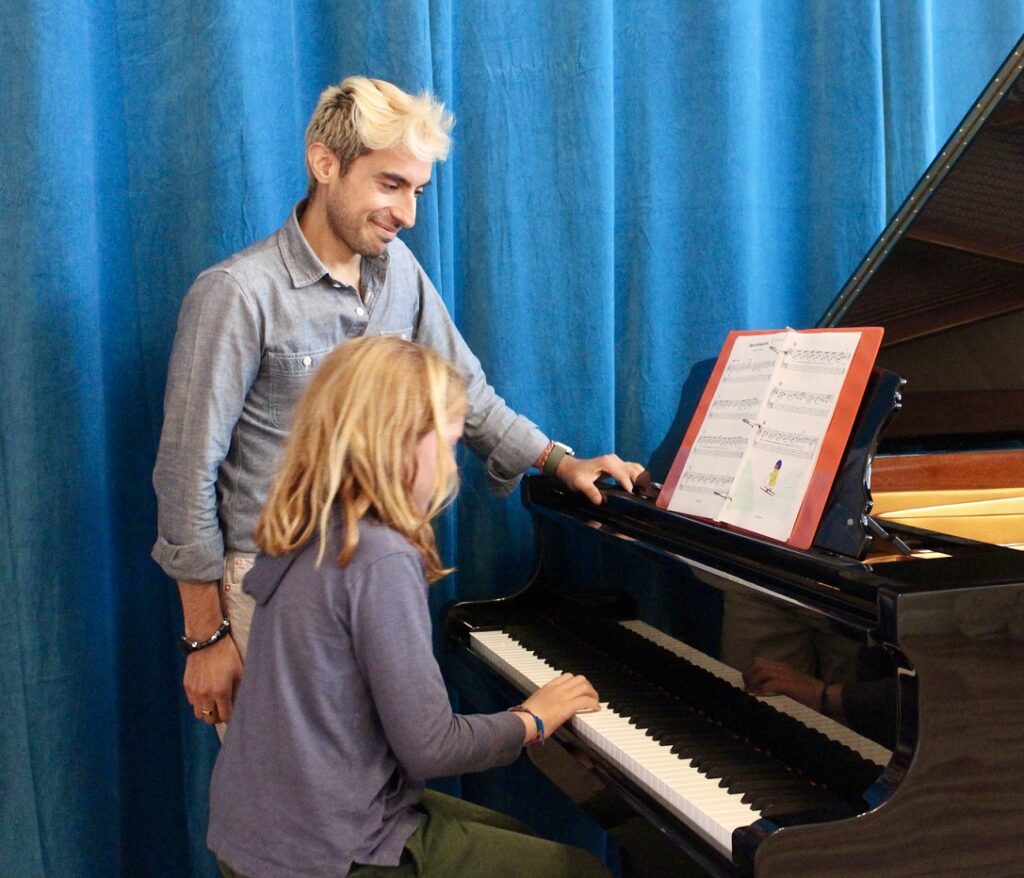
Fix It: Teaching Tips for Playing Even Scales on the Piano
Major and minor scales and arpeggios are some of the simplest and most useful music patterns and exercises available to pianists to build and maintain their technique.
Moreover, these patterns are the building blocks of all tonal music, so practicing them not only helps develop technical facility at the keyboard, it also helps to train our ears to listen critically and our fingers to respond accordingly.
For example, learning to listen for, recognize and then find that raised leading tone on the keyboard in a harmonic minor scale is developed through scale practice. Practicing scales and arpeggios also helps to improve students’ ability to sight-read fluently because their kinesthetic and topographical familiarity with the keyboard is enhanced through the practice of these patterns. In addition, familiarity with scale and broken chord constructions enriches the pianist’s theoretical and analytical understanding of music.
As a high school student, my piano technique was admittedly underdeveloped. While learning a piano sonata by Haydn, I struggled to play the scale passages within the piece with rhythmic evenness and technical control, and I couldn’t figure out how to fix the problem.

Just before the winter break, my piano teacher offhandedly commented that “two hours of scale and arpeggio practice a day will fix those passages and go a long way to improve your technical facility in general.” Young and impressionable, I took this advice literally and spent my winter vacation diligently practicing scales and arpeggios for two hours each day.
Unsurprisingly, my piano technique did improve and my Haydn sonata started to sound better! In addition to my committed practice, my teacher also offered several suggestions for improving my physical approach to technique. These insights together with my dedicated scale practice were vital to improving my scale playing, and my playing in general.
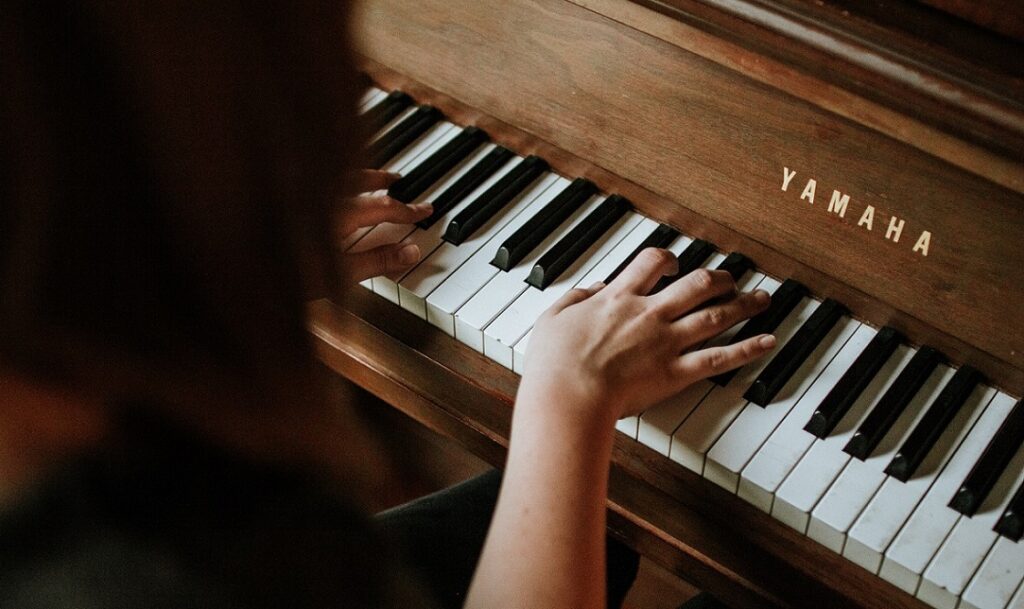
So, while scale and arpeggio practice can be highly beneficial, it is all too common for students to play these patterns without considering their physical approach to the keyboard. If their approach is unhealthy, technical progress can be slow or even thwarted. Teaching a student to find and maintain a healthy hand position including correct finger action that facilitates rhythmically even, fluid, lucid and musically played scales and arpeggios can be challenging.
Students can develop any number of errors or bad habits in their physical approach to the keyboard, playing position and motion across the keys, and these poor habits can be challenging to correct later on. Some of the most common errors in the physical approach to playing scales and arpeggios include:
-
flat or curled versus curved fingers
-
incorrect position of the thumb on the keys
-
an overly high or low wrist
-
collapsing final finger joints and a lack of knuckle strength or “bridge” support within the hand
-
ulna deviation or twisting of the hands<
Most worryingly, these poor physical habits may result in inefficient technique, uneven and unmusical scale and arpeggio playing, and even injury. Below, I have considered each of these common errors and provided some teaching suggestions for improvement.
Fix It: Flat or Curled Fingers
 Students often play with flat fingers — with their nails visible on the keys — so they can see that they are playing the desired keys. However, a curved hand position where the tips of the fingers are used allows for more dexterous scale playing because the fingers are able to move with greater ease and speed. The fingers simply cannot move as quickly in a flattened position. When playing with flat fingers, there is also more friction between the fingers and the keys, which makes it difficult to play scales fast. Think of flat-fingered scale playing as akin to sprinting flat footed.
 On the other end of the spectrum, students may overdo curved hand positions and end up curling their fingers. As such, they grip the keys and play with what some teachers call “the claw.” Playing scales in this way necessitates a lot of physical effort as one muscle or set of muscles is needed to keep the fingers in this curled position, while another muscle or set is needed to lift and move the fingers.
In the article, “Pianist’s Injuries,” Thomas Mark writes: “When one muscle contracts, the opposing muscle must release and lengthen to permit movement. If this does not happen — that is, if the opposing muscle remains tense — then both muscles are contracting simultaneously, which is called co-contraction.” This idea of co-contraction not only causes tension and inhibits the player’s ability to play scales and arpeggios quickly, evenly and efficiently, it can also lead to serious injury. Thomas Mark’s book, “What Every Pianist Should Know About the Body” is an invaluable resource to all pianists and teachers.
 SOLUTION: The solution to correcting flat or curled fingers is similar. First, help your students understand that neither flat nor curled fingers are the most comfortable or ideal finger position for fast scale playing. In a neutral position, the fingers of the hand curve naturally, and this position is best for achieving superior scale and arpeggio playing. Here’s a simple exercise to help students find the natural curve of the fingers: Have them lift their arms to shoulder height at their sides and then drop their arms freely. Looking down, they will notice that their fingers are now in a naturally curved position.
In the book, “Chopin: Pianist and Teacher as Seen by His Pupils,” Chopin’s advice for finding good hand shape on the keyboard was to place the right-hand thumb on E, the longer fingers 2, 3 and 4 on the group of three black keys, and finger 5 on B (or C for a larger hand). The mirror image works for the left hand (thumb on B and 5th finger on E/F with fingers 2, 3 and 4 on the black keys). Teachers can then adjust this position as needed. Take a picture of this proper hand position and send it to your students, so they can refer to it during future practice sessions.
THE YAMAHA EDUCATOR NEWSLETTER: Join to receive a round-up of our latest articles and programs!
Fix It: Incorrect Thumb Position and Motion
 Many students misunderstand the correct position of the thumb on the keys and try to play using too much of the thumb, or even attempt to play on the very tip of the distal phalanx rather than on the corner of it (the spot on each thumb where the nail meets flesh). As such, students sometimes incorrectly play with a straight rather than a slightly bent thumb.
 In addition, when passing the thumb in ascending right-hand and descending left-hand scales or arpeggios, many students begin moving the thumb under the hand too late, or keep the thumb straight rather than slightly bent at the proximal interphalangeal joint when moving it.
These errors can result in a bump in sound or “lumpy thumb” patterns and jerky movements as the student struggles to move the thumb with ease and on time. The bump often happens because the thumb is moving with speed to play in time. As such, the key played by the thumb is played faster and the resulting tone is louder — i.e., a “bumped” note and a scale that sounds tonally uneven. Alternatively, some students drop the entire forearm when passing the thumb under the hand as they play on the incorrect part of the thumb or try to play with the thumb at the wrong angle, and thereby create a thumb “bump” or accent at every hand position change in scale or arpeggio playing.
 SOLUTION: The best way to help a student understand where to play on the thumb is to simply point it out to them — touch the part of thumb that should make contact with the key. If a student has been playing with the wrong part of their thumb, or without bending it from the proximal interphalangeal joint, or at the wrong angle in relation to the key, the correct procedure will feel strange and unfamiliar to them. It will take time for them to change their habit and learn to use the thumb properly and effectively.
 To facilitate improved thumb motion under the hand in scale and arpeggio playing, break down this small, but surprisingly challenging, movement into several steps. I recommend working on this motion first in scale playing versus arpeggios and start with a scale with many black keys. According to the book, “Chopin: Pianist and Teacher as Seen by His Pupils,” Chopin advocated for having students start with B major (right hand) and then D flat major (left hand) scales with the position of the thumb in mind. These are also some of the easiest scales to coordinate in hands-together playing as the thumbs of each hand come together on the white keys. Together with G flat major, these are the first octave scales I teach a student to play hands together. These scales are also excellent for achieving good passing of the thumbs as fingers 2, 3 and 4 play black keys, which are raised, allowing for a natural space to emerge on the keyboard in which the thumb can move freely and easily.
The C major scale is the hardest to play with the passing of the thumb in mind as there are no black keys. As a result, it was the last scale Chopin apparently used to teach to his students and is the last scale I teach as well. Of the scales starting on a white key with the same fingering as C major in both hands, E major is physically easiest to play, in my opinion, as it has four black keys.
For my sample exercise below, which is demonstrated in this video, I have referenced the E major scale, ascending in the right hand and descending in the left hand as follows:
- Tell students to get ready to play the first three notes of the scale: E, F sharp and G sharp in sequence with fingers 1, 2 and 3 on the right hand or E, D sharp and C sharp on the left hand.
- As soon as the thumb has finished playing the E, tuck it under the hand.
- To help facilitate a bending motion of the thumb, brush/touch the inside of the hand, just below the fourth or third finger.
- Teachers must ensure that the student uses the motion of the arm to help prepare the hand position change and that the wrist is high enough (but not too high) to facilitate the passing under motion of the thumb.
- Then have students play A with the right-hand thumb or B with the left-hand thumb. Thereafter, go back and forth playing these first four notes of the scale ascending and then descending with the right hand (and vice versa with the left hand) until the thumb is moving optimally, and the wrist, arm and hand are helping to facilitate a smooth and efficient thumb movement and hand position change.
Fix It: Suboptimal Wrist Position
 Some students try to play scales with a hand(s) that is not kept in line with the arm at the wrist, such that the position of the wrist joint is overly high or overly low.
In his article, “Pianist’s Injuries” on pianomap.com, Thomas Mark calls these “awkward positions” and states that,“the mid-range position of the wrist, with the wrist in a straight line with the arm, gives the greatest mechanical advantage to the fingers.”
 As such, ease of movement is lost, tension can develop and injury can ensue when utilizing awkward wrist positions while playing.
SOLUTION: An old trick for helping students play with the wrist in a mid-range position is to place a quarter on the wrist. If the coin falls while the student is playing, the wrist has either dropped too low or lifted too high.
 Some teachers prefer to use the image of a “floating wrist” to help students achieve an improved mid-range position. When I inherit a student who has been taught to make a dropping motion of the wrist on every finger action to achieve a weighty sounding scale, I encourage them to strive for “beautifully gliding” scales. As such, the arm guides the fingers so that the hands and arms move laterally (or horizontally) over the keys like a figure skater glides effortlessly over a glassy lake, rather than creating the visual and sonic effect of choppy waves. Gliding scales can be further enhanced with a gradual and even crescendo ascending and diminuendo descending. In this way, they are rhythmically even and musically shaped.
Fix It: Collapsing Finger Joints and No Bridge Support
 Some students are able to implement the natural curve of the hand in their scale playing, but then they allow the final knuckle or distal interphalangeal joint of fingers 1, 2, 3 and/or 4 to collapse as one or more fingers depress the keys (this happens most often with finger 4, in my experience). According to Carolyn and Jamie Shaak in “The Shaak Technique Book,” all three finger knuckles (metacarpophalangeal, proximal interphalangeal and distal interphalangeal joints) of fingers 1 to 4 should remain “firm and fixed” and not collapse at any point when playing scales or arpeggios.
 Collapsing joints can result in two-handed scale playing in which the hands are unaligned or unsynchronized because the final finger joint in one or both hands is not firm and, therefore, not moving with control, resulting in differing speeds in the dissent of the keys played by each hand.
Also common is the lack of knuckle support at the metacarpophalangeal joints within the hand. Strong knuckles are visibly pronounced in piano playing and together form what is sometimes called the “bridge” of the hand. When this so-called bridge is not well developed or implemented in piano playing, it can cause lack of dexterity and clarity of tone, especially when playing scales. It can also cause tension in the hand and lead to injury.
 SOLUTION: Collapsing knuckle joints are a bad habit and teachers must be vigilant and tireless in their efforts to correct this bad habit among their students. First, students must be aware of how it feels to use the fingertips correctly versus incorrectly.
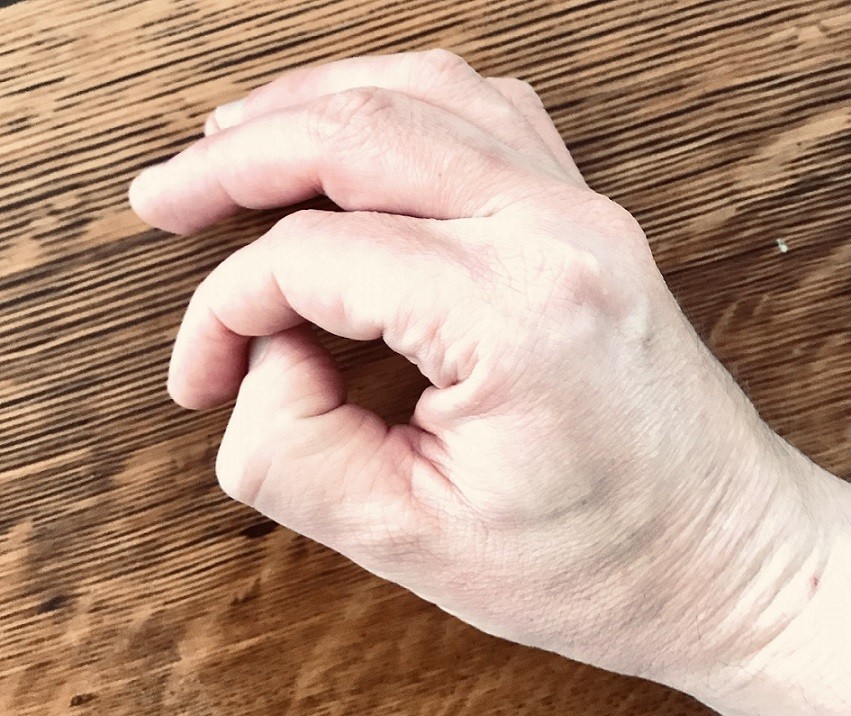
I recommend reading the article, “Synergy at the Primer Level,” by Randall Faber. He describes one way to help students feel the correct part of the fingertip used in piano playing. This is done by having students create an “O” shape (see photo to the right) by placing the thumb behind the final knuckle joint of each of fingers 1 through 4 in turn, thereby reinforcing or “bracing” the part of the fingertip used in piano playing of whichever fingertip needs to be (re)discovered. Students can then take that reinforced fingertip and tap it (or “peck” it) on a tabletop or have it touch/depress a key on the piano. I frequently review this exercise with students when one or more of their fingers show some weakness in the final joint and start to collapse when playing.
In addition to playing with strong fingertips, alignment between the hands can be improved with various practice strategies, such as:
- playing with differing articulation in each hand (legato versus staccato) as shown in this video
- playing with different dynamics in each hand (forte versus piano) as shown in this video
- playing in various rhythmic patterns and rhythmic groupings (both the same rhythm or differing rhythms in each hand) as shown in this video and in this video
- purposely playing the hands out-of-sync or in a staggered style (left before right or vice versa) as shown in this video
- various combinations of these strategies as shown in this video
The ear will then be able to hear each hand independently while the hands play together. Poorly aligned scales are often a result of both unhealthy physical habits and weak listening skills.
As for achieving a strong bridge in the piano playing hand, Carolyn Shaak helps her students visualize this position using the analogy of snowcapped mountain peaks (i.e., raised or pronounced metacarpophalangeal joints) versus a valley (collapsed metacarpophalangeal joints). In “The Shaak Technique Book,” which she wrote with her daughter Jamie, Carolyn uses several other effective analogies for improving hand shape, including: “Make a dog house, and make a muffin not a pancake.”
Another tip is to have students stretch out their fingers on a tabletop and then gently bring their fingers together to a point, thus raising the knuckles. Students then need to learn how to lift and drop the fingers from each metacarpophalangeal joint effectively.
Fix It: Ulna Deviation
 Ulna deviation is all too common in piano playing. According to Medical News Today, it is defined as “a medical condition that causes the joints in the wrist and hand to shift so that the fingers bend toward the ulna bone on the outside of the forearm.”
Ulna deviation is particularly prevalent when students move to playing scales and arpeggios over several octaves and must reach the highest and lowest registers of the piano. Rather than playing with correct alignment of the arm behind the fingers, a twisted position develops such that the thumb dominates the hand position and is aligned with the arm.
When the pianist navigates the keyboard in this position, the fingers are left unsupported and unguided by the arm. As such, piano tone can be compromised, dexterity is lost and injury can happen.
 SOLUTION: To help curb this harmful habit, make students aware of their ulna deviation and show them how to correctly align the arm behind the palm instead of aligning it with the thumb, so that the arm guides the fingers. It is also helpful to have students think about the position of their elbows in relation to each hand. Tell your students to keep each of their elbows farther away from the trunk of their body to help facilitate better coordination in scale, and even more so when playing arpeggios. It is sometimes helpful to have students imagine a bunch of flowers growing from their armpits and not squish them, or an armpit balloon and not pop it.
When I first teach scales, I begin with five-finger major pentascales; first played by each hand separately, then hands-together in contrary motion (as shown in this video). To help facilitate arm support behind each finger, I have students play with a semi-circular motion of the forearm from the elbow (counterclockwise, ascending in the right hand and vice versa in the left hand). Carolyn Shaak cleverly uses the image of a protractor to help her students achieve this motion and fluid five-finger playing.
I begin with contrary motion so that the movements of each hand and arm are a mirror image of one another, and the same fingers of each hand are aligned and played in sync. As such, the fingers are provided support, and the arm, hands and fingers learn to create fluid, rounded and beautifully shaped pentascales.
Developing a Well-Rounded Piano Technique
In short, scale and arpeggio practice are vital to building and maintaining a well-rounded piano technique. Knowledge of scale and chord patterns helps support elements of musicianship, such as ear training, critical listening, and theory and analyses. In addition, practicing scales and arpeggios can assist in improving keyboard skills like sight playing, score reading and keyboard harmony.
Developing a healthy physical approach to piano playing includes achieving a good hand shape and finger action in all scale and arpeggio playing. This will result in more even and musically played scales, injury prevention and, most importantly, lifelong music-making at the keyboard.
Keep reading