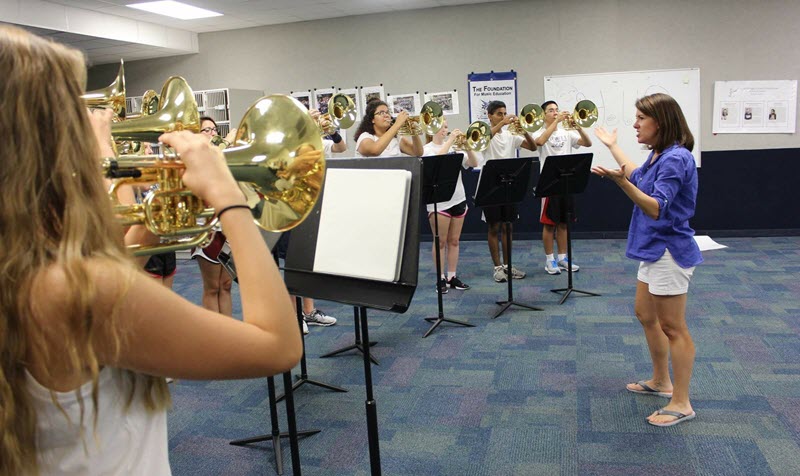
Fix Winds Instruments in a Pinch
As a school band director, you take on many roles, including instrument doctor. For students renting an instrument, the dealer most likely offers maintenance and repair insurance.
Here are some pointers for short-term fixes to help you get a wind instrument playing well enough for a concert or competition without making the actual final repair more expensive.
THE YAMAHA EDUCATOR NEWSLETTER: Join to receive a round-up of our latest articles and programs!
Get Educated
Most educators have experience with the basics of either brass instruments or woodwinds but usually not both. You can find many videos on YouTube and elsewhere that show repair and maintenance for instruments. Be careful because while some have good advice, others are questionable in content. The Band Instrument Repair program at Minnesota State College Southeast in Red Wing, Minnesota, has a series of videos on YouTube with solid information.
You can also learn band instrument repair and maintenance by taking college courses that can be applied toward continuing education requirements. Or consider a part-time job at a music store during the summer to immerse yourself in a shop situation.
Seek Expert Resources
Develop a relationship with your local school service sales representative and repair shop. They can help you stretch your repair budget and provide parts for last-minute needs. They can also help you purchase some needed supplies to stock in your band room.

Assemble a Kit

Here are some specific tools that you should have in your school repair arsenal.
• A few screwdrivers appropriate for woodwind instruments to tighten loose pivot screws and hinge rods. However, be careful that you know which screws should be turned and which should not be.
• A spring hook to hook needle springs back into their cradle.
• Blue painter’s tape to wrap up torn woodwind tenon corks.
• Plastic twist ties or twisted pipe cleaners to connect brace feet on a saxophone when the guard screw has fallen out. This way the threads are not damaged by an incorrect screw.
• Cable ties can temporarily connect a brace on a brass instrument and avoid a more expensive repair caused by soldering or gluing the connections.
• Non-latex bandages to keep a water key closed when the spring has broken. Latex can damage the lacquer or silver finish.
• Rotor string or braided fishing line to restring a rotor.
Stock Extra Supplies
Keep a small variety of cleaning and lubrication supplies in your office for students to use or purchase. Items like valve oils, slide grease, swabs and reeds can save the day.
Consider the Weather
It’s essential to know your year-round local weather, both inside and outside, so you can consider the best storage solutions to prevent repair problems in the short and long term.
Seasonal changes in temperature and humidity are much more dangerous for wood instruments, so humidifying and maintaining temperature in the music room is very beneficial.
Know Your Limits
Once you have the tools that you feel comfortable using and have your room set up, all you need is experience.
Know your limits because there is a very fine line between making a student’s instrument play well for the concert and adding to the final repair cost or actually damaging a part. If you are unsure, leave the repair to the professionals.

This article originally appeared in the 2018 V3 issue of Yamaha SupportED. To see more back issues, find out about Yamaha resources for music educators, or sign up to be notified when the next issue is available, click here.
Keep reading