Utilizing Modeling Technology
Keyboard samples and drum machines have been used to emulate real instruments in popular music for decades now. In the guitar world, the current trend is to “model” key components in the effects/amp signal chain in order to replicate the sound of a processed, amplified instrument.
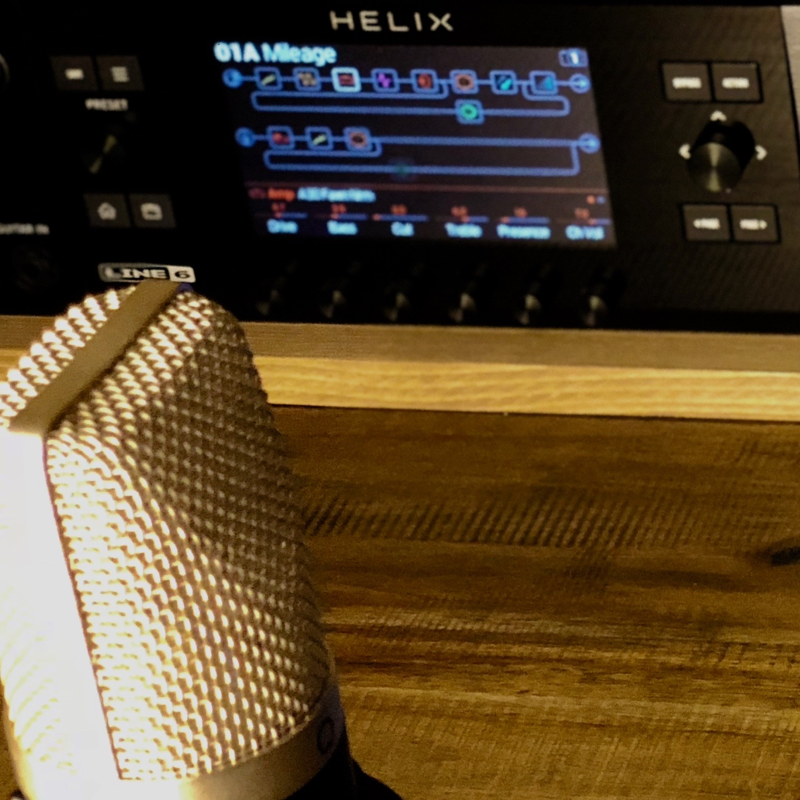
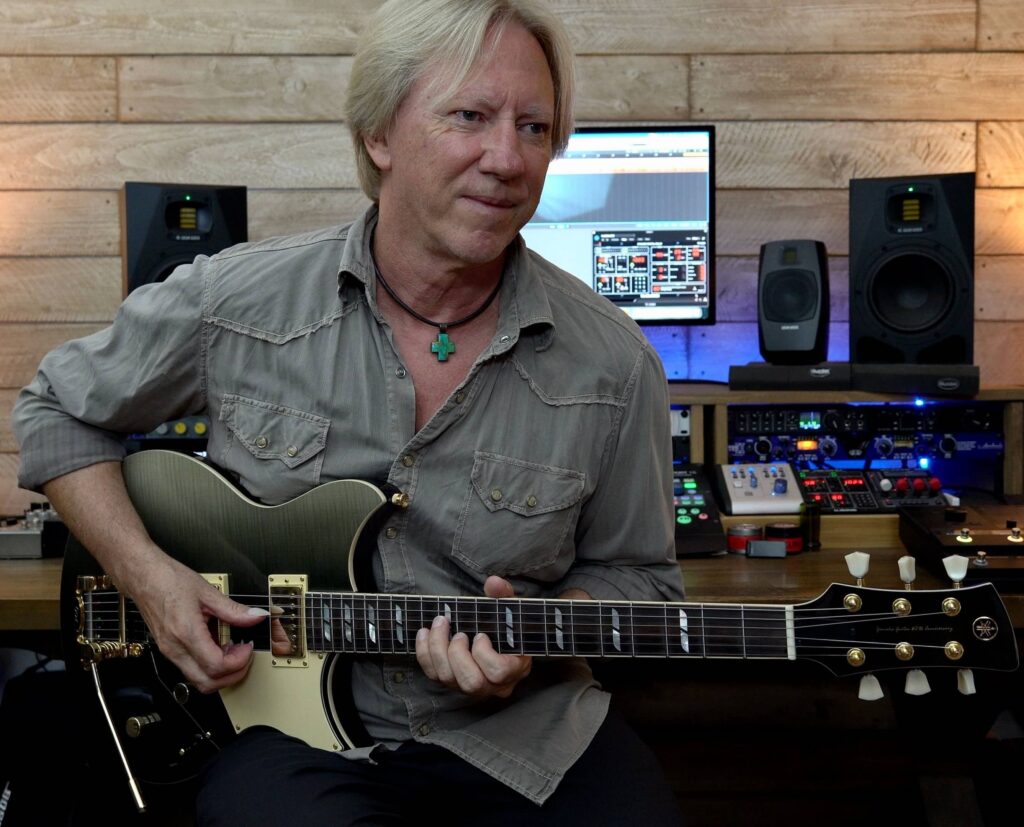
The Line 6 Helix®is a great example of how modeling technology has progressed. This device makes it possible for anyone to access the sound of a range of boutique amplifiers and custom effects in one feature-laden guitar rig, weighing in at only 14 pounds.
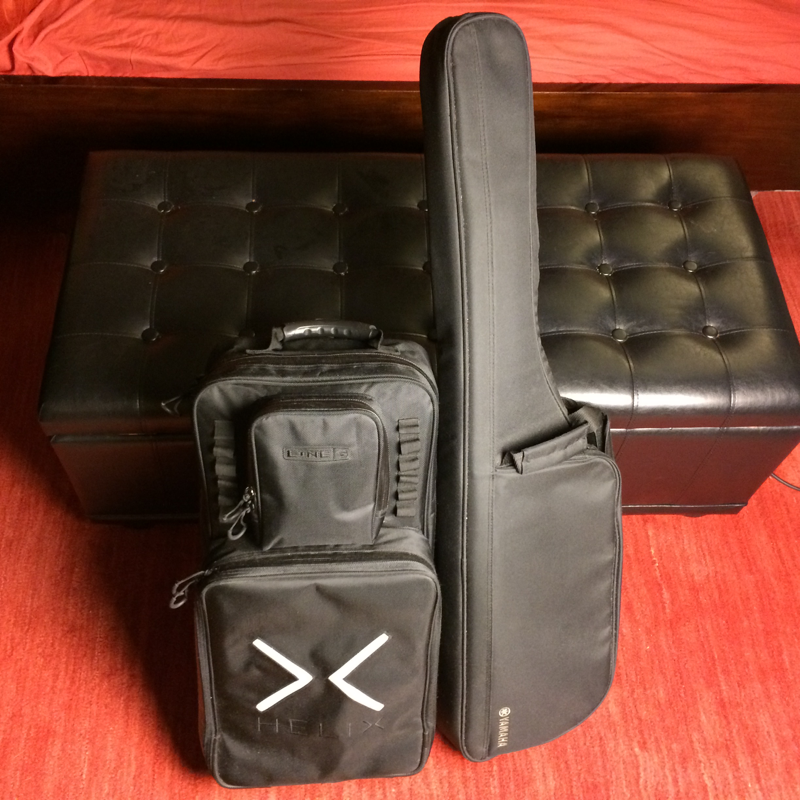
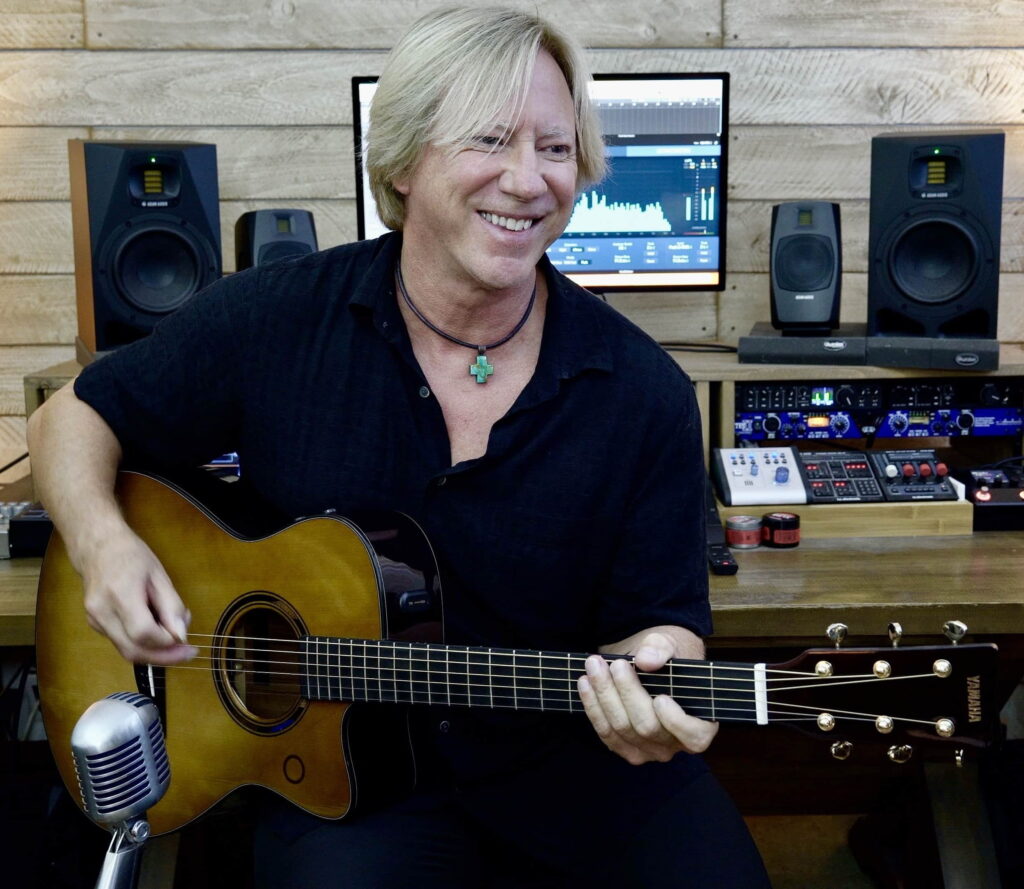
I use my Helix to process my vocals and guitar playing for warm-ups, recording, video and film gigs, trade show presentations, and stage performances all over the world. Helix gives me all of my sounds in a studio quality stereo rig, and all of my song sets are stored and ready to go without any further setup — plus I can listen to everything, via headphones, in the comfort of my hotel room. It’s like traveling with two 4 x 12 cabinets, an amp head, and a pedalboard … and, as a bonus, I can put them all in a backpack that fits nicely in the overhead compartment of any commercial aircraft!
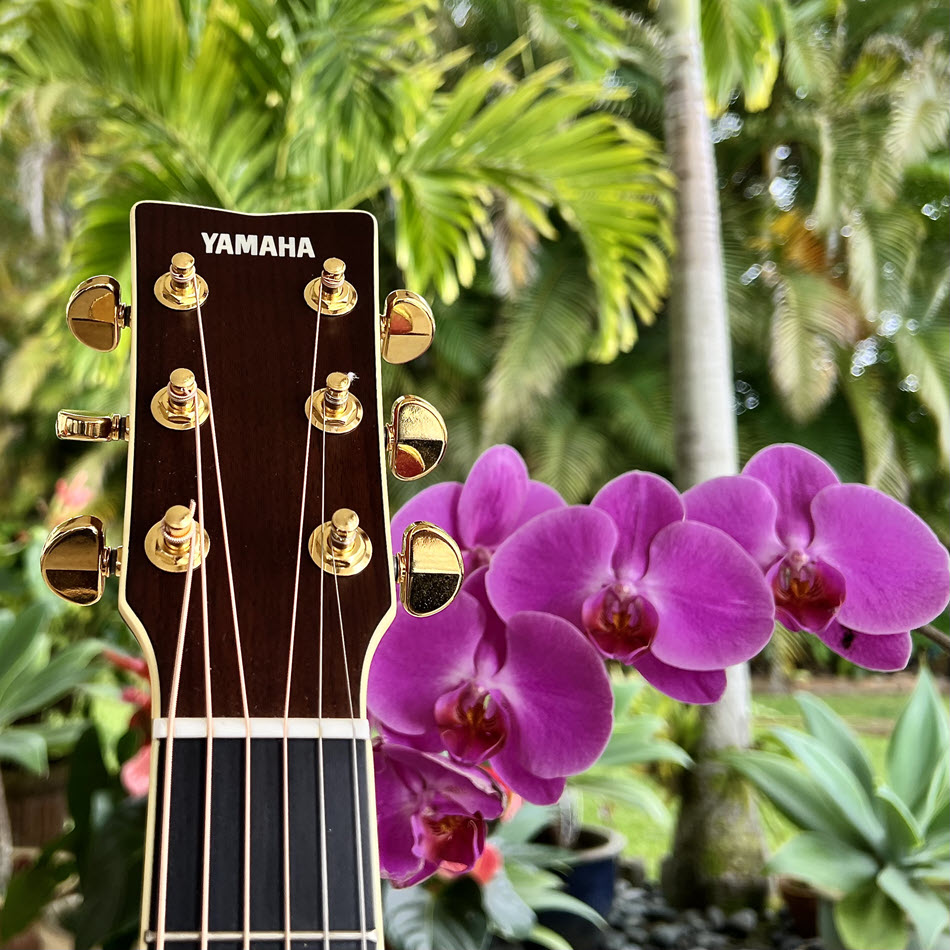
In recent years, manufacturers have also begun modeling the sound of high quality microphones, which can be used in conjunction with Digital Audio Workstation (DAW) and plug-in software. This technology is also available in the onboard acoustic guitar preamps of many Yamaha guitars. For example, the SRT2 (Studio Response Technology) system in the A Series A5 and A3 guitars offers tube and ribbon microphone models that can be blended with a traditional under-saddle piezo pickup to produce a wide range of studio quality, live performance tones.
The Video

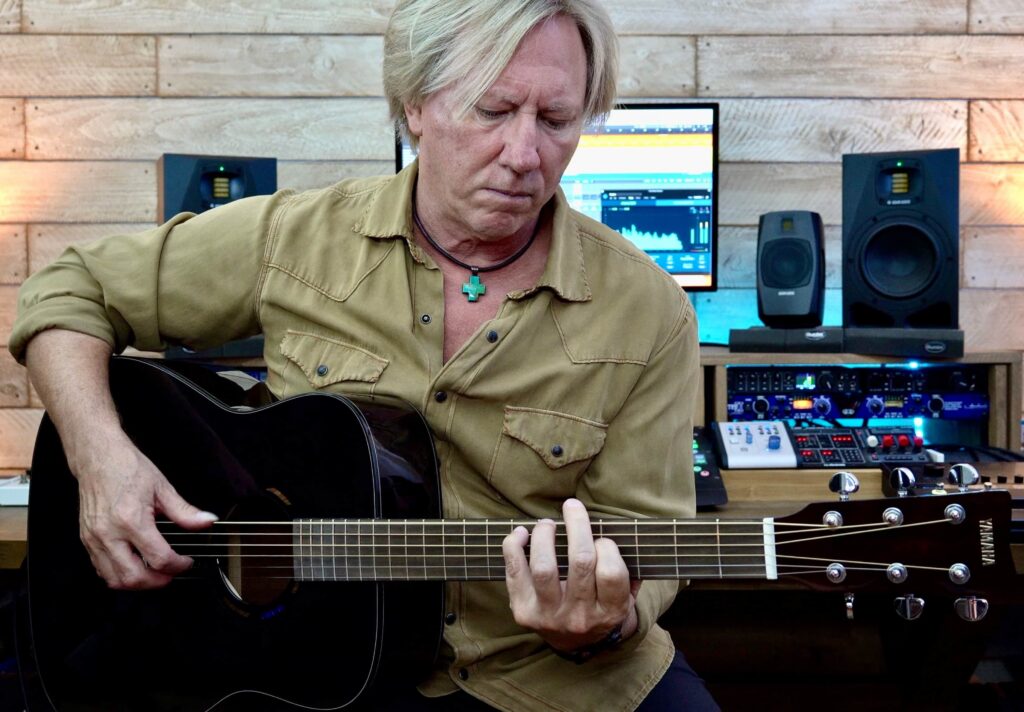
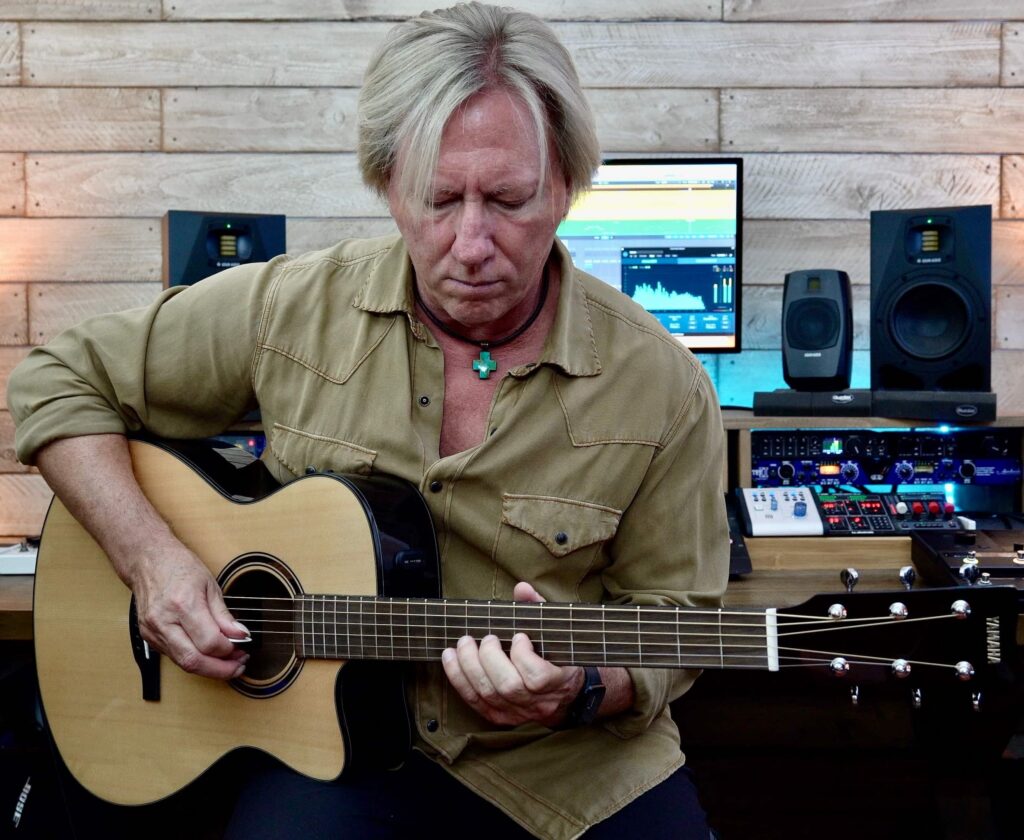
The AC5R that I’m playing in this video features two microphone options at the push of a blend control knob. Mic Type 1 is a model of the legendary Neumann U67 large diaphragm condenser microphone, while Mic Type 2 is a model of an equally iconic Royer R122 active ribbon microphone.
Running a cable from the output jack of the guitar into my audio interface allowed me to directly record all the sounds that you hear in the video. No expensive microphones or outboard preamps were needed, so setup time was minimal, allowing me to focus on the creative aspects of my performance.
I used an equal blend of piezo and Neumann U67 mic model for the two strummed rhythm parts, and an even blend of the Royer R122 mic model and piezo pickup for the double-stop and single note lines. I kept the onboard EQ controls on the AC5R flat but added a touch of compression and reverb in the mix.
The Parts
Rhythm Guitar 1
The first rhythm guitar track features chords that are all derived from the E major scale. I’m letting the top two strings ring out on all of the open chords.
This part consists of an eight-bar progression with a tonal center of the E chord (I) Ionian:
1 1 5 6m 6m
I: Eadd2 I Eadd2 Badd4 I C#m7 I C#m7 I
4 2m 5 5 4/5
I Aadd2 I F#m7(add4) I Badd4 I Badd4 A/B :I
Rhythm Guitar 2
I used a capo at the fourth fret and played the same harmonic progression using the following chord shapes (again, the key is E; the shapes are in relation to the capo):
1 1 5 6m 6m
I: C I C G/B I Am7 I Am7 I
4 2m 5 5 4/5
I F I Dm7 I G I G F/G :I
If you understand the CAGED guitar system, transposing with a capo will be easy for you. Take a moment to analyze the first guitar part and place the scale position number above each of the chords. (I’ve done that for you on both charts.)
Now use those scale position numbers in the key of C to give you the chord shapes for your second guitar part:

Double-Stop Chops
Double-stops are two notes of a different pitch, played at the same time. You can also think of them as chord fragments.
In this video, I’m using diatonic 6ths from the key of E to produce those melodic lines. Think in terms of outlining the chord progression first by locating double-stop shapes from within the rhythm guitar part chords. You can add connecting flourishes (as I do here) by connecting those shapes with other diatonic 6ths.
Single Note Lines
The single note lines are all coming from the E major scale. I end the double-stop phrased solo with a nice descending crescendo line on the last two measures. I’m muting the initial lines of the second half of the solo to add definition, energy, and variation … not easy to do on an acoustic guitar with no effects! You’ll also notice that I end the solo with an unmuted crescendo line for two bars.
The Wrap-Up
It’s all about phrasing — the rhythmic delivery of your melodic message. I’m always thinking about the phrasing aspect of each and every line. When I improvise, I listen to the groove and the harmony to find the “pocket” for the melody lines to sit in. And the latest technology makes the process of capturing the magic easier than ever before.
Photographs courtesy of the author.
Check out Robbie’s other postings.
Click here for more information about the Line 6 Helix.
Click here for more information about Yamaha A Series guitars.
Keep reading