What Is an Audio Interface?
Understanding this essential piece of hardware.
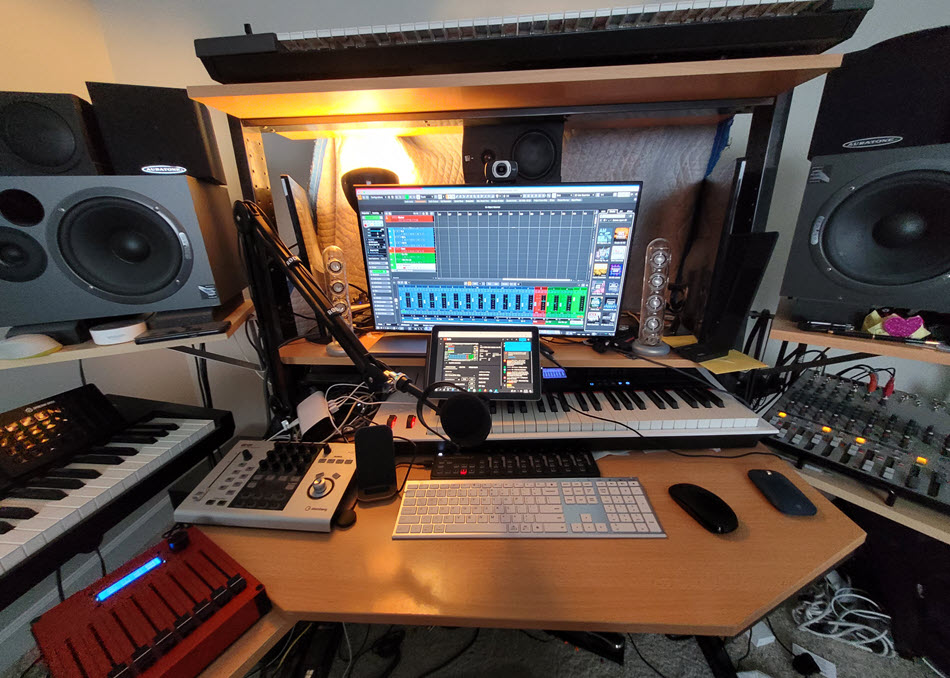
Today’s computer-based digital audio workstation (DAW) software gives you more recording and music production power than a studio full of hardware from the pre-digital days. But despite all the functionality that such software provides, its sound depends heavily on a piece of external hardware called an audio interface.
Such devices offer the connectors you need to plug in microphones and instruments for recording as well as speakers and headphones for listening. They also typically provide metering and other important features. The more you understand about how interfaces work, and the kinds of features they offer, the better positioned you’ll be to make an informed buying decision.
Connecting with Your Computer
Modern audio interfaces connect to your desktop or laptop computer via a USB or Thunderbolt port (some older ones use different ports, such as PCI, PCIe or Ethernet). Most interfaces work with both Mac® and Windows systems; many are also compatible with Apple® iOS devices, although that usually requires an additional adapter.
Steinberg audio interfaces use the USB 2.0 connectivity format, which is supported by virtually all computers. Note that you can use a USB 2.0 interface on computers equipped with the newer USB 3.0 format because USB is backward compatible.
Connecting and Converting Audio
An audio interface acts as the front end of your computer recording system. For example, let’s say you connect a microphone and record yourself singing. The mic converts the physical vibration of air into an equivalent (i.e., “analog”) electrical signal, which travels down the connecting cable into the interface’s mic input. From there, it goes into the interface’s built-in mic preamplifier, which boosts the low-level mic signal up to a hotter line level — something that’s necessary for recording. (The quality of both the microphone and preamp have a significant impact on how good a recording sounds.)
Next, the signal gets sent to the interface’s analog-to-digital (“A/D”) converter, which changes it into equivalent digital audio data — a stream of ones and zeroes that travel through the USB or Thunderbolt cable into your computer. This data is then sent to your DAW or other recording software, where it gets recorded and/or processed with effects.
Almost simultaneously, the now-digitized audio that originated at your microphone — along with any other tracks you’ve already recorded for the song — get sent back from the computer to the audio interface over the USB cable, where it goes through an opposite quick change, carried out by a digital-to-analog (“D/A”) converter, which turns it back to an equivalent analog electrical signal. That signal is now available at the interface’s line outputs to feed your studio speakers, headphone output(s), or other line-level devices.
We’re saying almost simultaneously because it actually takes a few milliseconds (thousandths of a second) for the audio to go through all these changes, from the time you start singing to the time you hear it back. That slight delay is called latency — something we’ll look at more closely shortly.
MIDI Too
Most audio interfaces also offer MIDI (Musical Instrument Digital Interface) inputs and outputs, which allow you to connect a MIDI keyboard or other MIDI controller to your computer. The input(s) allow you to play software-based instruments (“virtual instruments”) that open as plug-ins (software add-ons) inside your DAW or as standalone applications. An interface’s MIDI output(s) makes it possible to connect an external MIDI sound source like a synthesizer or drum machine and have it “played” by MIDI data that you recorded in your DAW.

Sampling Rate and Bit Depth
If you’re shopping for an audio interface, you’ve probably come across the terms sampling rate and bit depth. Sampling rate refers to how often the A/D converter “looks” at the audio when converting it into digital data, usually described in terms of kiloHertz (kHz for short), where one kHz equals a thousand samples per second. Bit depth describes how long the digital “words” are that describe each of these samples. It may seem a little techie, but all you really need to know about these terms is this: The higher the number, the better the sound … but also the larger the file size.
Some interfaces support up to 24-bit 192 kHz audio, but that’s overkill in many cases. The vast majority of people recording today use settings of 24-bit 96 kHz, which provides plenty of quality with reasonable file sizes. By comparison, the audio standard for a CD is a lot lower: 16-bit 44.1 kHz.
Ins and Outs
The number of inputs and outputs varies significantly between different audio interfaces. Steinberg interfaces, for example, run the gamut from the UR22C, which offers two inputs and two outputs (and is therefore referred to as a “2 x 2” interface) to the 28 x 24 AXR4, which has 12 analog inputs and 8 analog outputs, as well as an additional 16 digital inputs and outputs in the ADAT Optical format so that you can gang other ADAT-equipped interfaces or mic preamp units to record more channels simultaneously. When recording large ensembles or bands with drums, even eight inputs may not be enough. Always try to envision the maximum number of inputs you’ll need for the recording you plan on doing. If you can, try to leave yourself a little room to grow, rather than just opting for the minimum sized unit that will work.

Most interfaces provide “combo connectors” for their mic input channels. These accept either XLR mic cables or 1/4″ line and/or instrument inputs, giving you added flexibility.
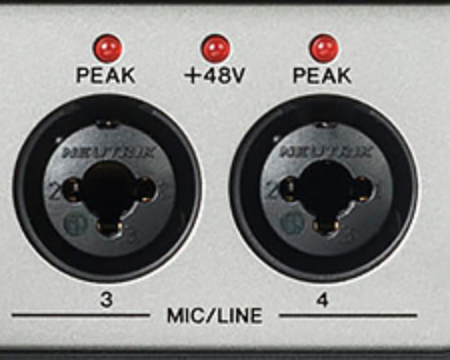
Audio interfaces also usually provide something called phantom power for the microphone inputs. This is a 48V electrical signal that is required by condenser microphones — a type of mic that’s very popular for recording. On some interfaces, phantom power can be turned on and off for individual channels, while on others it is switched for groups of channels at a time. (Click here to read our blog article explaining phantom power.)
In terms of outputs, almost all audio interfaces provide you with a stereo pair of 1/4″ line outputs, which can be used to feed your monitor speakers. Others give you additional analog outputs, which you can use for connecting to other hardware in more sophisticated setups.
There will also be at least one headphone port, which is typically 1/4″ stereo. Some interfaces, such as the Steinberg UR44C and AXR4, provide dual headphone outputs and allow you to send a separate mix to each. This is beneficial when recording multiple musicians because inevitably, the various players or singers will not all agree on the balance they want to hear in their headphones.
Latency
As discussed earlier, there’s a slight delay called latency that occurs because it takes the audio a number of milliseconds to travel through the interface input, into the computer, back out of the computer and appear at the interface output. During recording, that can be distracting, because you’ll hear your voice or your instrument coming back a little late, which can totally throw your timing off.
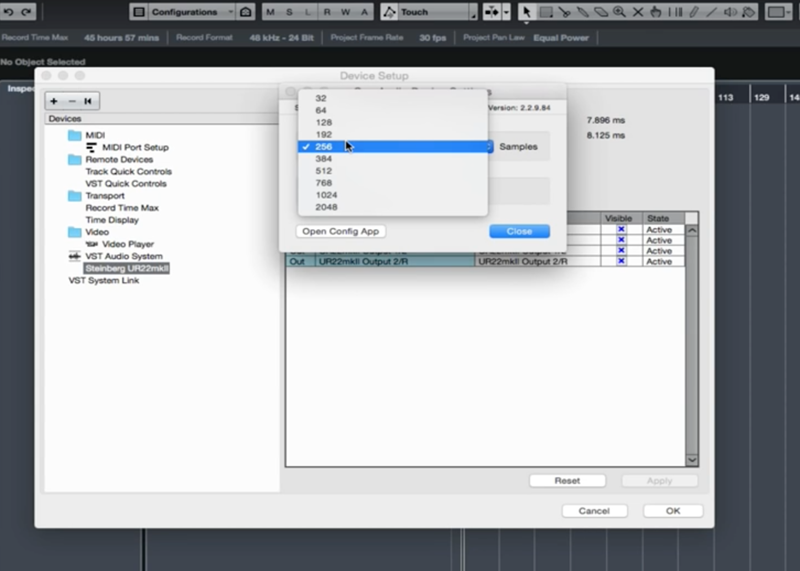
One way to deal with latency is to adjust the audio buffer (also known as “buffer size”) in your DAW to its lowest value. The buffer controls the amount of time the computer allows for processing and is measured in samples (64, 128, 256, etc.). The lower the buffer, the less latency. The tradeoff is that lower buffer settings put more strain on your computer, and that can result in clicks, pops and diminished audio quality.
A better way to circumvent latency — and without impacting computer performance — is called “direct monitoring” (sometimes called “zero-latency monitoring”), which is implemented on many audio interfaces, including all Steinberg models. It works like this: your interface sends a copy of your input signal (pre-computer) directly into the headphone output so that you can hear it in real time (with no latency) mixed with the tracks coming back from your computer.
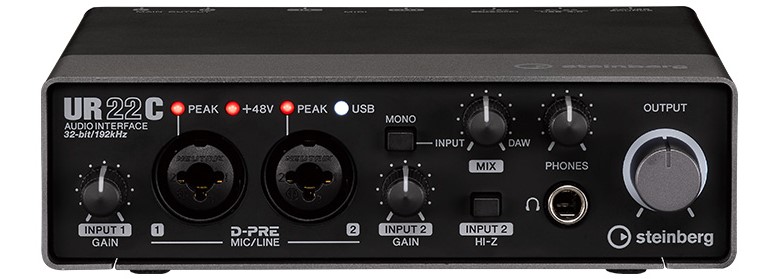
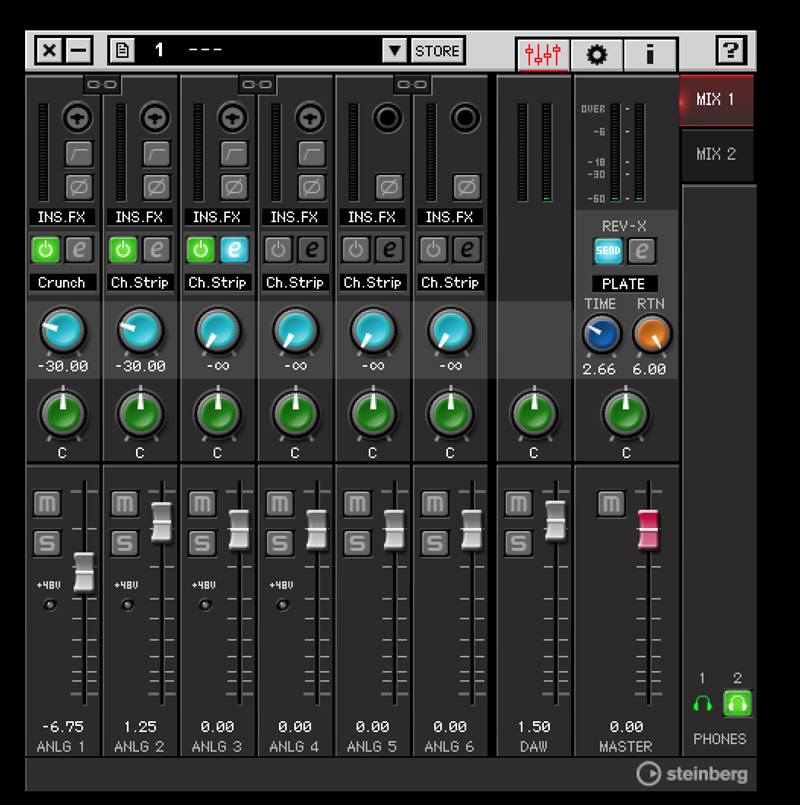
Some basic interfaces provide this feature via a simple switch that allows you to choose between the direct signal and the output of your host application, but in more sophisticated interfaces, such as the Steinberg UR22C, direct monitoring is implemented with a mix control knob that lets you adjust the ratio of the direct sound to the sound returning from the computer. Advanced models like the Steinberg UR-RT series even have digital processing (DSP) built in; all Steinberg interfaces offering this feature come with an app called DSPMixFx for controlling monitoring and adding effects from your computer, iPhone® or iPad®.
Sound Quality
Remember, we’re talking audio interface, so sound quality is key. That’s why the most critical components in any interface are its converters and mic preamps. Steinberg interfaces all come equipped with top-of-range converters and Yamaha D-PRE mic preamps for consistently excellent sonics.
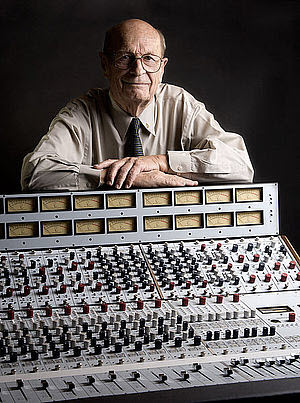
The Steinberg UR-RT2 and UR-RT4 interfaces take things up a notch thanks to the addition of Rupert Neve Designs transformers that can be switched into the signal path on every mic channel. A major designer of mixing consoles for more than half a century, Rupert Neve products are renowned throughout the recording industry. With these interfaces, you can add the legendary Neve sound to your home recordings.
An audio interface is more than just a necessary peripheral device. It’s the heart of your studio. Whether you’re buying your first one or replacing your current interface, be sure to do all the necessary research … and always get the best model your budget will allow.
Click here for more information about Steinberg audio interfaces.


