How to Connect Nintendo Switch™ to Your TV, Sound Bar or AV Receiver
You’ll be leveling up in no time.
Ask anyone on the street and they’ve likely heard of Nintendo®. Whether it be for classic titles like Super Mario Bros.® or one of its many consoles — such as the Nintendo Entertainment System® (NES®), Super NES®, N64™ or Nintendo Wii® — Nintendo has become a household name since its first console launched in the U.S. in 1985.
To set itself apart from rival products like Microsoft Xbox™ and Sony™ PlayStation®, Nintendo released Nintendo Switch in 2017. This is a console with incredible versatility that allows gamers to use its interchangeable pieces to play with or without a TV and take games on the go.
Since its launch, Nintendo Switch has sold hundreds of millions of consoles worldwide. Its popularity has given rise to a steady stream of new and rereleased games of cinematic quality that practically demand players connect the console to external devices to fully enjoy the content. Wondering how to do that? Here’s how to set up your Switch with a TV, sound bar or AV receiver.
TV Setup

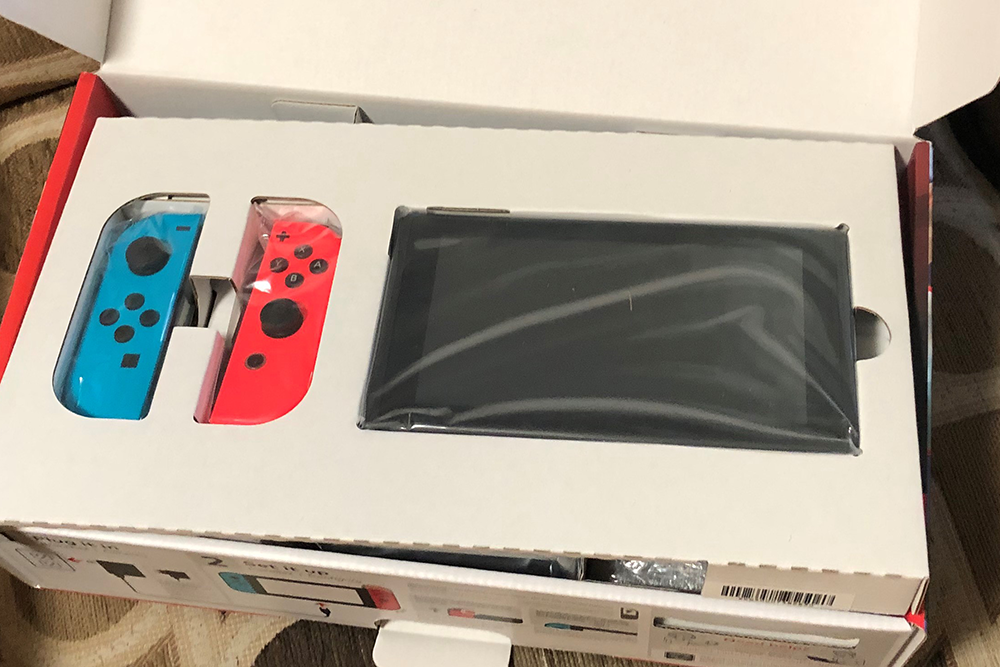
If you’re new to Nintendo Switch, setup with a TV is quick and easy. Simply unbox your Switch, piece together your console, dock and Joy-con controllers, then find a place for your Nintendo Switch dock to sit near your TV. This can be a cabinet under the TV that houses your home entertainment products, for example.
Next, you’ll need to plug in the power supply, then take the HDMI® cable that comes with the Switch and connect that directly into an HDMI input on your TV. Depending on which HDMI source you’re using, you may need to use your TV’s remote control to change to that input in order to start playing the Switch. Then all you have to do is follow the on-screen setup instructions to start playing.

Listening over TV speakers provides stereo audio but one of the best features of the Switch is that it can be used with any device that provides full 5.1-channel surround sound — more about this shortly.
The Switch works with any standard video format, including standard definition, 1080p HD and 4K UHD (click here to find out about the differences between them) but it outputs video at a maximum of 1080p. There are ways to upscale your video output to 4K, which we’ll be explaining a little later in this article.
Sound Bar Setup
To take your audio to the next level, consider adding a sound bar, which provides a boost of more speakers with extra range, along with features that can improve the audio performance of your favorite games. Sound bars can also provide surround sound capabilities with technologies like DTS Virtual:X™ virtual 3D surround sound, which simulates the sense of audio coming from all around and above you. The Yamaha YAS-109 sound bar offers this option, and comes with HDMI inputs, built-in subwoofers for deeper bass, and Clear Voice technology for enhanced dialogue clarity.
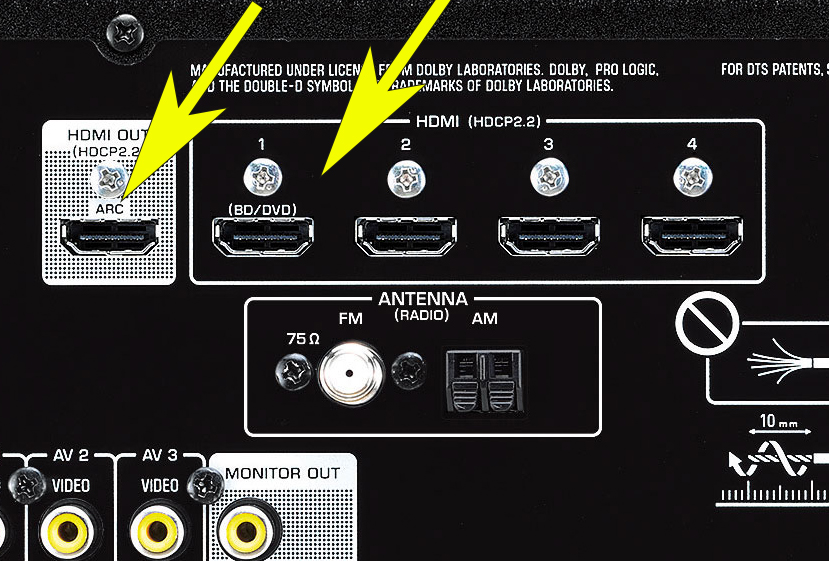
Setting up your sound bar is just as simple as connecting your TV to the Switch — just plug the HDMI cable supplied with the Switch into the sound bar’s HDMI IN jack, then take a second HDMI cable (which you can purchase online or at most electronics stores) to connect the sound bar’s HDMI Out jack to your TV’s HDMI input.

AV Receiver Setup
An AV receiver (AVR) can also be connected to the Nintendo Switch and your TV. If you’re unfamiliar with what an AV receiver is and what it does, think of it as an all-in-one hub for your home entertainment system that not only routes signal to and from various audio and video components but can also enhance the look and sound of the content you’re viewing or listening to.
One unit that matches well with the Switch is the Yamaha RX-V385 AV receiver, which offers 5.1-channel surround sound and four HDMI inputs for multiple game consoles, streaming devices or Blu-ray players, plus MusicCast Surround, which lets you use Yamaha MusicCast 20 or MusicCast 50 wireless speakers as wireless rears. Another benefit of using the RX-V385 is upscaling, which takes video content below 4K and converts it to 4K quality if you are playing or watching on a 4K TV.
To play the Switch using an AVR, connect your TV and Nintendo Switch console to the AV receiver the same way you would to a sound bar, using the HDMI input to connect the Switch and the HDMI Out to connect the TV.

Because most AVRs provide multiple HDMI inputs (something that most sound bars do not offer), there will likely be several source options for you to choose from, so you’ll need to press the Input button on your AVR’s remote control to cycle through the various inputs.
Once you’ve connected your Switch to your TV, sound bar or AV receiver, you can get to work beating your new game!
Check out these articles for more about audio for gaming:
Three Reasons to Upgrade Your Sound System for Modern Gaming
Gaming in Dolby Atmos®: An Interview with Josh Osiris
Home Theater Gaming with Google Stadia™


