How to Configure an AV Receiver for Gaming
Every retro gamer remembers it well: your first video game console. You went to the store, waited in line, paid, went home, unboxed the console, plugged it in and turned on the TV. That was it — all you needed to enjoy gaming at its finest, right out of the box. Today, thanks to technological innovations and way more features, there’s a bit more required to create the most realistic gaming experience possible.
Modern consoles require some basic knowledge to connect to a TV, but on top of that, they require another step that some might not consider critical: configuring your audio setup for maximum impact. This is especially important considering the multitude of new gaming features available on modern consoles for you to enjoy.
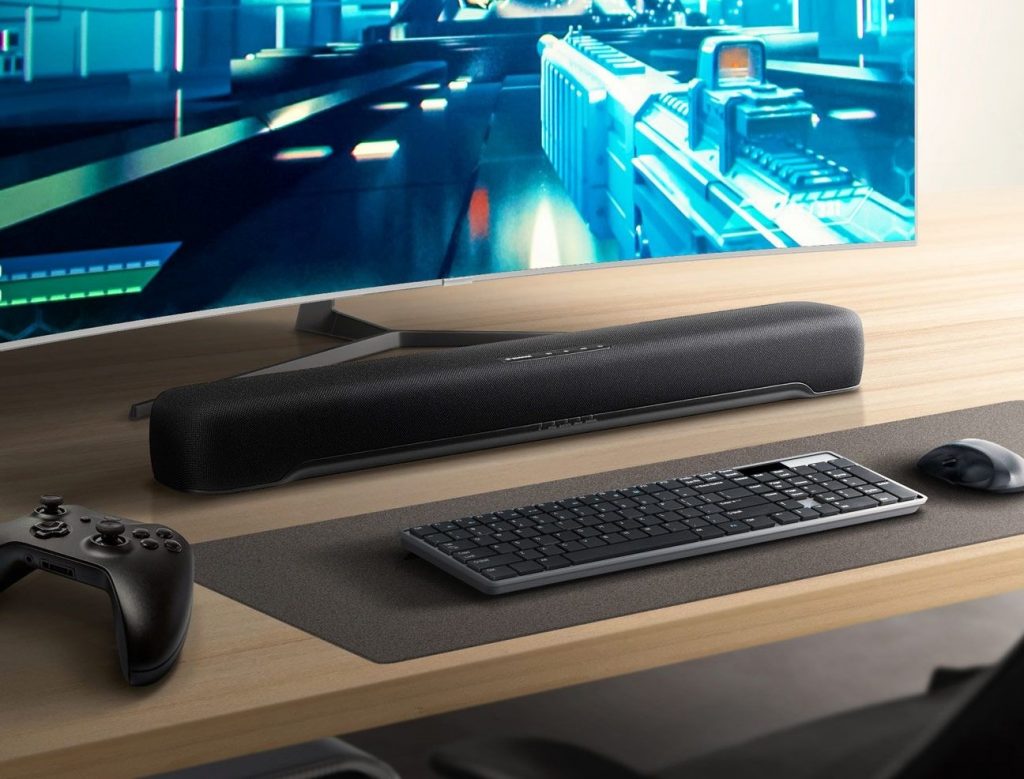
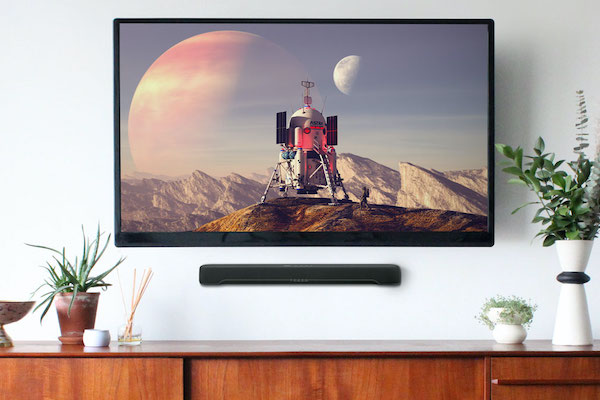
To achieve this, you’ll need some quality audio gear. A sound bar can be a great place to start for setup simplicity. But if you have the space and want to unleash the full capabilities that your favorite video games can throw at you — from footsteps to explosions — an AV receiver (“AVR”) is highly recommended.
There are plenty of audio configurations you can use to enjoy games, but the ideal starting point is a 5.1-channel setup, which includes an AVR, a center channel speaker, two front channel left/right speakers, two rear surround sound speakers (also left/right) and one subwoofer (the “.1” in the “5.1”). In this article, we’ll show you how to configure an AV receiver specifically for gaming.
Making the Connections
We recommend using Ultra High-Speed HDMI® cables for all connections to your TV and gaming console(s) to ensure you capture the best audio quality and all available features; this will also allow you to be ready for the future. To walk you through the setup process, we’ll use the Yamaha RX-V4A AV receiver, a great multi-purpose unit.

Simply follow these easy steps:
1. Unplug your AV receiver.
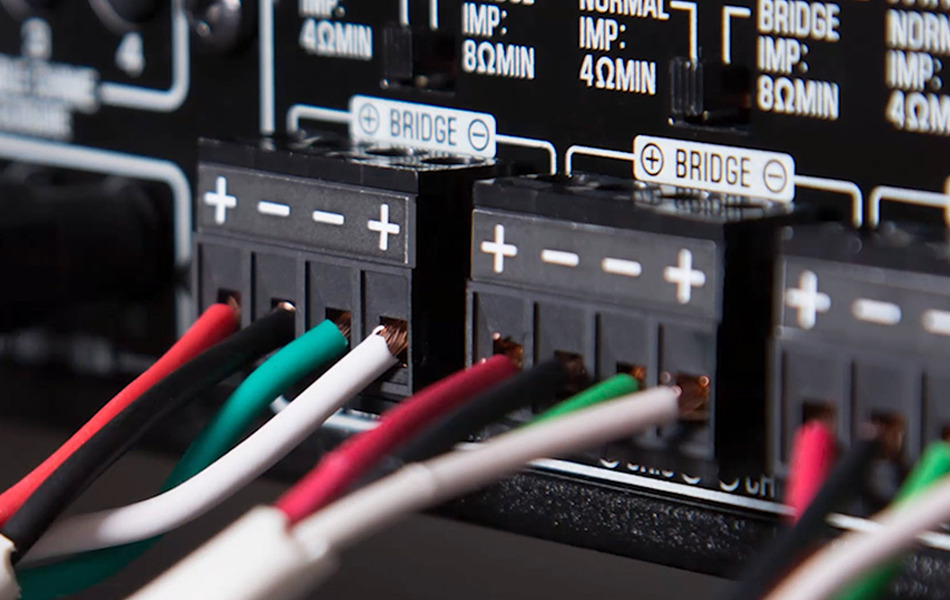
2. Using high-quality speaker cables, connect your speakers to the receiver.
3. Connect your gaming console (or consoles) to the HDMI inputs on the rear of the receiver. (The HDMI connectors for the RX-V4A are shown below.)

4. Connect the receiver’s HDMI Out to your TV’s HDMI input. If your TV has an HDMI port that includes the word “ARC,” use it for this purpose. ARC stands for Audio Return Channel, and it offers the important benefit of reducing the number of cables between your TV and AV receiver. It also improves the sound quality and latency of the audio signal much more accurately than other methods, allowing a full high-resolution multichannel audio signal to be distributed to your speakers via the AVR without downmixing to conserve bandwidth. Also be sure to check which HDMI input on your AVR supports the type of TV you have. If you have an 8K TV, for example, your AV receiver may not support it. For further help, download the Yamaha AV Setup Guide app here.
5. Finally, plug your receiver’s power cable back in.
Now you’re ready to test your connections. First, turn on your gaming console, followed by the AV receiver and the TV. Then, using the TV remote, cycle through the Input buttons to select the connected input, at which point you’ll see your console’s home screen. Your AVR’s display should also show the name of your gaming console.
Playing with Sound
Before you can enjoy the full potential of your favorite games, you’ll need to make sure your AV receiver and speakers are calibrated. Many Yamaha AVRs support a technology called YPAO™ (short for “Yamaha Parametric room Acoustic Optimizer”) and come supplied with an auto-calibration microphone. To calibrate your audio system, simply plug it into the input on the front of the receiver and follow the on-screen instructions. (Click here for more information.)


Next comes the fun part. Start up your favorite game. Initially, your receiver will be in Straight mode, which is the standard starting mode. To alter the output you hear over your speakers, start cycling through the Program buttons on your remote control as you play. These take you through various DSP (Digital Signal Processing) modes; in Yamaha AVRs, these are created via a proprietary technology called Cinema DSP 3D, which combines measured soundfield data with digital signal processing to create more realistic soundscapes.
The RX-V4A offers 17 different DSP modes to choose from, including nine in the MOVIE category that you can use for games, such as Action Game, Roleplaying Game, Spectacle and Adventure. There are also several modes optimized for music (i.e., Hall in Munich, Chamber, Cellar Club, etc.). Don’t let the name of the mode fool you — go ahead and try each mode on any game and see what fits best. You never know what you’ll find!
The discovery process doesn’t end there, either. There are individual audio enhancers as well, such as Dialog Level Adjustment, Extra Bass mode, and for those without the space to place surround speakers behind the listening position, Virtual CINEMA Front, which gives you 5-channel surround sound with all speakers lined up in the front of the room. You can also customize your own DSP by fine-tuning various parameters, such as delay and reverb level.
If you’re looking for a little extra out of your surround speakers, you can alter their levels to your liking; simply go to the speaker settings menu and adjust each speaker manually. When doing so, make sure that Adaptive DRC, which automatically adjusts the dynamic range (that is, the difference between the loudest and softest sounds) is set to ON. This will ensure that, whatever game you’re playing, the volume doesn’t exceed an optimal listening level during the loudest moments. Keep in mind that every receiver is different and you should consult your receiver’s manual for more details before adjusting speaker volumes (you can read and download the RX-V4A user guide and other support materials here).
To capitalize on the kinds of realistic soundscapes that developers are creating in games like Gears 5, it’s important to be aware of the full range of features your AV receiver has. For example, a number of exciting new HDMI 2.1 features have been added to Yamaha AVRs such as the RX-V4A. These include enhanced eARC, Auto Low Latency Mode, Quick Media Switching and HDR10+, as well as a video upgrade for 4K/120 and 8K/60 video resolution. These features are particularly important due to the capabilities of current consoles like the Microsoft Xbox™ Series X, which offers all of these and more.

The beauty of using an AV receiver that’s been configured for gaming is that, with only a few simple tweaks, you can make any video game sound much closer to what the designers intended. And once you’ve configured the audio to your liking, you can make further choices about audio gear. For larger systems, like 7-channel, 9-channel, 11-channel and beyond, you’ll need more speakers and an AV receiver capable of handling those extra speakers (such as the Yamaha RX-V6A, which supports up to 7.2 channels and offers advanced technologies like Dolby Atmos and DTS:X™). When it comes to great audio for gaming, more speakers and additional AV receiver features are always better!
Check out these related blog articles:
Three Reasons to Upgrade Your System for Modern Gaming
New Gaming Features You Can Enjoy in Your Home Theater
How to Calibrate Your AV Receiver with YPAO
Gaming in Dolby Atmos®: An Interview with Josh Osiris
How to Connect Nintendo Switch™ to Your TV, Sound Bar or AV Receiver
Click here for more information about Yamaha AV receivers.
Keep reading