How to Stream Your iTunes Songs from a Mac
It’s finally going to happen. With the upcoming release of Apple’s new operating system for Mac computers (MacOS Catalina, scheduled to arrive in late September 2019), Apple will flip the switch and shut off iTunes for good. But don’t panic. All that time and effort spent creating playlists and purchasing your favorite tracks wasn’t wasted. That music will still live on your computer (in the new Apple “Music” app that will replace iTunes), and you can keep it alive through the power of streaming … just perhaps not the way you might think.
If you’re a fan of streaming music from your mobile device to speakers throughout your home, MusicCast is your ticket to digital freedom and unleashing your iTunes library. The free Yamaha MusicCast Controller app allows you to stream music to any room of your house using a number of different options, including Bluetooth®, Apple Music® (via AirPlay) and other streaming services. You can also stream music you have stored on your device or on a local network.
If you’re using a PC computer, you’ll want to check out our blog article “How to Stream Music From Your Computer.” To stream from an Apple computer such as a Mac or MacBook, read on.
Setup Requirements

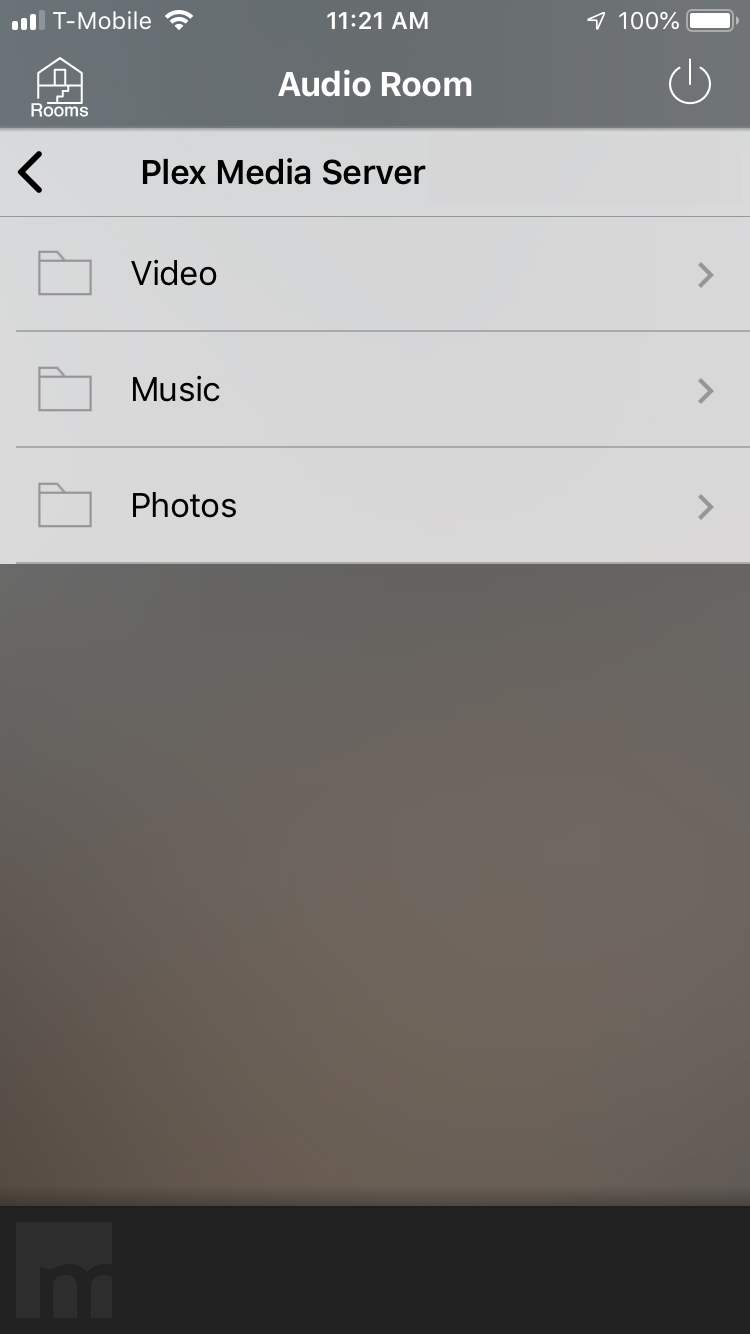
In order to access your music, you’ll need to establish a connection to the iTunes collection on your Apple computer using the “Server” button on the MusicCast Controller app, as shown in the illustration on the right. This will allow you to access any downloaded or backed-up music files you have previously purchased and stored on your computer or NAS (Network Attached Storage) device such as a thumb drive or external hard drive. A third-party service is required to connect your streaming capabilities via MusicCast with the stored content on your Mac. There are a number of free and paid software options to choose from to accomplish this. We recommend you do some research online to find the service that’s right for you. For the purposes of this tutorial, we’ll be using the free media server software called Plex.
Using Plex
1. First, find and download Plex Media Server to your Mac. Then, under the Plex Media Server drop-down menu, select “Mac OS”:

2. You’ll be prompted to give a name for your stored media folder. Keep it simple:

3. Now you’ll be asked to add your iTunes library or libraries. (You’re not limited to just one library.)

4. Click Next and you’ll see the following screen signaling the end of the process. Click Done and you’ve completed the connection!

5. While still in Plex, click on Settings in the left panel, then scroll down until you see “DLNA” towards the bottom of the Settings section. Click on it and look for the check box line that reads “Enable the DLNA server.” Make sure the box is checked (it should be already). This will allow the software to connect via Wi-Fi, and by extension, MusicCast:

6. Finally, go back to the MusicCast Controller app and click the Server button, which, as shown in the screenshot on the right, should now be showing the folder you shared through Plex. And that’s it! You can now listen to your collection of stored music through MusicCast and enjoy all the versatility that comes with it.
Aside from connecting to your iTunes library, Plex also scans for all music files on your computer that can be enjoyed with the MusicCast Controller app, including AAC, ALAC, E-AC3, FLAC, MP3, M4A and WAV. Click here to learn more about Plex Media Server and its capabilities.
For more ways to enjoy music at home, check out these blog articles:
How to Stream Music From Your Computer
Smart Home Integration – From DIY to CI Guy
How and Why to Bi-Amp Your Speakers
Click here for more information about Yamaha MusicCast.
Click here for more information about the Yamaha MusicCast Controller app.
Keep reading