How to Care for Your Drums
In modern music, the drums are the foundation — the rhythmic backbone of the group.
The drum kit has provided the beat and tempo for almost all forms of popular music since the dawn of jazz in the early 20th century. That makes it one of the most important instruments on the stage or in the studio, as well as one of the most involved. But drums have many moving parts and pieces — in addition to taking up sheer space — and setting up and maintaining a drum kit requires a specific knowledge and awareness of the gear itself.
Here are some pointers and expert tips from Yamaha product training specialist Jim Haler on how to keep your drums visually attractive, eminently playable and sonically pleasing.
Proper Placement and Storage
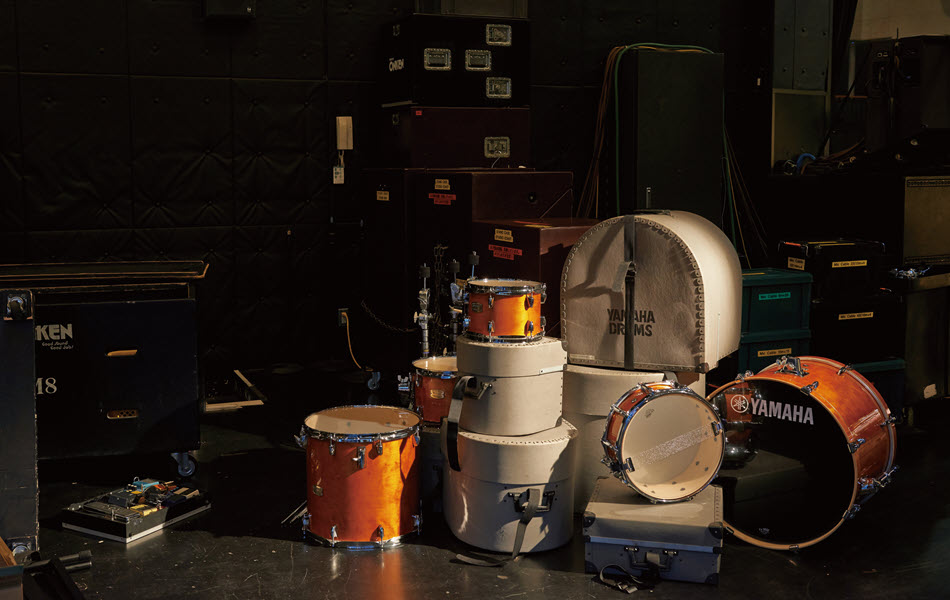
Say you just acquired a brand new drum kit and it’s going into your house or studio for the first time. In the excitement of the moment, you may have the impulse to set up and start playing right away, but it’s important to consider where and how your kit will “live” in its new environment.
- Do not set up your kit where it is exposed to direct sunlight. While the finishes for some kits (including some Yamaha models) are treated with UV protection, that’s not always the case. “If your drums sit in direct sunlight for long periods of time, they’re going to fade,” says Haler. “And if they have a “wrapped” [smooth glossy white or silver] finish, you also risk having the finish getting hot and bubbling on you.”
- Be sure to put your kit on a rug. Dedicated “drum rugs” do exist, though any floor rug with rubber on the bottom will work. Without a rug, your drums will slide and shift as you play them. Not only does this make it hard to perform, the pointy kick drum spurs could damage hardwood floors. A rug will also catch and confine any splinters and sheddings from your drumsticks.
- When not playing your drums, cover them with a drum cover — like you would an expensive car — to prevent accumulation of dust and debris.
- Even with a cover, some dust will inevitably find its way to your kit. “Dust can act like small pieces of sand and put minor scratches in the finish,” cautions Haler, who recommends applying Yamaha Piano Unicon Polish with a soft microfiber cloth to prevent cosmetic damage and keep your drums shiny and clean. “Yamaha also have an exclusive non-glossy finish called Vintage Natural,” Haler adds. “For this particular finish I recommend using an orange oil furniture cleaner for periodic maintenance.”
Getting the Most Out of Your Drum Heads
The heads are the part of the drums that take the most abuse. They’re meant to be replaced over time to maintain proper tone, but there are ways to maximize their longevity.
- Playing with correct technique is vital. “Make sure you’re playing the drums properly and not burying the stick into the head, but playing off the head,” says Haler. “It makes less of an impact and is going to help your drums not only sound better, but last longer.”
- Position and angle your drums correctly relative to your height on the drum throne — something that can help with proper striking technique. “If your toms are at too much of an angle and you’re not sitting at the right height, when you go to strike your toms, you’ll be digging the tip of the stick in,” says Haler, who warns that this can also reduce overall playability.
- Choose drum heads that suit your style of playing. “If you’re playing metal and really hard, aggressive stuff,” says Haler, “you shouldn’t be using single-ply heads; you should be using double-ply heads.”
Snare Care
Snare tone is one of the more tangible artistic choices at a drummer’s disposal, especially in the context of rock and pop music. This part of the kit deserves special treatment.
- Make a habit of turning over the snare drum and examining the snare wires themselves from time to time, especially if you begin to notice a lack of snare response. If any of the wires are bent or are starting to get detached, they will tend to rattle after you hit the drum, compromising the snappiness and pop of the resultant sound, so consider installing a new set. If you’re in a pinch (i.e., right before a performance) and can’t replace the snare wires, take a wire cutter and snip off any misshapen strands all the way down to where the wire is soldered on, as small tips of exposed wire can cut into the head.

- Whenever you swap out a snare head, it’s a good time to lubricate some of the moving parts of the drum itself — especially the “throw-off” strainer mechanism that is moved up and down to raise and lower the snares. Haler recommends putting a small drop of 3-IN-ONE® oil in those contact points so the lever moves smoothly and doesn’t make any noise. You should also add a small drop of oil around the adjustment screw for the snare wires (on the bottom) and the threads for the tension mechanisms, as well as the turning screws and the ends of the tension rods.

Proper Treatment of Cymbals and Hardware
Some drummers like their kit to be shiny and polished, while others prefer the road-worn look. Either way, here are some basic fundamentals for caring for the metallic portions of your kit.
- Avoiding rust is key. If you need to transport your kit, make sure to wipe off any condensation if the drums have been moved inside from the cold. This is particularly important when it comes to hardware like stands and tom mounts, which have many fine points of adjustment.
- Some drummers perspire more than others. Be aware of your body chemistry, as stray sweat and hand oils can also lead to spot rust.
- Position your cymbals at a slight angle to encourage proper striking technique and prevent breakage. “When you’re striking right into the edge of the cymbal, that’s the most fragile part, and that’s where you’re going to get a lot of cymbal breakage,” Haler points out. “It’s best to play your cymbals at least at a slight angle.”
- Be wary of what solutions and polishes you apply to your cymbals. More abrasive products can discolor or tarnish them — some can even remove your cymbal’s logos altogether!
Tips for Safe Travel and Transportation
Whether you’re transporting a kit to band practice, gigging locally or touring the world, there are some universal do’s-and-don’ts for moving your drums.
- Invest in road cases. If you’re playing nightly as part of a tour, hard cases are a must — if only for the peace of mind that comes from knowing that your shells, cymbals and hardware are always protected — not to mention that they’re more compact and efficient for loading/unloading. If you only occasionally move your kit for local gigging, soft cases will prevent scratches and random damage.
- Be wary of kit loaning and sharing. It’s common practice, especially in local circuits, for a band to backline its kit. This act of generosity will help keep things moving smoothly when there are multiple performers on the bill, but it also opens up the inherent risk of other drummers — with perhaps more aggressive playing styles — damaging part of your kit, breaking a cymbal or drum head, etc. If you’re on a tight budget or concerned about damage, it’s best to not share.
- Always carry a tool kit and spare breakables such as drum heads, as well as extras of small, easily misplaced components such as cymbal felts/wingnuts and hi-hat clutches. You never want to be caught in a pinch mid-gig, so come prepared to make minor on-the-fly repairs if needed.
Whether you’re playing an entry-level kit like Yamaha Rydeen models, or higher-end options, such as PHX and Recording Custom Series kits, these guidelines will protect your investment and keep you firmly in the pocket. Happy drumming!
Keep reading