How To Set Up a Student Percussion Kit
Get playing in just minutes!
Beginning percussion kits are perfect for students in elementary or middle school. These snare, bell and combo kits offer the portability, quality and sound that music educators and students need to get started in the band room.
In this article, we’ll explain the setup processes for all three types of student percussion kits. All are quick and easy, so your students can start playing right away!
Snare Drum Kit Assembly Instructions
1. Take the snare stand out of the case. There are two parts to the snare stand: the bottom and top halves.
2. Take the bottom half of the stand and loosen the bottom wing screw to unfold the legs.
3. Spread the legs wide enough so the stand does not wobble, then tighten the bottom wing screw.
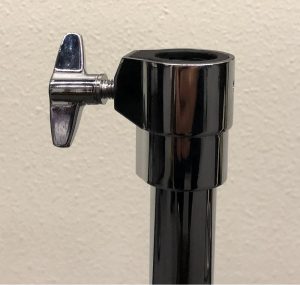
4. Loosen the upper wing screw on the bottom half of the stand:
5. Insert the top half of the stand into the bottom half of the stand:
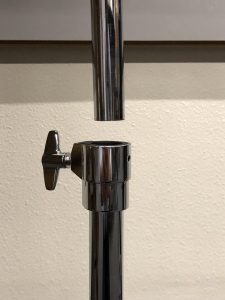
6. Tighten the wing screw when the stand is at the desired height.
7. Unfold the snare drum basket.
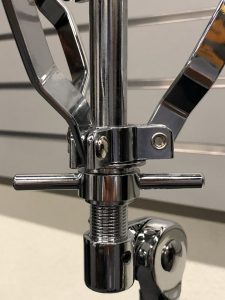
8. Take the snare drum and place it on the basket. Adjust the tension handle (shown below) to make the snare drum basket wider or narrower as necessary:
9. Check to make sure that the snare drum is only touching the rubber grips and not the metal part of the snare drum basket:
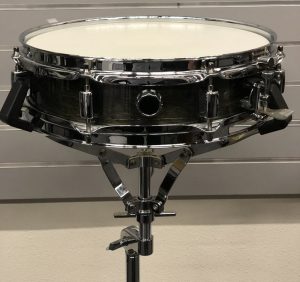
10. To change the angle of the snare drum, use the wing screw below the tension handle and adjust it to the angle that best suits your playing:
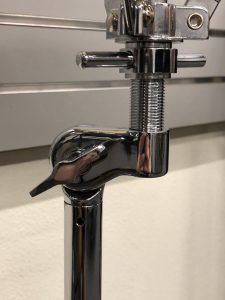
11. For quieter practice, follow these same steps and insert the practice pad instead of the snare drum.
Bell Kit and Combo Kit Assembly Instructions
Assembly for a bell or combo kit is similar to the snare drum kit assembly described above. In most combo kits, the snare drum and bells use the same bottom half of the stand; all you have to do is switch out the top half of the stand. It’s easy to tell the two apart: the top of the bell stand has four rubber grip points, while the snare stand has three.
Bell Assembly Instructions
1. Take the bell kit stand out of the case. There are two parts to the bell kit stand: the bottom and top halves.
2. Take the bottom portion of the stand and loosen the bottom wing screw to unfold the legs.
3. Spread the legs wide enough so the stand does not wobble, then tighten the bottom wing screw.
4. Loosen the upper wing screw on the bottom half of the stand:

5. Insert the top half of the stand into the bottom half of the stand:

6. Tighten the wing screw when the stand is at the desired height.
7. The top half of the bell kit stand unfolds in an upward motion:
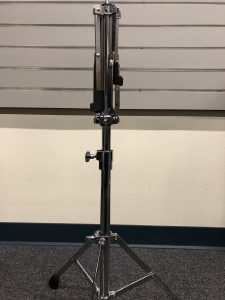
8. Once unfolded, make sure the wide end of the stand is on the player’s left:
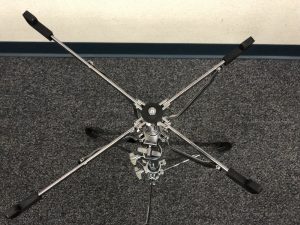
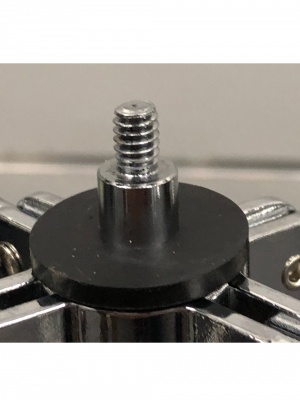
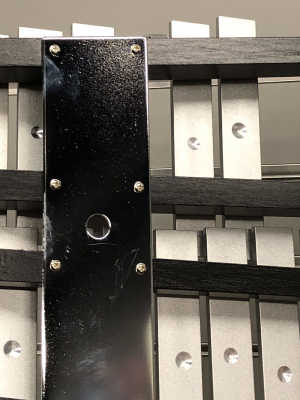
9. Note that there’s a threaded screw in the center of the stand, which aligns with the hole on the bottom of the bells. Make sure the bells touch the rubber grips to avoid any rattling.
10. To use this stand with a tunable practice pad instead of bells, align the bottom hole on the pad with the threaded screw in the center of the top half of the bell stand:
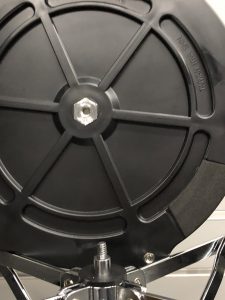
11. Twist to the right until the pad is securely fastened:
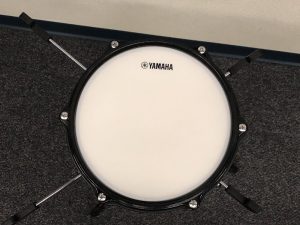
The kit is now all set and ready to play. See you in the band room!
Click here for more information about Yamaha student snare kits, student bell kits and Total Percussion combo kits.


